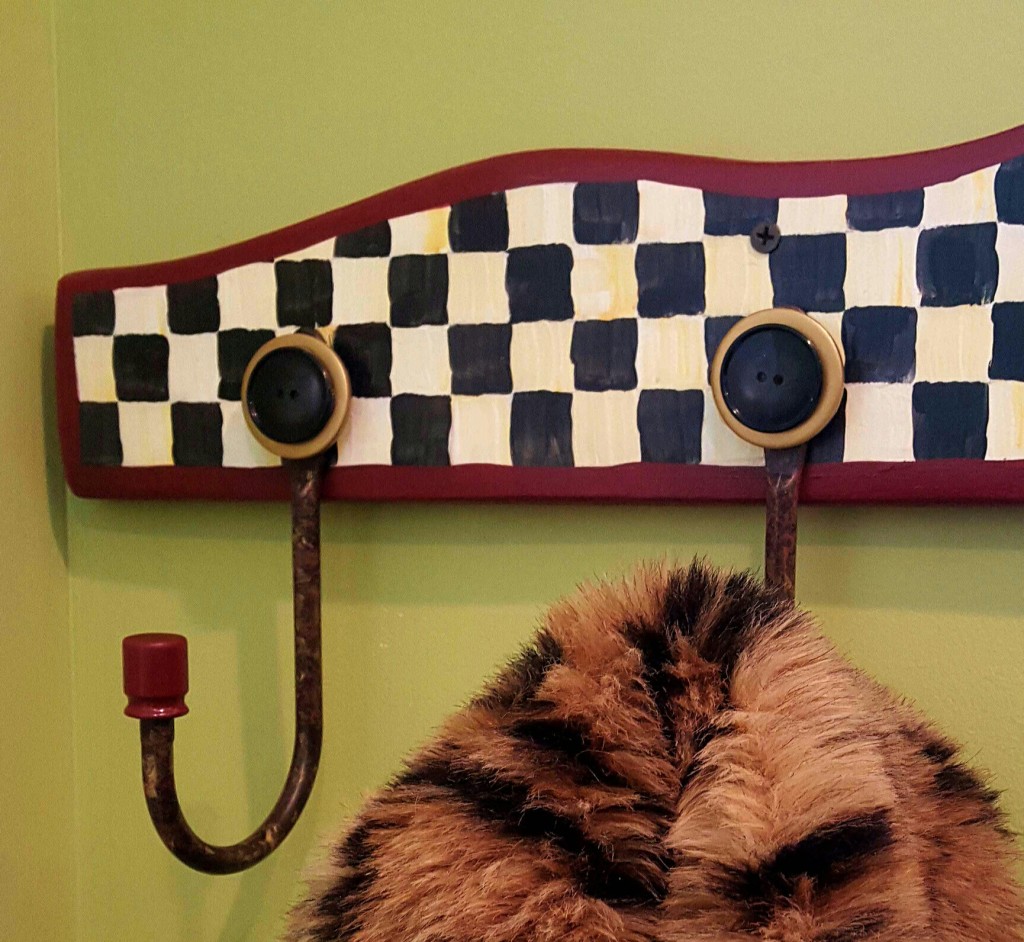
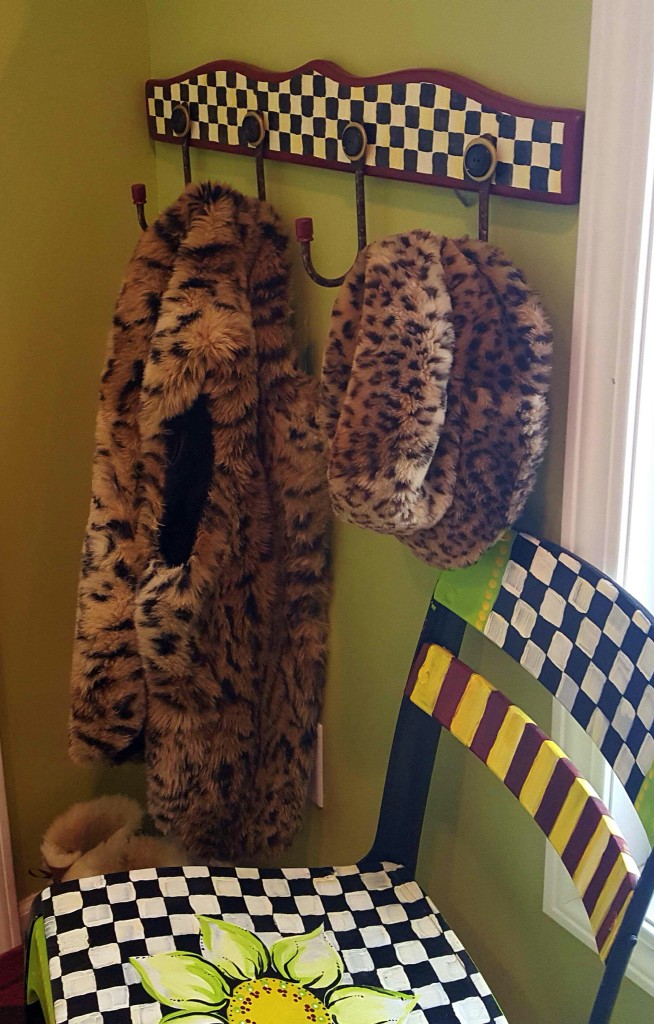
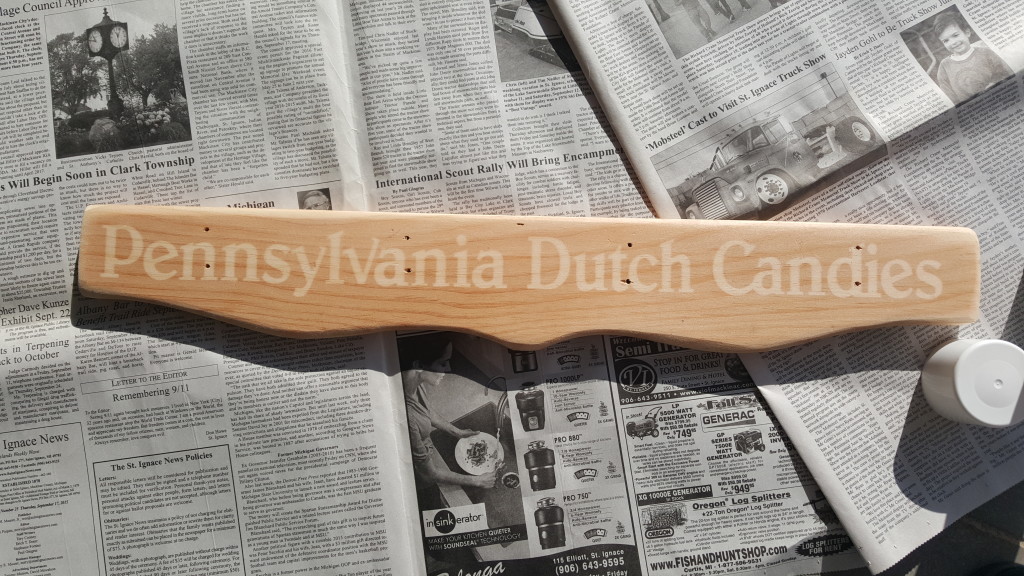
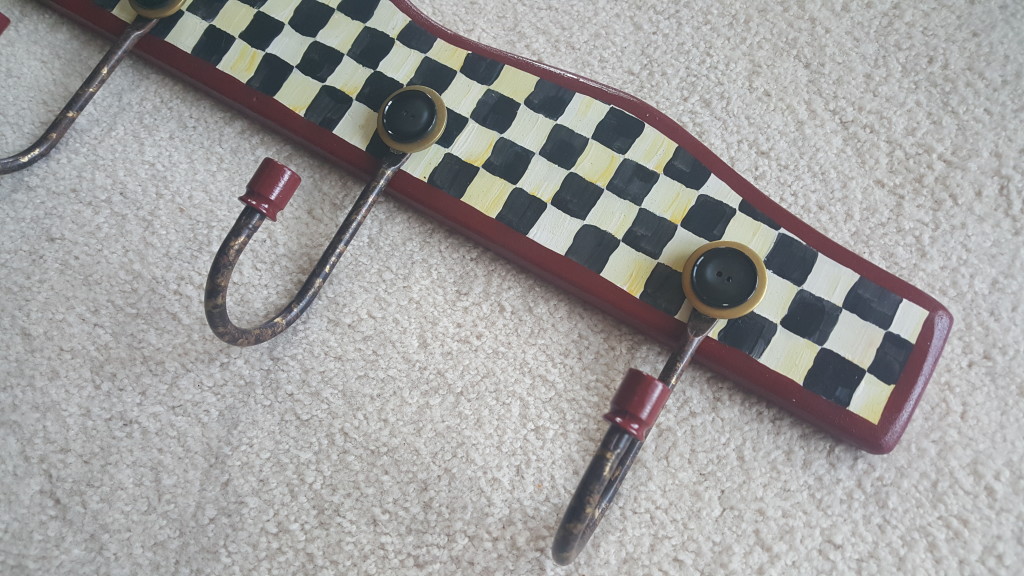
In my pursuit to use it or lose it, I combined the top molding of an old store display, four 10 year old curtain tie backs I have never used, four 1 1/2″ washers from Randy’s toolbox, and four old buttons, to create a very useful coat hook board reminiscent of those delightful Mackenzie Childs pieces that I love!
It was an absolute delight to finally repurpose these curtain tie backs that have been on the top shelf of the mud room closet for literally 10 years!! I decided on tassel tie backs in the living room and never got around to returning them. And I must say, they make for really sturdy hooks because my family can really pile it on!
It pairs lovely with this chair project I did last year.
Just CLICK HERE to check out that tutorial – super fun too. 🙂
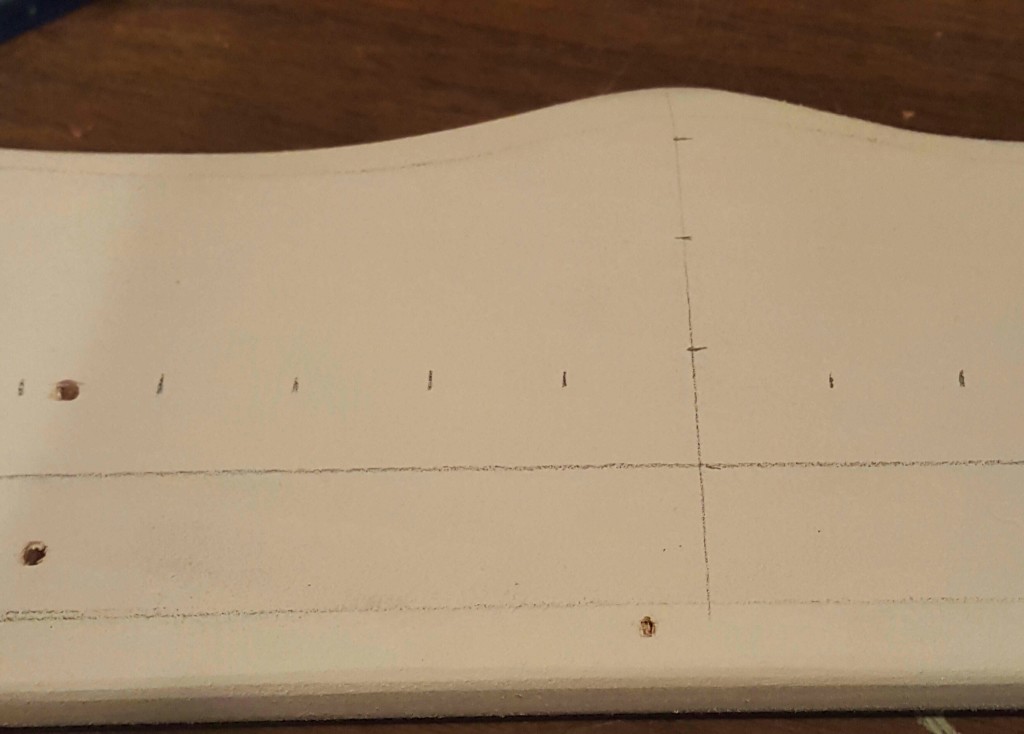
After measuring the maximum space available between the wall and the window where my new hook board would go, I cut off the ends on each side of my recycled wood trim piece to equal the measurement I desired. After deciding my desired placement of the hooks I drilled some small holes. Then I did a quick had sanding and then sprayed it with a light coat of Krylon primer.
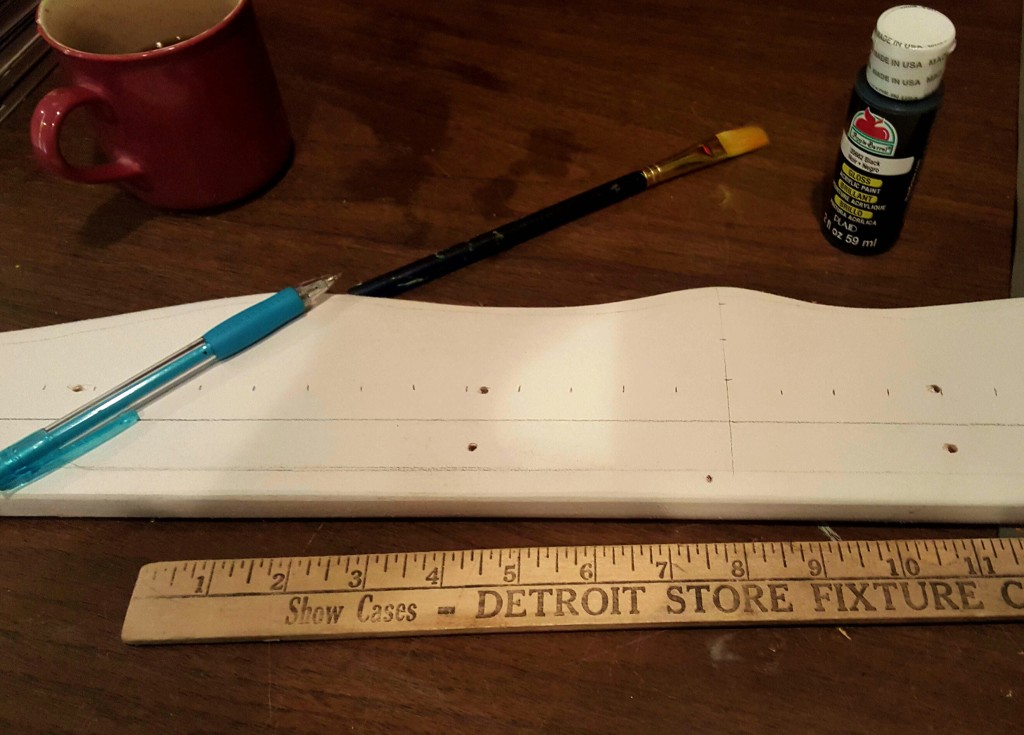
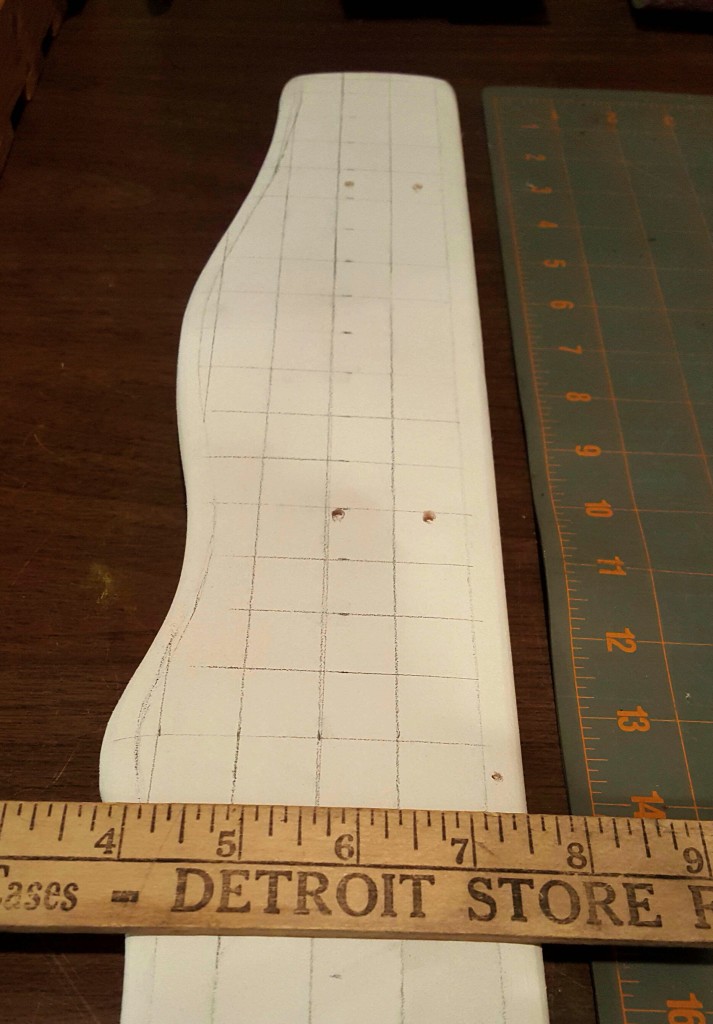
I then drew a vertical line on the middle of the molding and then made a mark on the middle of that line. From that mark, I made 1″ marks above on top and bottom of it marking where the horizontal lines need to go. After drawing the bottom 2 horizontal lines, I made 1″ marks on the left and right side of my middle vertical line to mark where all other vertical lines should be placed.
I also drew a line about 3/8″ in from the edge all around the molding.
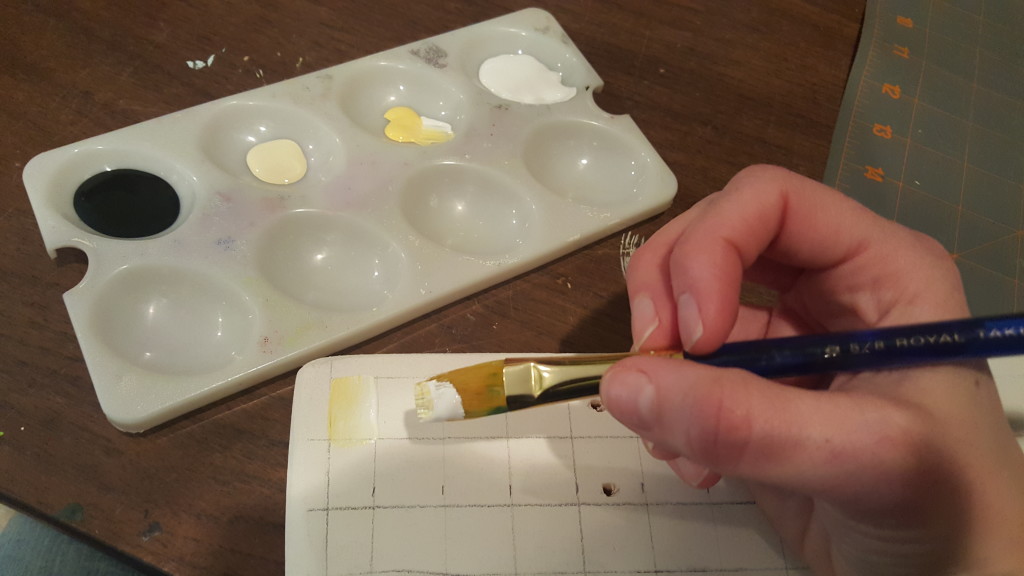
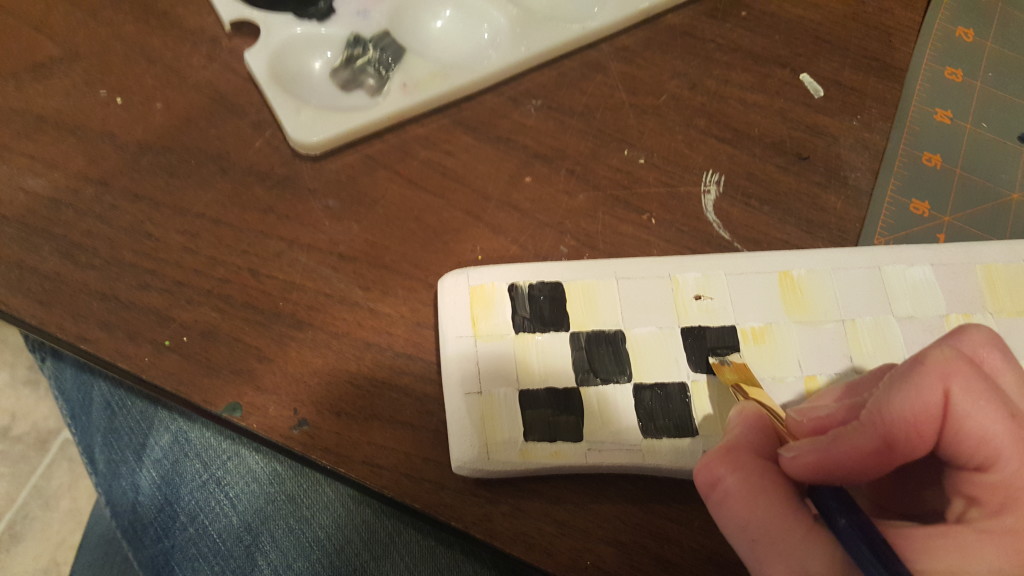
And now for my favorite part…the painting 🙂 Using a flat 3/4″ brush. I dipped it first in white acrylic paint and then lightly dipped the corners in a soft yellow and cream.
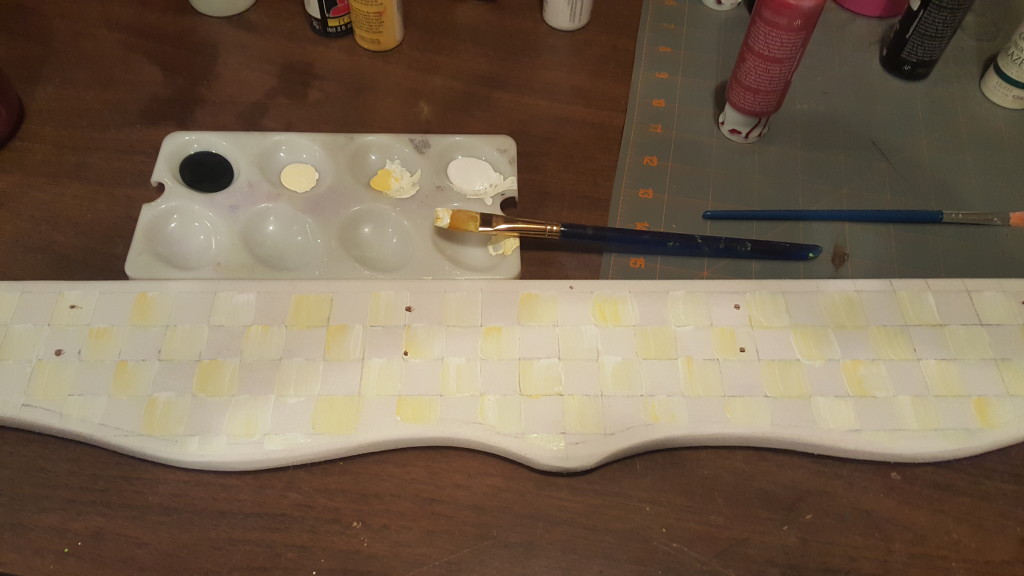
Then I just made a couple vertical swipes with brush on every other square.
Then I painted the black squares by dipping the brush in black with a hint of cream and or yellow again. I let the checkerboard dry and then painted 2 coats of barn red along the edge of the board and on the knobs of the hooks.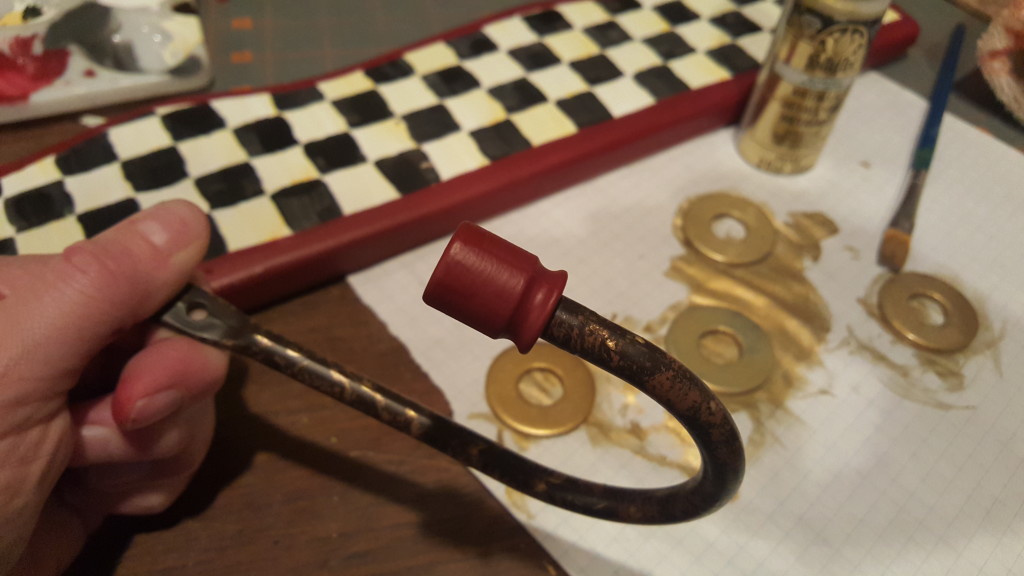
Next I added a little gold by painting the washers with 2 coats of gold and then dabbing the hooks sparingly with the gold brush to tie it all together. Oh, I also painting a coat of glossy varnish on the board when all the paint was dry.
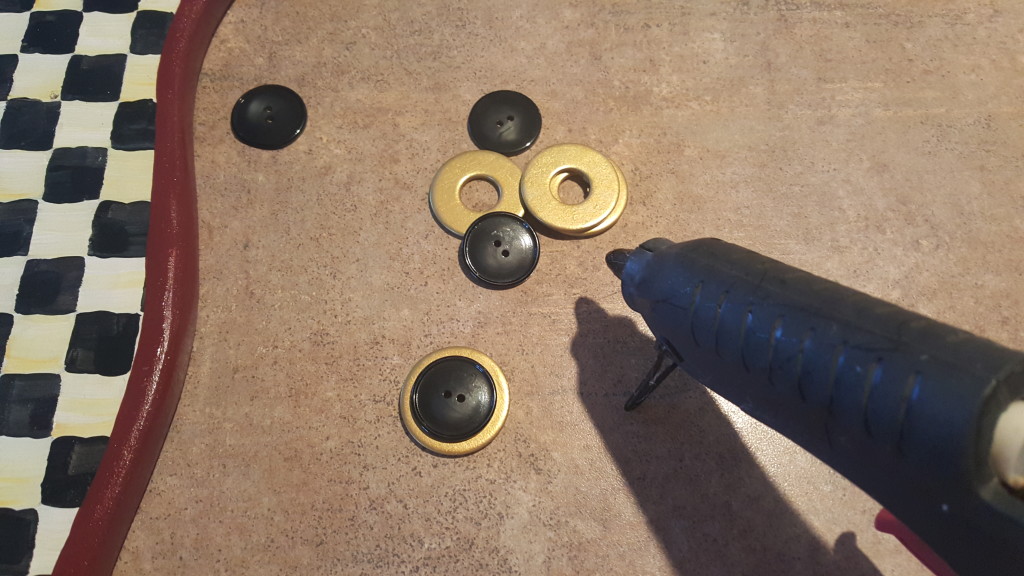
To finish it up, I hot glued the black buttons to the gold painted washers, screwed the hooks to the board, and then hot glued the washer/buttons on the top of the hooks to add some whimsy and cover the screws.
So take a peak around your abode and see if you have any hooks and boards that can be reworked into this little lovely, otherwise, head on down to your local craft shop to pick up a wood base, some cute hooks, buttons, and paint to whip one of these up for yourself of a lucky friend!
