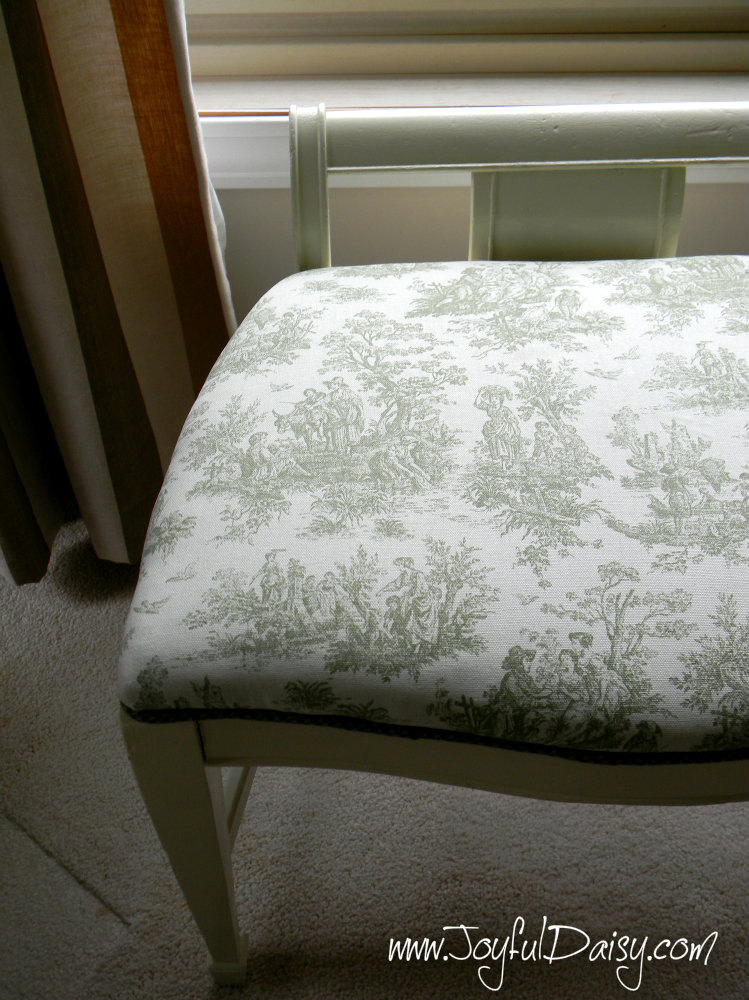
One of my greatest joys in life, besides my children of course :), is the reveal of a good before and after project! I receive such satisfaction from making something old new again.
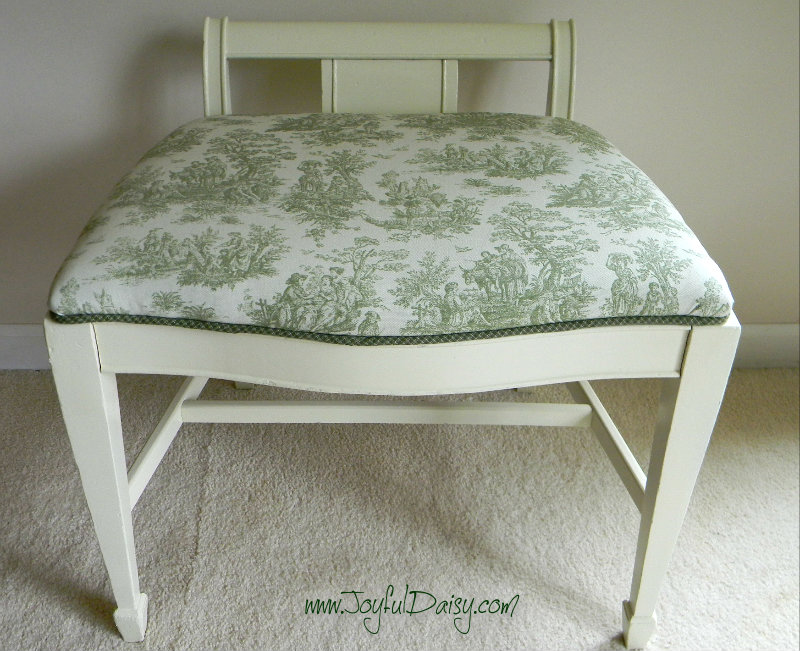
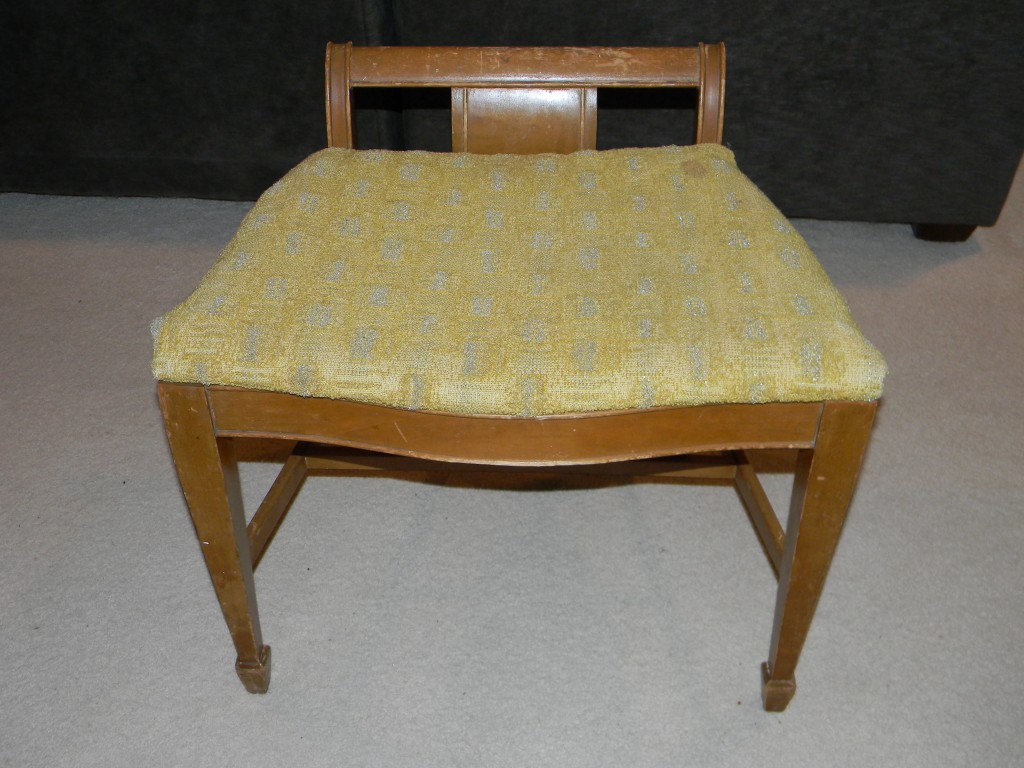
This little stool is a little more special then the average resale find because it was one of the first things my grandmother ever purchased for herself when she started working. Ahhhhh, such a life this little stool has already had. Now it belongs to my mom so I decided to give it a trash to treasure makeover with some of the toile fabric I found at her house not to long ago! Remember the toile runner? Fortunately we still have a lot of that fabric left so here goes another project. Oh, and just an FYI…if you have a little project like this, I strongly encourage you to jump in and get it done. This is so simple and went much quicker then I anticipated 🙂
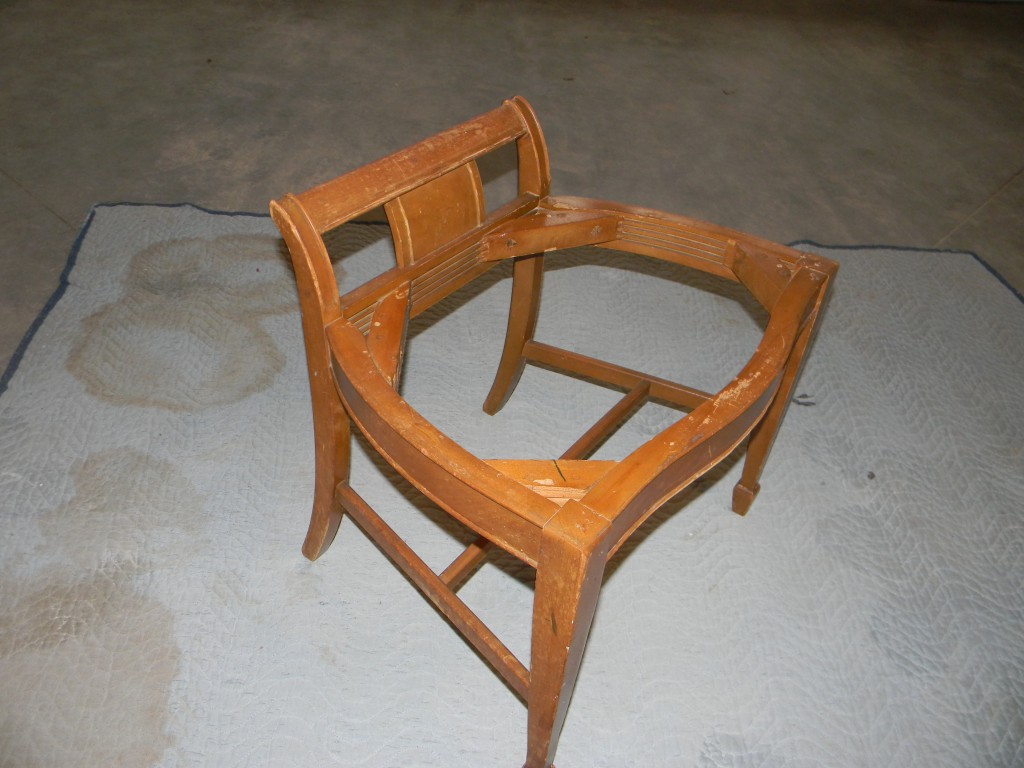
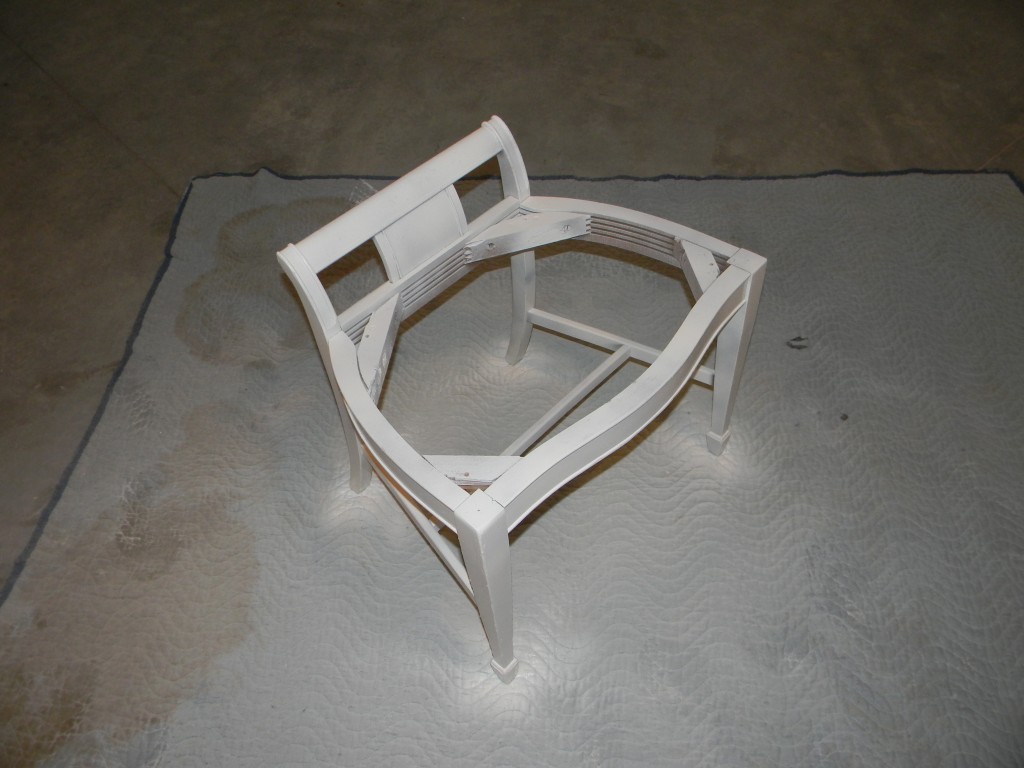
To get started, remove the cushion by flipping over and removing screws from bottom.
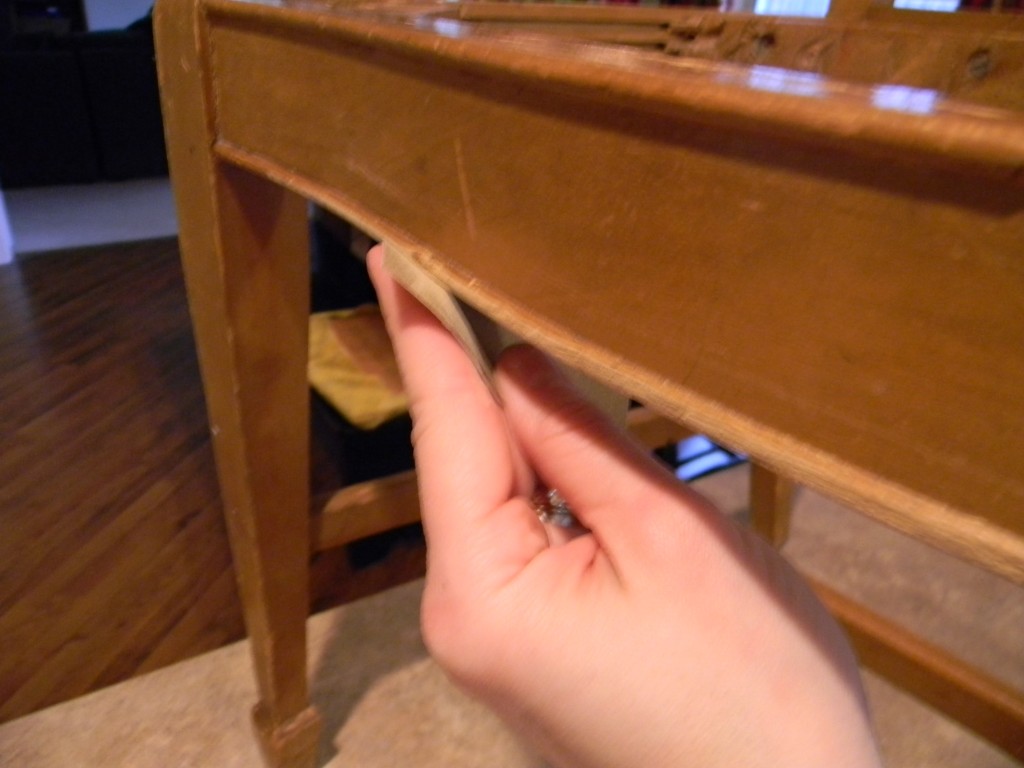
Using a lightweight sandpaper, lightly sand any rough areas if need be.
Wipe down entire stool with a damp cloth and let dry.
Using Kilz primer spray paint, add one coat to the stool.
Once primer is completely dry, spray with Krylon cream spray paint.
Add one to two more coats as needed when dry.
HOW TO UPHOLSTER A SMALL STOOL SEAT…
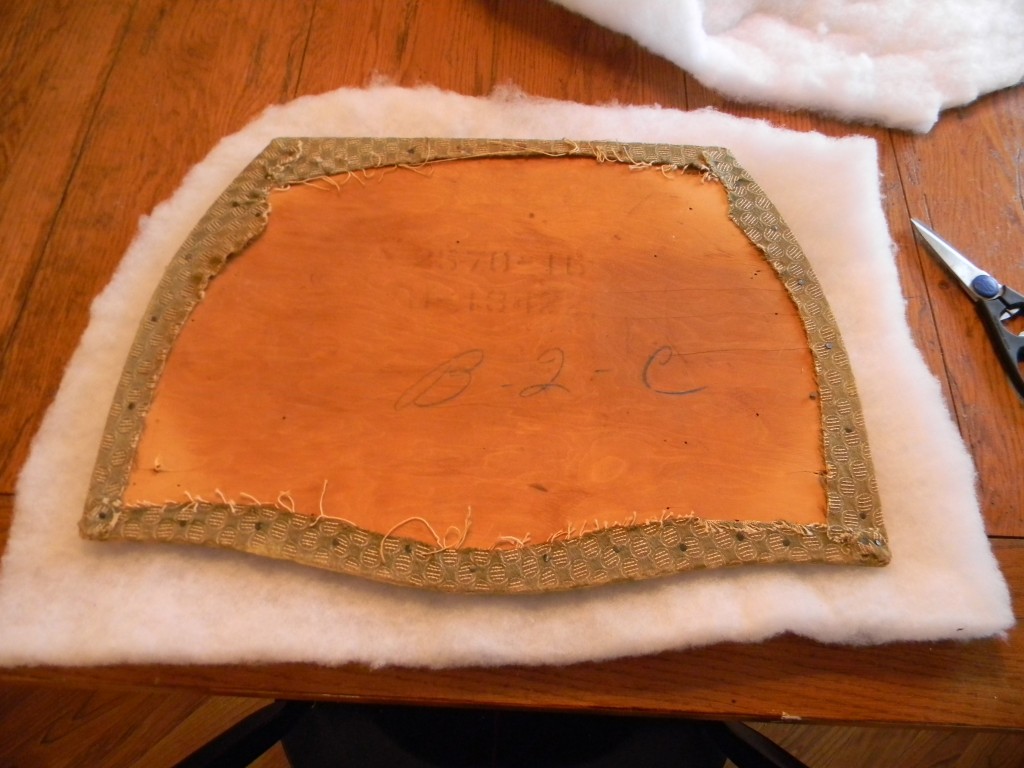
Remove the top layer of old fabric.
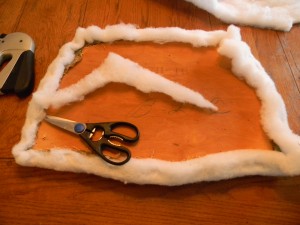
To add a little more cushion to the stool, put a piece of batting under the cushion.
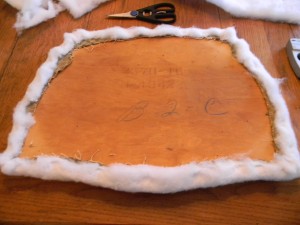
Pull batting to the bottom of the seat and staple along one side.
On opposite side, pull batting taunt and staple.
Repeat on sides.
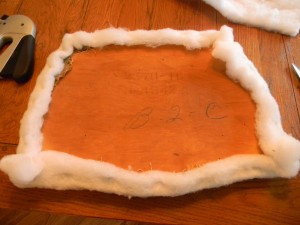
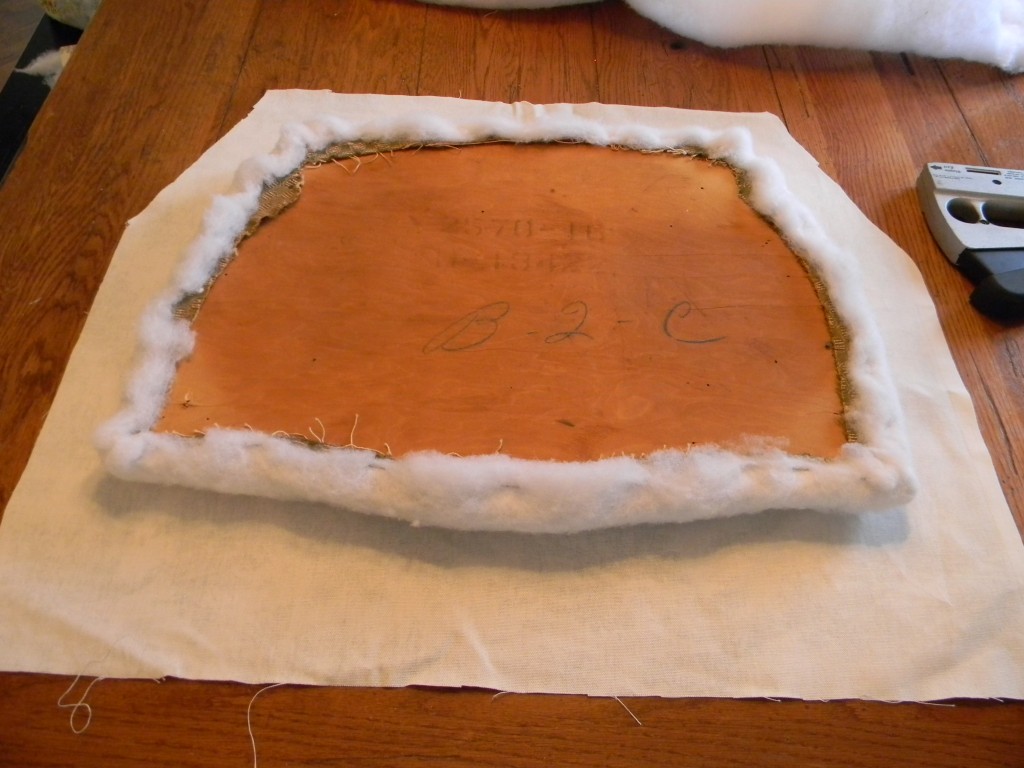
Pull in corners and staple.
Trim excess batting.
Lay your fabric face down on the table, make sure it is going in the correct direction if applicable.
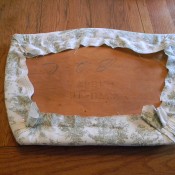
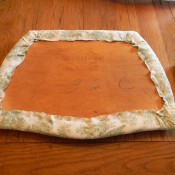
Staple your fabric the same way you did the batting and trim.
To one up a trash to treasure makeover, I recommend adding a contrasting piping to make it look extra special!
See HOW TO MAKE PIPING step by step instructions in Runner Tutorial.
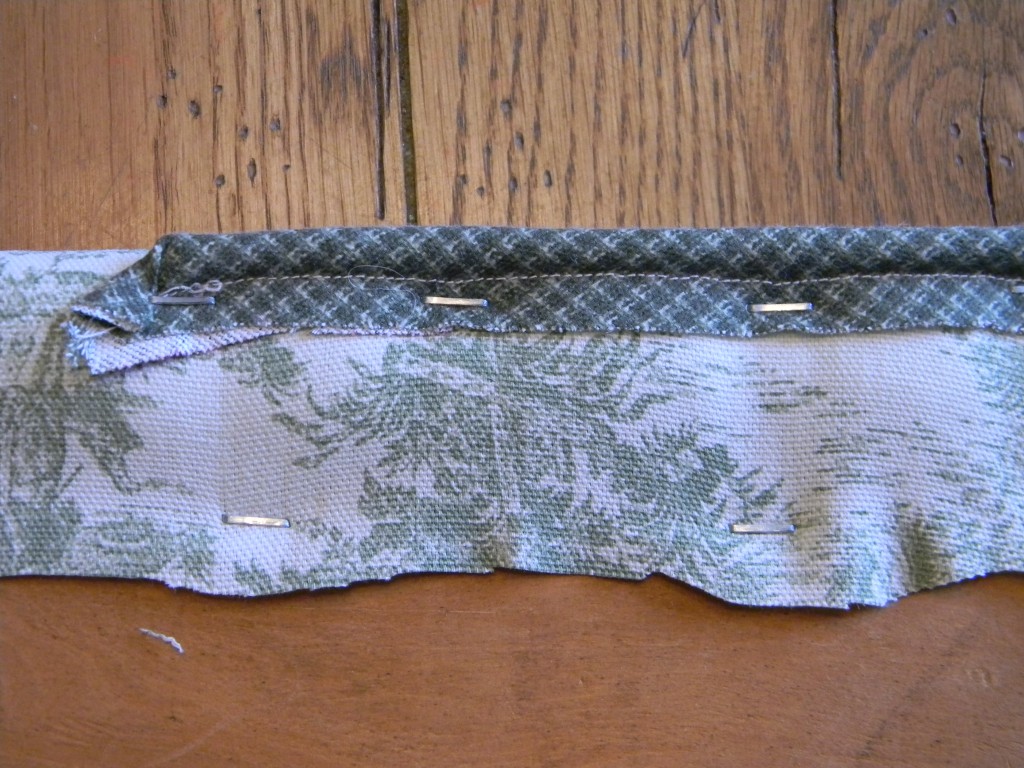
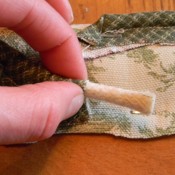
Push 1/2″ of the piping out the end of green fabric and trim so that the beginning of the piping is flat and can be stapled down.
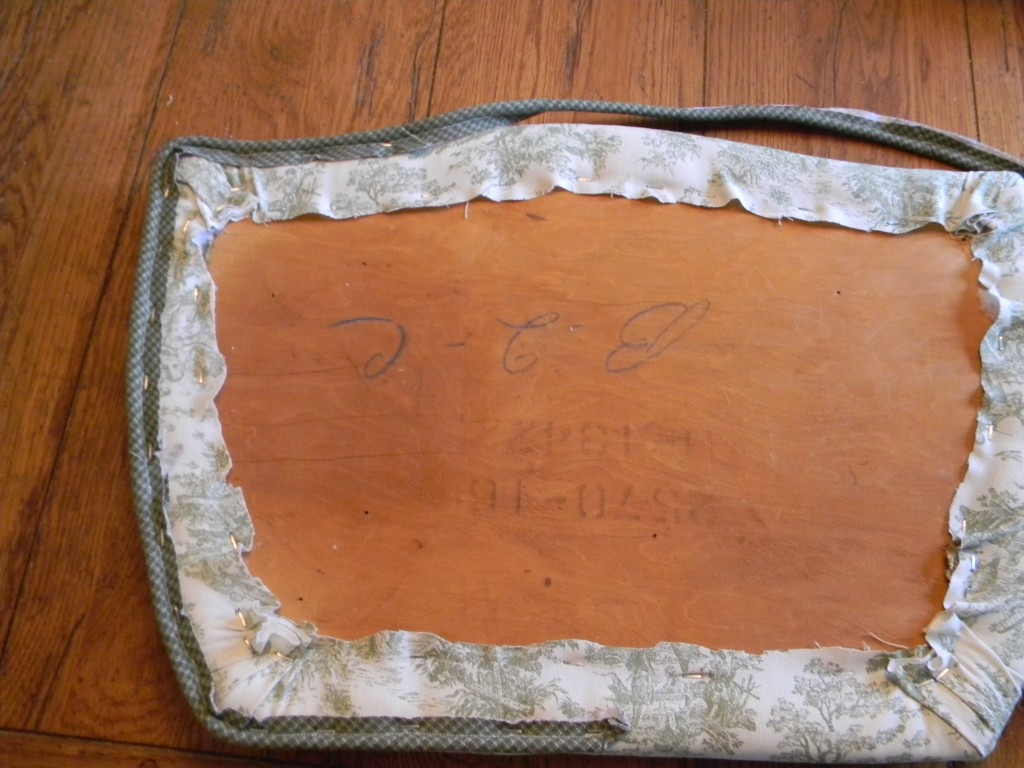
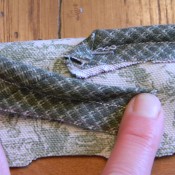
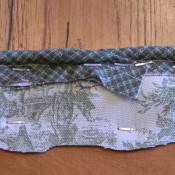
Line up piping so it is just beyond the edge of the bottom of the cushion and staple.
Continue stapling piping around cushion.
When you get to back to where you started, pull out the end of the piping and trim so the end is flat.
Staple it down going a bit past the starting point.
Flip stool over and screw cushion back on 🙂
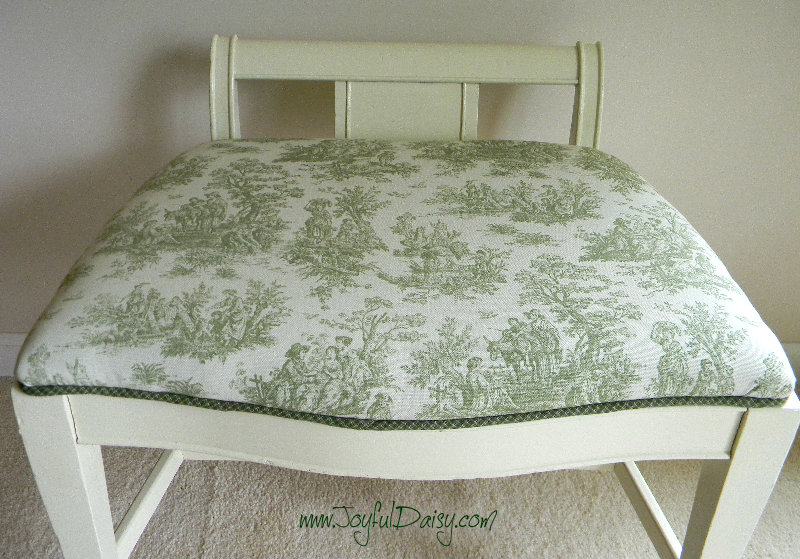
VOILA…makeover complete…”massage” -sanding, a “body polish” – coat of paint, and topped off with a “new outfit” – some great new fabric with contrasting piping 🙂
*************************************************************************************************************
I party at Savvy Southern Style and other great linky parties 🙂

