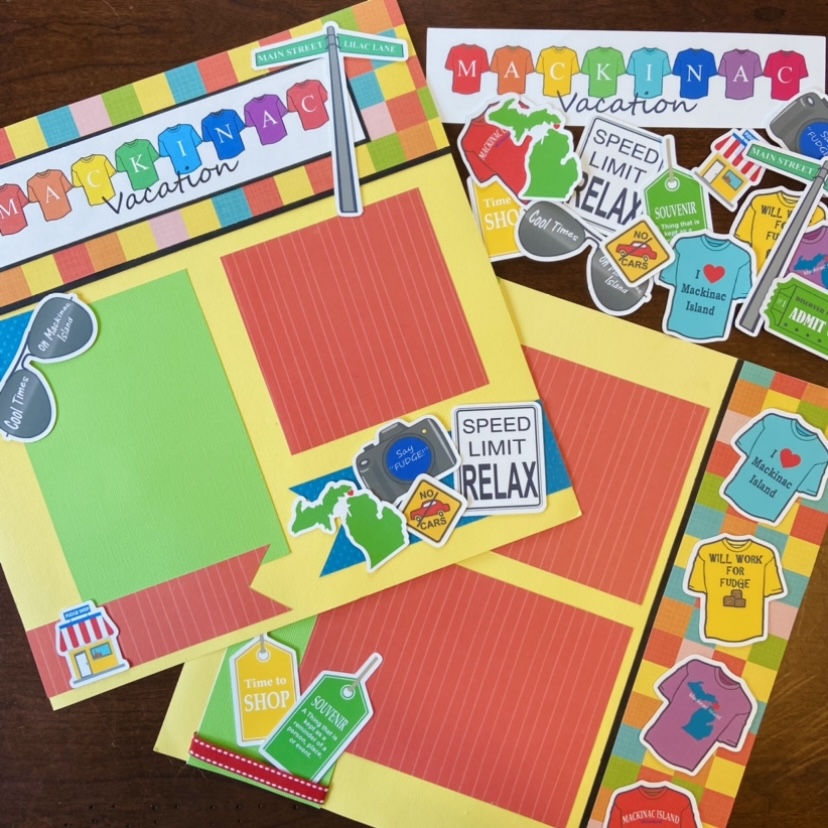
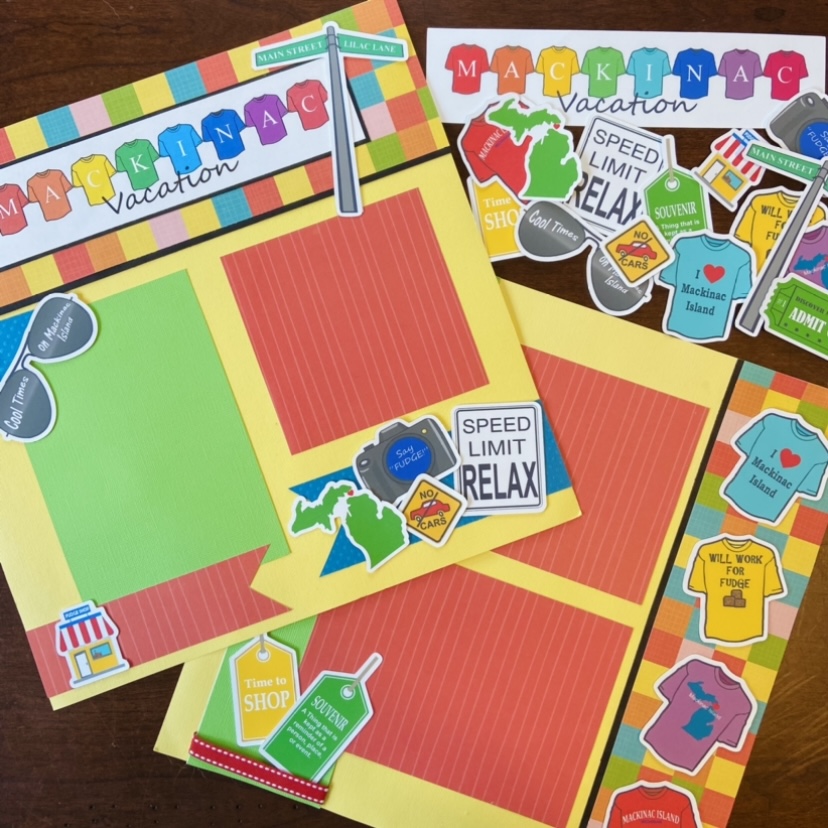
Time to whip up some fun colorful scrapbook pages to feature your favorite Mackinac Island photos. We had such fun designing this whimsical die cut collection to create and embellish the most stylish Mackinac Island scrapbook pages and projects. Sorry about the quality of the photos. It is clear am a crafter not photographer:)
***************************************************************
GATHER YOUR SUPPLIES…
2 – 12″ x 12″ yellow cardstock
1 – 12′” x 12″ lime cardstock (3″ x 12″ piece, 4 1/2″ x 6 1/2″ piece)
1- 12″ x 12″ black cardstock (two 1″ x 12″ pieces, extra piece to mat Mackinac Vacation title piece)
1- 12″ x 12″ piece of blue cardstock (1″ x 12″ piece, 2″ square piece)
1 – 12″ x 12″ lined red paper (two 4 1/2″ x 6 1/2″ pieces, 4 1/2″ square piece, 1 1/2″ x 5″ piece) FROM THE HOOT HOOT PAPER STUDIO LINE @ Hobby Lobby
1 – 12″ x 12″ colorful checkered paper (2 3/4″ x 12″ piece, 3 1/2″ x 12″ piece) FROM THE HOOT HOOT PAPER STUDIO LINE @ Hobby Lobby
9″ of ribbon (4″ and 5″ piece)
6 small round orange brads
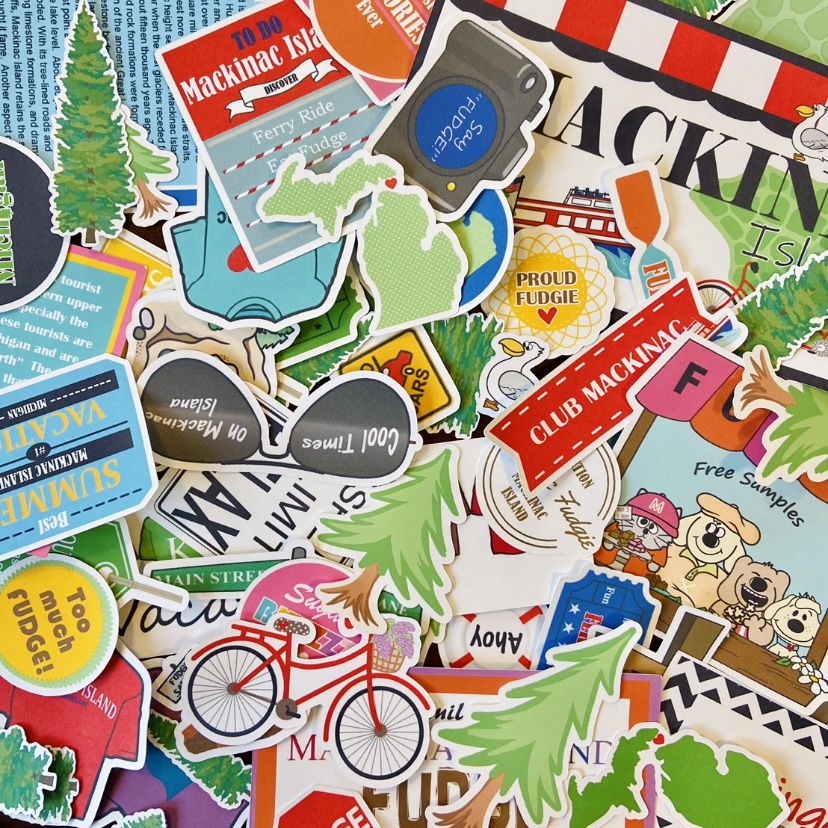
Mackinac Island Die cuts or PRINTABLE Mackinac Island Die Cuts
TOOLS: Paper trimmer, scissors, tape gun or glue, dimensional tape or pop dots
***************************************************************
OK, LET’S GET STARTED SHALL WE?!!!
PAGE ONE:
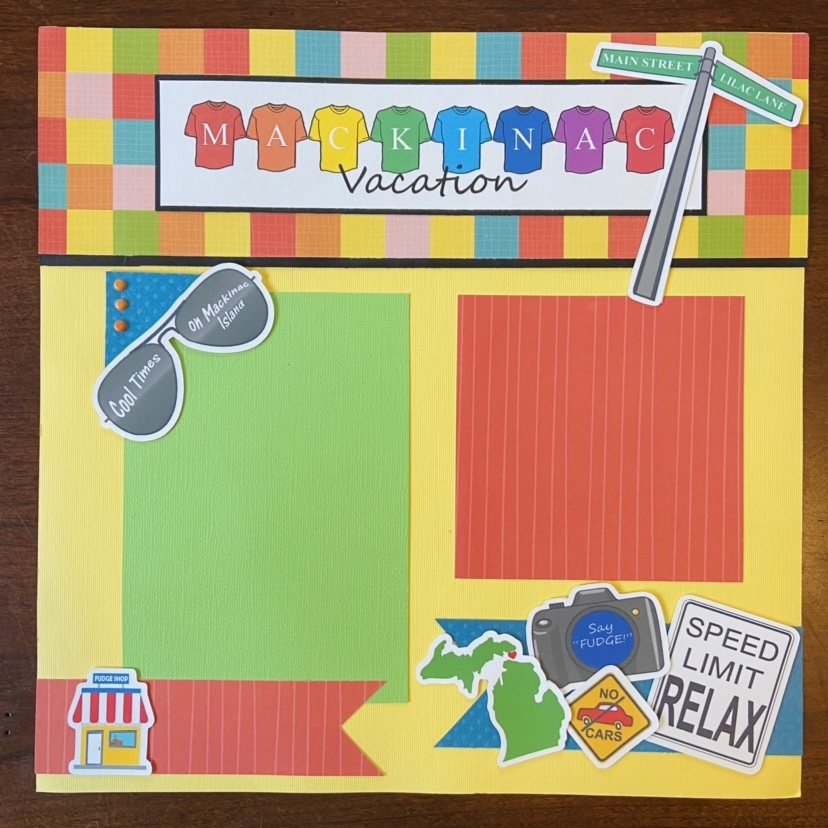
Run adhesive down one of the 12″ sides of the black 1″ x 12″ paper and adhere this strip to the bottom of the 12″ x 3 1/2″ piece of colorful checkered paper leaving about 1/8″ visible. Adhere to the top of yellow 12″ x 12″ paper. This little bit of black really helps the pages pop. I love adding bits of black to my paper projects and in decorating. 🙂
Adhere Mackinac Vacation title piece to a piece of black cardstock creating a 1/8″ matting around it. Adhere to the middle of the checkered strip.
Adhere the 4 1/2″ x 6 1/2″ lime piece approximately 1 1/4″ from the bottom and 1 1/4″ from the left edge of the yellow page. Line up the 4 1/2″ red square piece with the top of the lime mat and in approximately 1″ from the right edge and adhere to page.
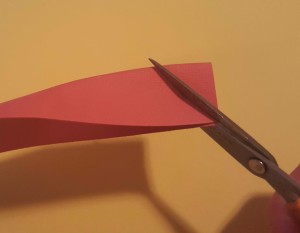
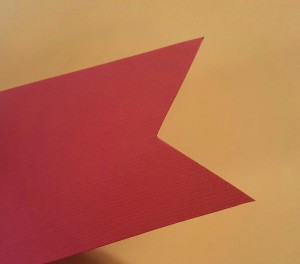
Gently hold the lengthwise edges together on one end of the 5″ x 1 1’/2″ red piece of paper and cut as shown above to create dove tail. Repeat past step on the 4 1/2″ x 2″ piece of blue paper and on the 6″ x 2 1/2 ” piece of blue paper. Adhere the red dove tail piece to bottom left edge of the yellow 1″ x 12″ page approximately 1/4″ up from bottom.
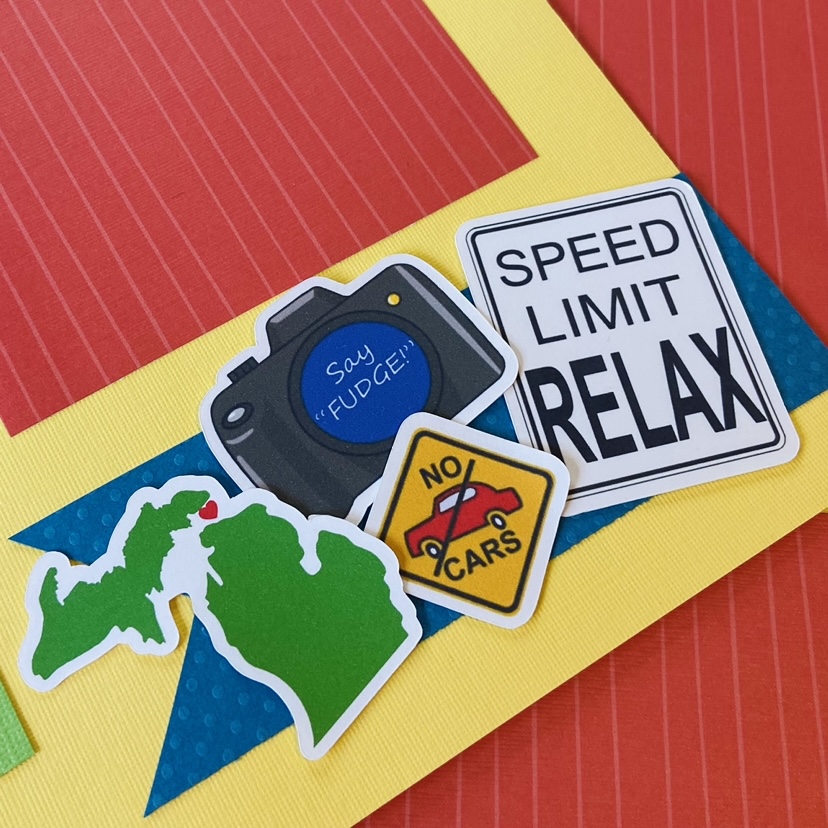
Adhere the 6″ dove tail blue piece to the right edge of yellow 12″ x 12″ page approximately 1/2″ from bottom edge. Add the die cuts shown above slightly overlapping each other.
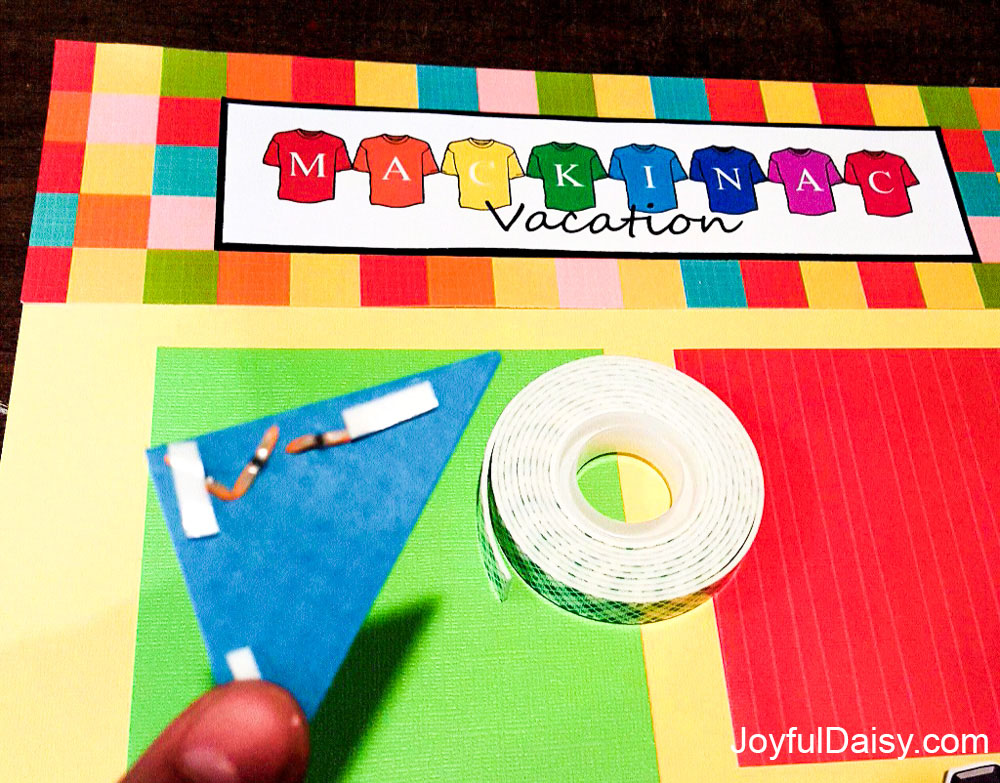
Cut the 2″ blue square piece of paper in half corner to corner creating two triangles. Add three brads to each triangle along one edge starting at the corner. Adhere the sunglasses die cut to the bottom edge of one of the triangles.
Add dimensional tape or pop dots to the edges of triangles and adhere to page 1/4″ above and to the left of green mat.
Finish page one by adding the Main Street sign die cut to the right of the title piece and add the small fudge shop die cut to the bottom red dove tailed piece.
AND NOW TO COMPLETE PAGE 2 🙂
Run adhesive down the 12″ side of the last black 1″ x 12″ paper and adhere this strip to the side of the 12″ x 2 3/4″ piece of colorful checkered paper leaving about 1/8″ visible. Adhere to the side of last yellow 12″ x 12″ paper.
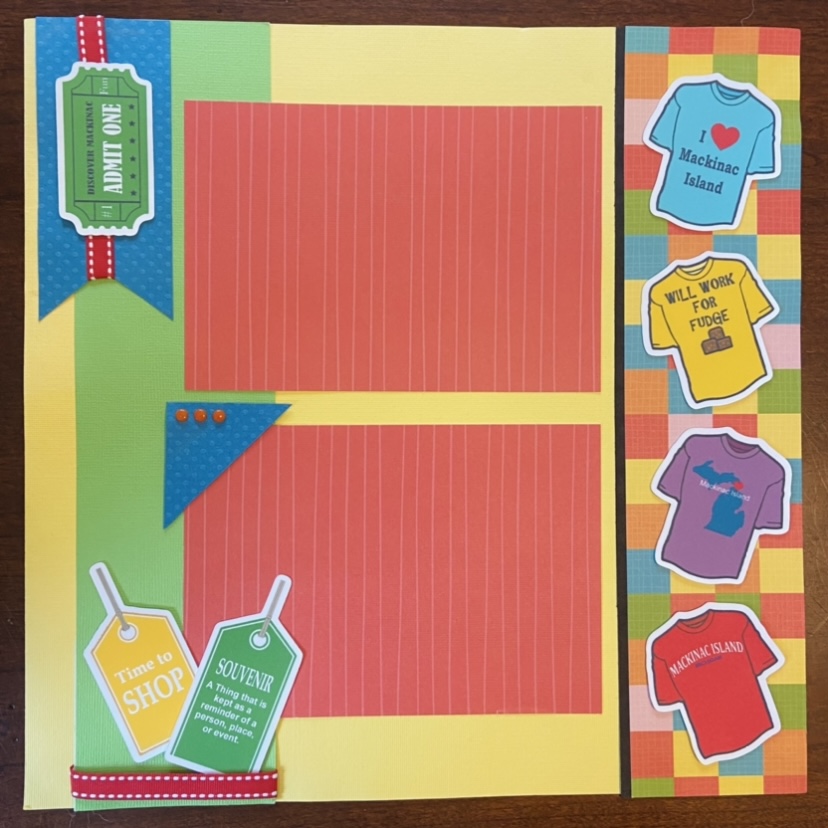
Wrap 4″ strip of red ribbon around one of the ends of the 3″ x 12″ piece of lime paper and adhere ends to the back. Adhere this lime strip of paper on the left edge approximately 3/4″ in.
Adhere one 4 1/2″ x 6 1/2″ piece of red paper approximately 1 1/4″ up from bottom and 2 1/4″ from left edge. Adhere another 4 1/2″ x 6 1/2″ piece of red paper 1/2″ above the first red mat.
Add three more brads to the blue triangle piece and adhere to page 1/4″ above and to the left of the bottom red mat using dimensional tape.
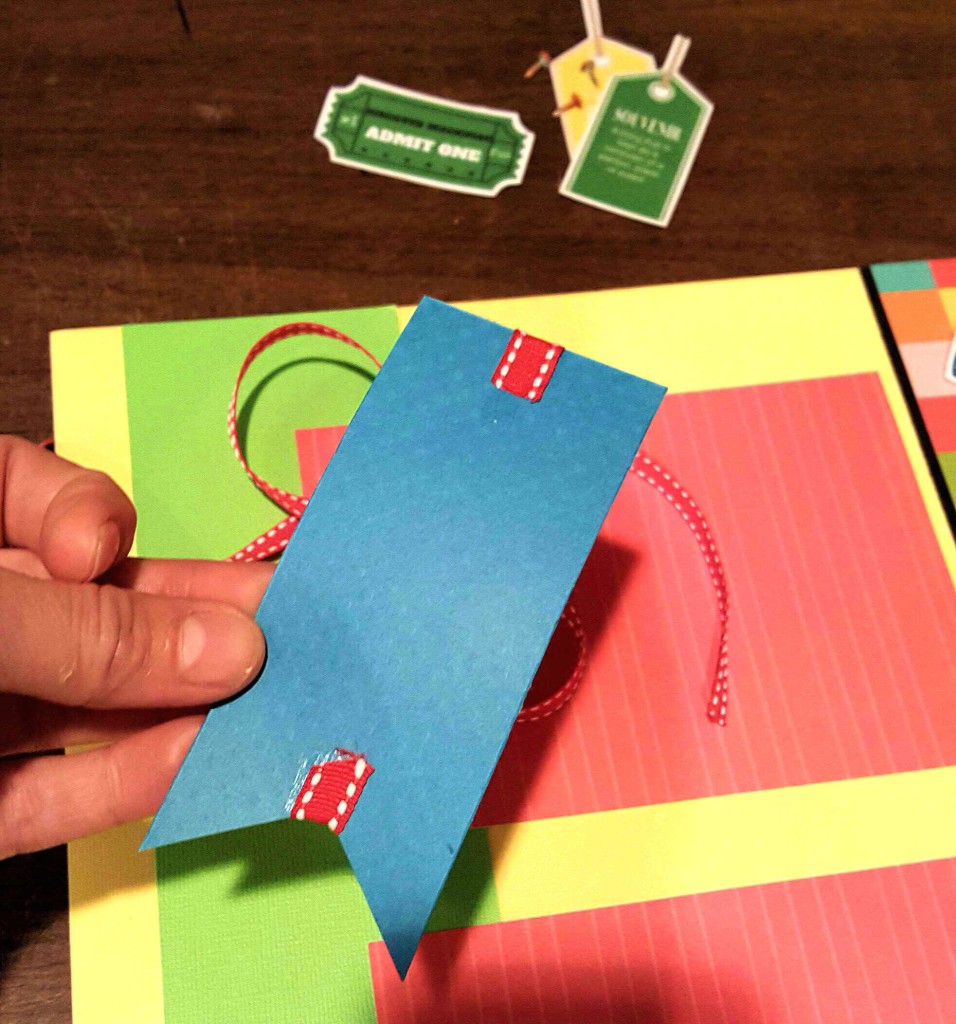
Wrap 5″ of ribbon around the 2″ x 4 1/2″ blue dove tailed piece and adhere to top of page 1/4″ in from left edge.
To finish the 2nd Mackinac Island scrapbook page just adhere the four Mackinac Island t-shirt die cuts on the right side of page, add the green ticket die cut to the top left, and add the two tags to the bottom left.
VOILA! YOU ARE DONE!
Thanks for scrapping with me, see you soon 🙂
