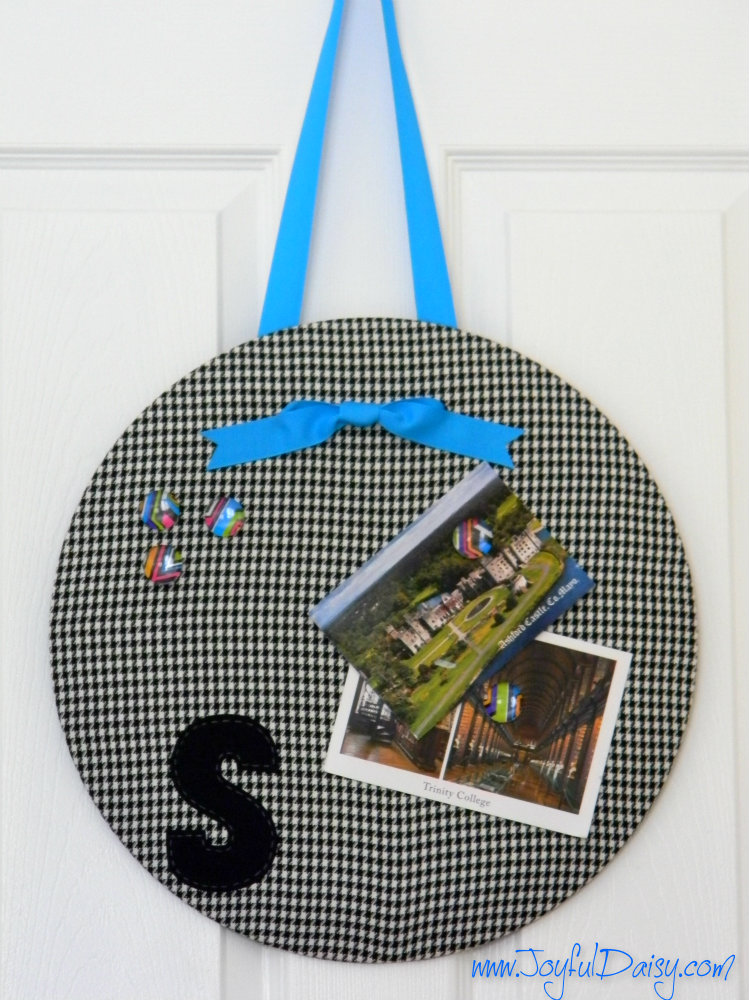
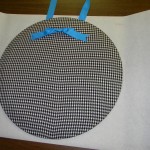
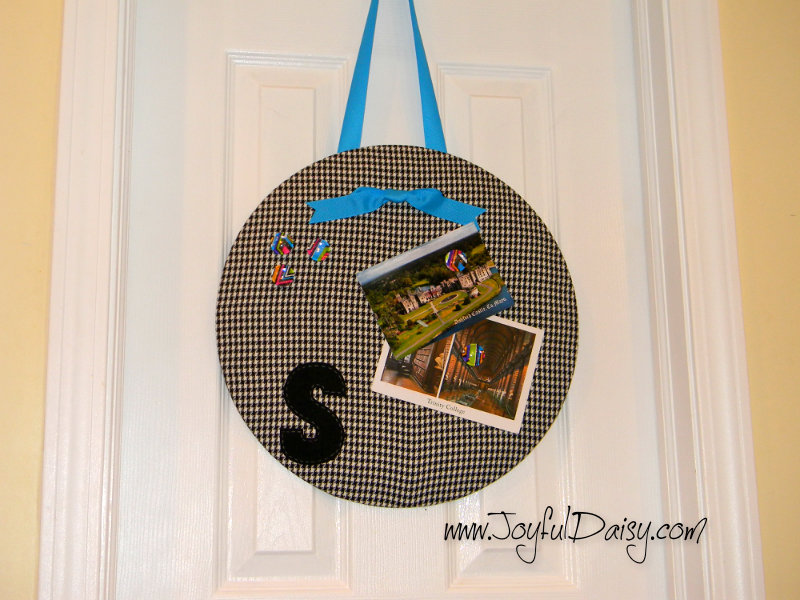
This is a simple yet adorable magnet board that you can customize to highlight any décor. Gather a few supplies and then have fun choosing your fabric and ribbon.
SUPPLIES…
Pizza pan or cookie sheet
( This project was done with a 16″ pizza pan)
Fabric
(One piece 7″ wider and longer then the pan you are covering)
(One piece size of pan, to cover back of pan. Felt would work nicely too)
(One piece for initial embellishment)
 Heat and Bond
(One piece the size of pan and one piece to put on the back of the fabric for the initial)
Ribbon 2 yards grosgrain 1″-2″ thick
(I used 1″ wide ribbon, however, I think I would have liked the 2″ wide ribbon better)
White Pencil
(For outlining initial)
Drill and 1/4″ bit
Sander or sandpaper
Scissors
Glue gun
Newspaper
Ruler
Marker
INSTRUCTIONS…
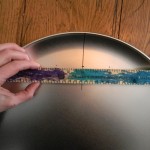
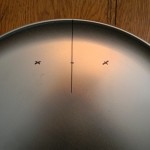
 If you are using a round pan, trace pan on newspaper and cut out. Fold cut out circle in half and lay on pan so you can mark a center line on pan.
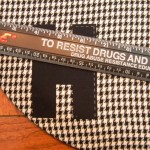
Measure down 2 1/2″ and then make an “x” mark 2″ to the left and right of this mark.
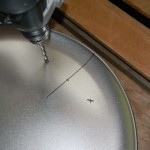
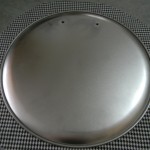
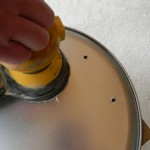
Drill holes through both “x’s”
Sand any rough edges created by drilling the holes.
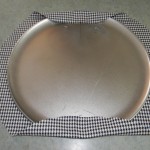
Lay pan on fabric and cut out about 3″ from the edge of pan.
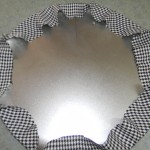
Using hot glue gun, adhere the fabric at the top of pan and then pull taunt and glue fabric at the bottom. Glue fabric on the right and then pull taunt and glue on the left. Continue adhering fabric to pan by gluing one side and then pulling taunt and gluing the opposite side until fabric is all glued down.
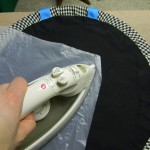
Iron heat and bond unto fabric for the back to be used on the back of the pan.
Lay pan on heat and bonded fabric and trace.
Cut out traced circle about 2″ in from traced line.
Remove backing from heat and bond and iron to back of magnet board.
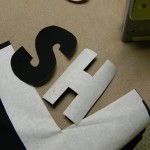
Draw or print out the letters to trace.
Apply Heat and Bond to the back side of fabric to be used for initial.
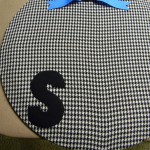
Trace the wrong side of letters onto the heat and bond. Cut out, remove heat and bond paper and iron onto pan.
Using a sharp white pencil, make stitch marks along the edge of letters.
Cut a small whole in the fabric where holes were drilled in the pan.
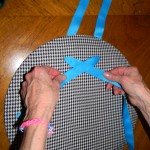
Thread ribbon through one hole in the front of the magnet board to the back. Leaving as much ribbon as you desire for hanging, thread the ribbon through to the front of the magnet board.
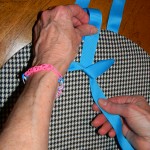
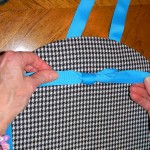
Cross right ribbon over left. Then thread that ribbon up and under the ribbon on the left and then bring it down over the top of the other ribbon.
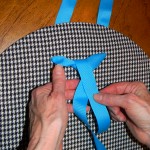
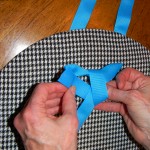
With that same ribbon, bring it under the ribbon that is now on your left. Then pass that ribbon back to the right through the loop that you just made.
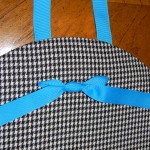
Pull ends to make a nice knot in the middle and trim ends.
Add some cute magnets and some of your favorite items to display:)
