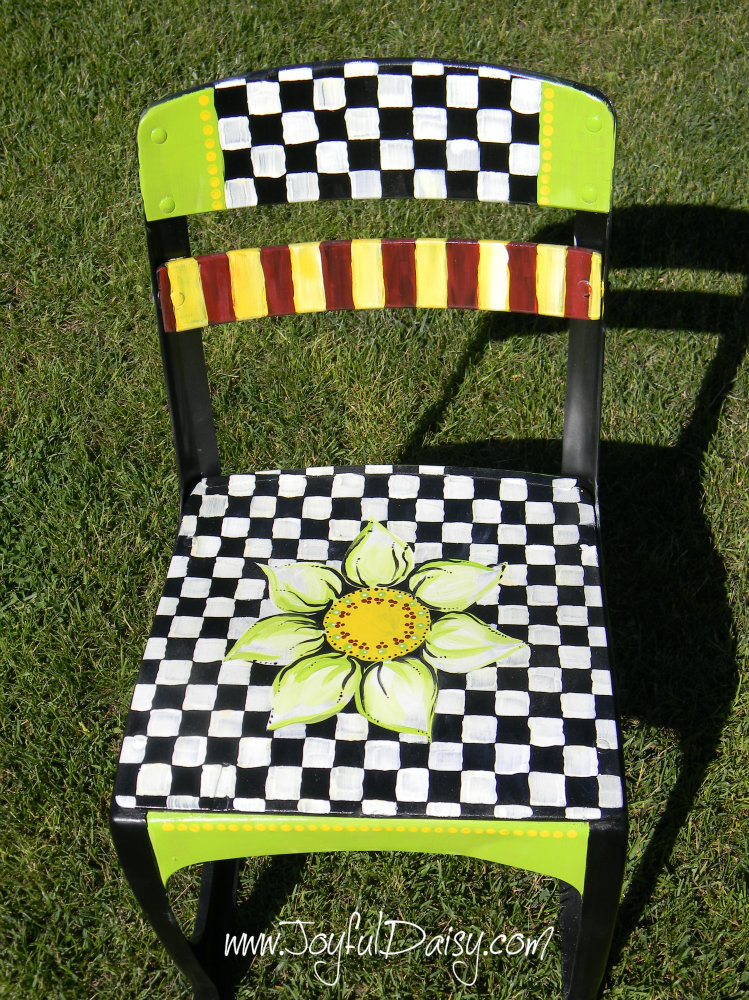
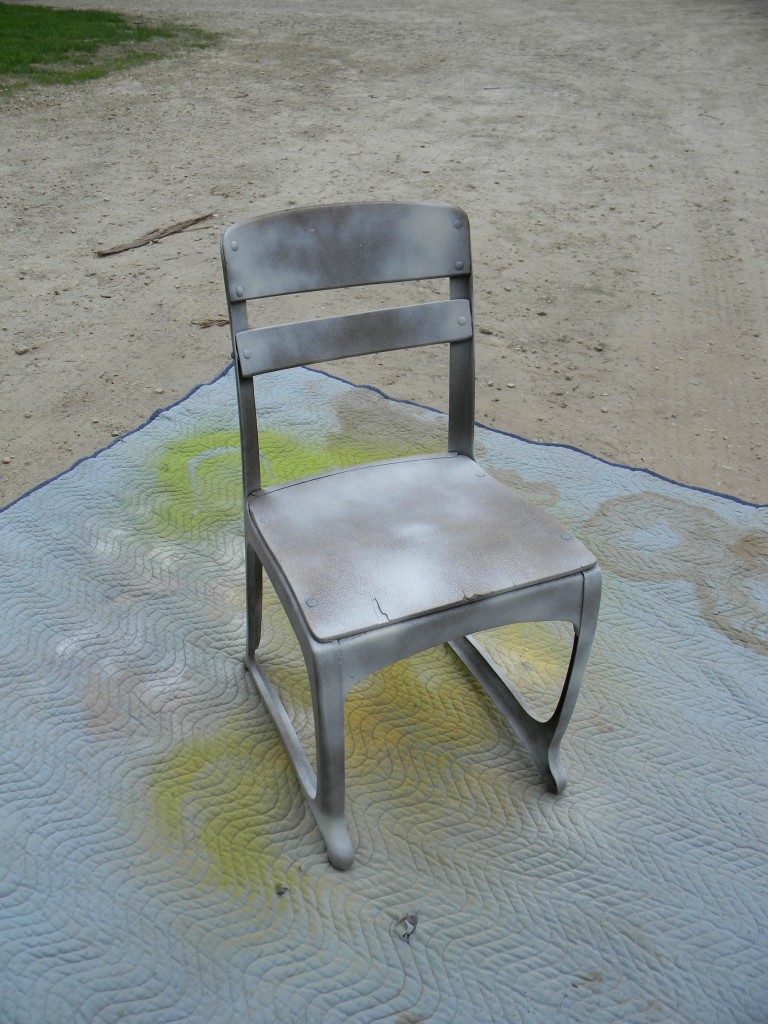
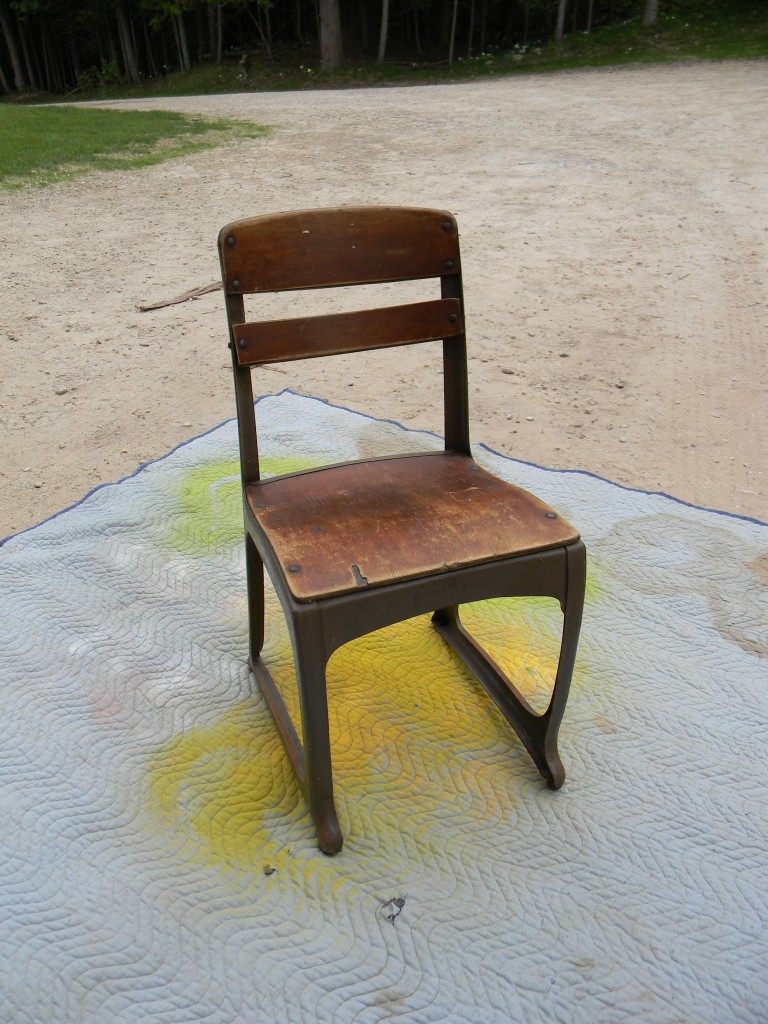
This is a true trash to treasure project. Trash? Yes, it came out of a pile of trash and into my craft room for a Mackenzie Childs makeover! And now I cannot wait to find another one! Want to see the before?…
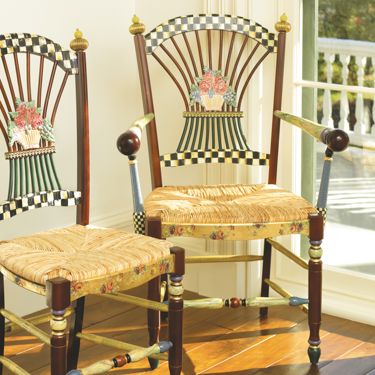
 And now for a little inspiration…
Ok, so my chair is a little different style. It is still a chair worthy of a makeover with whimsical potential. Just look at how much inspiration you can draw from these chairs. Of course I love the checkerboard, multi use of colors and addition of flowers, I was just thinking more along the stylized daisy/sunflower route rather then roses. Just click on the picture above to bip on over to the Mackenzie Childs website if you want to see more or follow along if you would like to see how easy it was to transform our trashy chair to a whimsical Mackenzie Childs knock off treasure. 🙂
Ok the first and only not so fun part is cleaning up the chair. Just hose it off and let it dry or wipe it down really good.
Apply a light coat of primer. The Kilz primer has a little texture to it that really helps the paint stick.
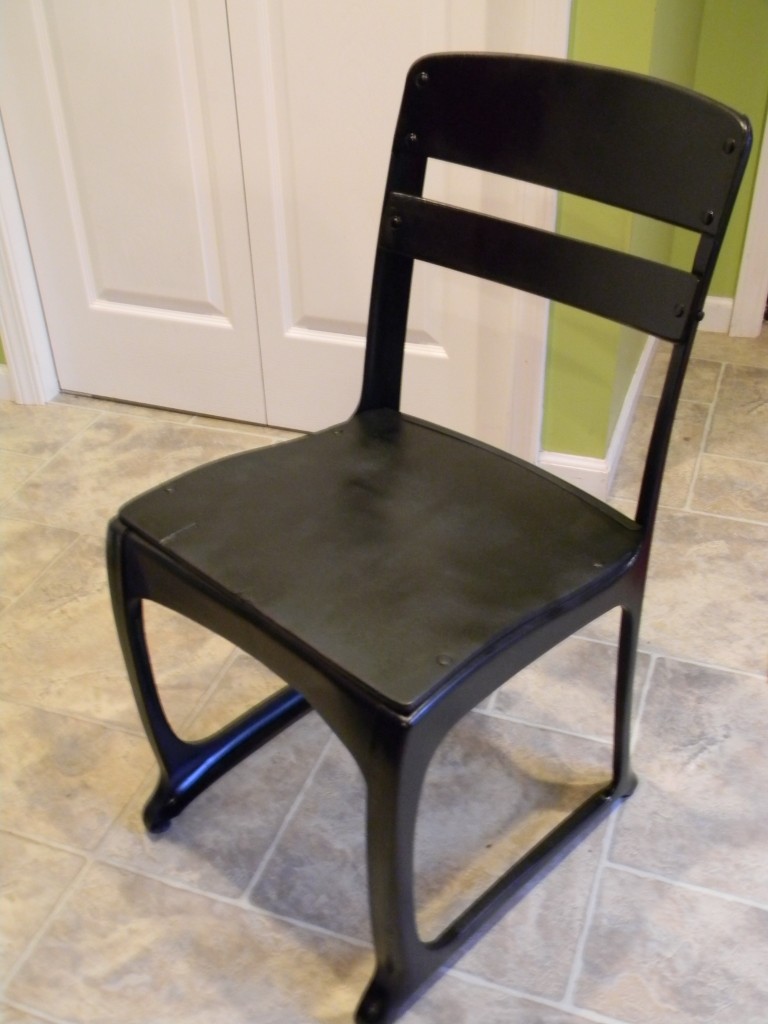
Next I applied two coats of black spray paint letting each one dry before applying the next.
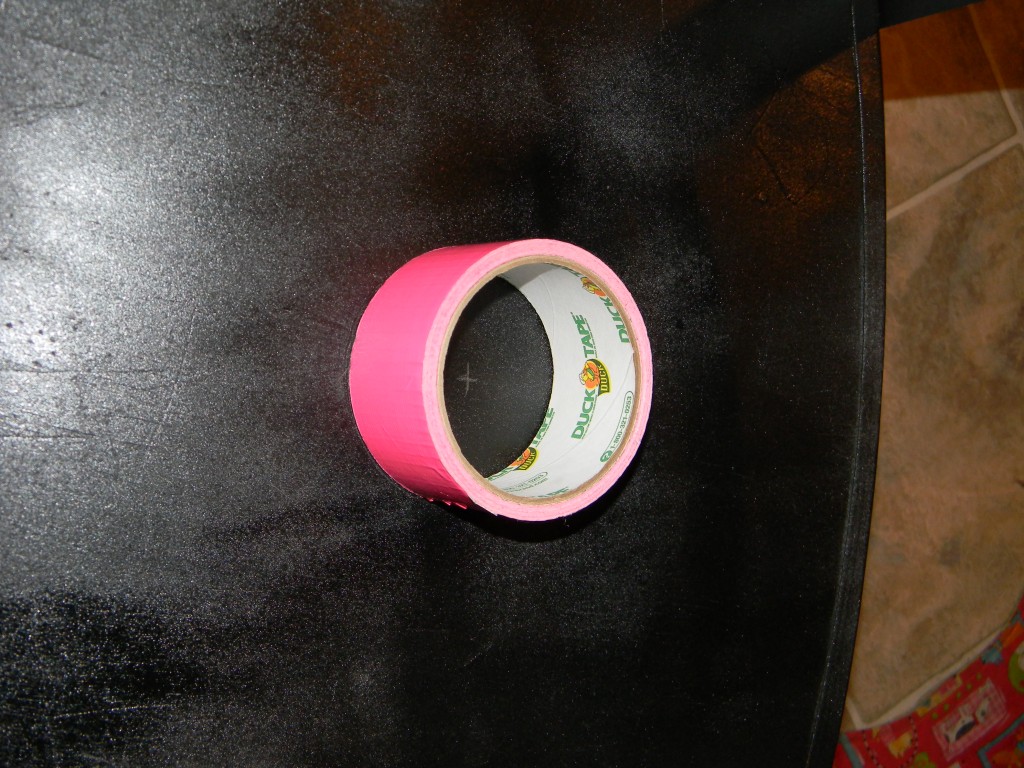
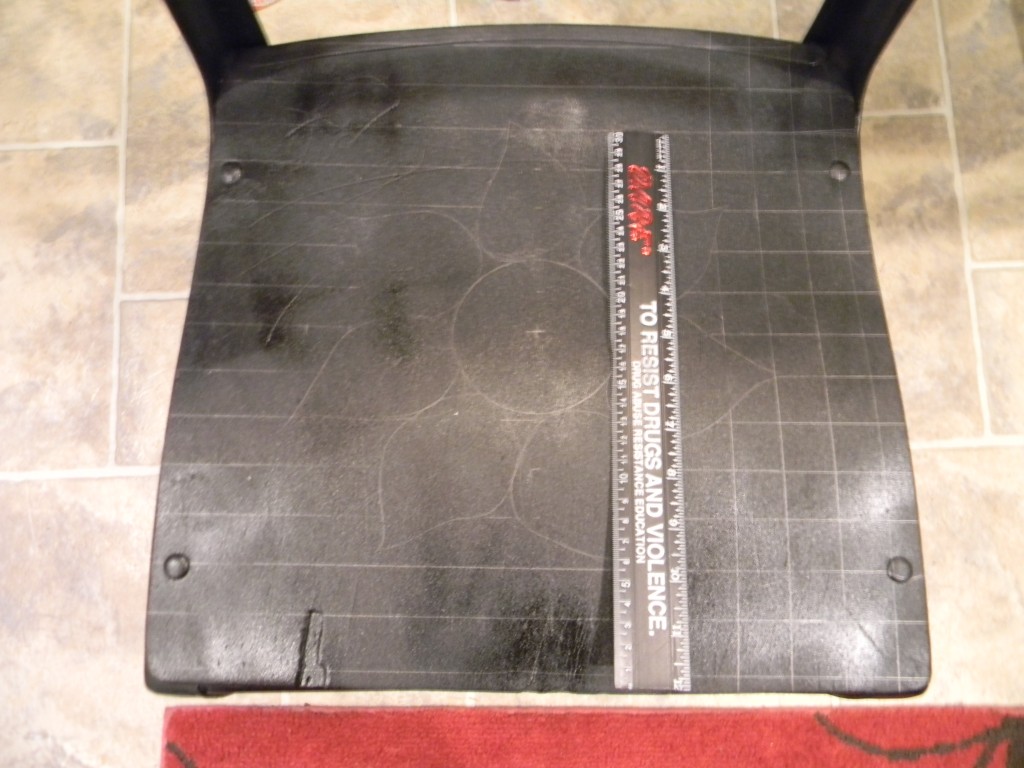
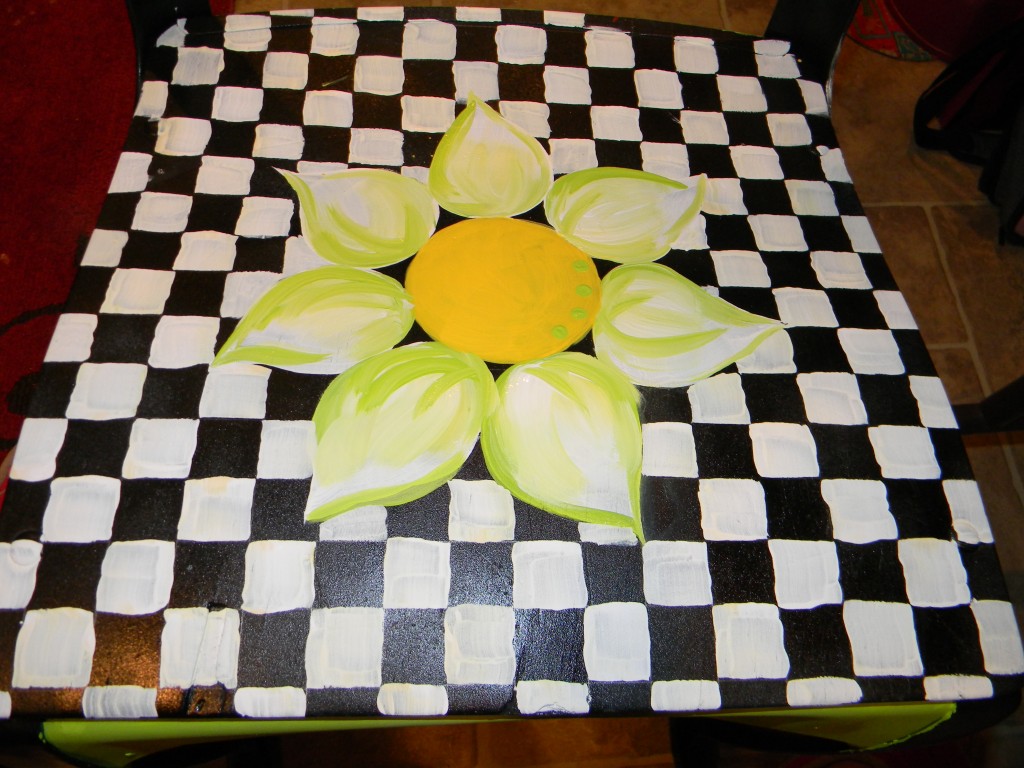
Now for the really fun part…drawing on your design to color in with paint! First I marked the middle of the seat and then grabbed a roll of duck tape to trace a large circle in the middle for my flower.
Next I drew some petals around the circle and then working out from the center, I marked lines 1 inch apart going horizontally and vertically.
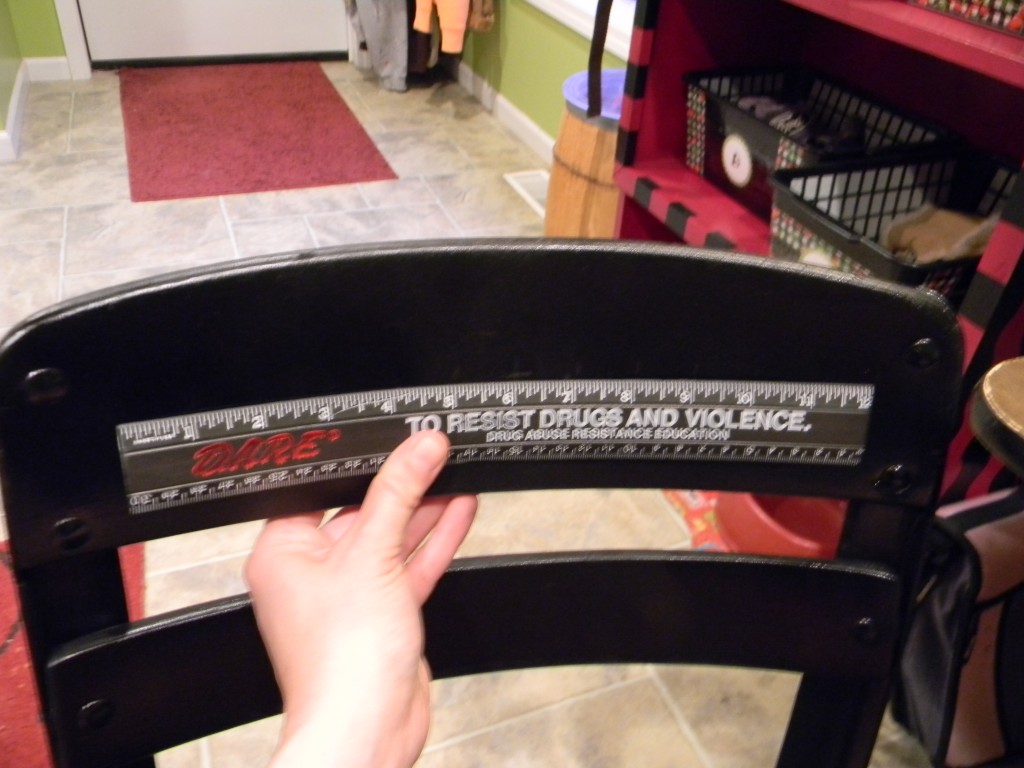
Then with a flexible ruler I also made 1″ marks along the top bar of the chair starting at the center and then making marks horizontally and vertically.
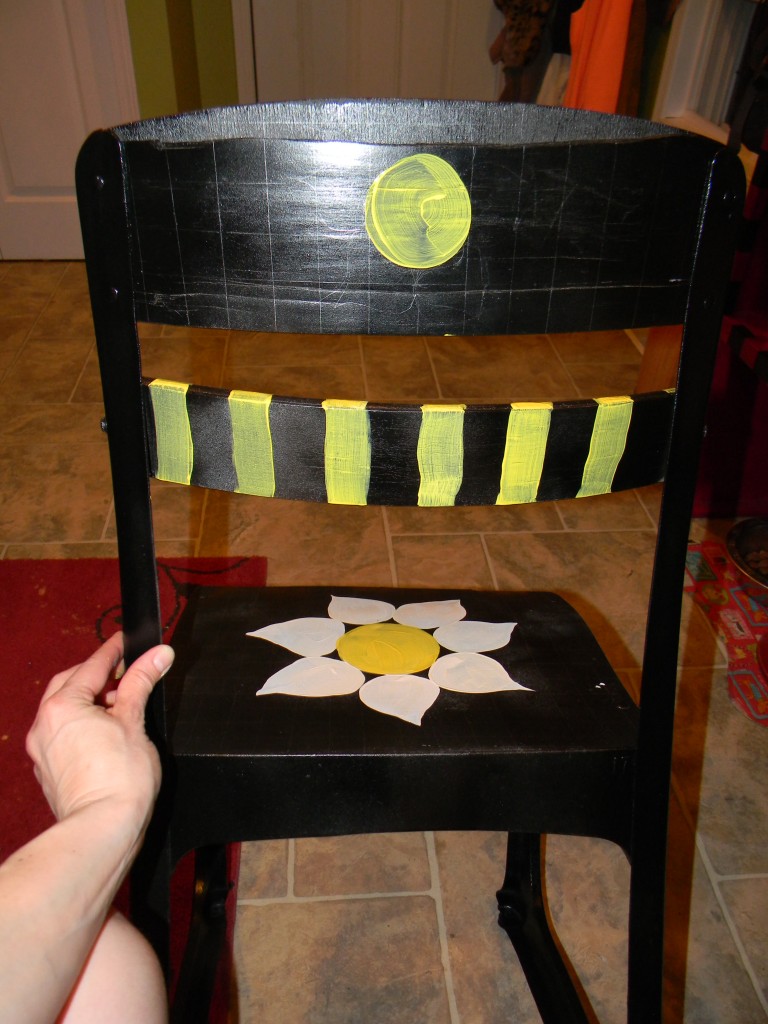
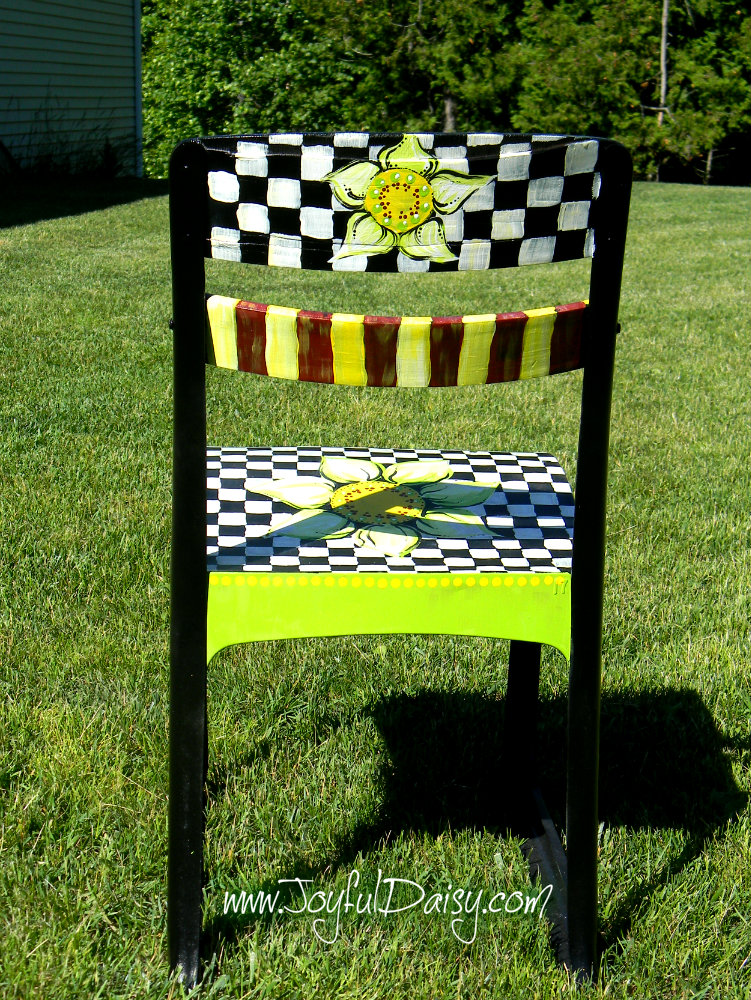
I started coloring in the flower on the seat and then proceeded to the back of the chair where I added some yellow stripes and started a smaller flower.
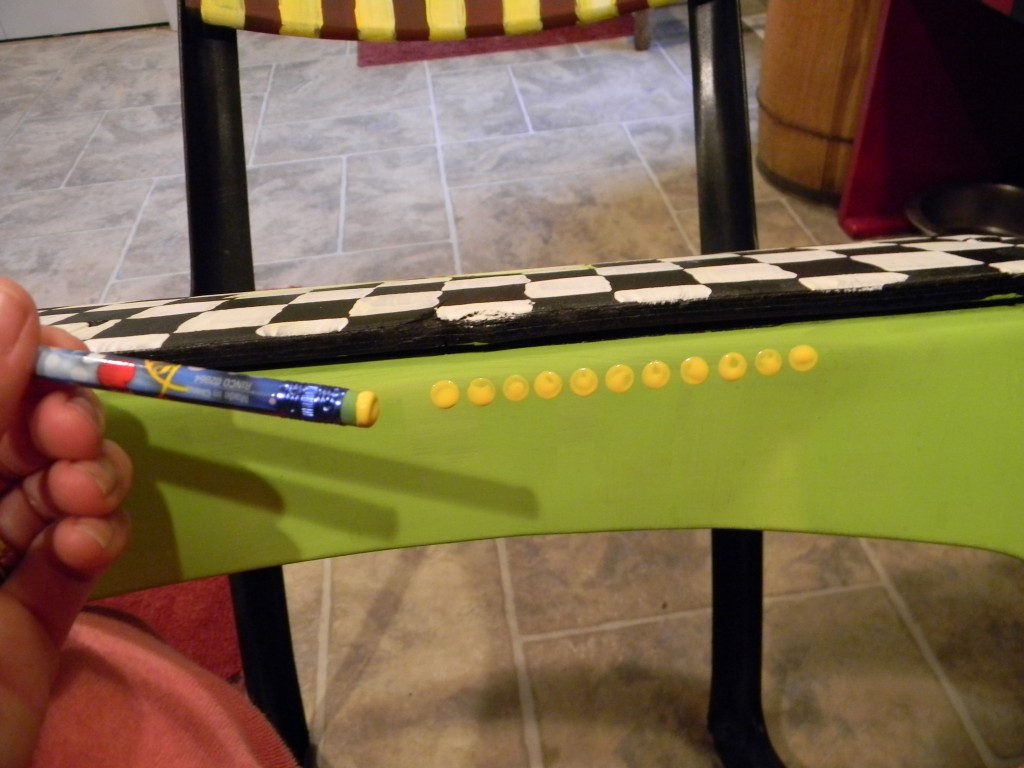
Then using a 1″ brush dipped in white and a little cream, I painted the checkerboard. Next I started adding some lime to the flower petals. Using the eraser end of a pencil and started adding lime polka dots to the center of the large flower.
I also painted some lime green on the front and back of the chair and added some yellow polka dots.
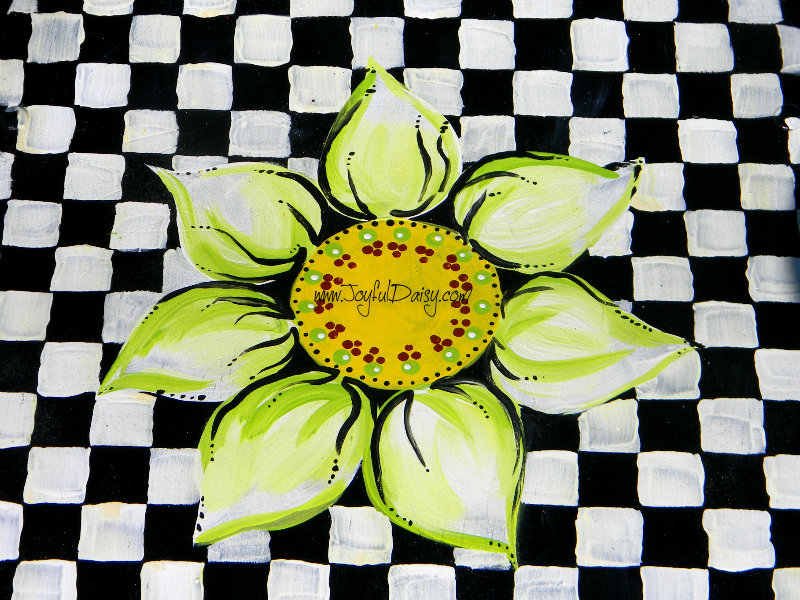
To finish up the seat, I added some white, red, and black dots by dipping the ends of different size brushes into the paint and then simply dotting on chair. I then brushed on some black lines on the leaves and added a few more black dots to add some more interest.
I repeated some of the flower details on the smaller flower on the back of the chair. I also added some red stripes and then with an almost dry brush, lightly brushed a little yellow over the red.
To finish it all off, I added a coat of glossy varnish. Voila!!! Thank you mom for rescuing this chair, it would have been so sad not to give it a new life! Try to see the extraordinary potential in ordinary things 🙂
Cyber hugs,
Amy
KNOCK OFF MACKENZIE CHILDS BIRDHOUSE TUTORIAL
KNOCK OFF MACKENZIE CHILDS TABLE RUNNER TUTORIAL
KNOCK OFF MACKENZIE CHILDS ENAMEL BOARD TUTORIAL
KNOCK OFF MACKENZIE CHILDS ACCENT TABLE TUTORIAL
KNOCK OFF MACKENZIE CHILDS ACCENT LAMP TUTORIAL
KNOCK OFF MACKENZIE CHILDS COOKIE JARS TUTORIAL
 If you enjoyed this post, be sure to sign our email list on the top right hand column. I have a lot more MacKenzie Childs knock offs planned:)
You can also connect with Joyful Daisy on FACEBOOK, GOOGLE, PINTEREST, TWITTER, AND RSS. I would also love it if you shared this project by clicking social link buttons below, sharing is caring 🙂
Thanks for stopping by ![]()
Amy- joyfuldaisyforever@gmail.com
