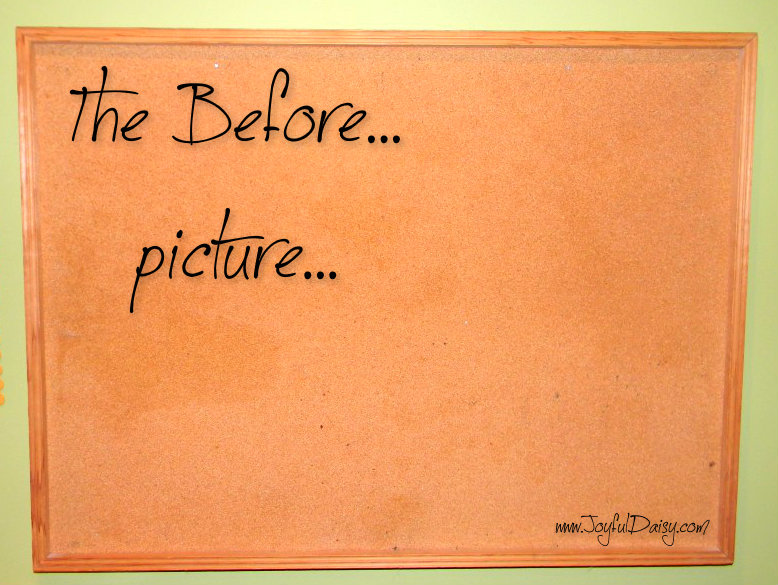
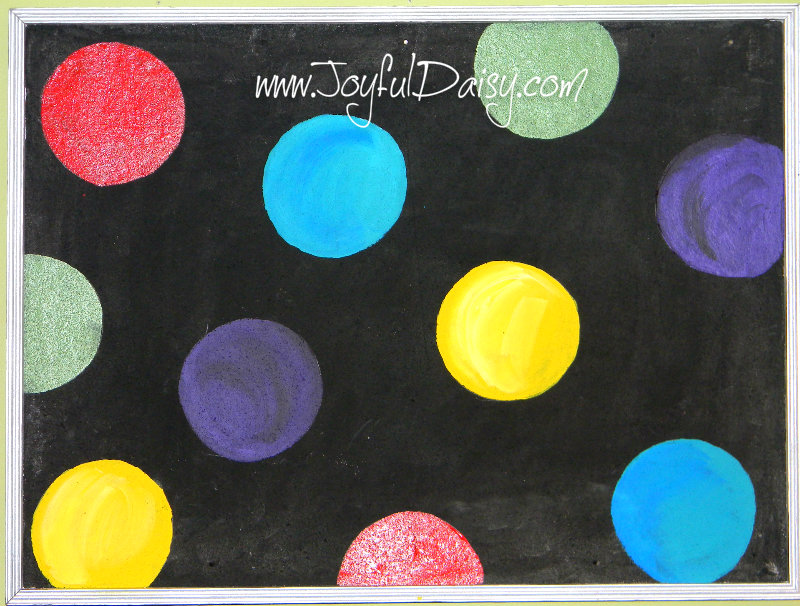
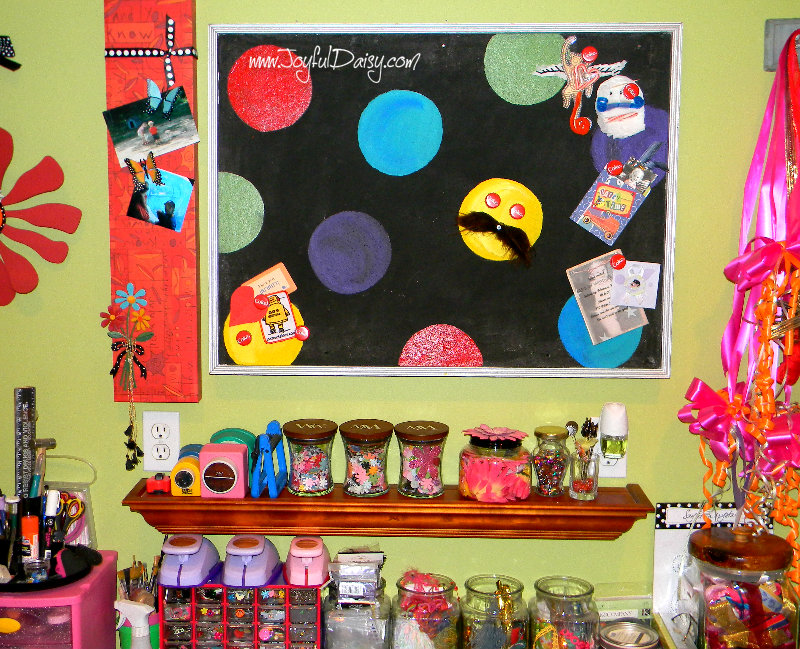
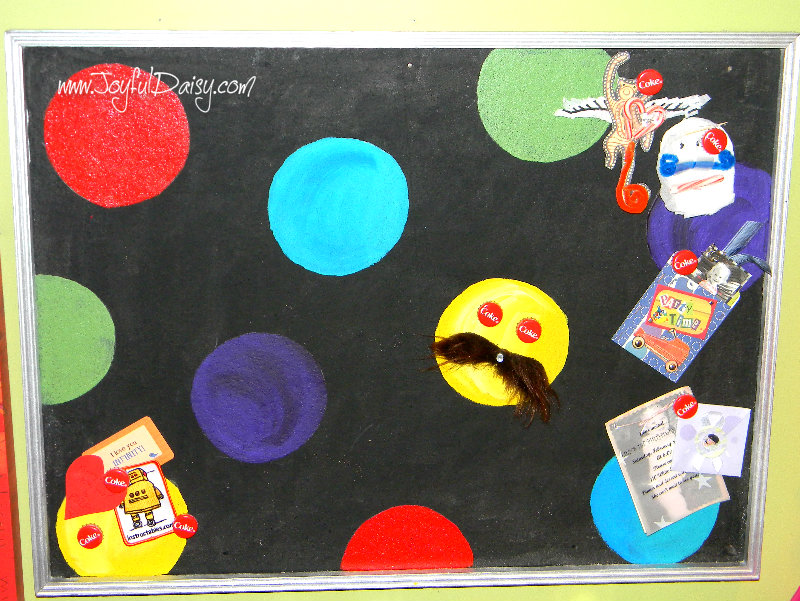
As I was cleaning the craft room or shall I say unburying it, I saw my plain bulletin board staring at me just crying for a makeover! Immediately, I envisioned it’s new look with bright polka dots bouncing off a black background…
Let’s get started…
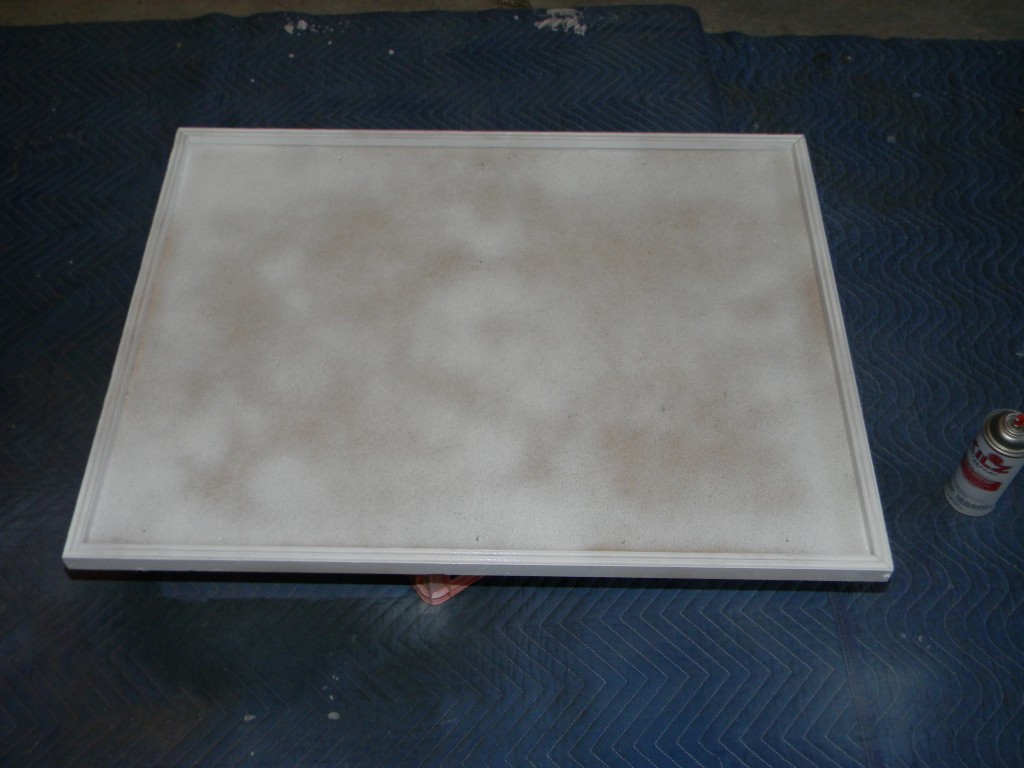
Apply one coat of spray primer to bulletin board. Once that is dry, about 10-15 minutes, spray the outer trim with silver spray paint.
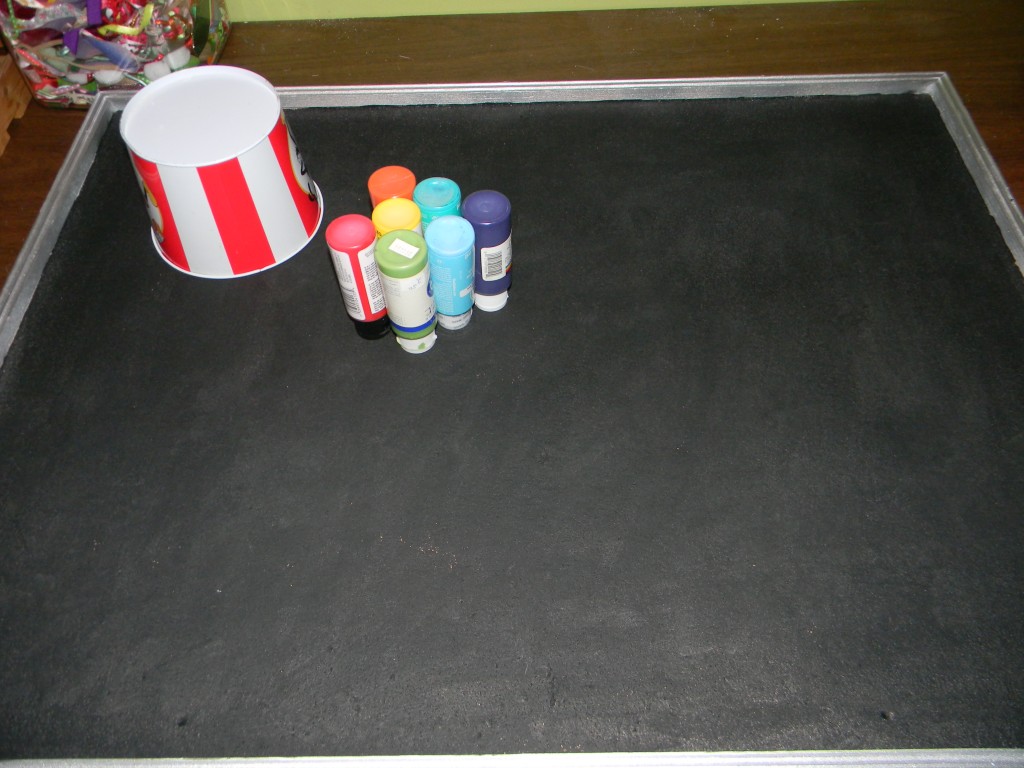
When the silver paint dries, paint bulletin board with black craft paint. While black paint is drying, choose an assortment of bright craft paints and find a container or plate to trace for polka dots.
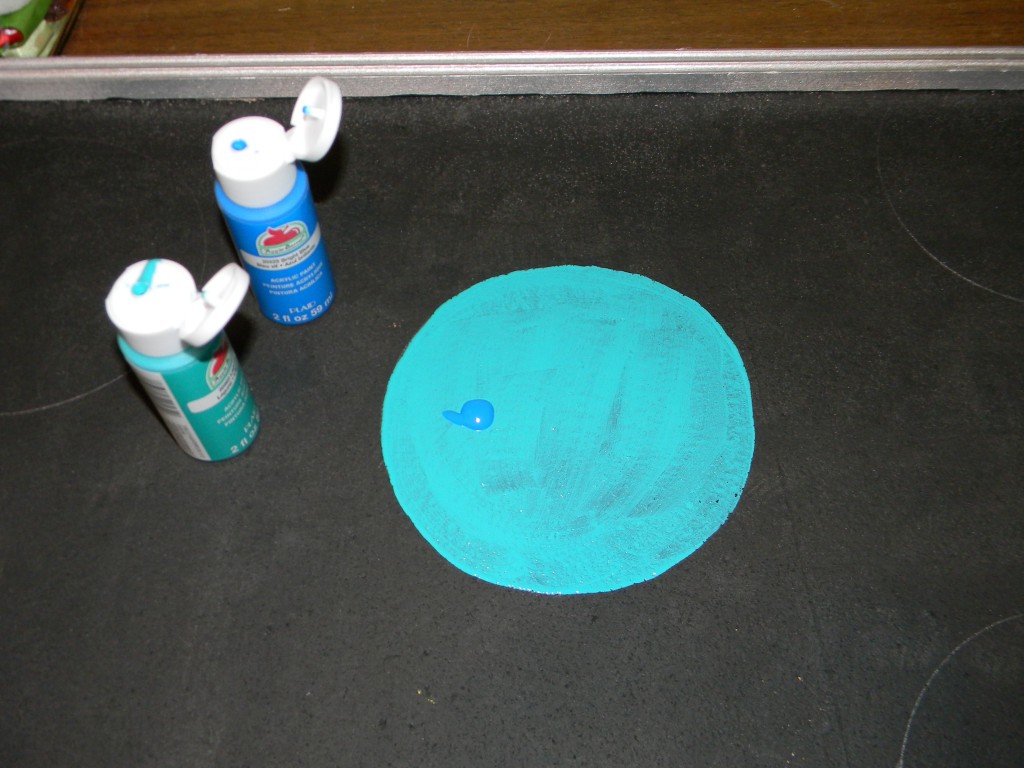
Trace plate or container randomly across bulletin board once black paint is dry.
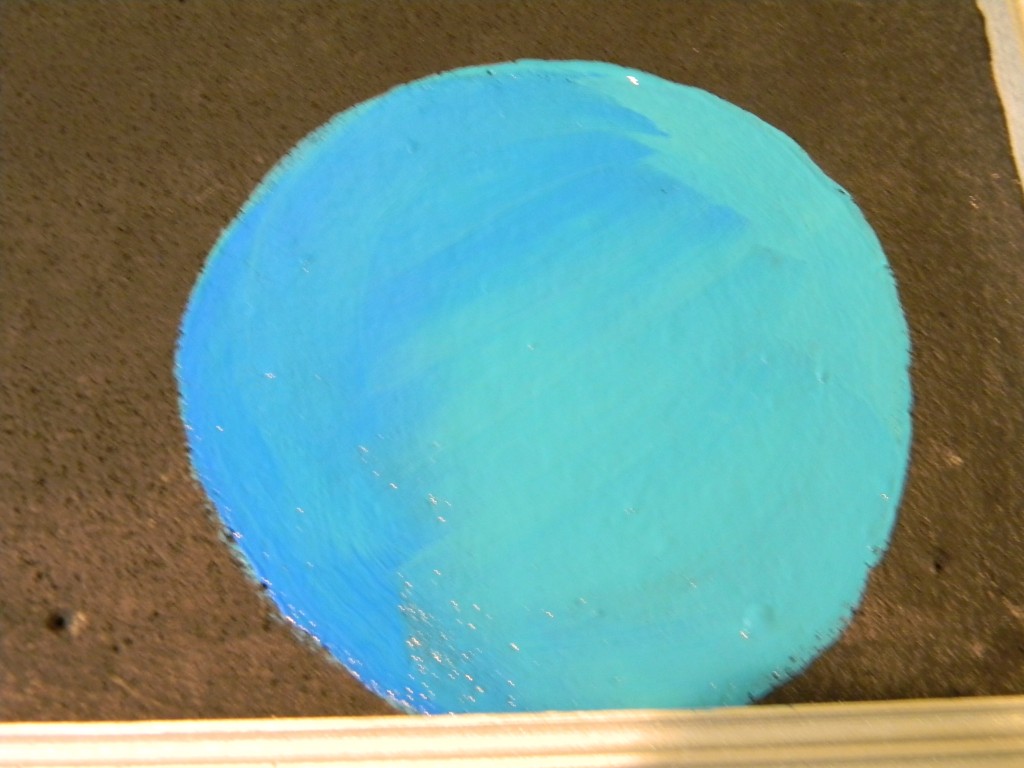
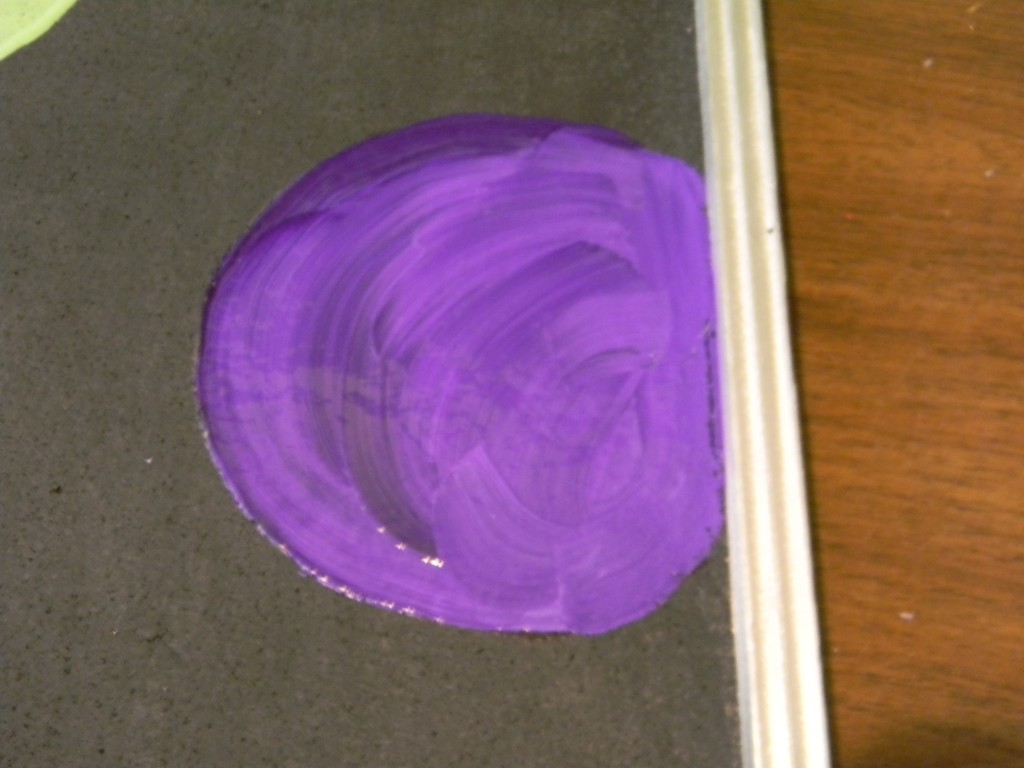
Apply one color of paint to one of the circles. While paint is wet, add a few drops of lighter or darker paint to circle and blend in on one side of the circle to add some interest 🙂
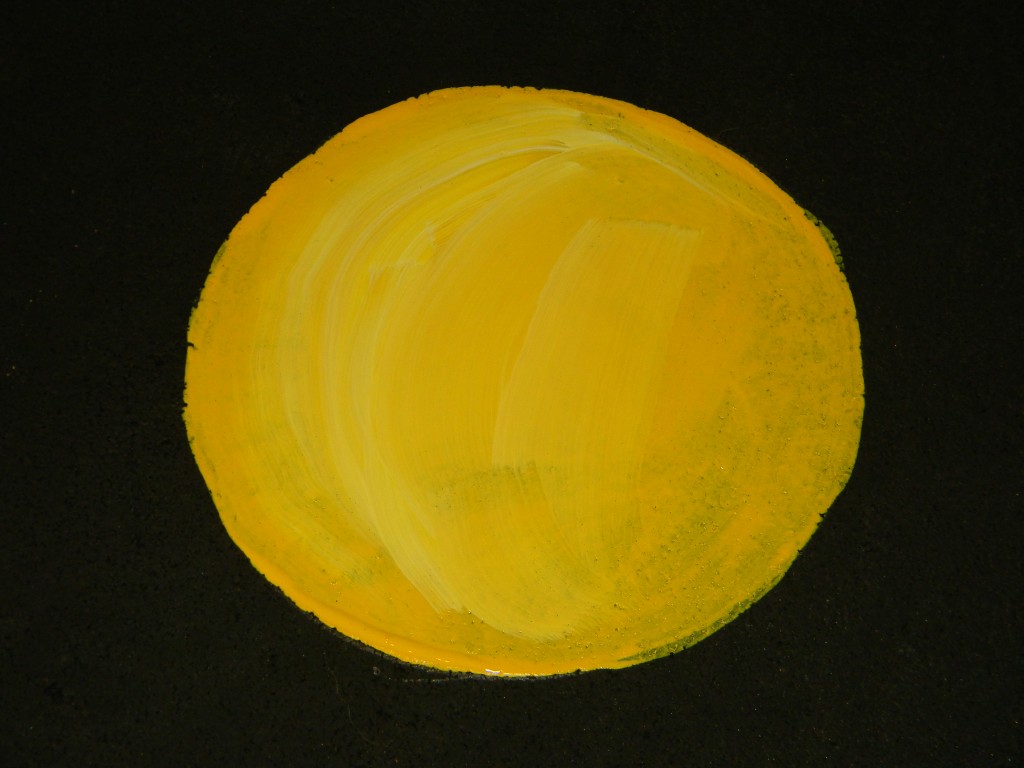
With the yellow circles, I painted one coat and let it dry. Then I added another coat of yellow and added a few drops of white paint to blend.
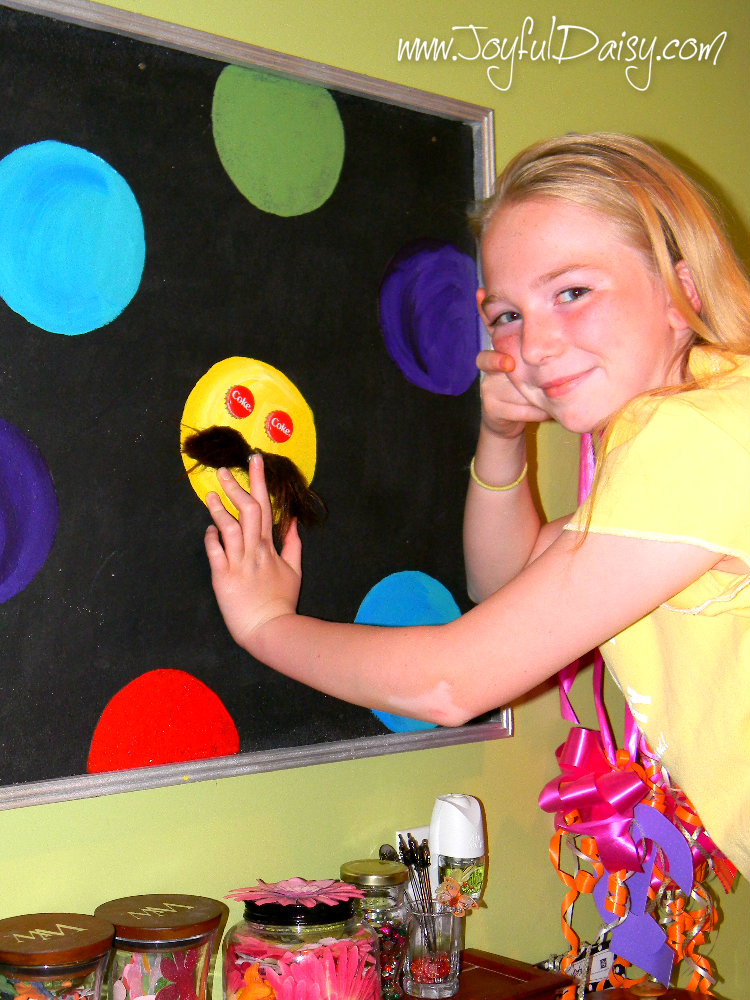
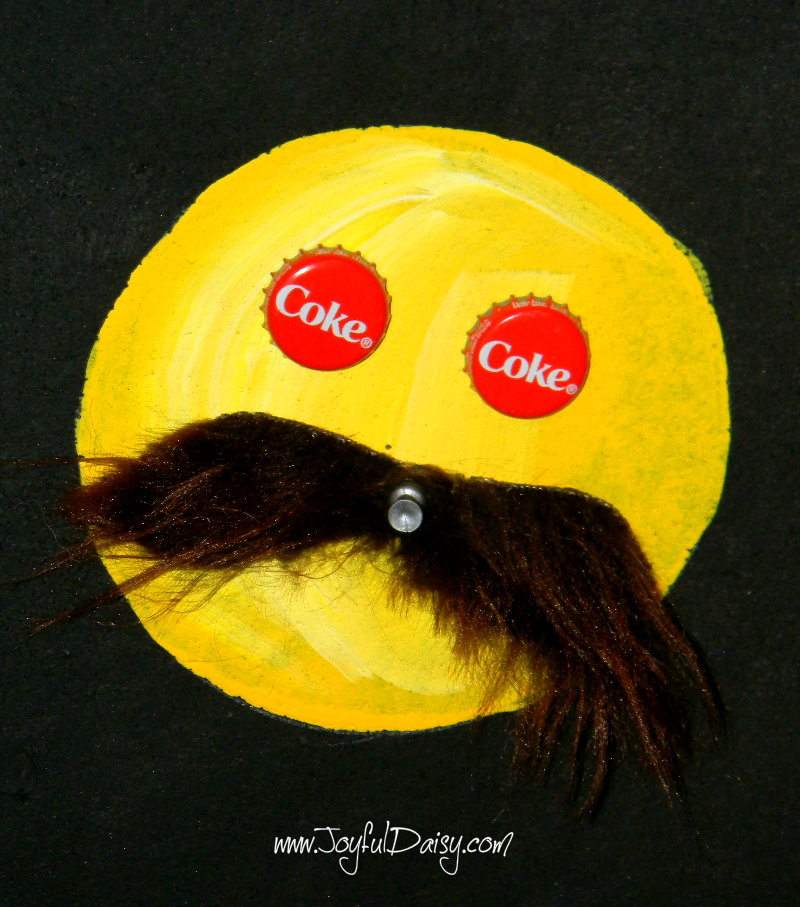
I caught Lily having a little fun with an old mustache costume piece and some coke bottle caps!
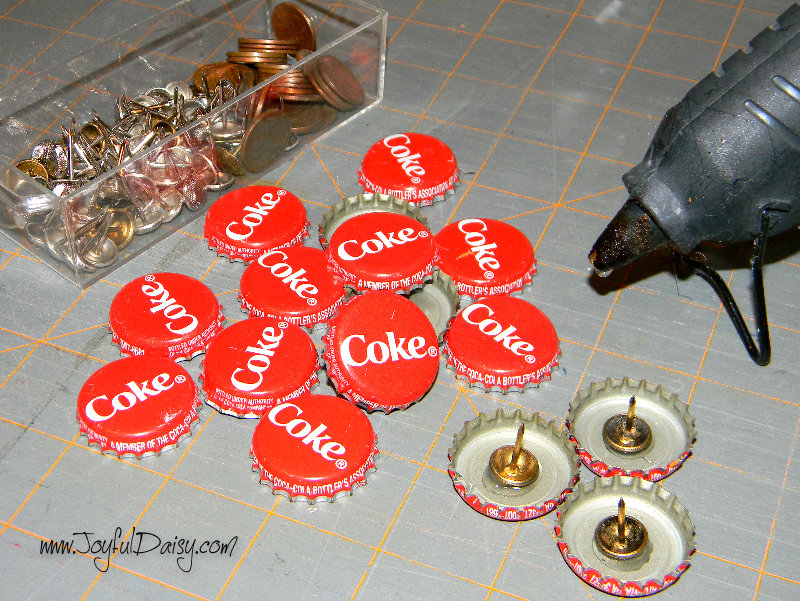
HOW TO MAKE COKE BOTTLE CAP TACKS…
I am so glad that I saved these coke bottle caps. I love the simple, classic design 🙂
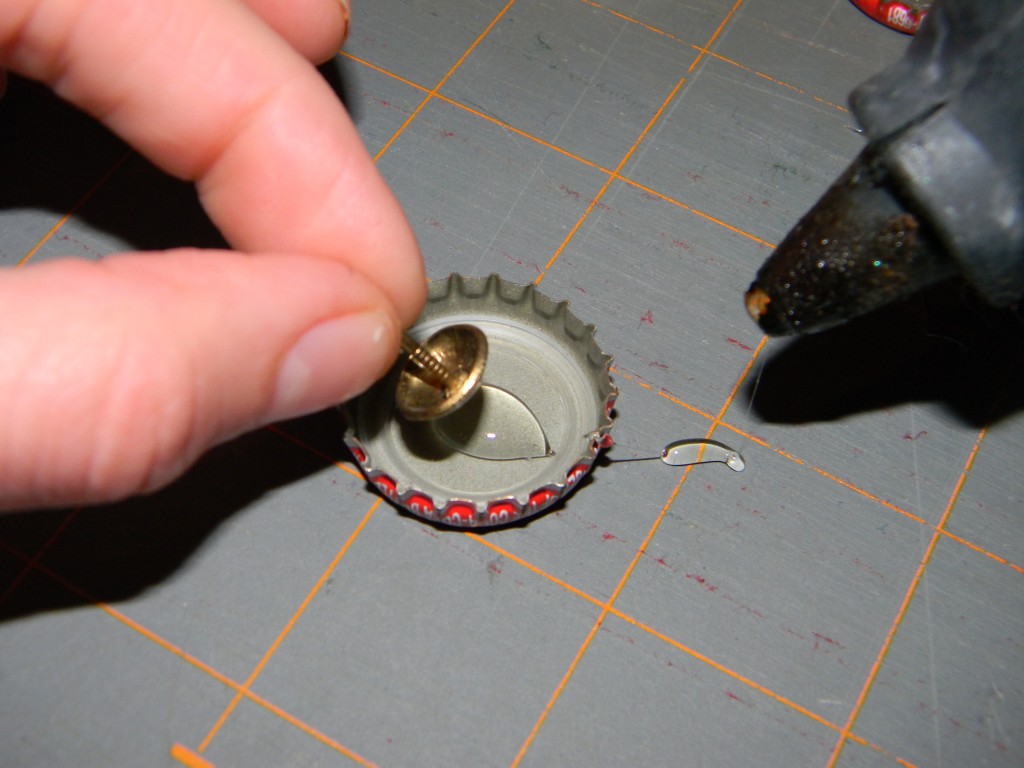
This is pretty darn simple, just make sure you are using upholstery tacks that are longer so that they stick out far enough from the cap to be useful. Yes I speak from experience…I tried regular tacks first!
Just squeezed a little hot glue in each bottle cap, add upholstery tack to the hot glue, and let glue cool and dry.
I wonder how long we will even see this bulletin board. I mean, we tended to pile layers upon layers of project ideas on our boards. I filed everything that was on it before this makeover with a few exceptions that I still cannot file away…
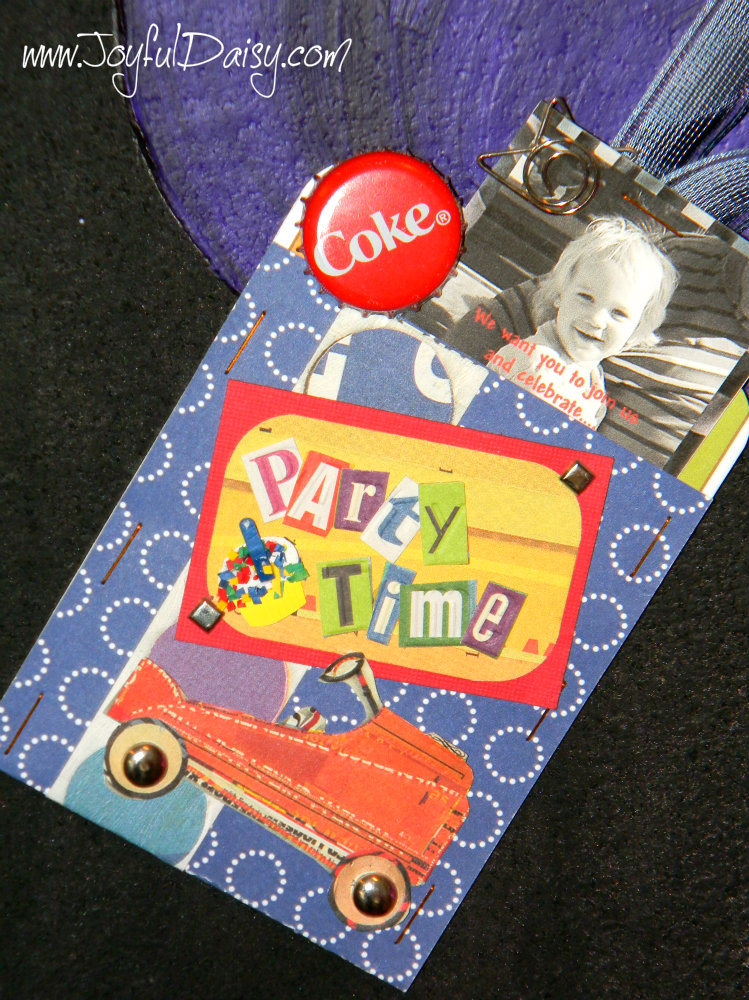
This is the invitation from Reece’s 2nd birthday party!!! A little old but I love him, I mean it, I mean well both 🙂
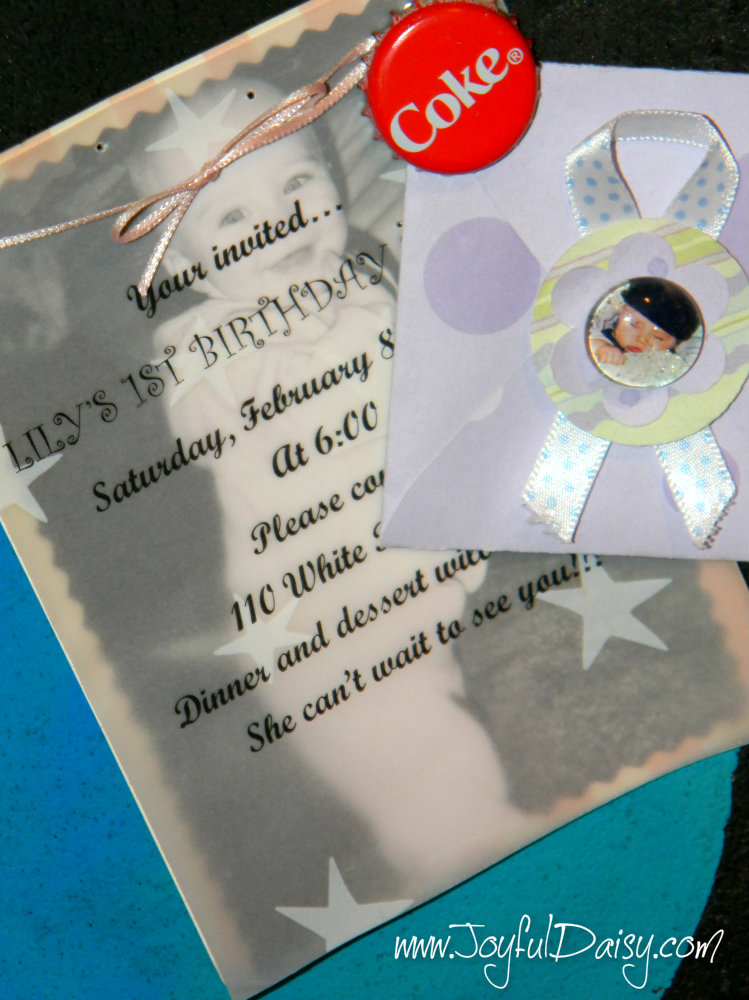
And this is another oldie but goodie…Lily’s 1st birthday invitation!!!! And one of her little party favors! Just an FYI… remember the small index sheets that you got with your developed photos way back when? Well I cut them out and placed one little photo behind those little squished vase beads and then placed on small homemade envelopes filled with little candies 🙂 SO FUN!
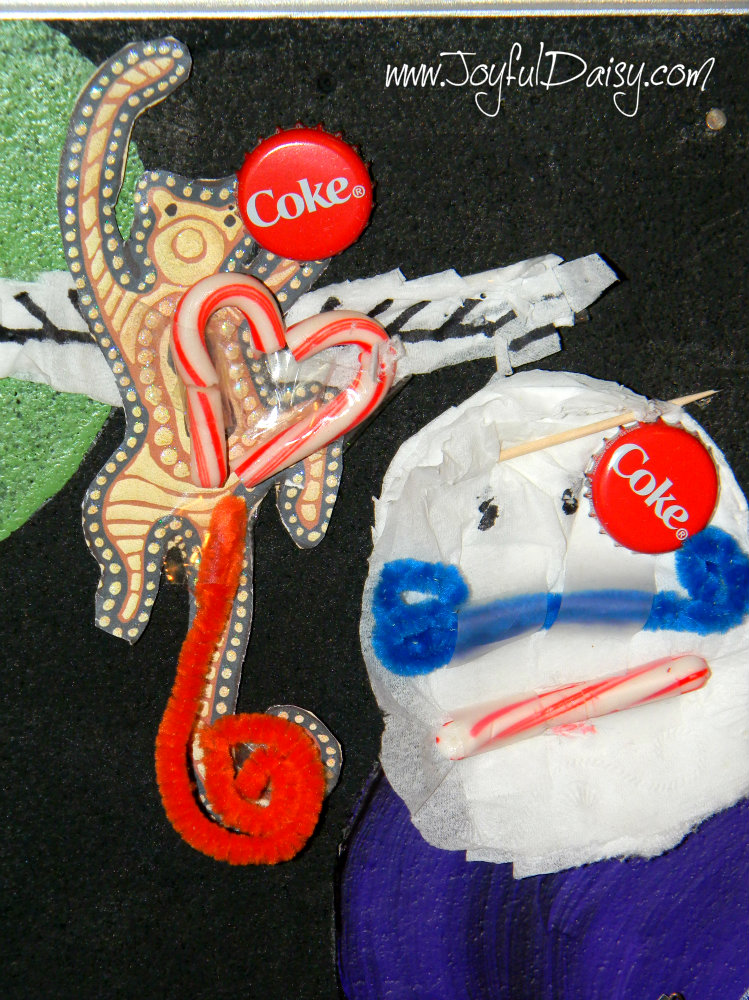
OK, I am sure this one has you wondering – what’s the fuss! Well, soon I will be sharing CRAFT-ED our family fun take on the Food Channels TV show CHOPPED. These are the very first two creations from this wonderfully creative challenge game 🙂
CHECK OUT ROUND MAGNET BOARD TUTORIAL
CHECK OUT ENAMEL MAGNET BOARD TUTORIAL
***********************************************************************************
I party at Savvy Southern Style and other great linky parties 🙂
 If you enjoyed this post, be sure to sign our email list on the top right hand column and you will be the first to see our new projects. We have a lot more fun stuff planned!
You can also connect with Joyful Daisy on FACEBOOK, GOOGLE, PINTEREST, TWITTER, AND RSS. I would also love it if you shared this project by clicking social link buttons below 🙂
Thanks for stopping by 
Cyber hugs,
Amy- joyfuldaisyforever@gmail.com
