Inspired by my mom’s beautiful blooming garden, we decided to try flower pounding – our attempt to hammer flowers until we have art. 🙂
In true Nana Lin fashion, my mom had everything set up for us including ice teas with fresh mint – what fun! Our copycat Starbucks Vanilla Bean Frappuccinos would be a great addition to this project as well – just saying 🙂 This was definitely a fun craft to do with a partner to see the different flower combinations and bounce ideas off each other.
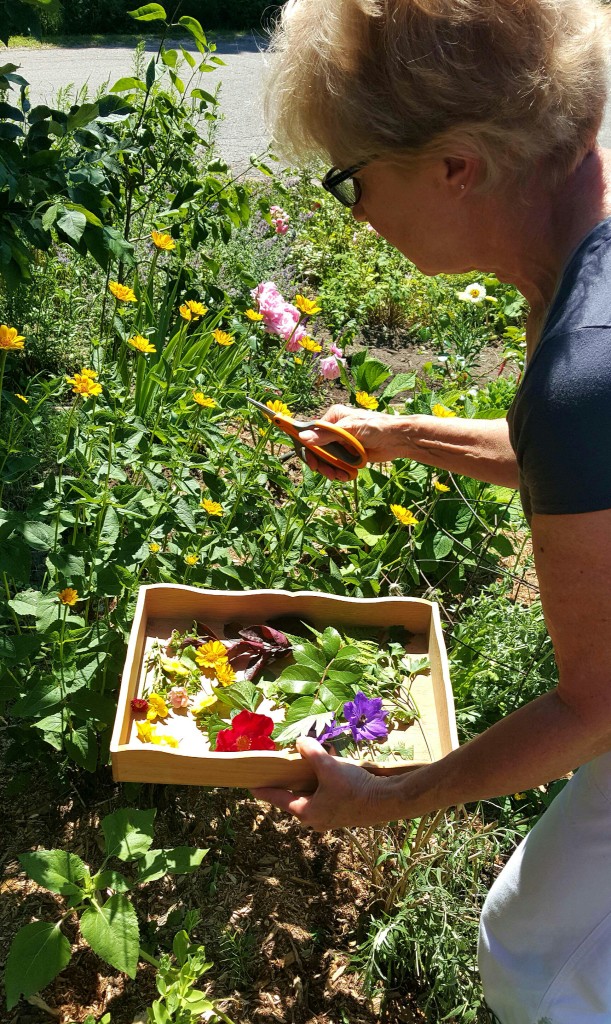
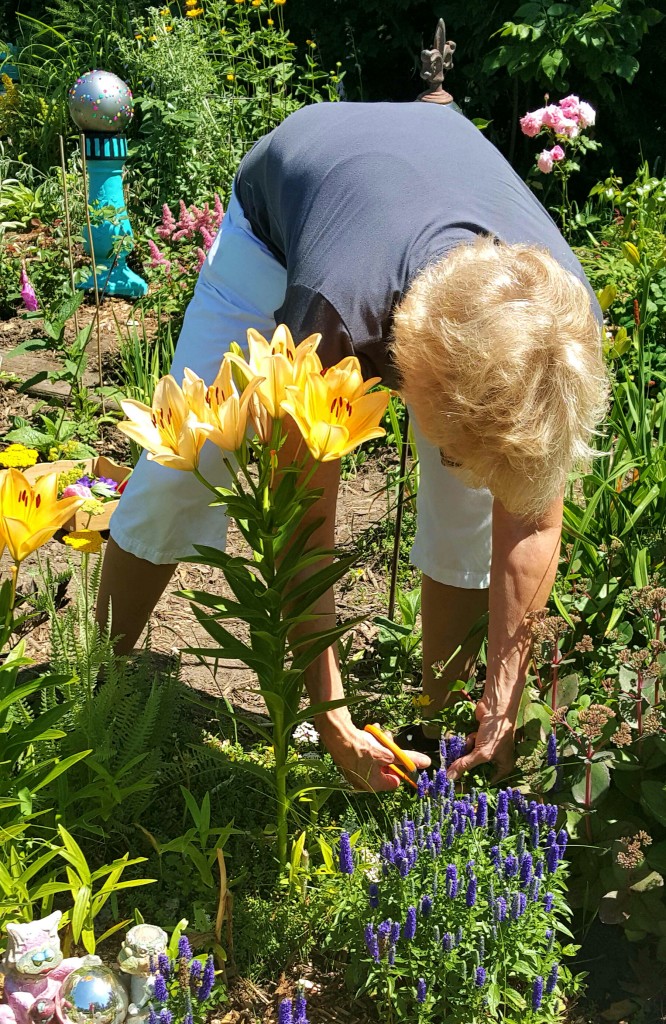
Gathering all the flowers was definitely enjoyable, however, we didn’t ponder too long because we didn’t want the flowers to wilt.
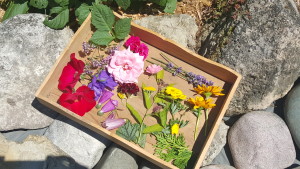 We decided to try flower pounding on paper and fabric. Fortunately, my mom prepared the 100% cotton fabric…
PRETREAT FABRIC: Prewash fabric to remove the sizing, using regular laundry soap and 2 tablespoons of washing soda. Rinse several times to ensure that all the soda is rinsed out.
Soak the washed fabric in a bucket for about 2 hours, in a mixture of 2 cups hot water and 1/4 cup alum/ yard of fabric. Alum can be found in your local pharmacy or artist’s store. (OPTIONAL- Dissolve 1 teaspoon washing soda in 1/2 cup hot water (per yard of fabric) and add to bucket.) Let soak overnight. Wring out fabric, do not rinse, and let it dry naturally. Just iron fabric if necessary and cut to desired size.
FYI: We tried flower pounding on untreated fabric and found that the process above definitely helps the fabric absorb the color from the flowers.
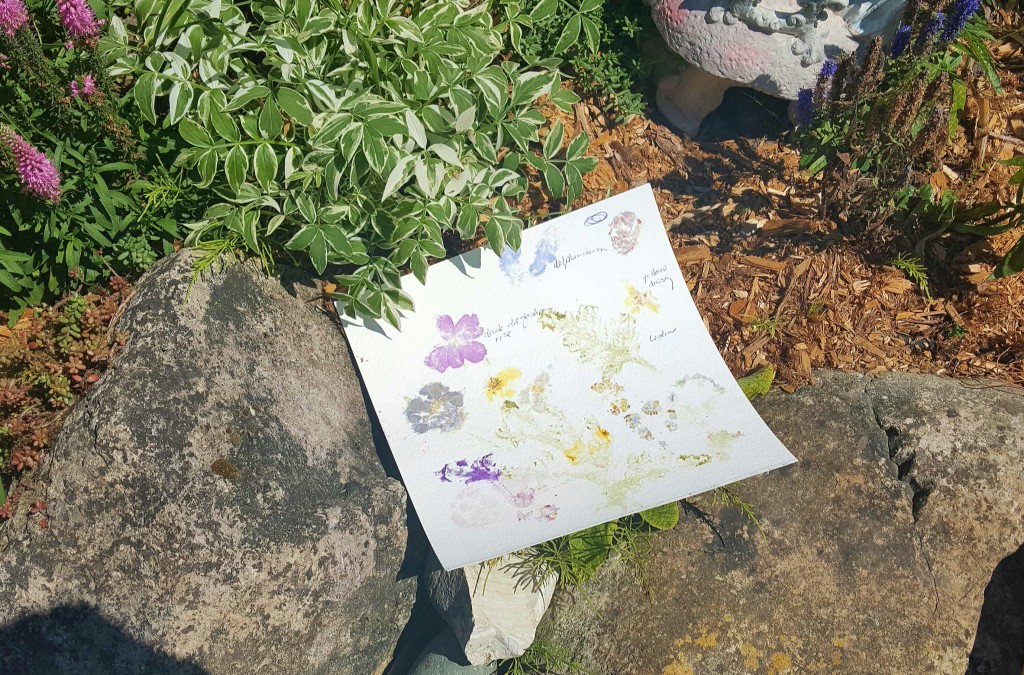
I highly recommend pounding each gathered flower and leaf unto a sample paper. Some flowers work really well and some just turn brown. We were really surprise to see which ones worked well and which ones didn’t so you may want to take some time and play around at this step.
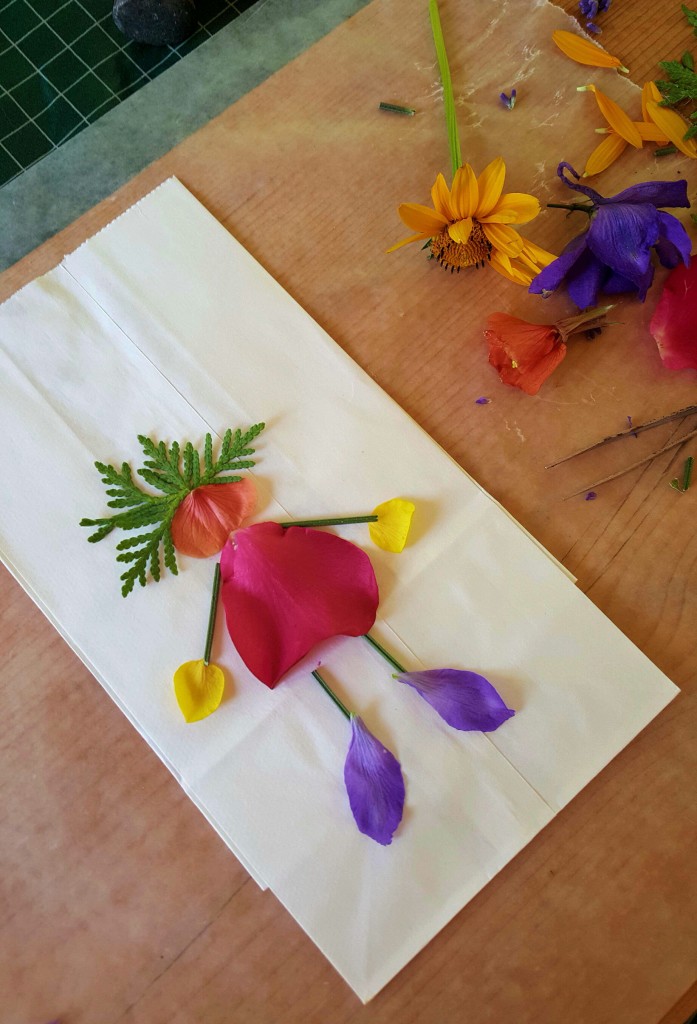
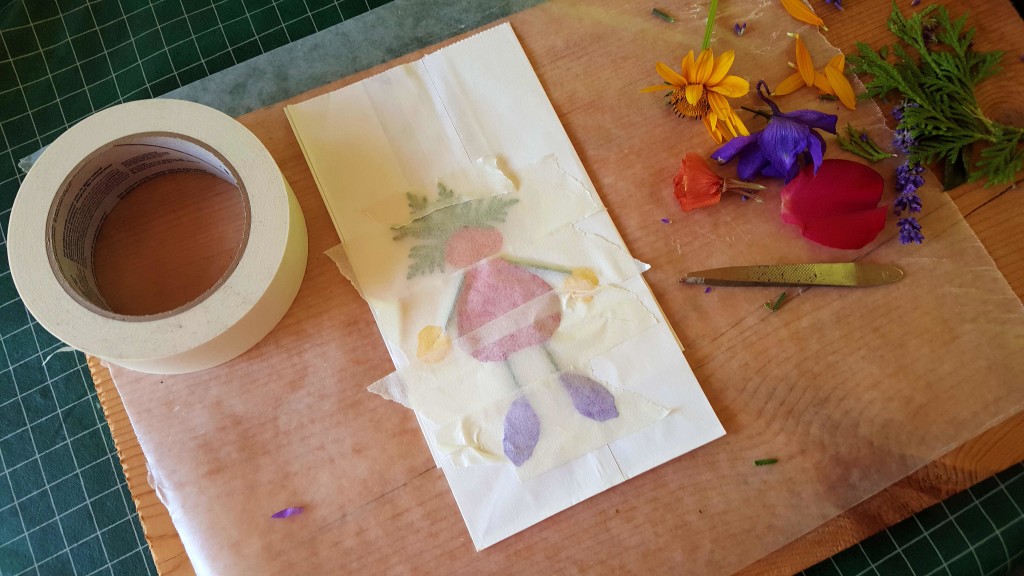
TO GET STARTED: Layout a piece of wax paper on a board so that the color from the flowers won’t bleed onto the board. If you are working with a surface that is two sided for example the white bag above or a say a pillow case, be sure to slide some wax paper between the layers (inside the bag or pillow case). You may want to tape the wax paper and project to the board to keep it from sliding.
Layout your flowers and then tape them down, you may want to use painter’s tape if the tape is sticking too much to paper projects. Begin hammering the flowers. If you are using a blossom with a large center or a lot of petals you will want to pull of the petals and place ach one separately. You can peel up the tape a bit to see how it is coming along. We found it does take a lot of pounding.
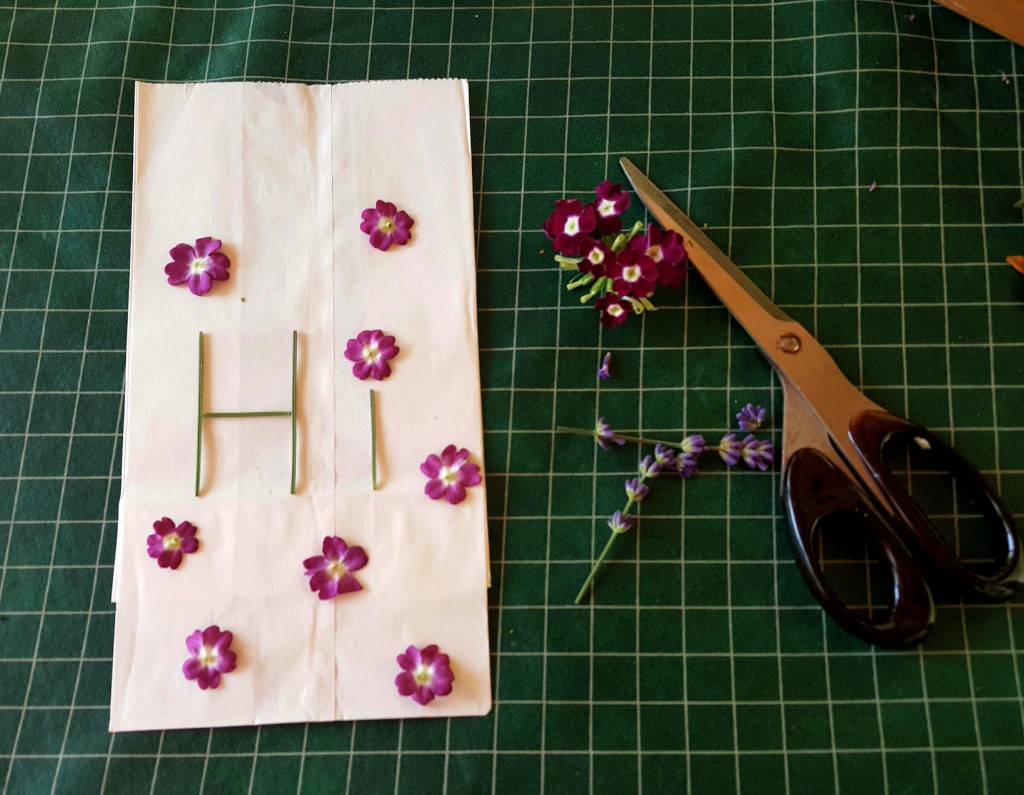
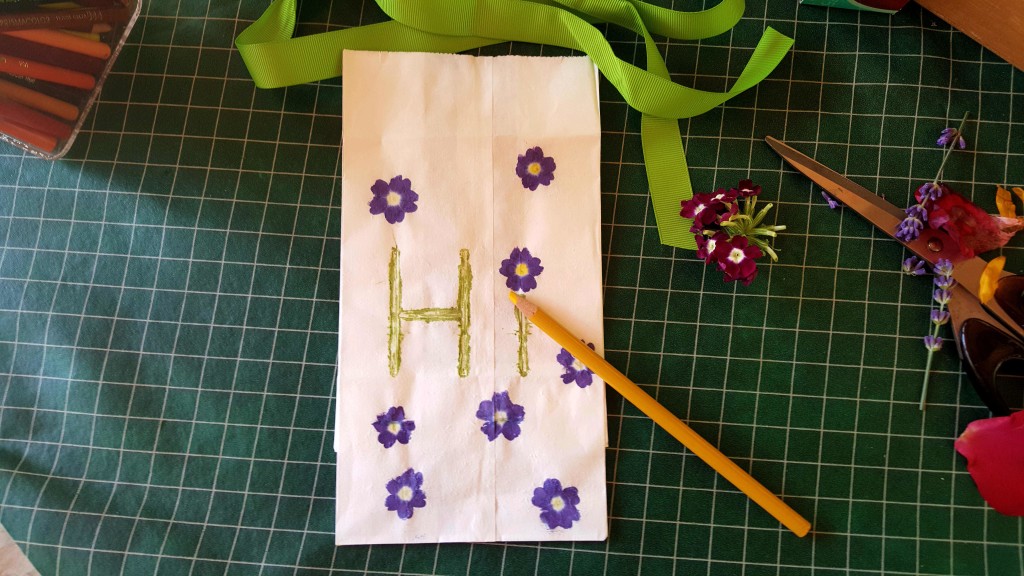
This was one of my bag designs. The “Hi” is spelt out with lavender stems. Unfortunately, the lavender flowers didn’t work out real well, looking more brown than purple after they were pounded.
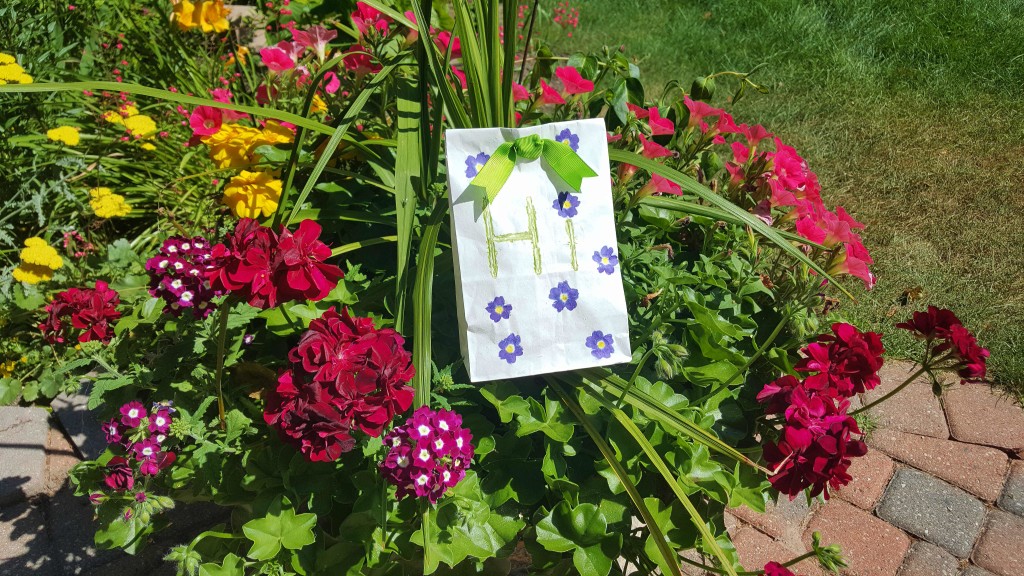
The purple in the flowers really popped out on the white bag, however, I wanted to add a little more color to the centers.
I really like the look achieved when I used color pencils or fabric markers on my flower pounded projects. Just CLICK HERE to bip on over to our smoothie post if you want to see step by step how we added the ribbon to this bag.
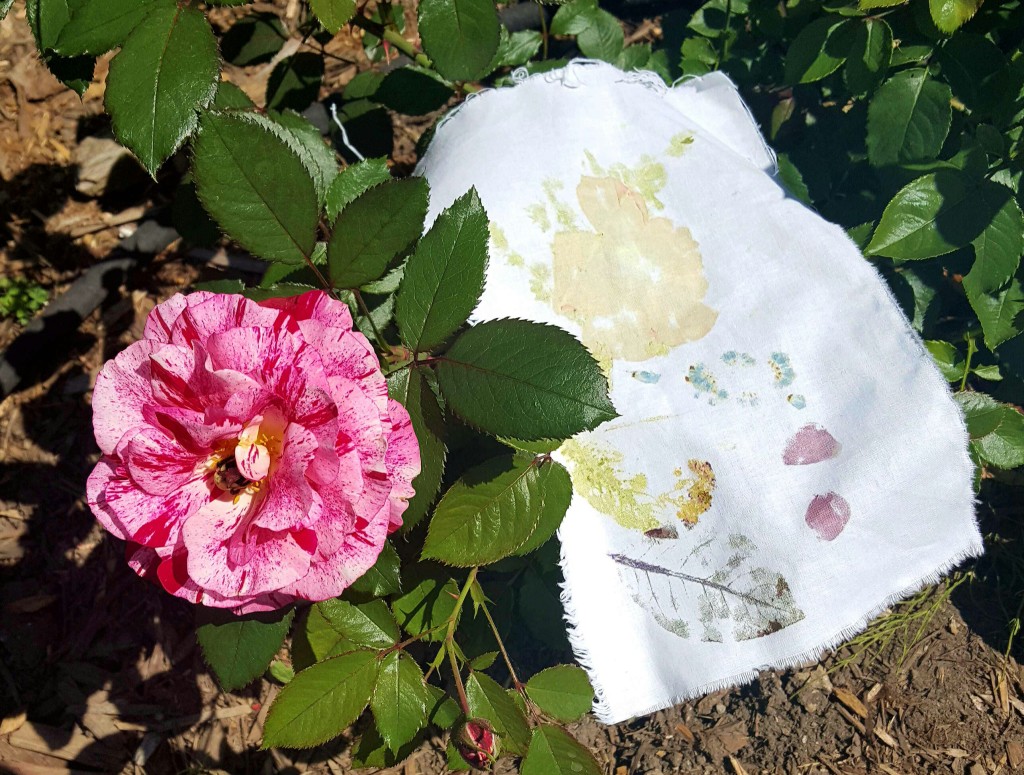
Above is a sample of our flower pounding attempts on the treated fabric. Once you create a design on fabric that you like, just heat set by placing a piece of paper on it and then use an iron on medium heat over the paper and fabric.
Although our projects didn’t all turn out as bright as we had hoped, we still enjoyed our afternoon in the garden. 🙂
