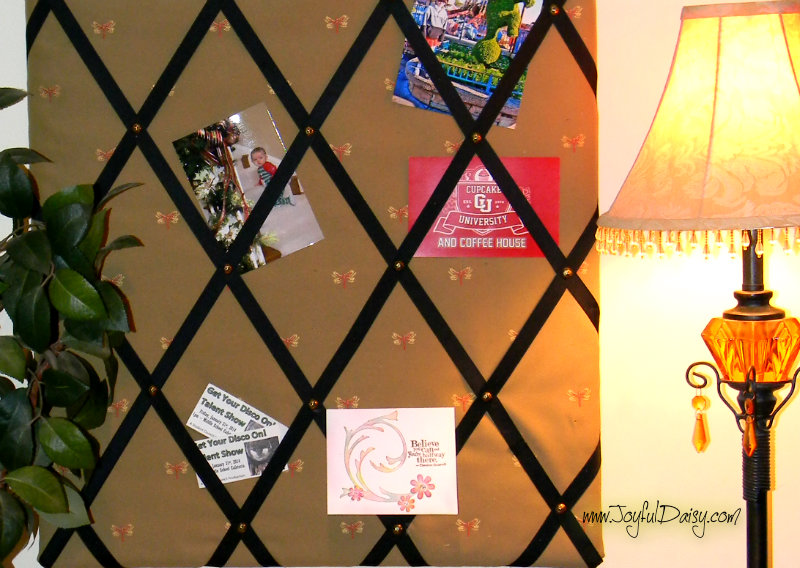
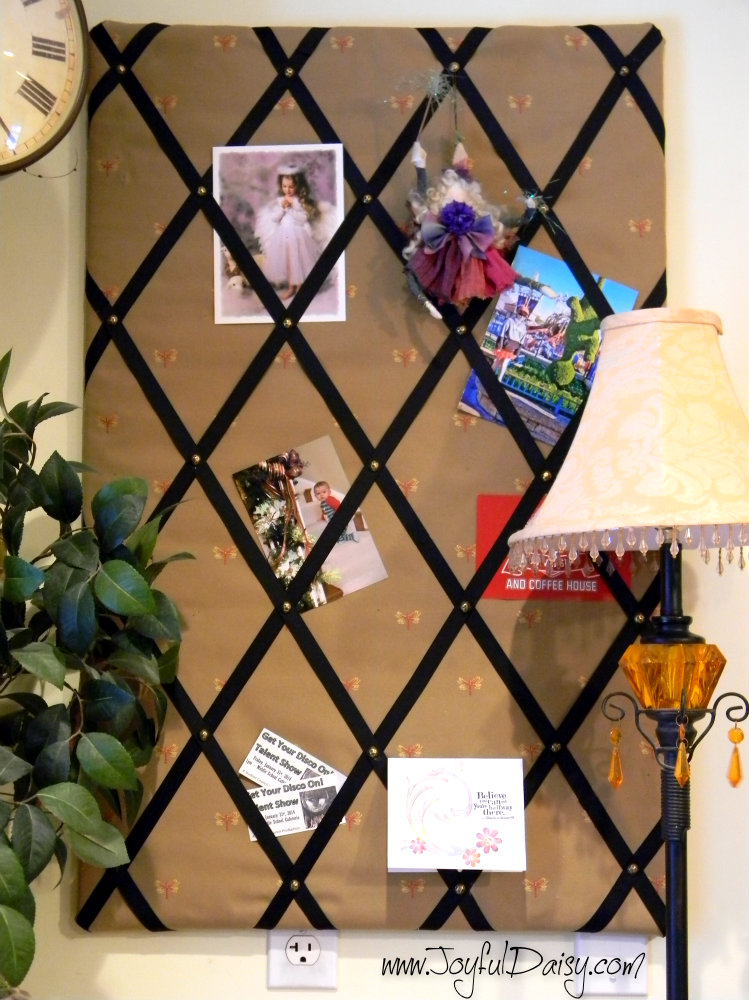
This is a fun and simple project that can be done in under an hour and yet makes a huge difference in you décor by adding a beautiful focal point to any room. Then you have a fun place to display some of your favorite cards, pictures, and flat momentos. So let’s get right to it so I can show you how to make a ribbon bulletin board and just how easy it is.
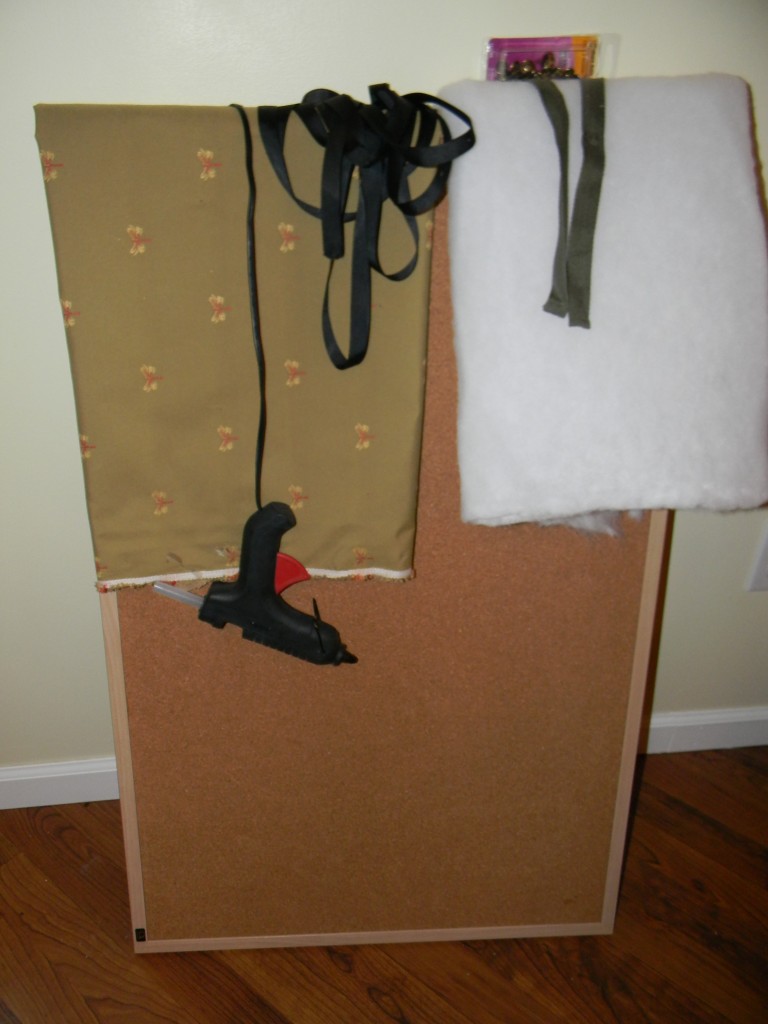
SUPPLIES…
Bulletin Board-I recycled an old one from the mud room
Staple gun and stapes or Hot glue gun and glue
Fabric- about 6″ wider and longer then your board
Batting about 4′ wider and longer then your board
Ribbon- I used about 8 yards on my project but I covered the largest bulletin board I could find.
Twill tape 4-6″ wider then the side of the board that will run horizontal- this will be used to hang it.
Thumb or Upholstery tacks
Scissors
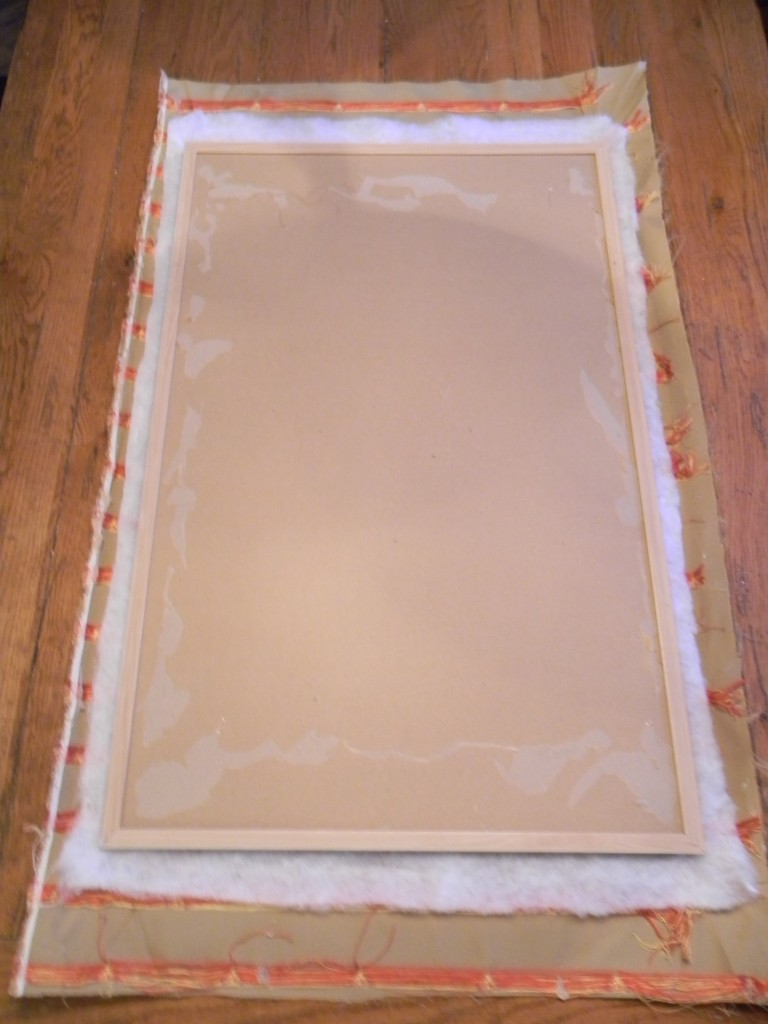
Lay your fabric face down.
Then add your batting.
Top with bulletin board laying face down.
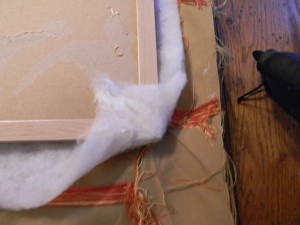
Fold the batting in at the corner and hot glue or staple down pulling tauntly. Repeat at all corners
Then glue the sides of the batting down, doing one side and then the opposite side pulling tauntly.
If you are using hot glue, watch your fingers! It can get hot!
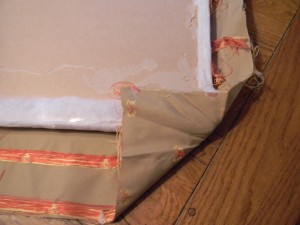
Repeat the top three steps with the fabric, starting in the corners.
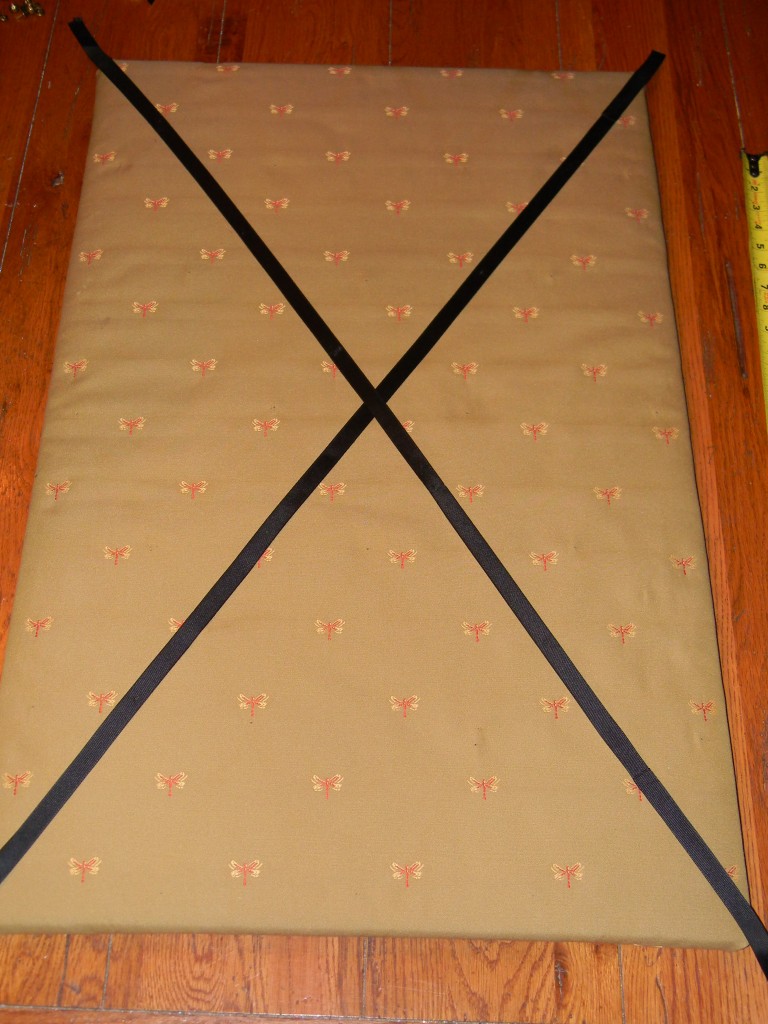
Flip bulletin board over and lay ribbon corner to corner.
Fasten each end down with a pin or a tack and then flip board over and glue or staple then ends down securely.
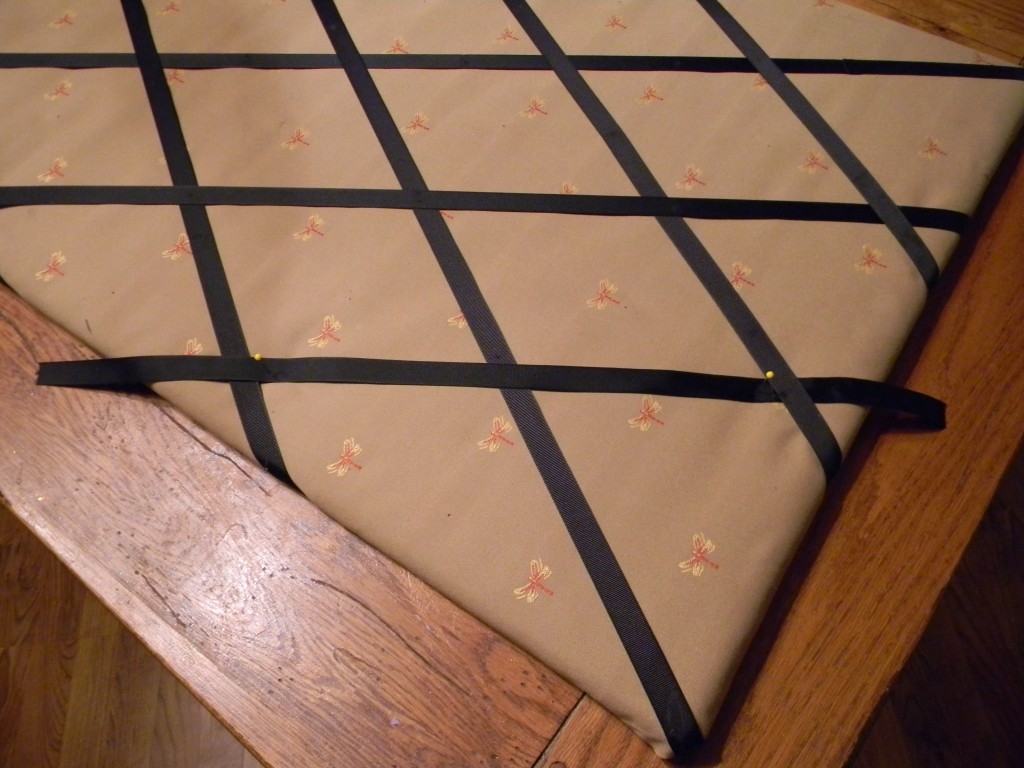
Lay more ribbons down parallel to the corner to corner guide ribbons.
Pin in place and then wrap ends to the back and fasten down with staples or glue.
Add tacks to the front of the board where the ribbons overlap.
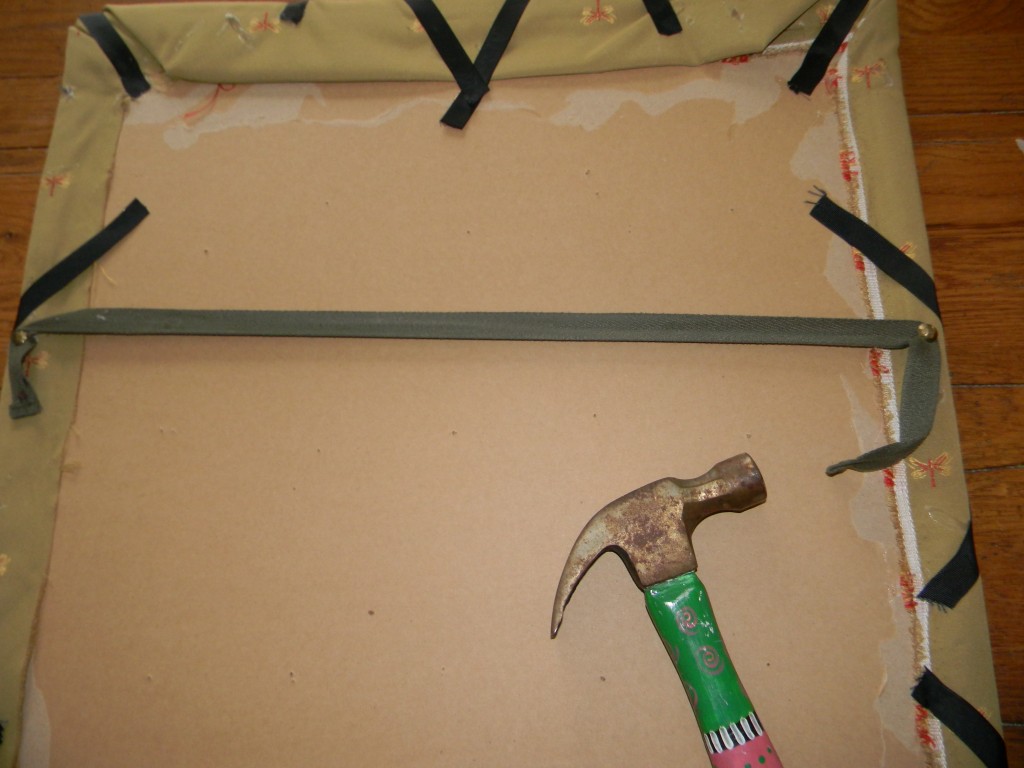
Decide which way you are going to hang your new ribbon bulletin board. Flip your board over and then run twill tape or heavy ribbon across the back and adhere with staple gun or tacks to secure on the side.
