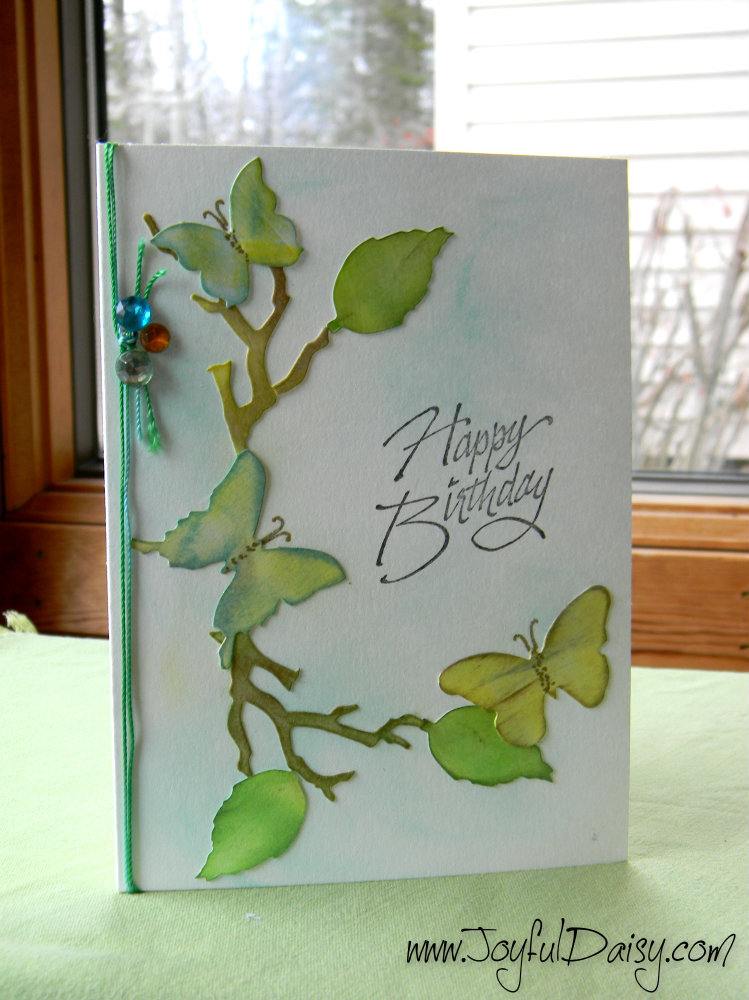
This beautiful butterfly stamped card would work great with many different greetings changing it from a birthday card to a thank you or a sympathy card. In this tutorial we teach the direct to paper technique to add soft colors.
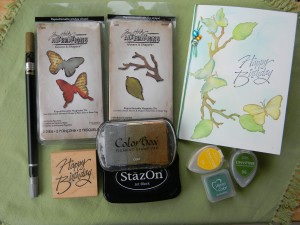
GATHER YOUR SUPPLIES…
Tim Holtz Sizzix Mover and Shapers – Mini branch and leaf AVAILABLE AT AMAZON – http://amzn.to/NmCjzy
Tim Holtz Sizzix Mover and Shapers – Mini butterfly AVAILABLE AT AMAZON – http://amzn.to/1kCogli
Stazon Black Stamp Pad AVAILABLE AT AMAZON – http://amzn.to/1cbrxSR
Colorbox Mulit Metallic Pigment Pad AVAILABLE AT AMAZON – http://amzn.to/1g2XlzV
Small pigment pads in Yellow, Celadon, and Green
Gold Paint Pen AVAILABLE AT AMAZON – http://amzn.to/1kXdbhE
Floss or Ribbon
Crystals
Greeting Stamp (Happy Birthday from Art Impressions)
Makeup Sponges
Paper- 10 1/4″ * 7″ white card stock plus additional piece to cut out twigs and butterflies
LET’S GET STARTED…
Cut out 2 twigs and leaves and 3 butterflies with Sizzix mover and shaper dies.
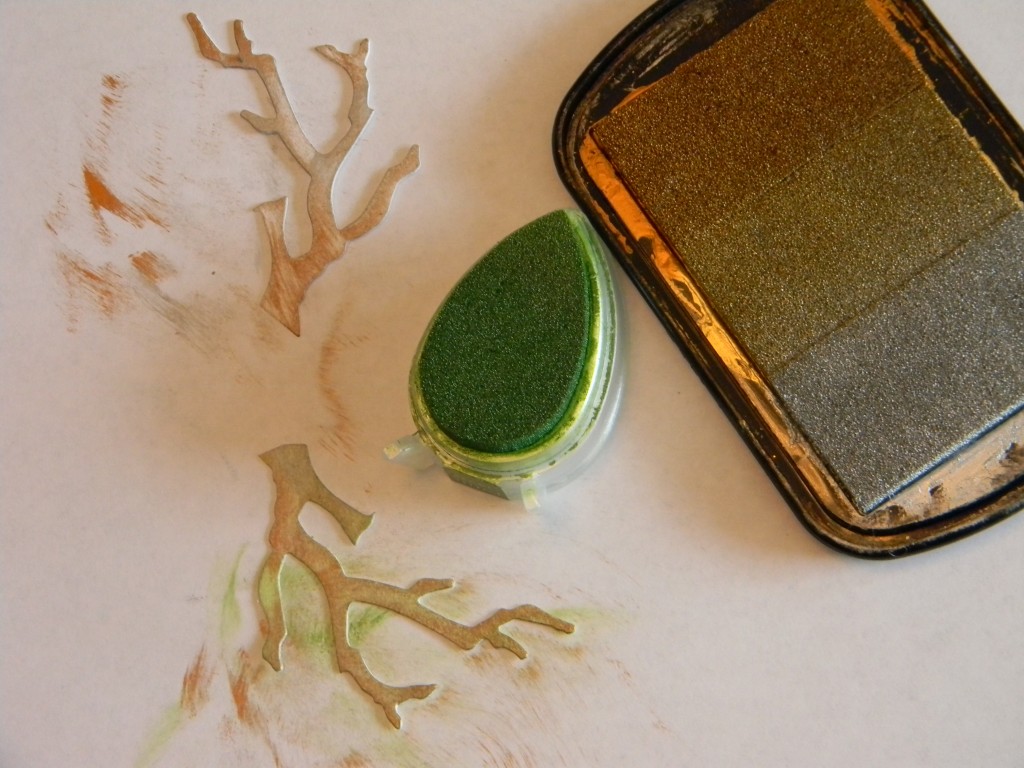
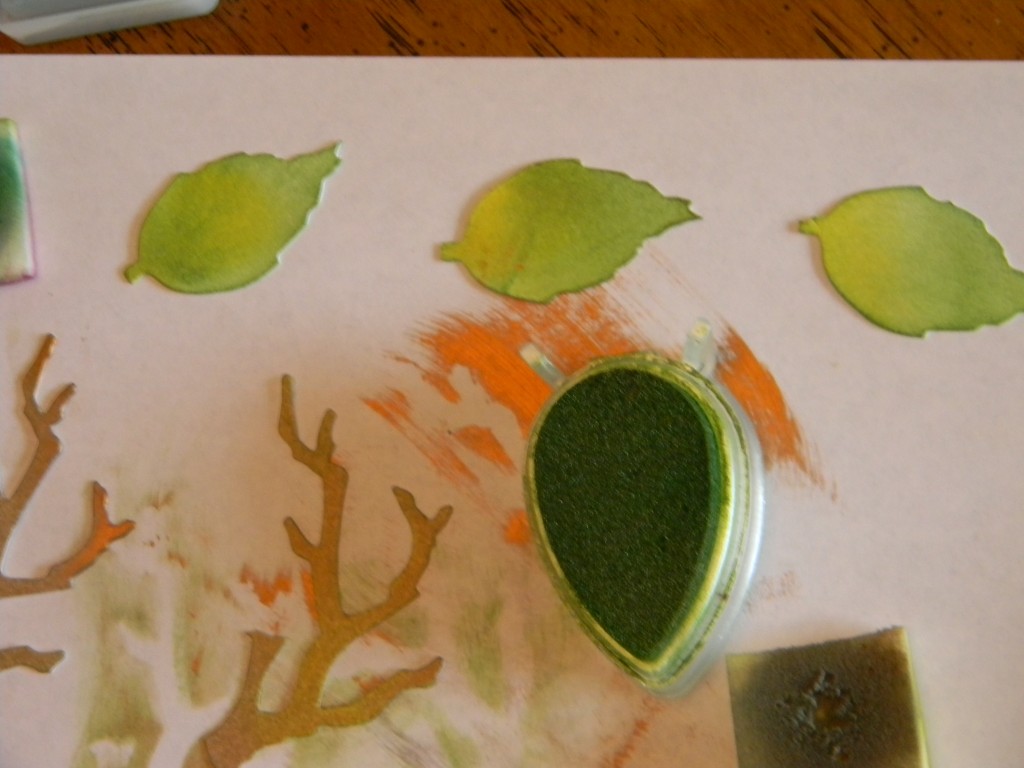
Rub metallic pad directly on to mini branches and then lightly rub on a little with green pad.
Add color to leaves by rubbing yellow pad directly on them. Then lightly add color with green pads leaving some yellow visible.
Now add color with various pads to the butterflies, working with lightest colors first.
Using sponges, very lightly add some yellow and green to the front of the greeting card.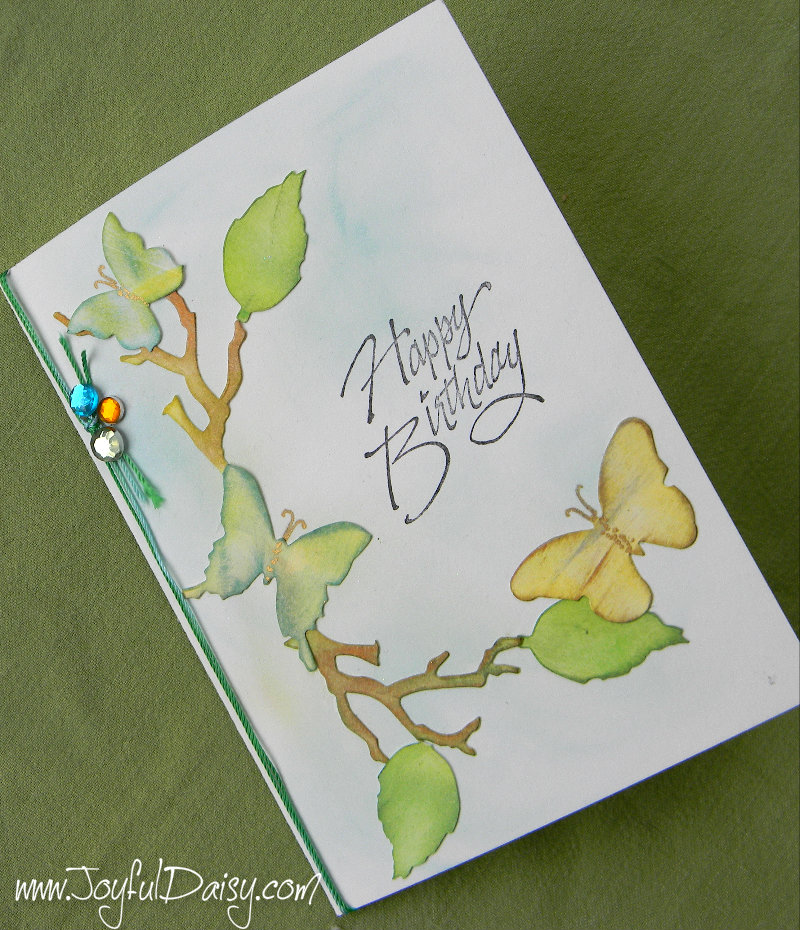
Adhere twigs, leaves, and butterflies to card.
Using gold pen, add antennas and detail to butterfly bodies.
Stamp chosen greeting in black.
Tie floss around folded edge of card and tie.
Add a few crystals by tied floss to complete.
