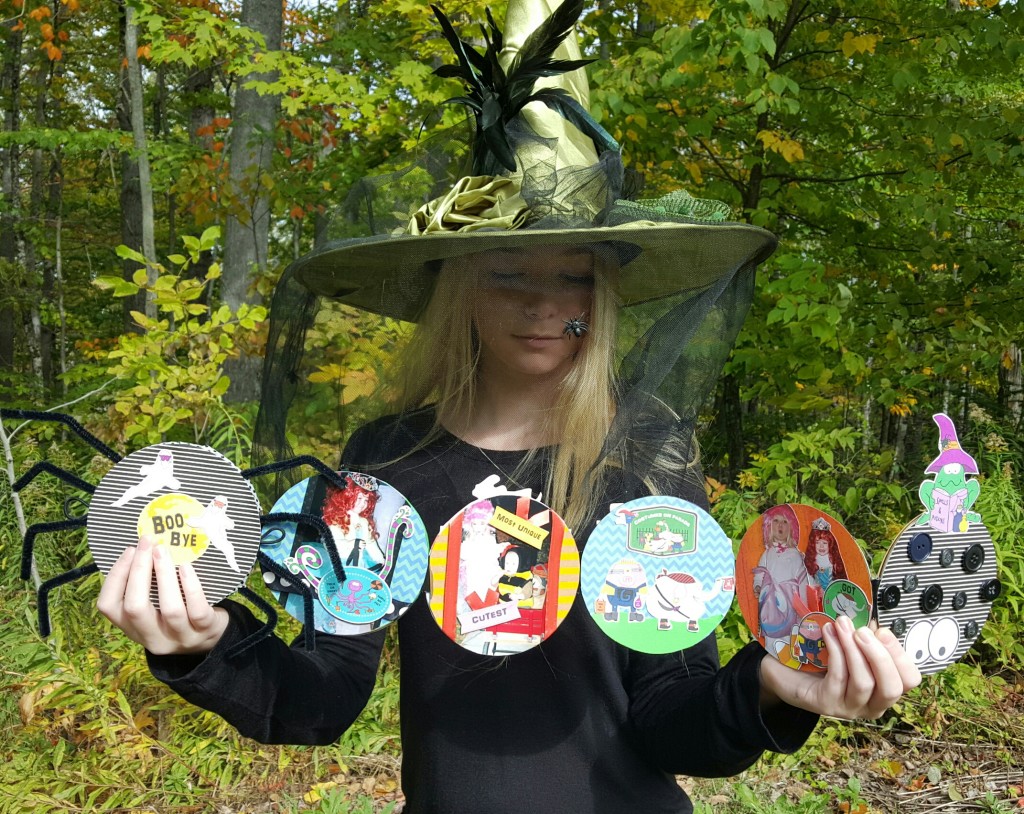
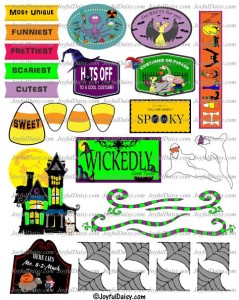
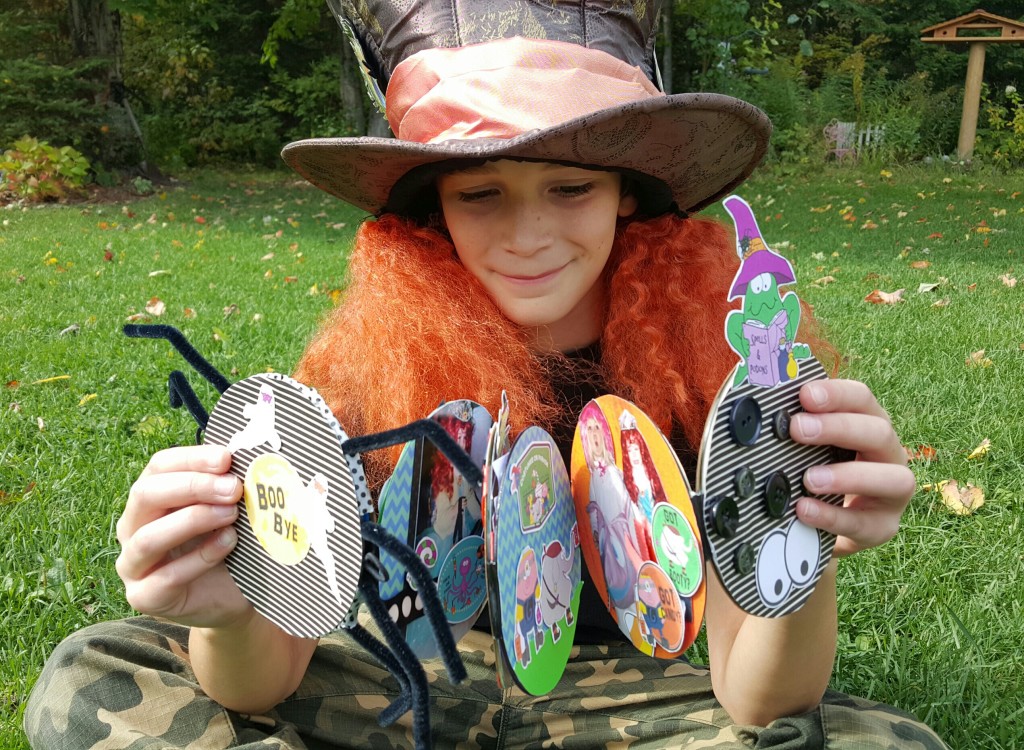
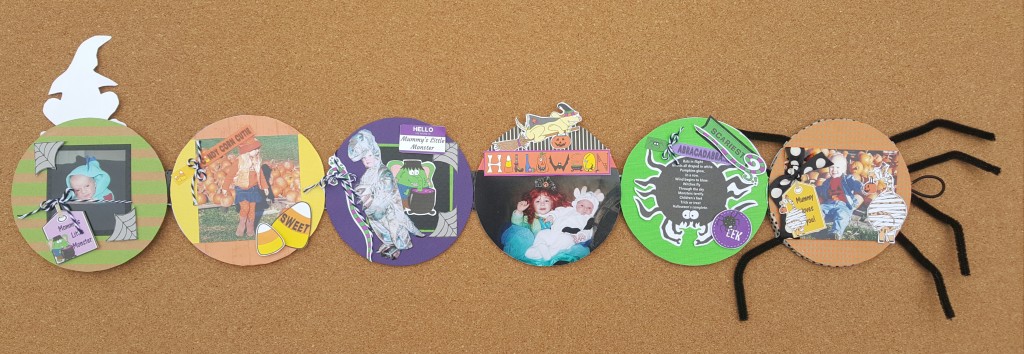
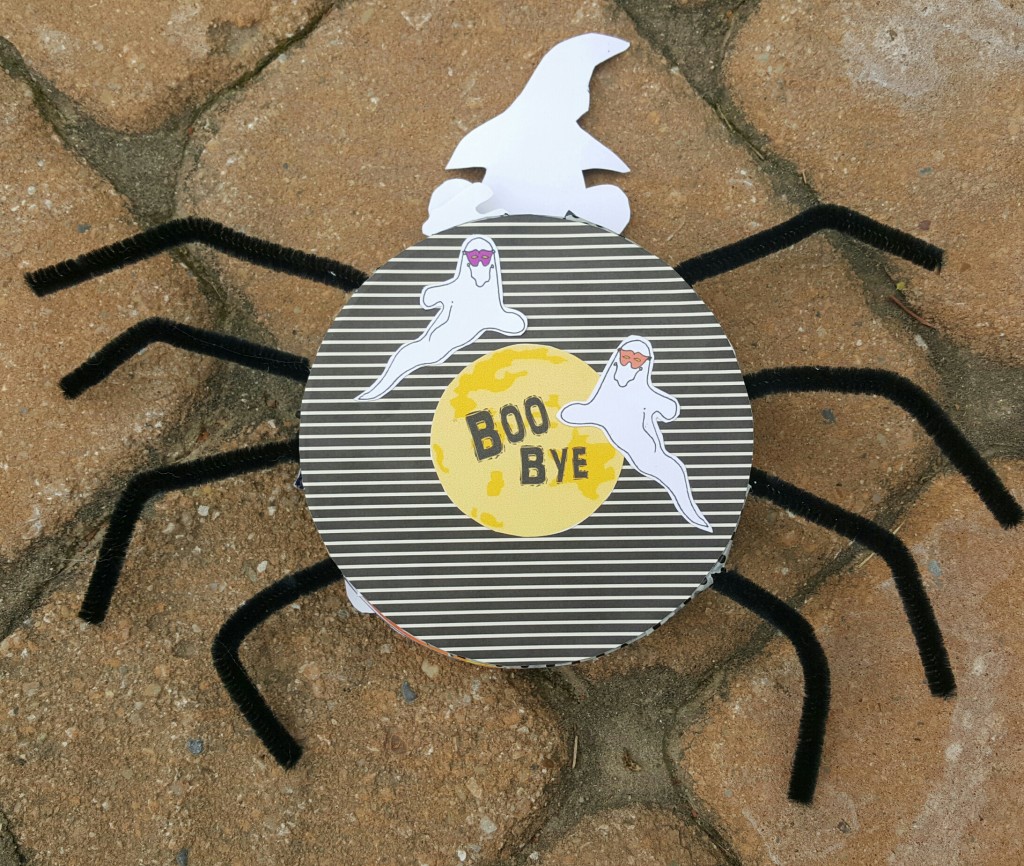
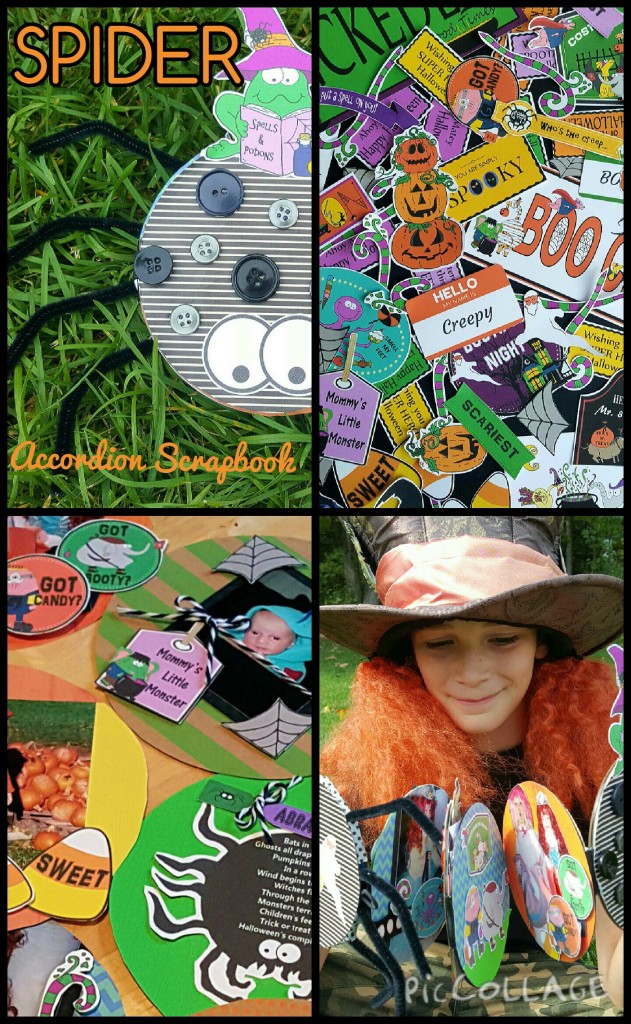
Are you looking for a really fun Halloween craft? Well look no farther because we have a special treat for you with our Halloween Spider CD Scrapbook made with recycled CDs, pipe cleaners, scrapbook paper, ribbons, and our digital dye cuts from our Halloween collection.
This was so much fun and the kids enjoyed it too.
Ready to make your own?
GATHER YOUR SUPPLIES…
7 CDs
Duck Tape
2 Hair Twangers or 8″ of Elastic
4 Black pipe Cleaners
Buttons (to loop elastic fasteners around and add spider spots)
Assorted Scrapbook Papers and Ribbons
Washi Tape
GATHER YOUR TOOLS…
Hot Glue Gun
Scissors
1/8″ Pop Dots or Dimensional Tape
Adhesives (Tape Runner or Glue Stick)
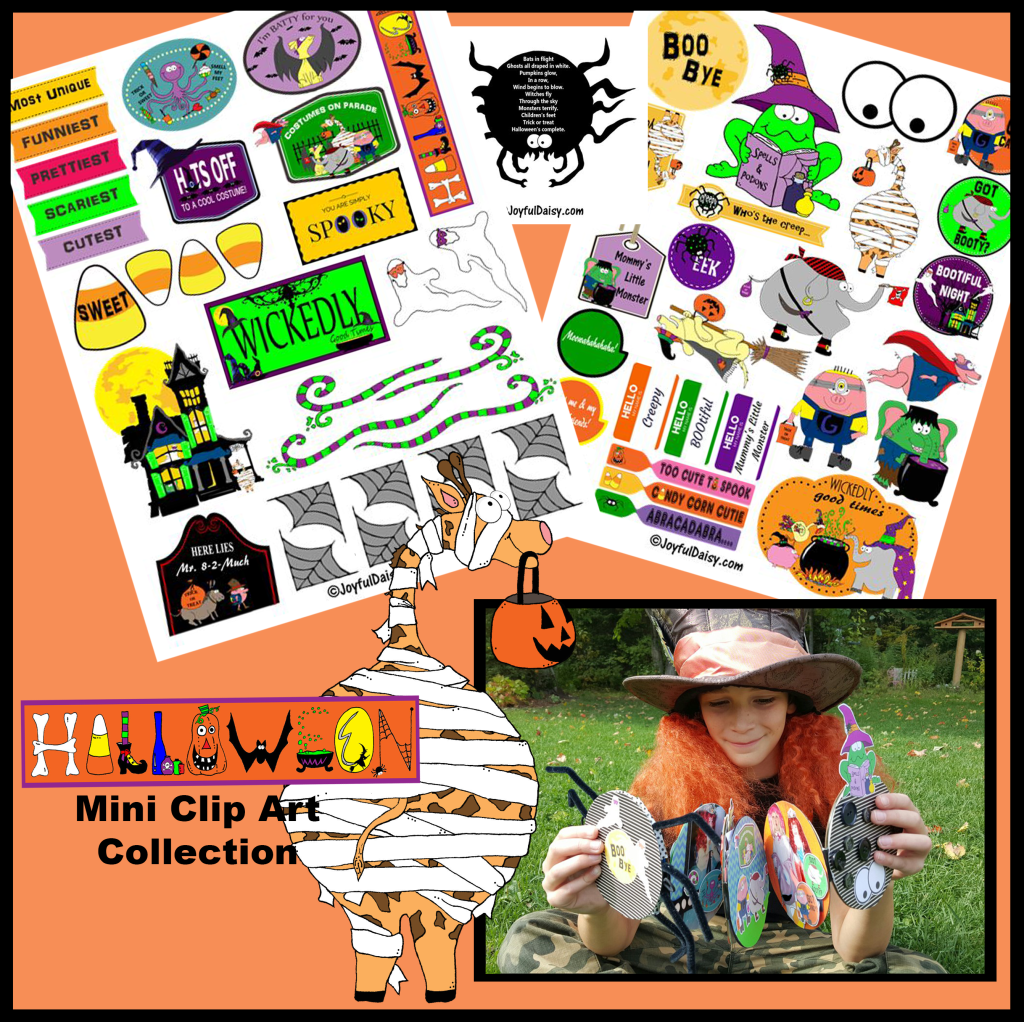
Halloween Mini Digital Clip Art CLICK HERE or pictures below to purchase and print immediately 🙂
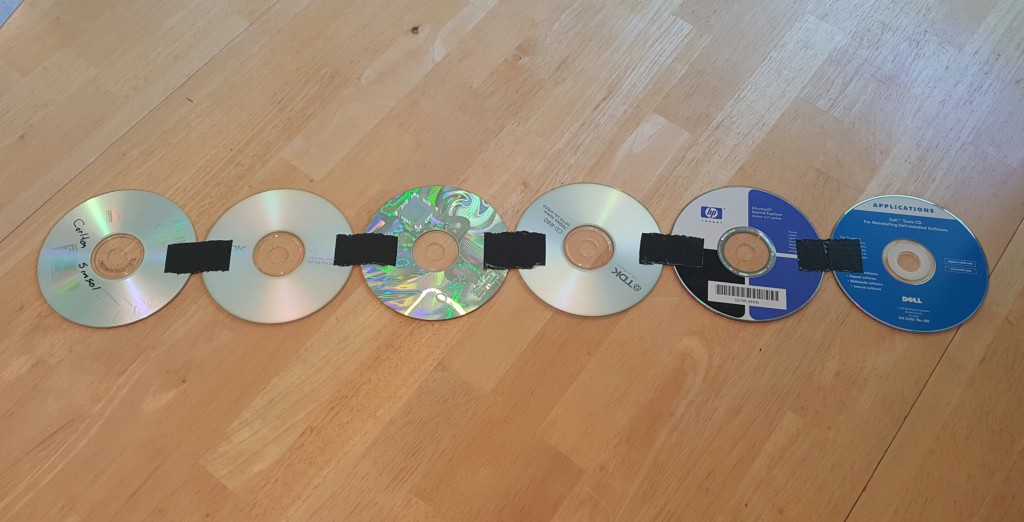
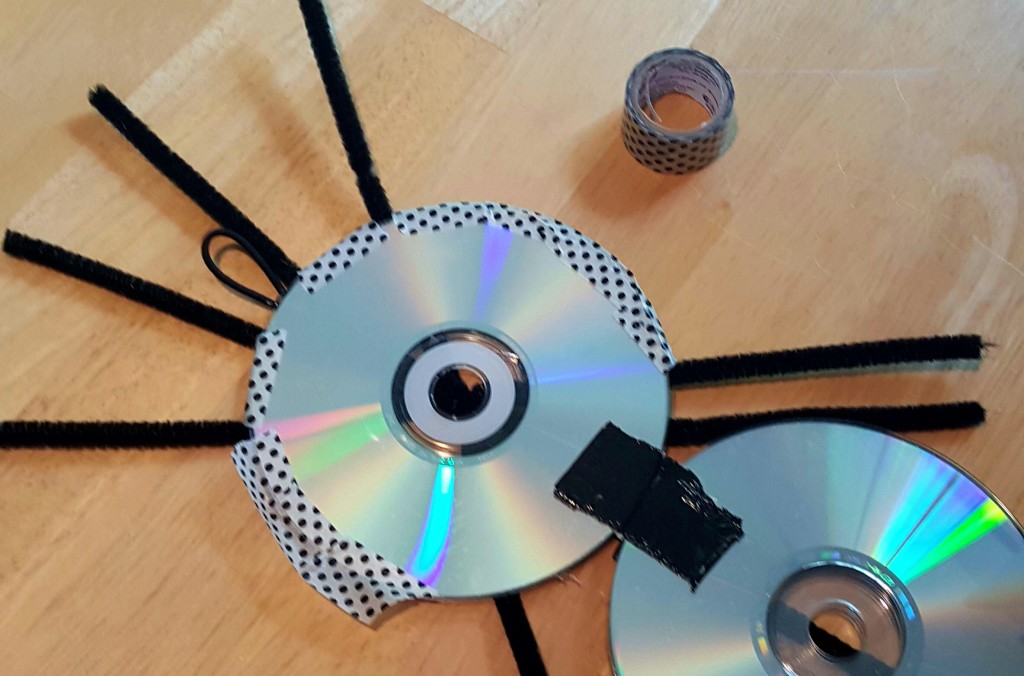
STEP ONE: Place CDs 1/4″ apart and join with piece of duck tape. Flip over and place another piece of duck tape on the back. Join six CDs. You could choose more or less, just use an even number.
STEP TWO:
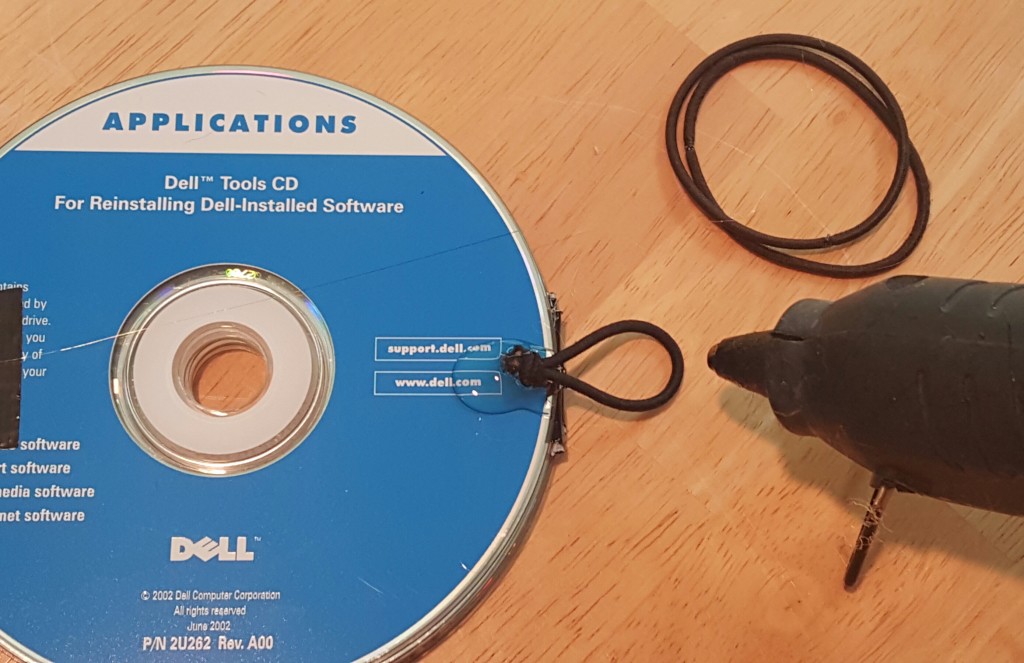
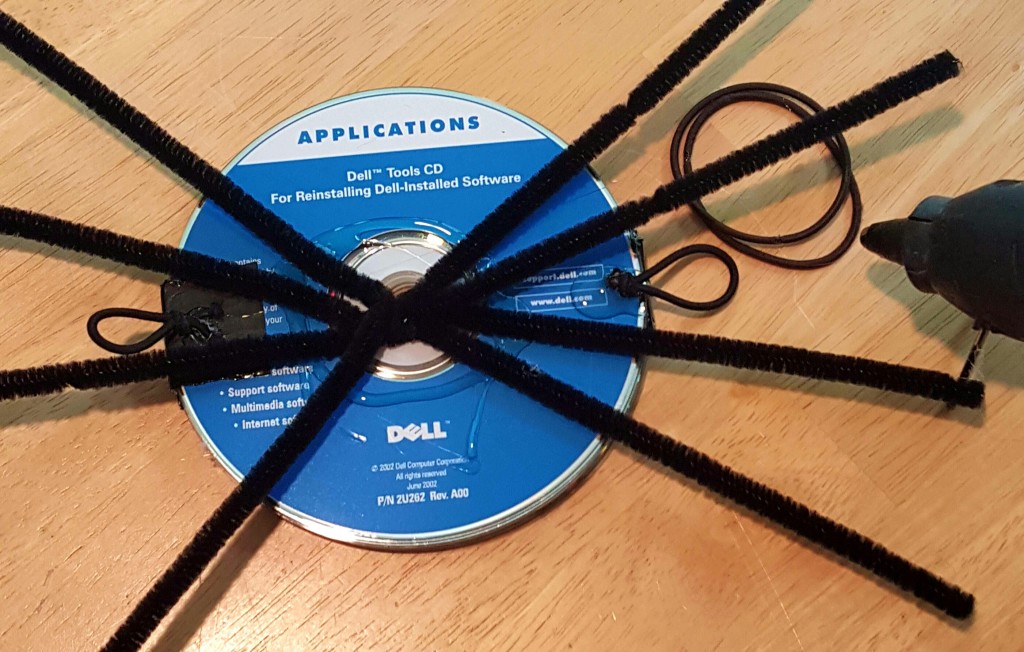
Fold up CDs like an accordion and make sure it opens on the left side (this is the back). Cut a four inch piece of elastic or cut a hair twanger, fold in 1/2 and then hot glue or duck tape it on right side of top CD with 1/2″ of loop sticking out beyond the CDs.
VARIATION OPTION: If you would like your CD Scrapbook to be more like a traditional book and not open like an accordion, you can place a piece of duck tape on the left side with half on the front and half on the back.
I made my CD mini album with an accordion fold so I repeated the step above on the left side.
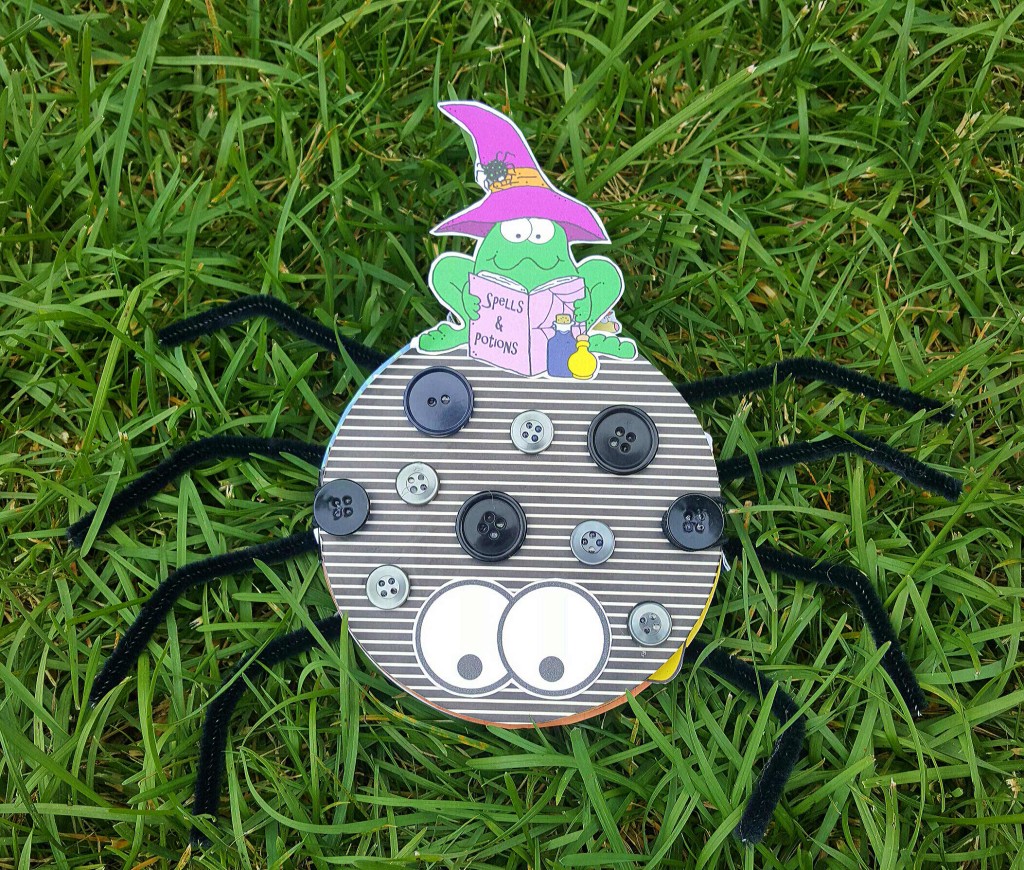
STEP THREE: Take four black pipe cleaners and twist together in the middle. Then adhere them in the middle of the left CD.
STEP FOUR: Using hot glue, adhere a CD directly on top of pipe cleaners. Place washi tape, or you could use duck tape, around the edge of the two CDs “sandwiching” the pipe cleaners to give it a more finished look.
STEP FIVE: Now the really fun part…Jazzing up your album…
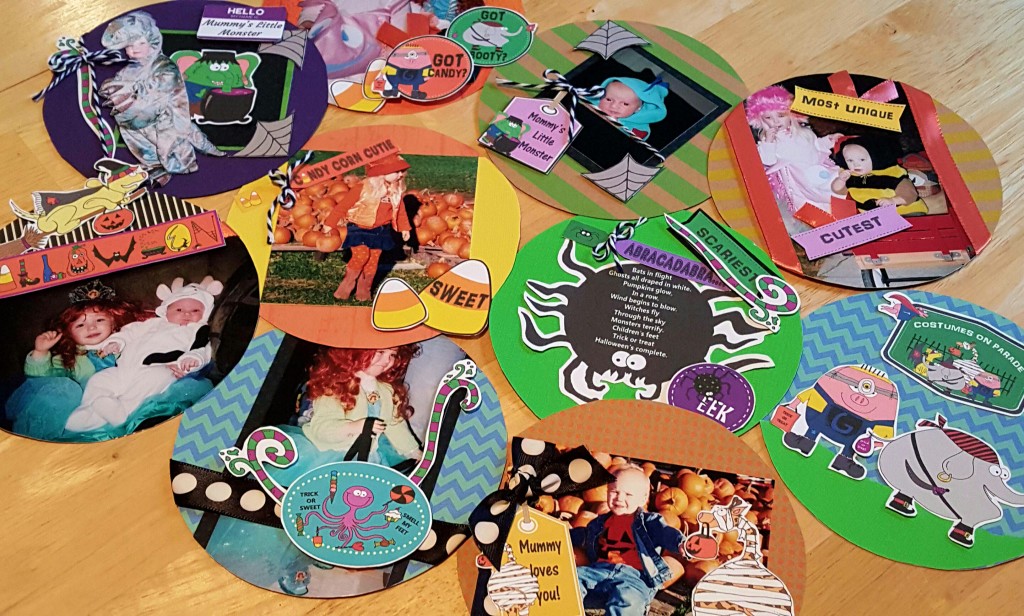
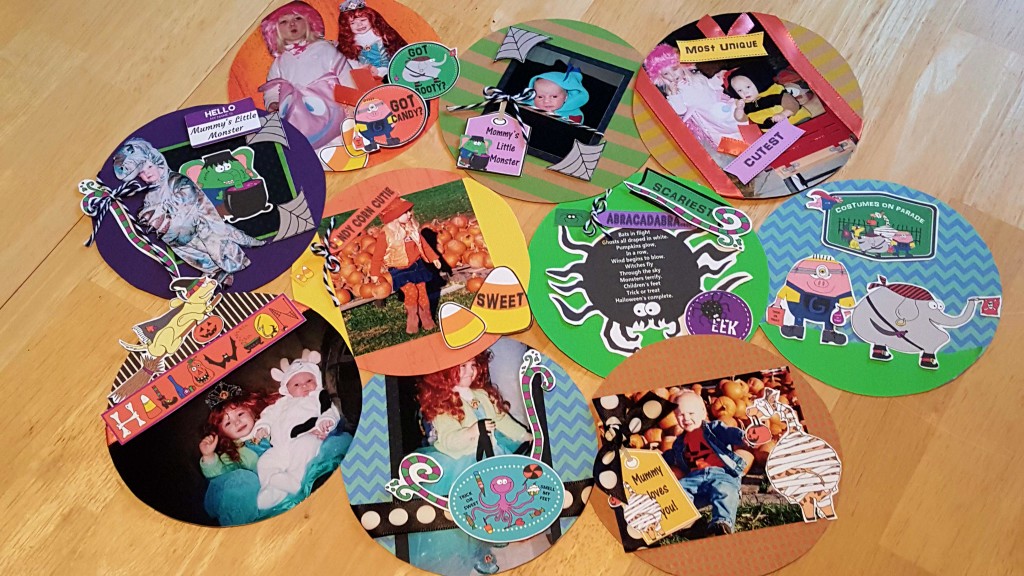
Trace a CD on decorative paper and then cut out just a little inside of your traced line. Cut 12 circles.
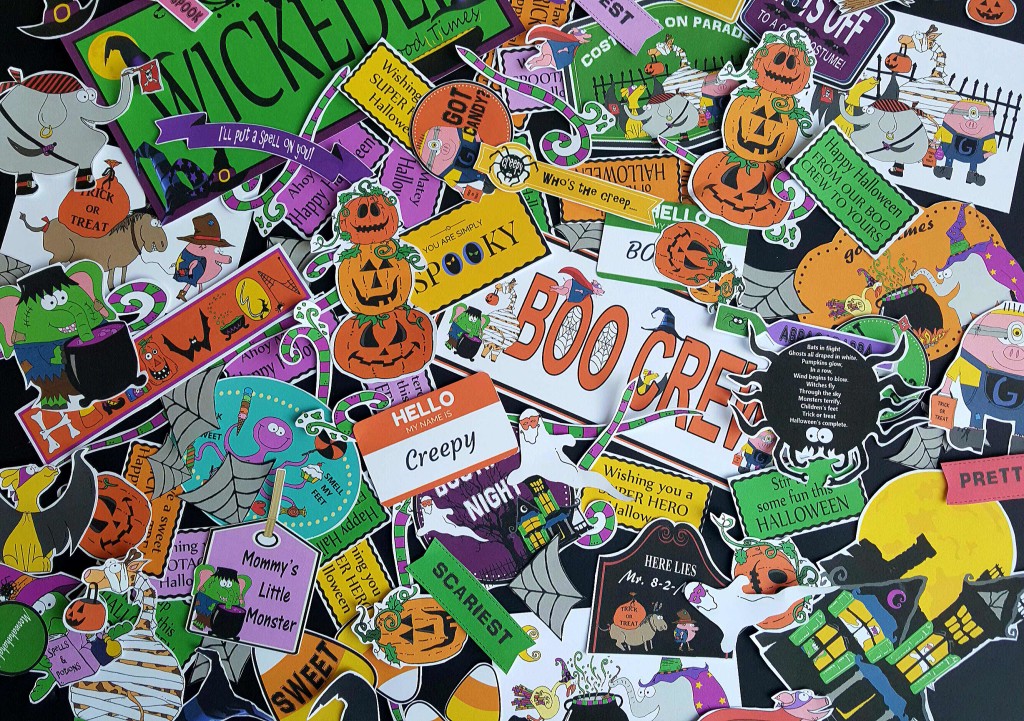
Add pictures, ribbons, and Halloween embellishments to create your one of a kind Spider Album!
STEP SIX : To finish it up, decorate the front of your album. Slightly bend pipe cleaners to form spider legs.
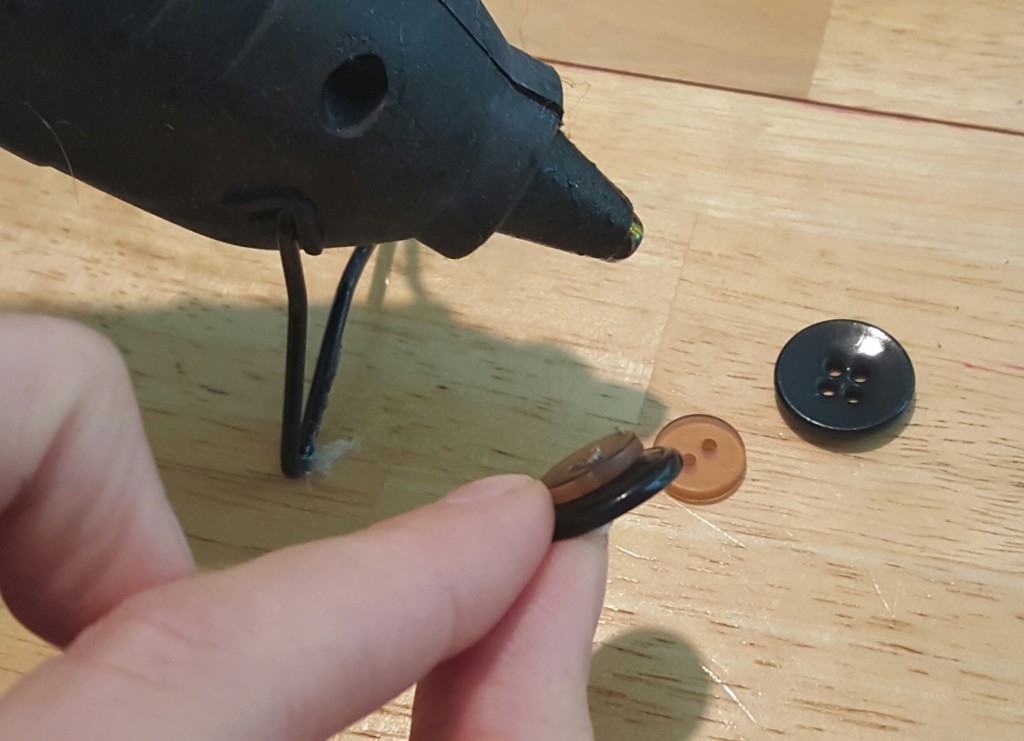
Take a small button and glue to a slightly larger button, so that the elastic closures can slip around it and stay secure when album is shut. Make two of these. and then glue to the front of your album on the right and left sides. Once glue has cooled, wrap elastic loops from back sides of album over the layered buttons to close.
Ok…now repeat steps above and make another one! This is a wonderful gift with photos or create one that the lucky recipient can add their own!
Thanks for crating with me, do come again 🙂
HAPPY HALLOWEEN…
Muwahahahahahahahahahahah!
View our complete HALLOWEEN CLIP ART COLLECTION here.
CLICK HERE to purchase our Mini Halloween Clip Art Collection 🙂
Shared on THE SCOOP Linky Party
