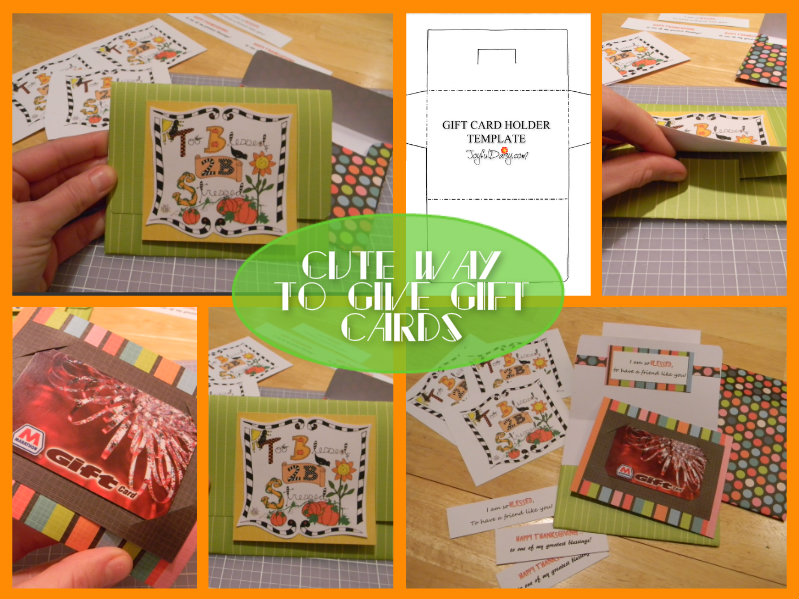
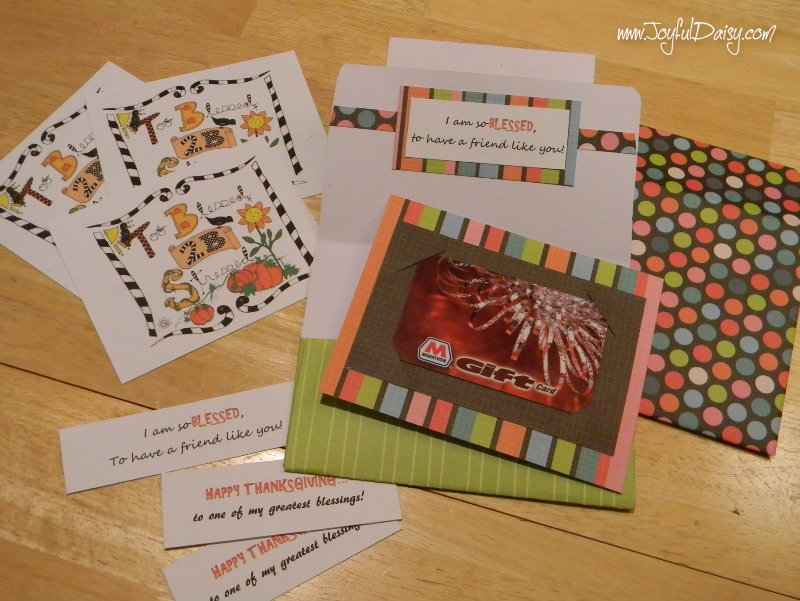
This gift card holder template is a quick way to wrap your gift card in style and you can customize it for the lucky recipient by using different papers, stickers, and stamps! I just love giving and receiving gift cards and half the fun is creating an adorable way to present it! Just think, you can use sports paper and stickers for a Dunham’s gift card. Or just think of how cute a coffee themed gift card holder would be featuring a Starbucks gift card! Ok, ok you get the picture, take a simple template and the ideas are limitless!
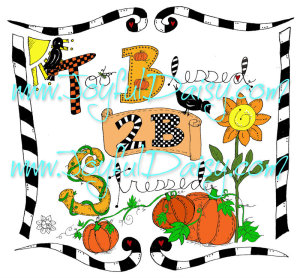
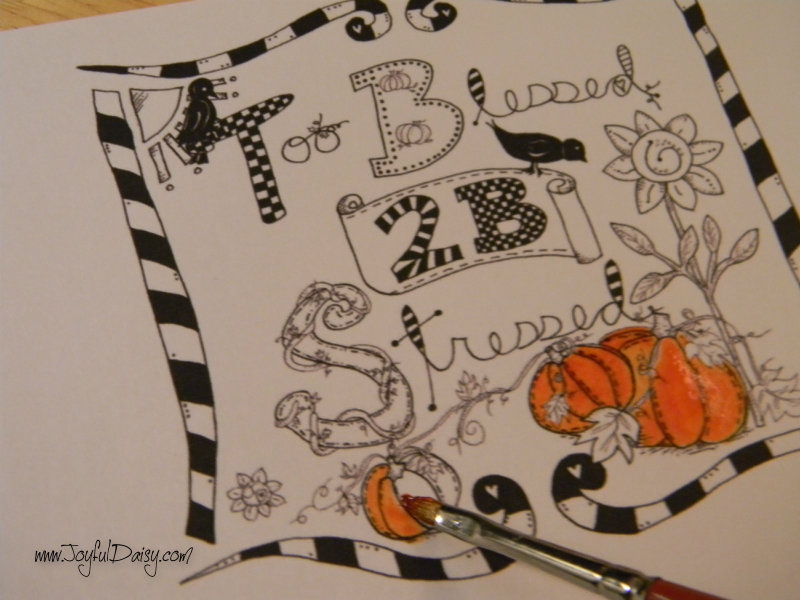
Since Thanksgiving is almost here, I decided to create a fall themed gift card holder to share with you, featuring a Joyful Daisy original – Too Blessed 2B Stressed digital stamp! I paired it with a gas card, I mean how perfect for how much we travel during the holidays!
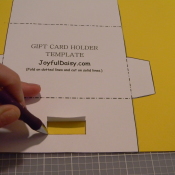
First just print out your gift card holder template,
preferably on cardstock so it is more durable and easy to trace.
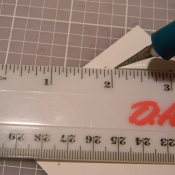
Cut along the solid lines of the template. You will need an Xacto knife to cut the small solid lines in the small flap.
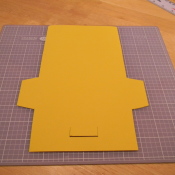
Trace your template on chosen paper.
Be sure to lift up flap and trace inner cut lines on flap.
Make small lines on the paper where the top fold will go.
Cut out traced pattern.
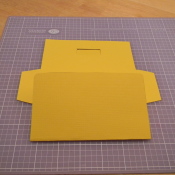
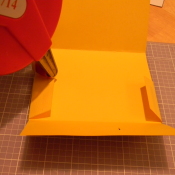
Fold large flap. (Or you can just bend it down and place in the cut out flap once you fold up bottom and then press down fold.)
Fold in small side flaps and bottom flap.
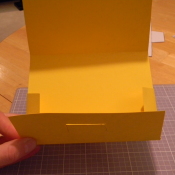
Place adhesive on small flaps and fold small bottom flap over them.
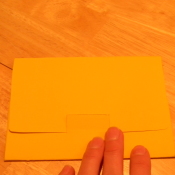
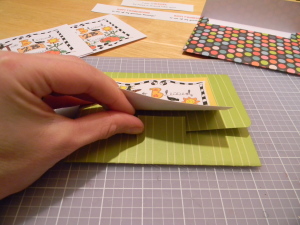
Fold down large top flap and hold down with tiny cut out flap. (If top flap is a bit long, you can always make small side cuts on small cut out flap a bit longer.)
NOW TO DECORATE!
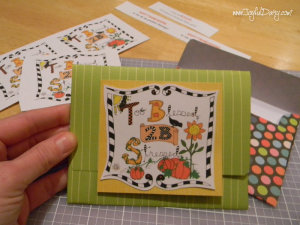
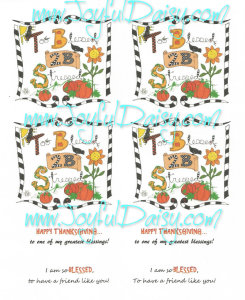
To decorate the front, I printed out our whimsical fall digital stamp designs available at Joyful Daisy Boutique on ETSY! – Too Blessed to be Stressed and then matted on a 3 1/2″ x 4 1/2″ piece of paper.
When you adhere this to the front of your card, just place adhesive on the top half.
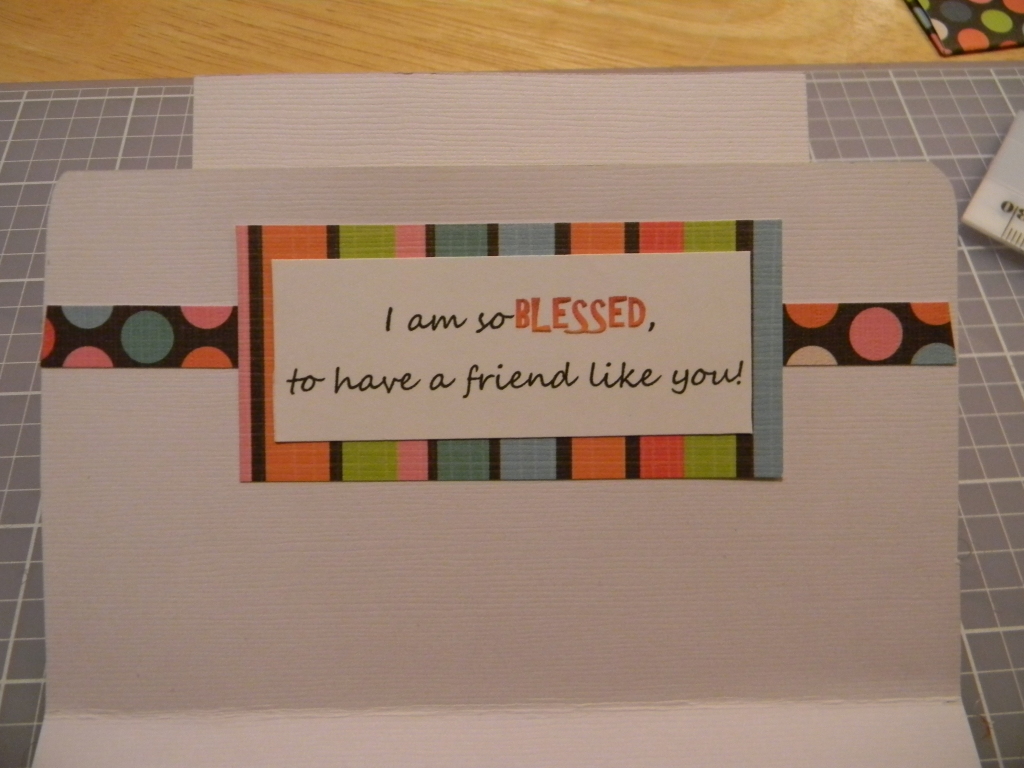
I also decorated the inside of the with the verbiage that comes with our fall digital stamps.
CREATE INSIDE CARD…
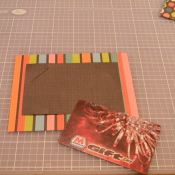
Cut a piece of paper 4 1/2″ x 3″.
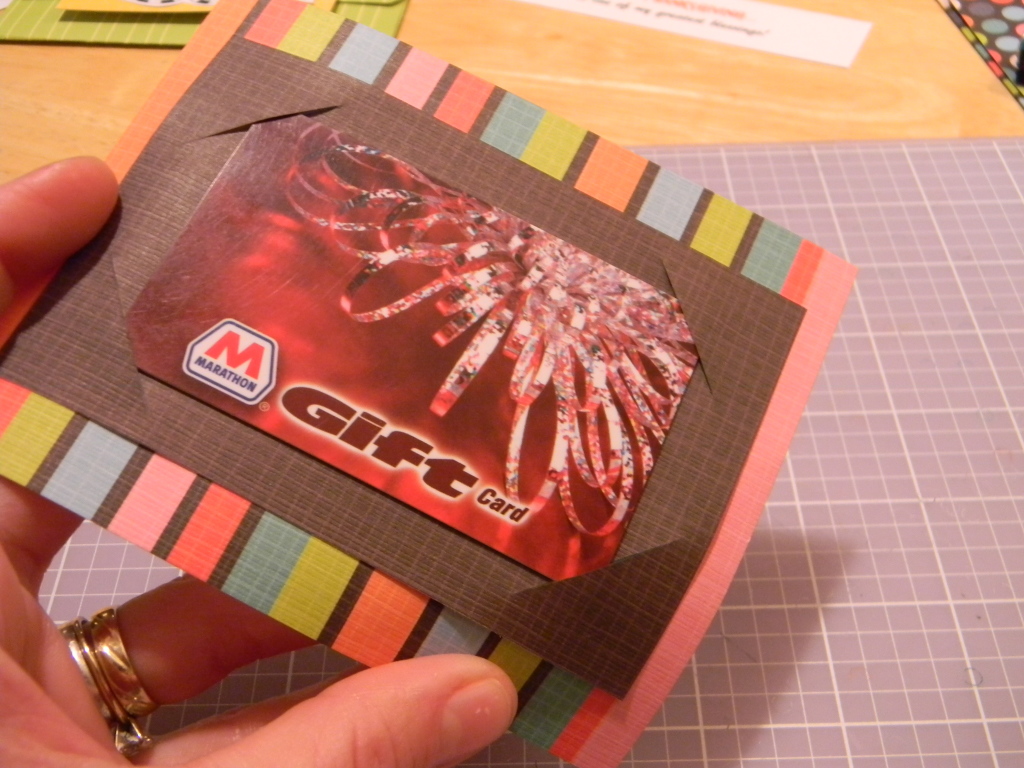
Make marks 1/4″ down and 1″ in from each corner.
Using an Xacto knife, cut a slit between marks on each corner.
Adhere that piece of paper to a 4″ x 5″ piece of complimentary paper.
So what are you waiting for? Go get all your shopping done with an assortment of gift cards and then while everyone is shopping in the madness, you can stay cozy at home crafting with cocoa 🙂
Keep things joyful and check out our cute digital cards, stamps, and craft labels at the…
