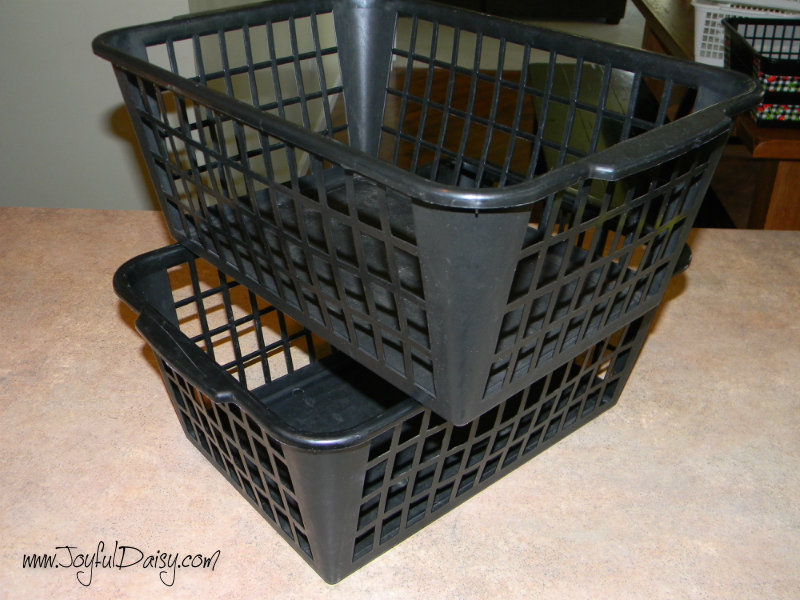
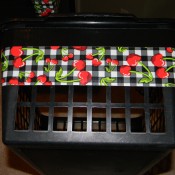
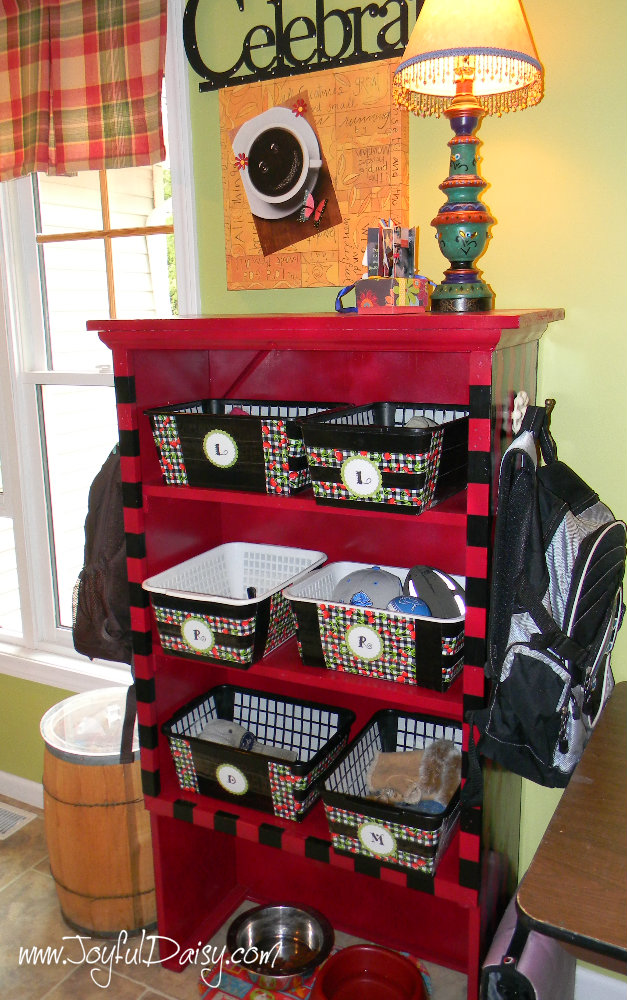
Today we feature a little duck tape makeover for these old plastic bins. This is the perfect duck tape craft to help with the organization needed in the mud room and will look adorable in our newly refurbished hutch!
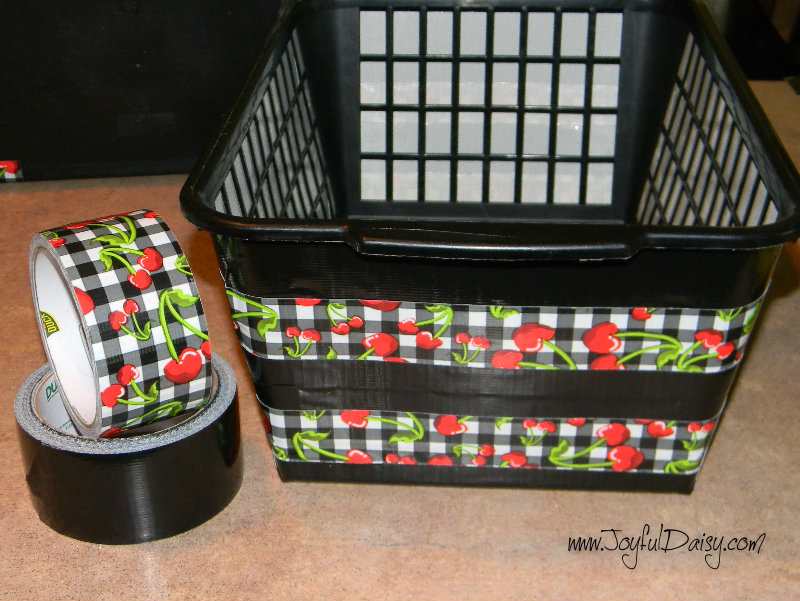
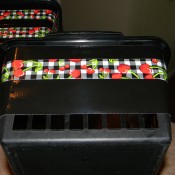
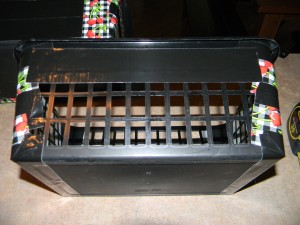
For the ends of the bins, cut duck tape 2″ bigger then the ends and then starting at the top with black tape it across wrapping the ends around the sides.
Then place a strip of the cherry checked duck tape about 1″ down the black.
Continue down the side with another layer of black, cherry, and then black again.
REPEAT on opposite end of bin.
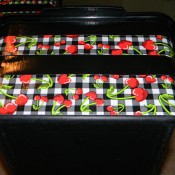
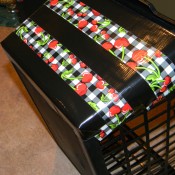
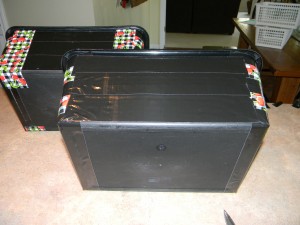
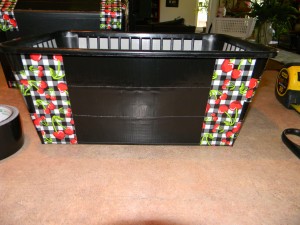
On the sides place three rows of black duck tape about 1″ in from each side.
Then add some cherry checked duck tape to both sides and wrap around to the bottom of the bin.
REPEAT on opposite side.
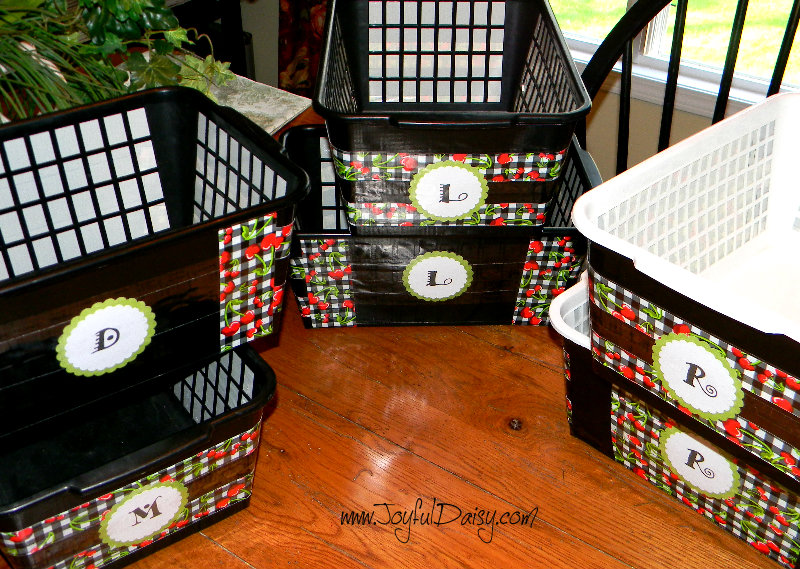
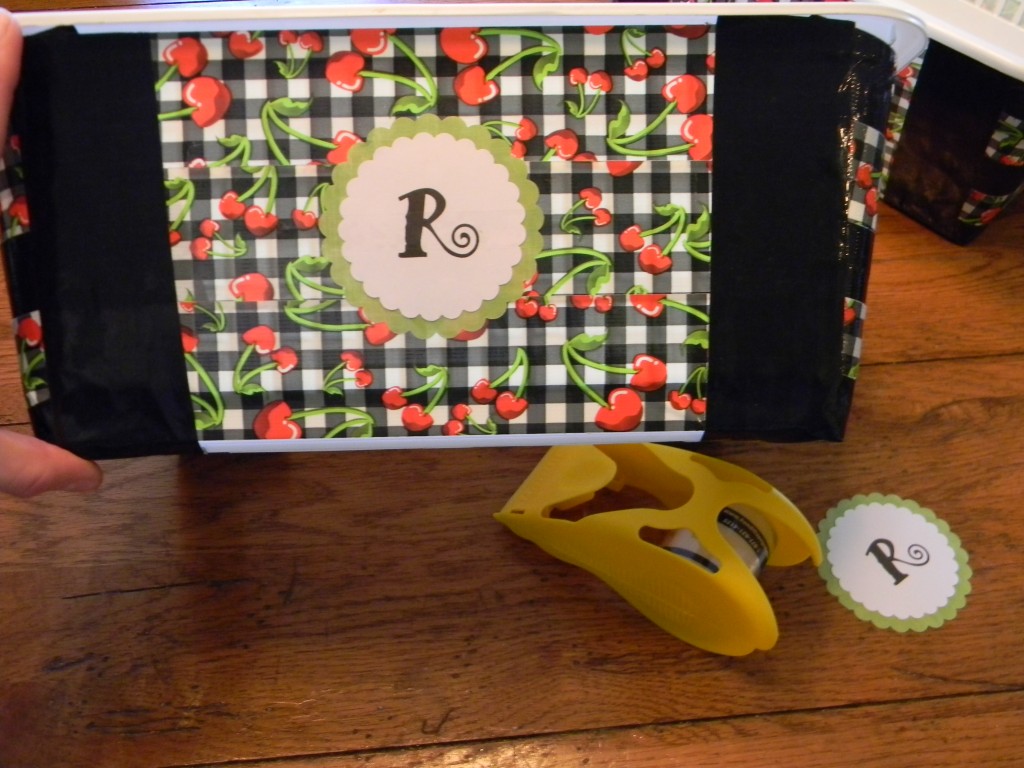
Print out some letters on cardstock and cut out. I used these adorable scalloped circle punches.
Then I punched out a larger scalloped circle out of a contrasting green and matted the monogrammed circle.
Then a used 2 long pieces of clear packing tape over the monogrammed circle to hold it in place and protect it.
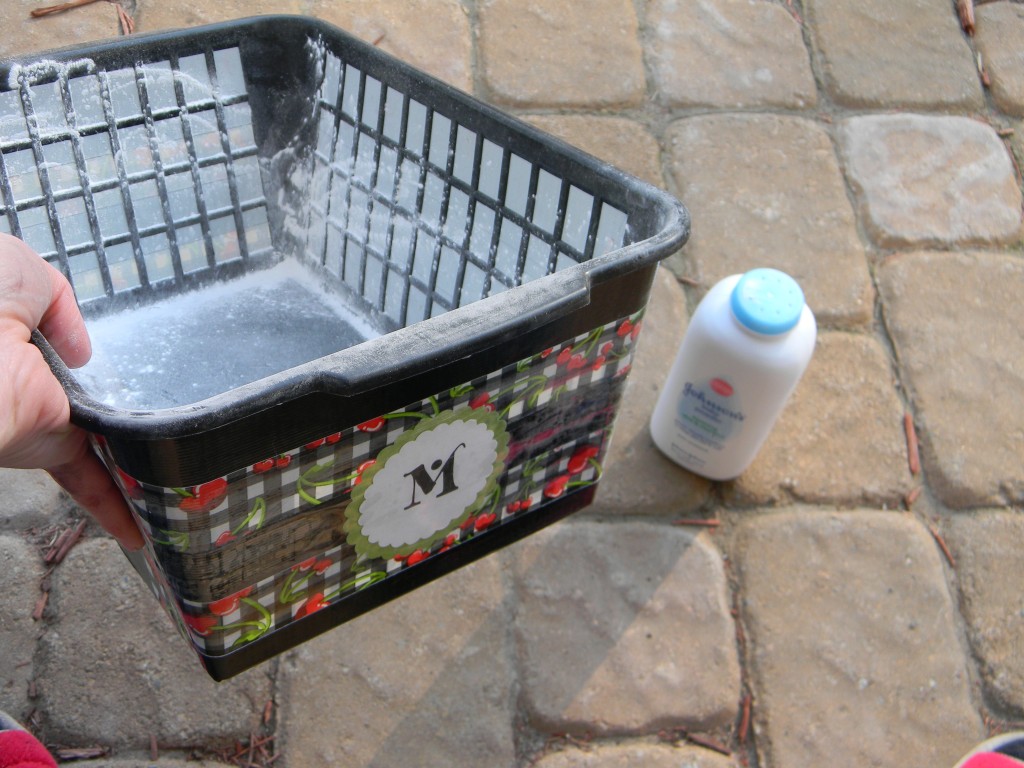
Lastly I added some baby powder to the inside of my bins and then shook it around so that the duck tape showing on the inside of the bin is no longer sticky.
Now in hopes of staying more organized with all those little things that tend to find their way to the kitchen counter, we have 1-2 bins for each of us to drop in our little do-dads and what nots!
Check out our refurbished hutch tutorial to see just how easy it is to breathe new life into and old piece of furniture.
*************************************************************************************************
