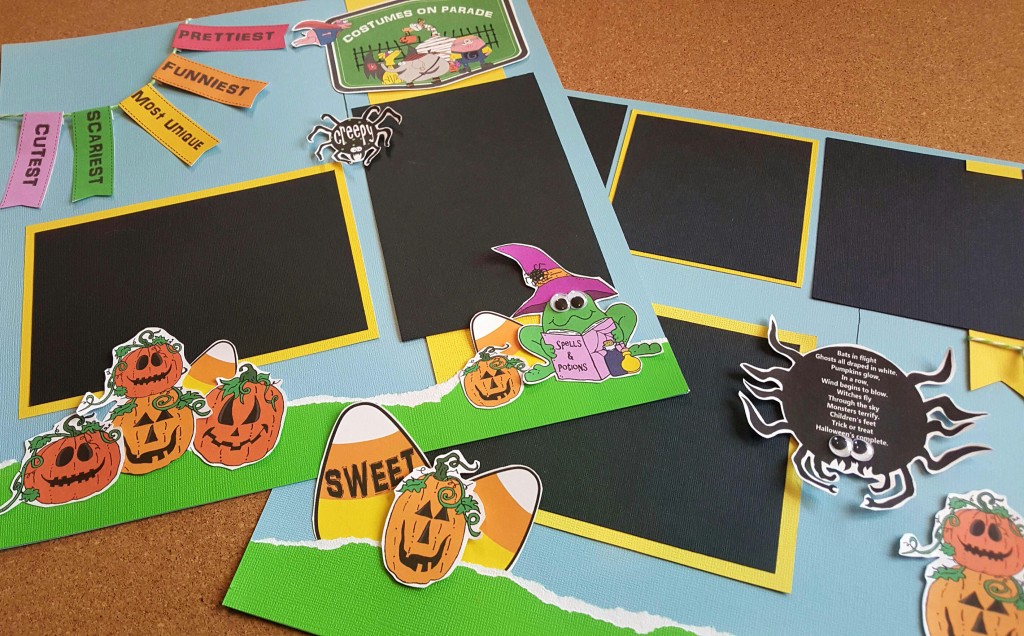
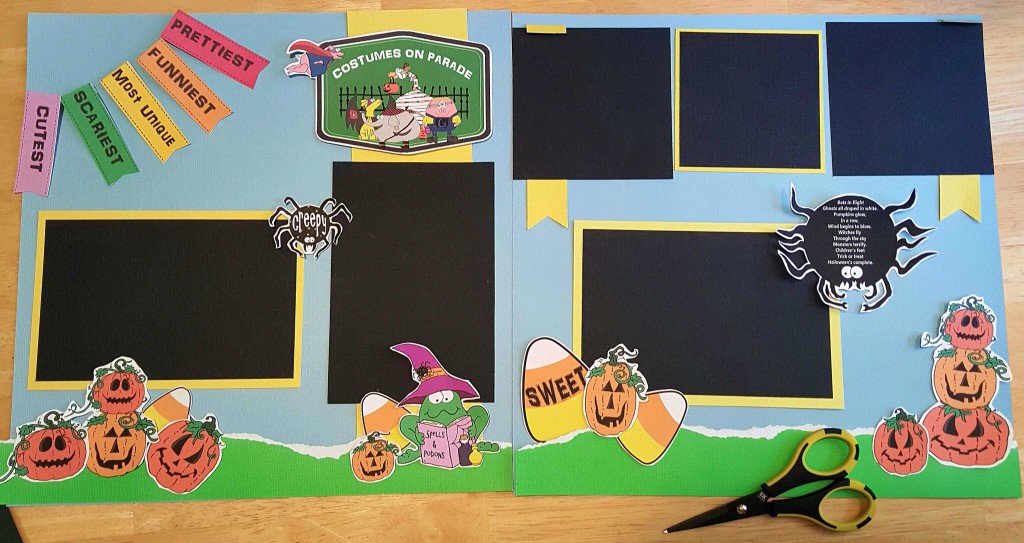
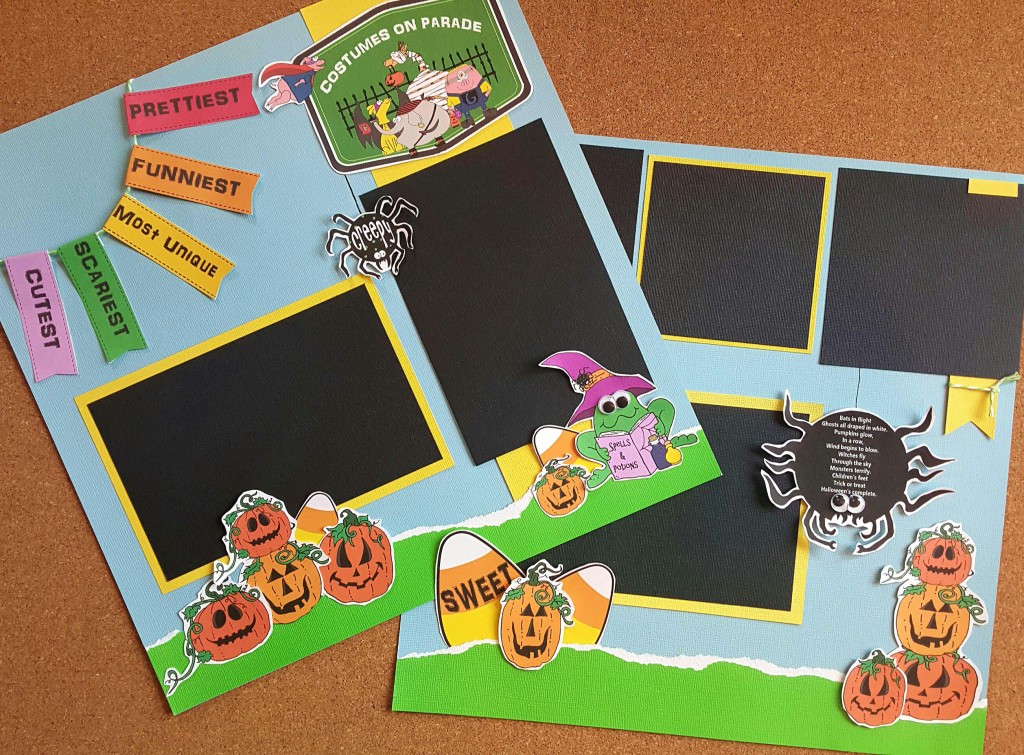
Mirror, mirror on the wall, who’s the prettiest, funniest, most unique, scariest, and cutest of them all? Halloween costumes that is! Check out this fun layout, a perfect place to feature all your favorite Halloween costume pictures! And it is so quick and simple, you can whip it up in a jiffy! No excuses now, let’s get crafting!
SUPPLIES:
- Two light blue 12″ x 12″ pieces of paper
- Two yellow 12″ x 12″ pieces of paper (Cut two 4 1/2″ x 6 1/2″ pieces, one 3 3/4″ square, one 1″ x 12″ piece, and one 3″ x 12″ piece)
- One lime green 12″ x 12″ piece paper
- Two black 12″ x 12″ pieces of paper (Cut three 4″ x 6″ black pieces, two 4″ x 4″ black pieces, and one 3 1/2″ x 3 1/2″ piece)
- Two 4″ x 4″ black pieces of paper
- 20″ piece of bakery twine or thin ribbon
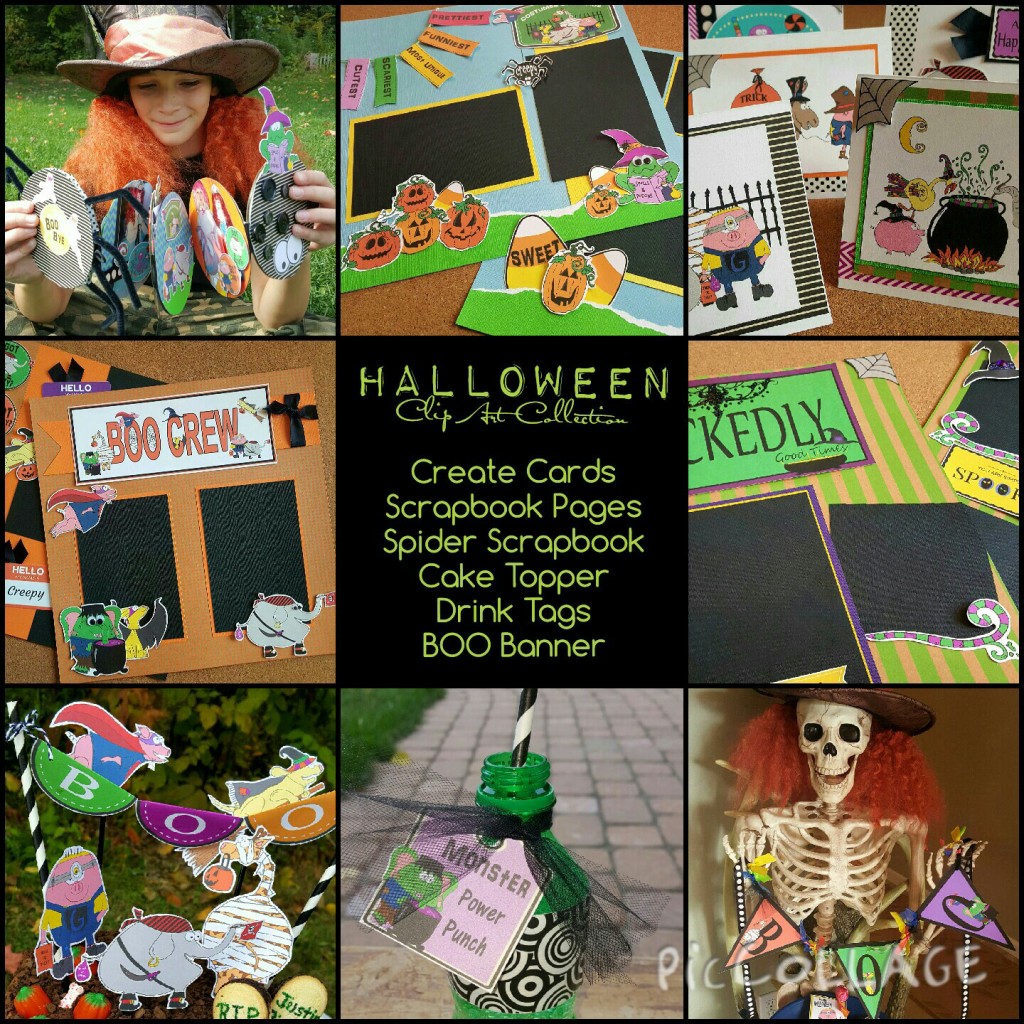
- Halloween Clip Art Collection
TOOLS: Scissors, paper trimmer, ruler, googly eyes, adhesives ( I used my tape runner gun, refills, and dimensional tape)
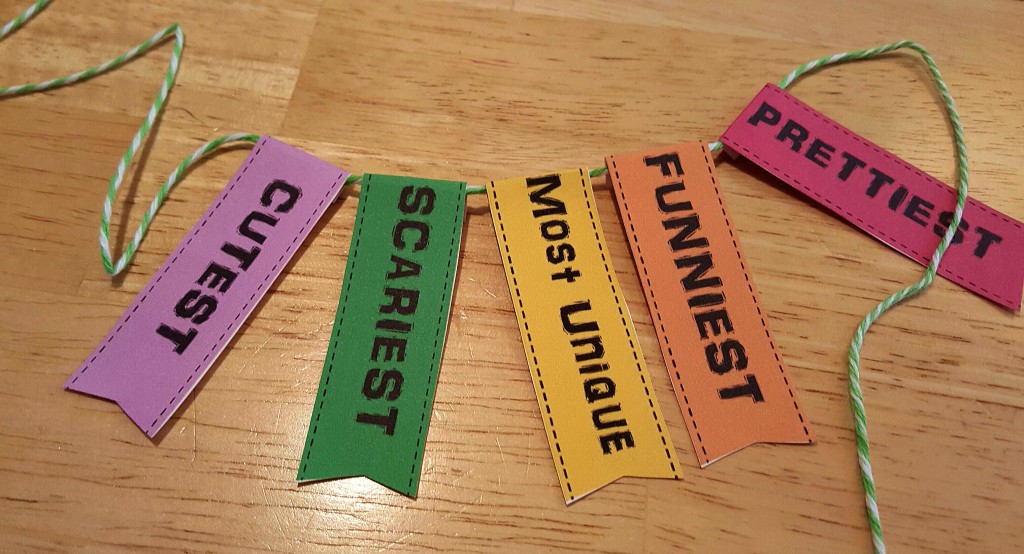
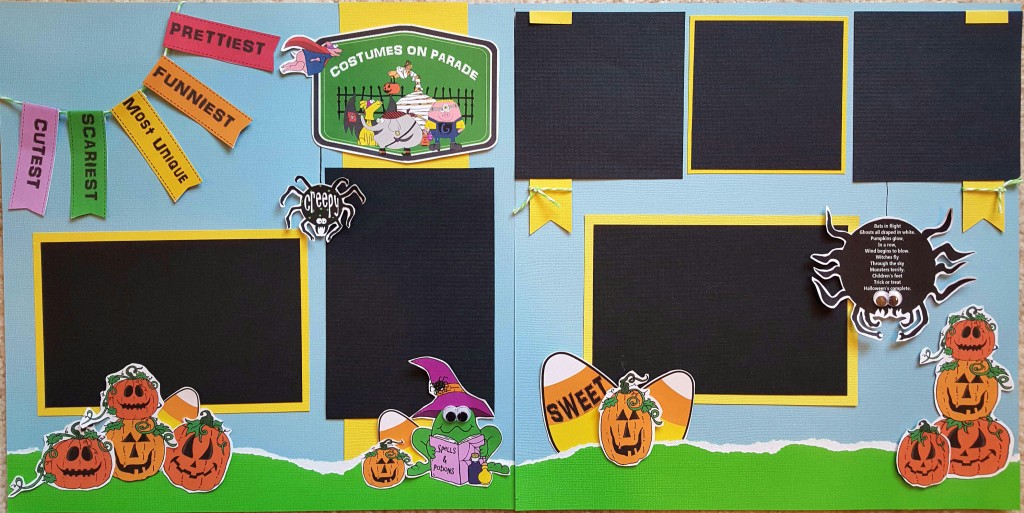
I envisioned how I wanted this layout to look pretty quickly. Simple blue background, with some torn green strips at the bottom for grass, with a “kite like” feel layout with my prettiest, funniest, most unique, scariest, and cutest tags. I just love the Costumes on Parade title tag featuring our favorite animals in their Halloween duds 🙂 It makes me think of all the cute kiddos at school, parading around the classrooms showing off their chosen costume for the year.
This layout is quite simple with a bit of clip layering here and there. With my “grass” I just started tearing about 1 1/2″ up from the edge, creating a 12″ long strip. Then measure how high up your ” grass goes on the right edge so that you can start your next strip at the same height so it flows from one page to the next. Cut your 1″ x 12″ yellow piece into two 5 3/4″ pieces and cut a dovetail at one end of each of them.
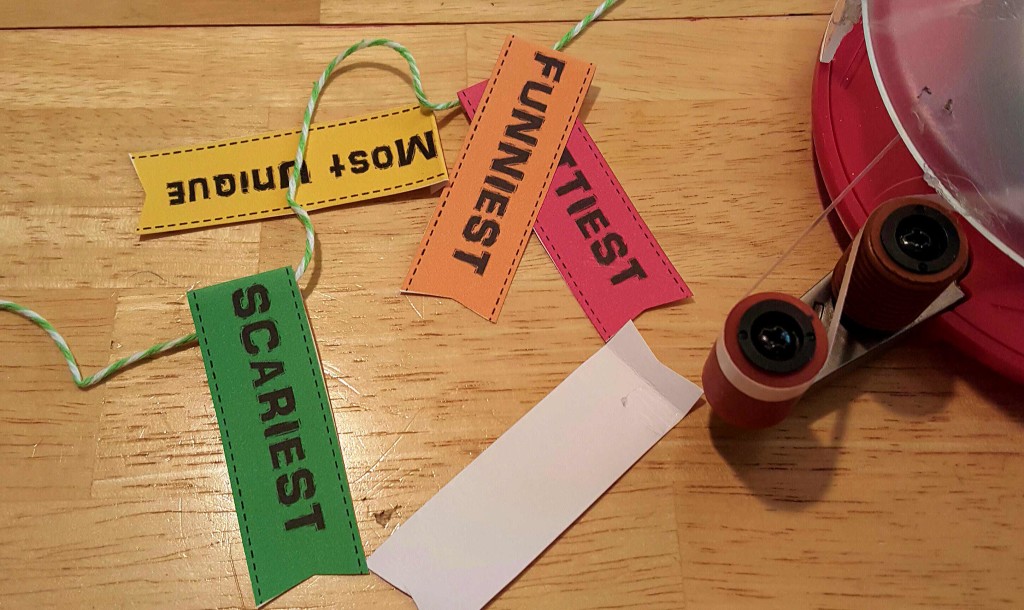
Fold over the right side end about 1/4″. Add a little adhesive to that end, fold it over your ribbon or bakery twine to create “kite like” banner. Attach the rest of the descriptive tags about 1/8″ apart from one another.
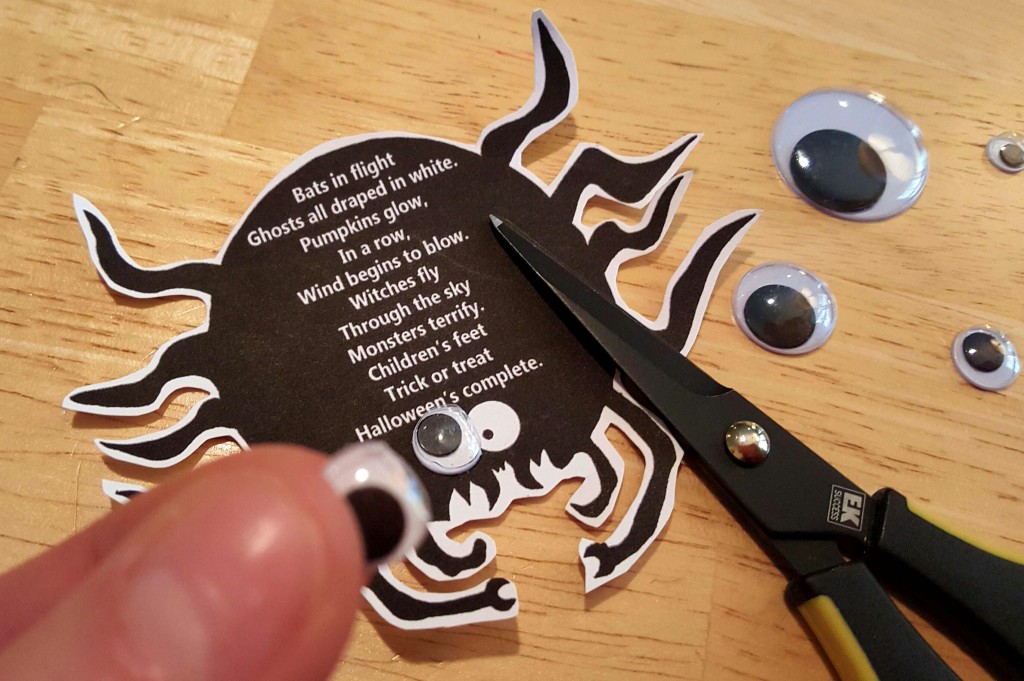
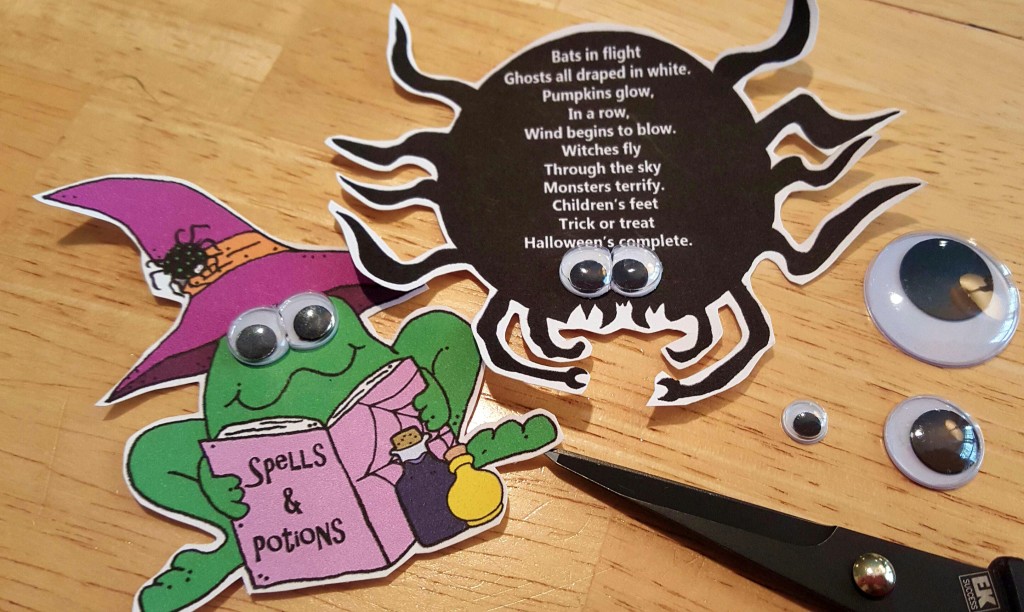
If you don’t mind the bulk, adhere some googly eyes to your spider poem and frog witch to add some fun whimsy to the layout. I cut both eyes a bit on one side so that they could fit close together.
To complete page, adhere your 3″ x 12″ yellow strip, followed by the grass strips. When you adhere your grass strips to the page, do not use adhesive to close to the top torn strip so that some images can slip behind it a little if you want. Add your yellow mat frames and fold over your skinny strips on the straight edge about 1/4″ and add to 4″ x 4″ frames. Tie a little piece of bakery twine to the bottom of those skinny strips. Adhere your clip art images to the page and to add a little more dimension, pop dot the spiders and a couple of the jack o lanterns 🙂
HAPPY HALLOWEEN!
CLICK HERE to bip on over to the Joyful Daisy Boutique and purchase our Halloween Clip Art Collection, you will be amazed at how much you can do!
