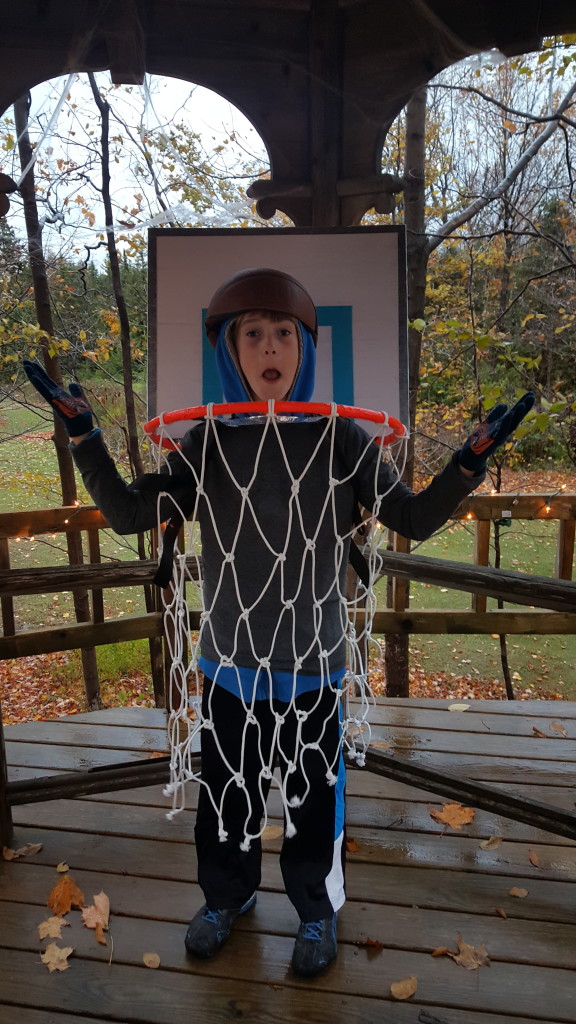
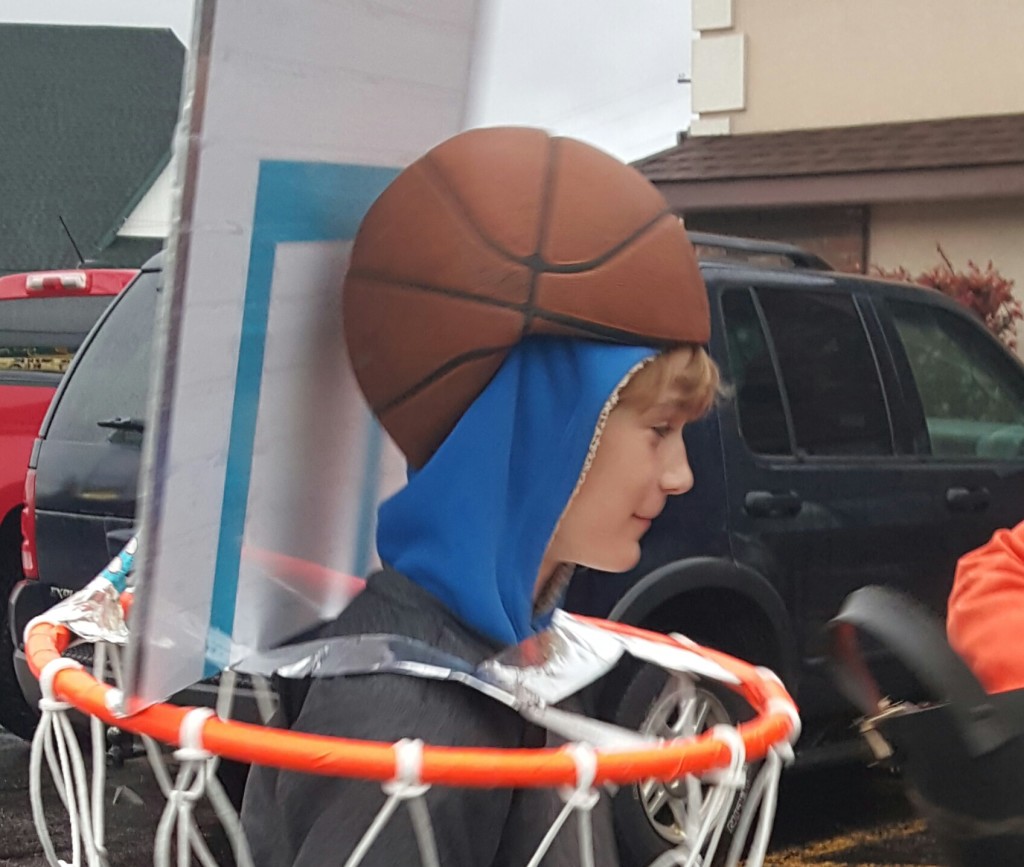
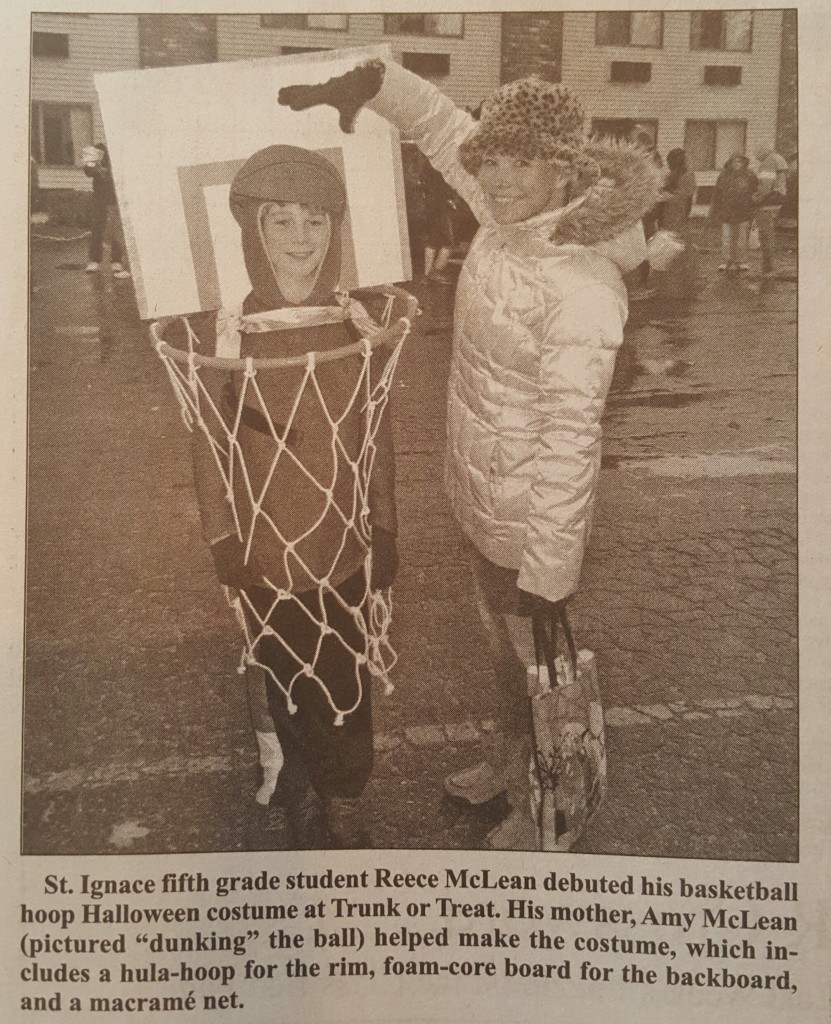
This homemade basketball hoop Halloween costume is a SLAM DUNK you might say! It’s also easy, inexpensive, and fun to make with the kids so that equals a WIN in my book!
SUPPLIES:
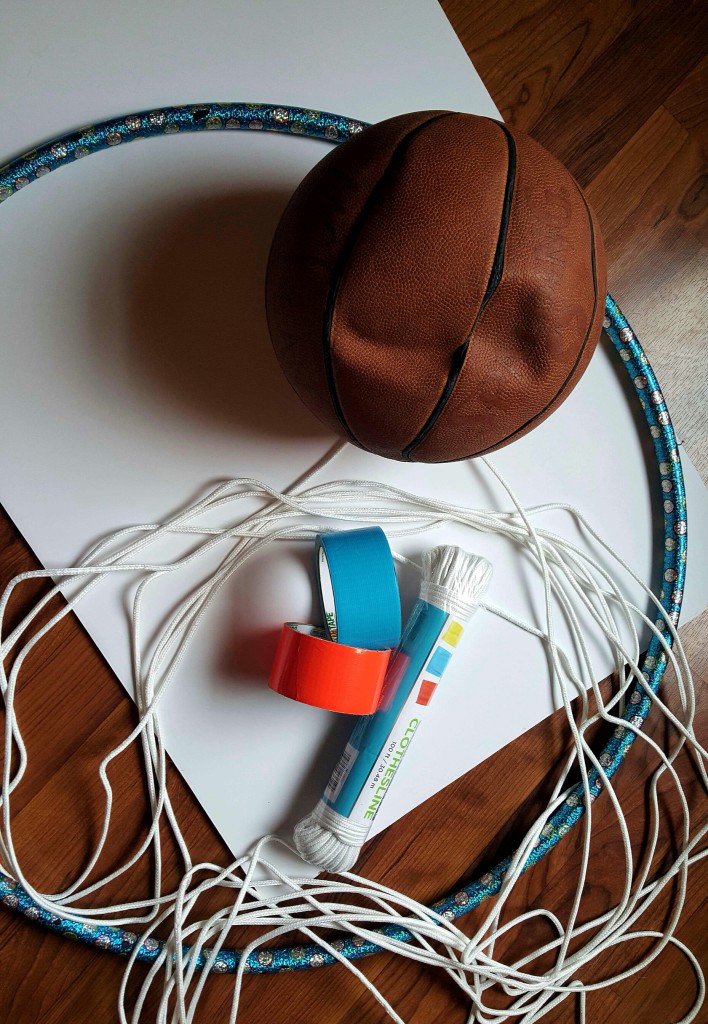
– Foam board
– Clothesline (2 – 100 foot packages)
– Hula Hoop (We used an (empty) water filled hula hoop which was easy to reconnect after we cut it down to size)
– Duck Tape (We used orange, silver, and blue)
– Packing Tape
– 2, four foot pieces of 2″ ribbon
– Old basketball for helmet
TOOLS:
– Pencil, ruler, scissors, carpentar’s knife
LET’S CREATE THE BASKETBALL RIM, SHALL WE…
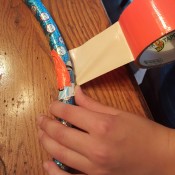
Cut hula hoop down to size, we cut off approximately 22 inches. Put ends together and reattach, we had a hula hoop that you could add water to so it could come apart and then reattach nicely. Duck tape to secure ends together and then cut 3-4″ strips of orange or red duck tape and cover the “rim”.
NOW LET’S CREATE THE BASKETBALL NET…
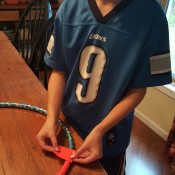
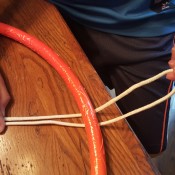
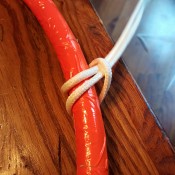
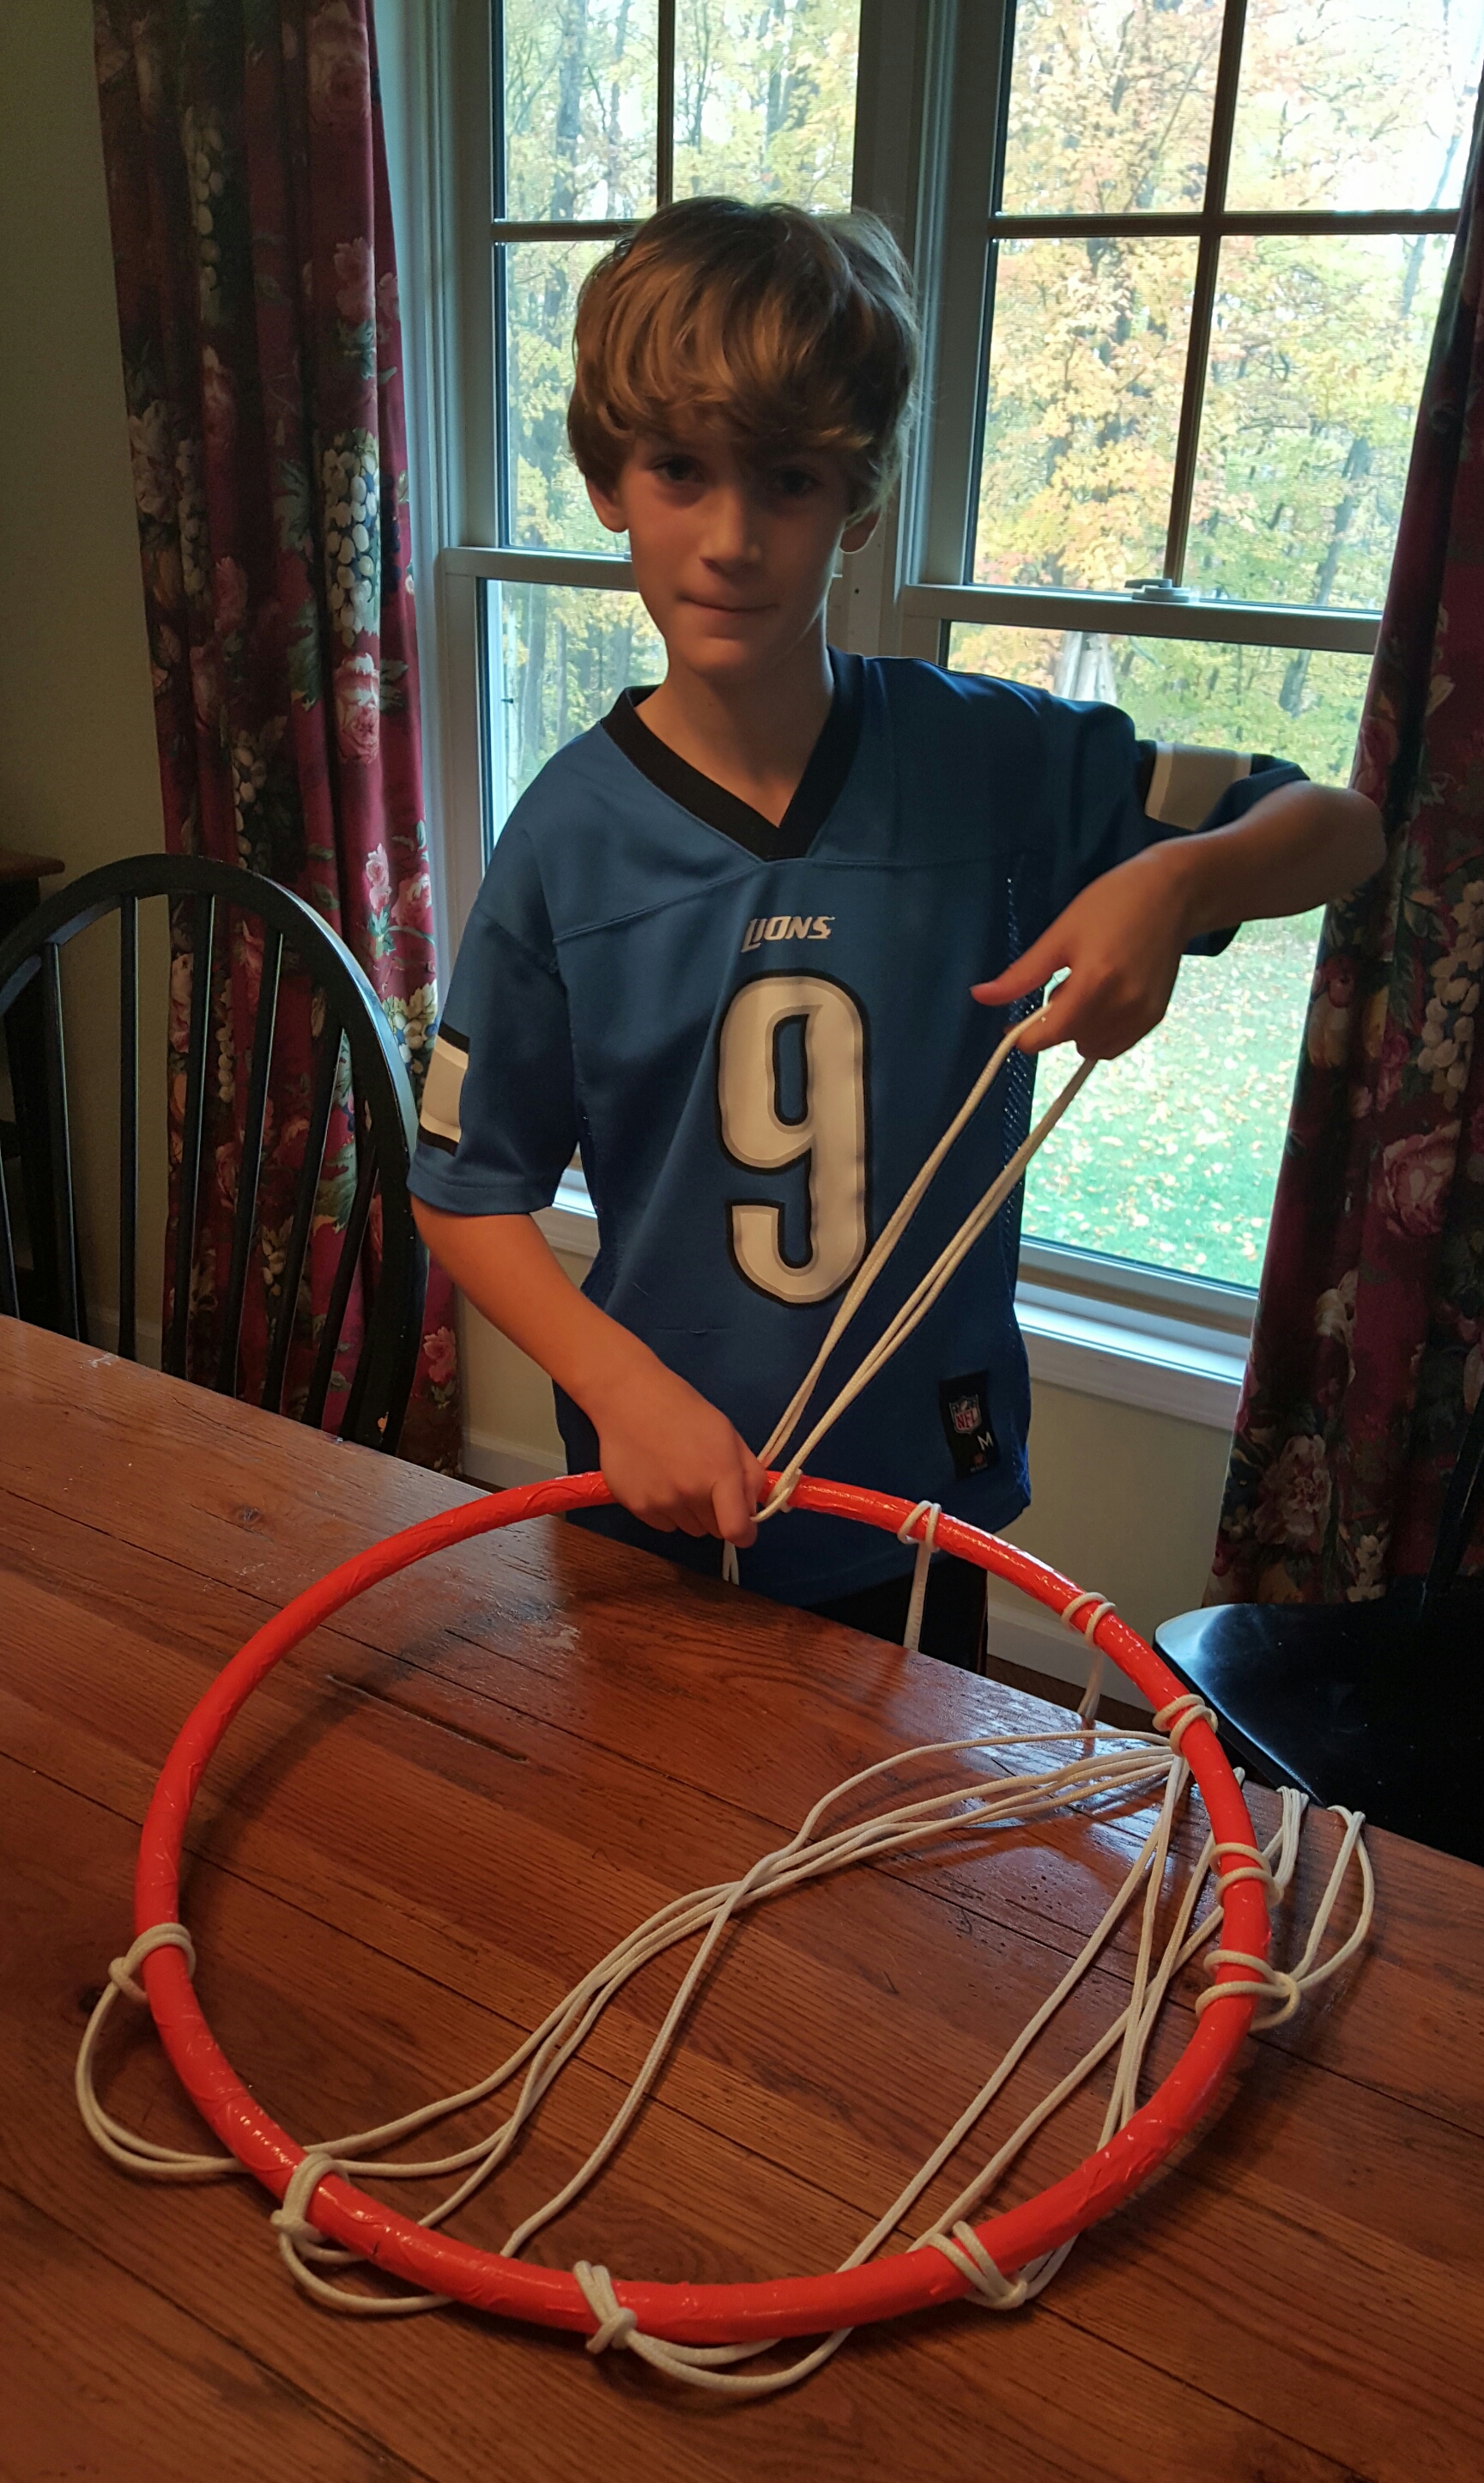
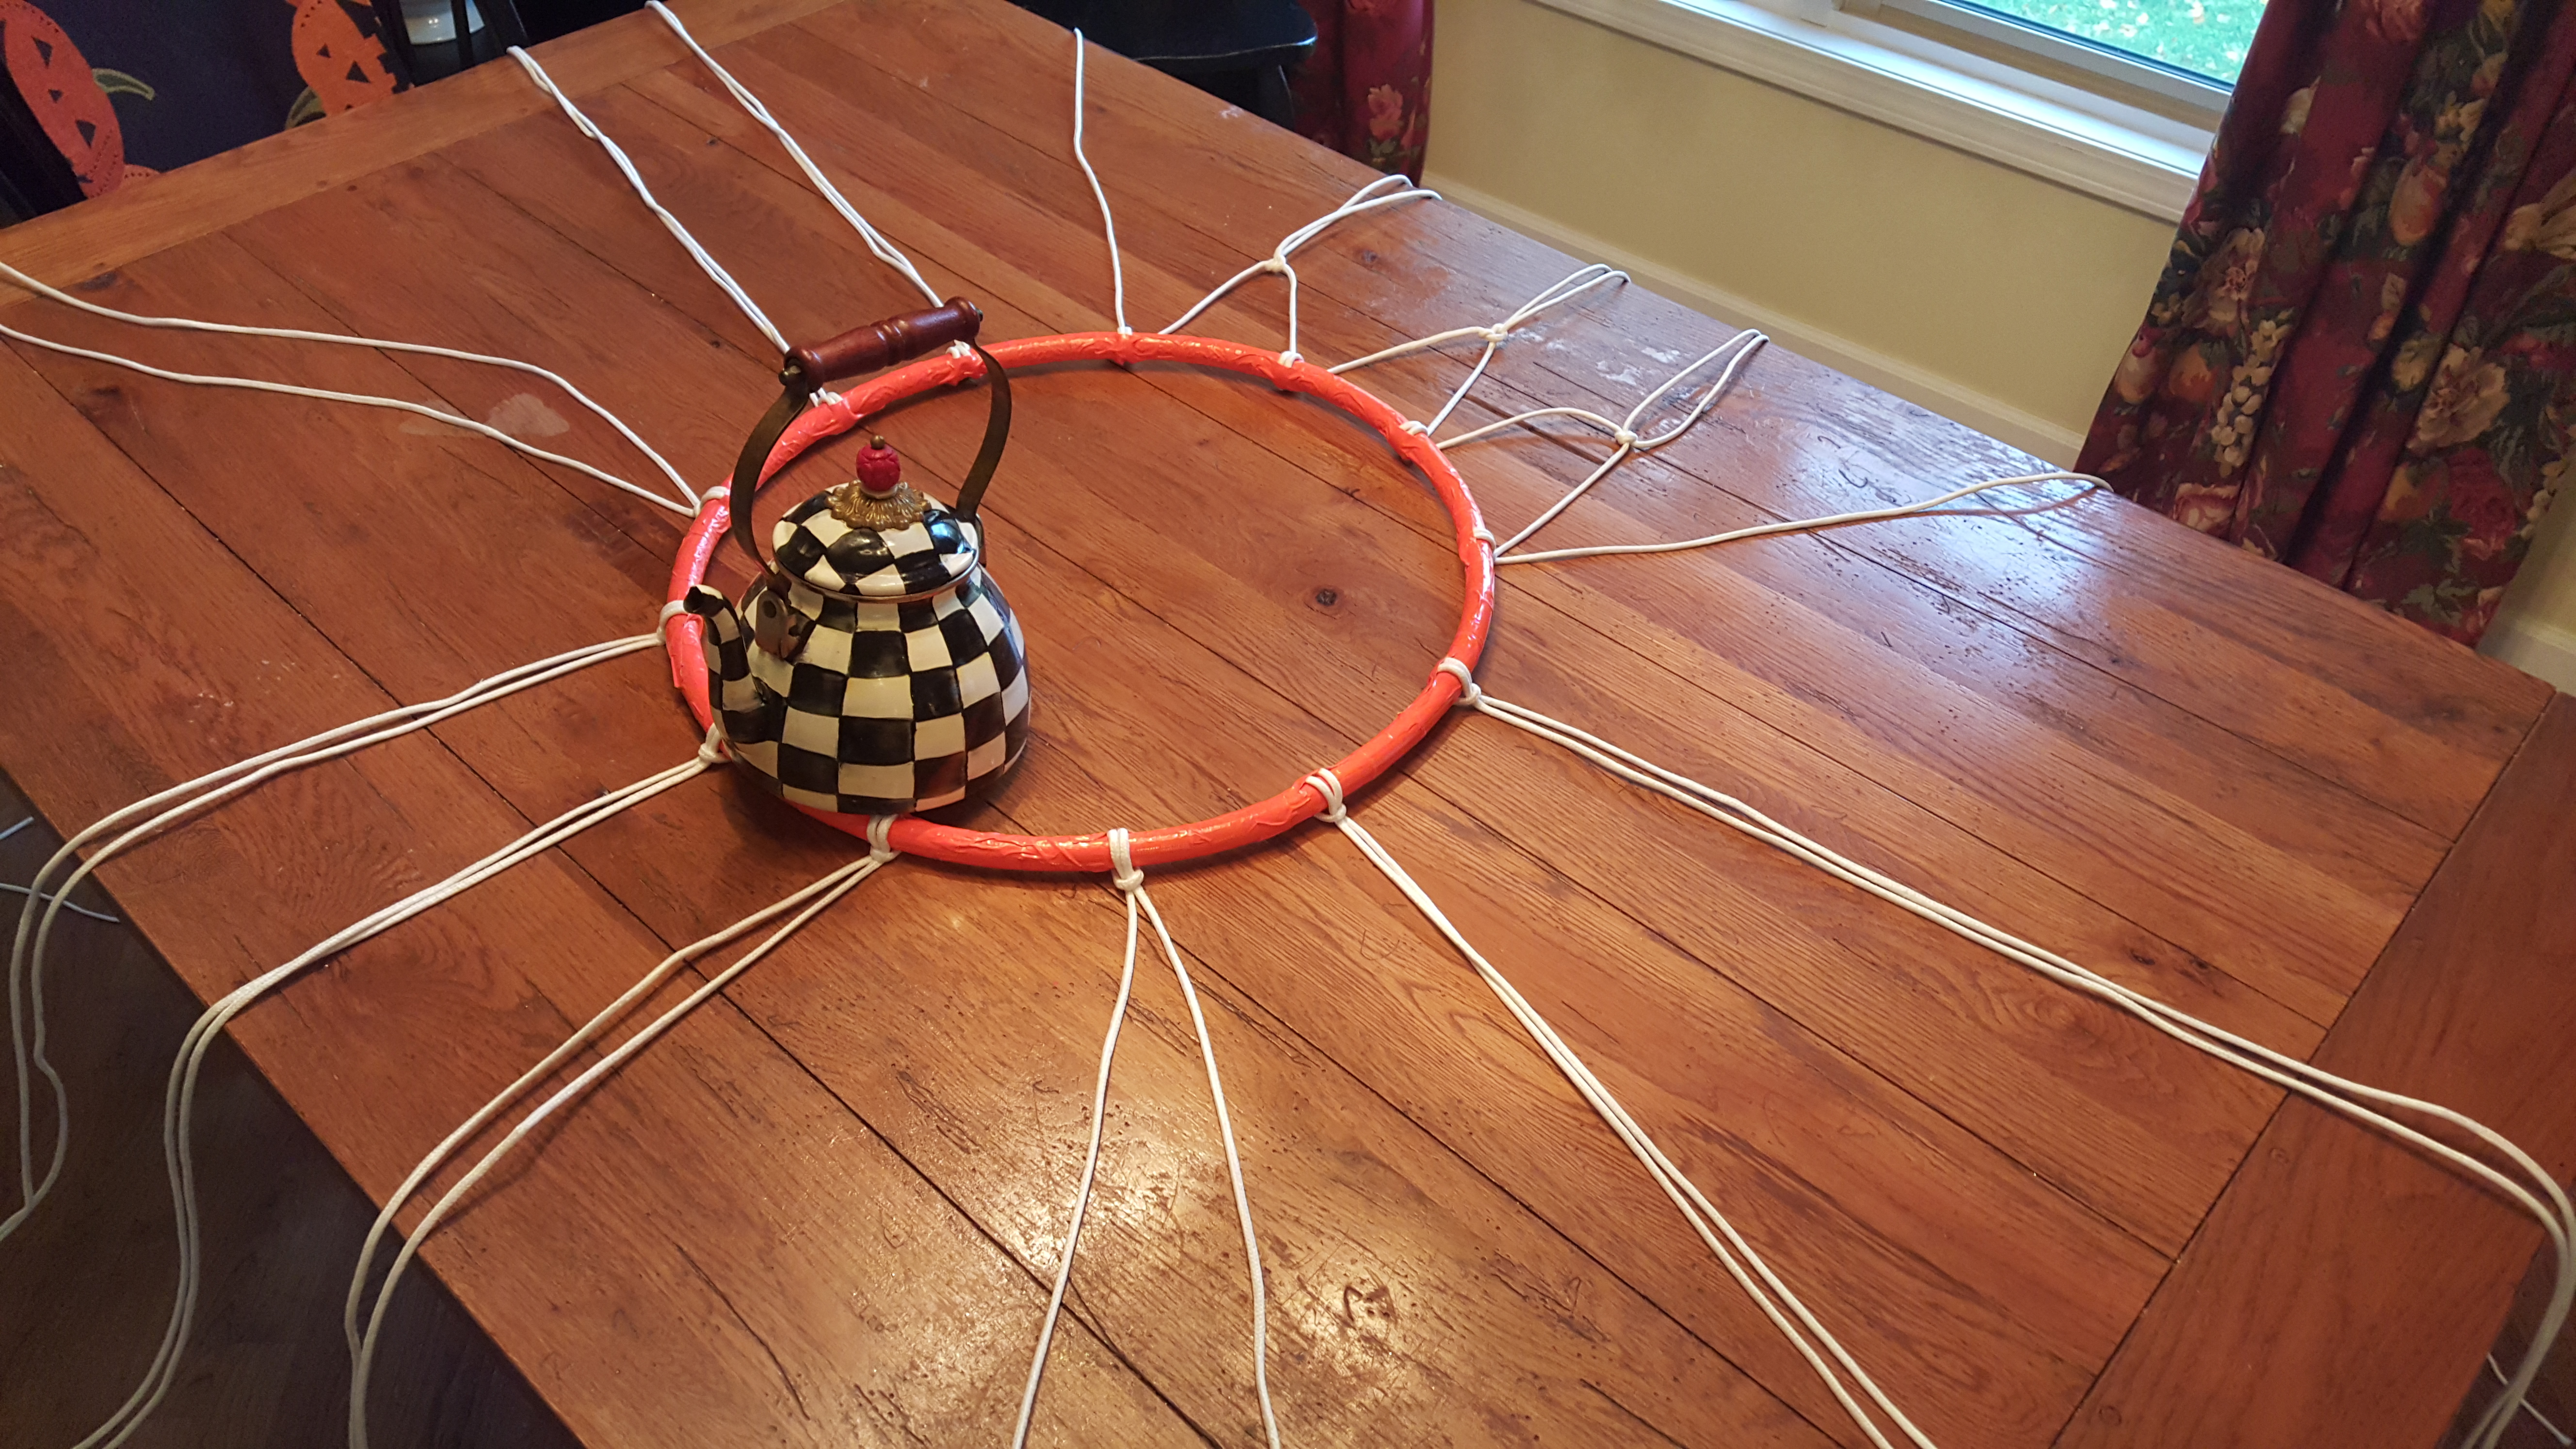
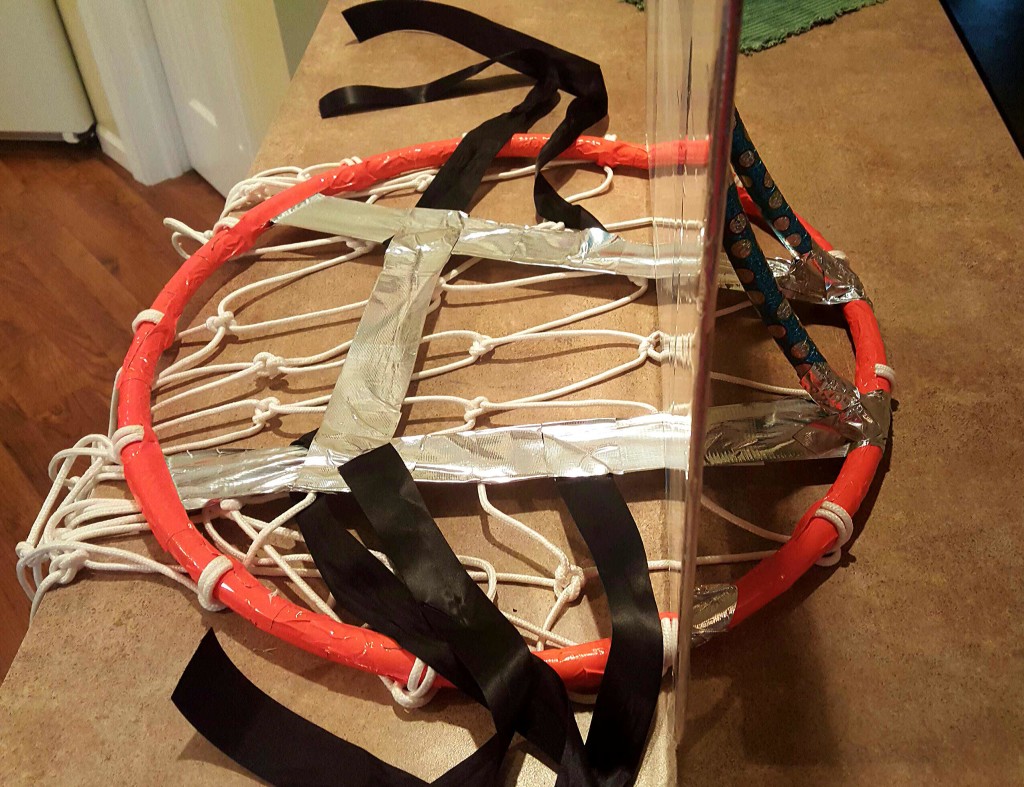
We measured from Reece’s shoulders (where the rim will sit) to our desired length above his knees. We then tripled that length and cut 13-14 pieces of clothesline. Fold each piece in half and attach to the rim as shown above… place the middle of the clothesline on the outside of the rim, then bring that loop over the top of the rim and pull the ends through and tighten. Repeat with all 13-14 pieces.
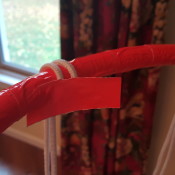
Spread out the loops of clothesline evenly around the rim and hold in place with a piece of orange duck tape on the inside of the rim.
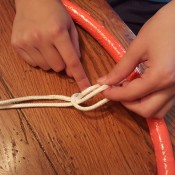
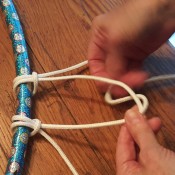
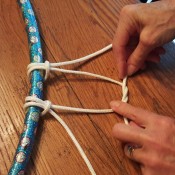
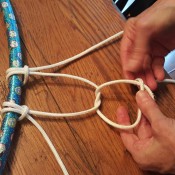
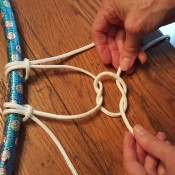
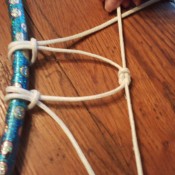
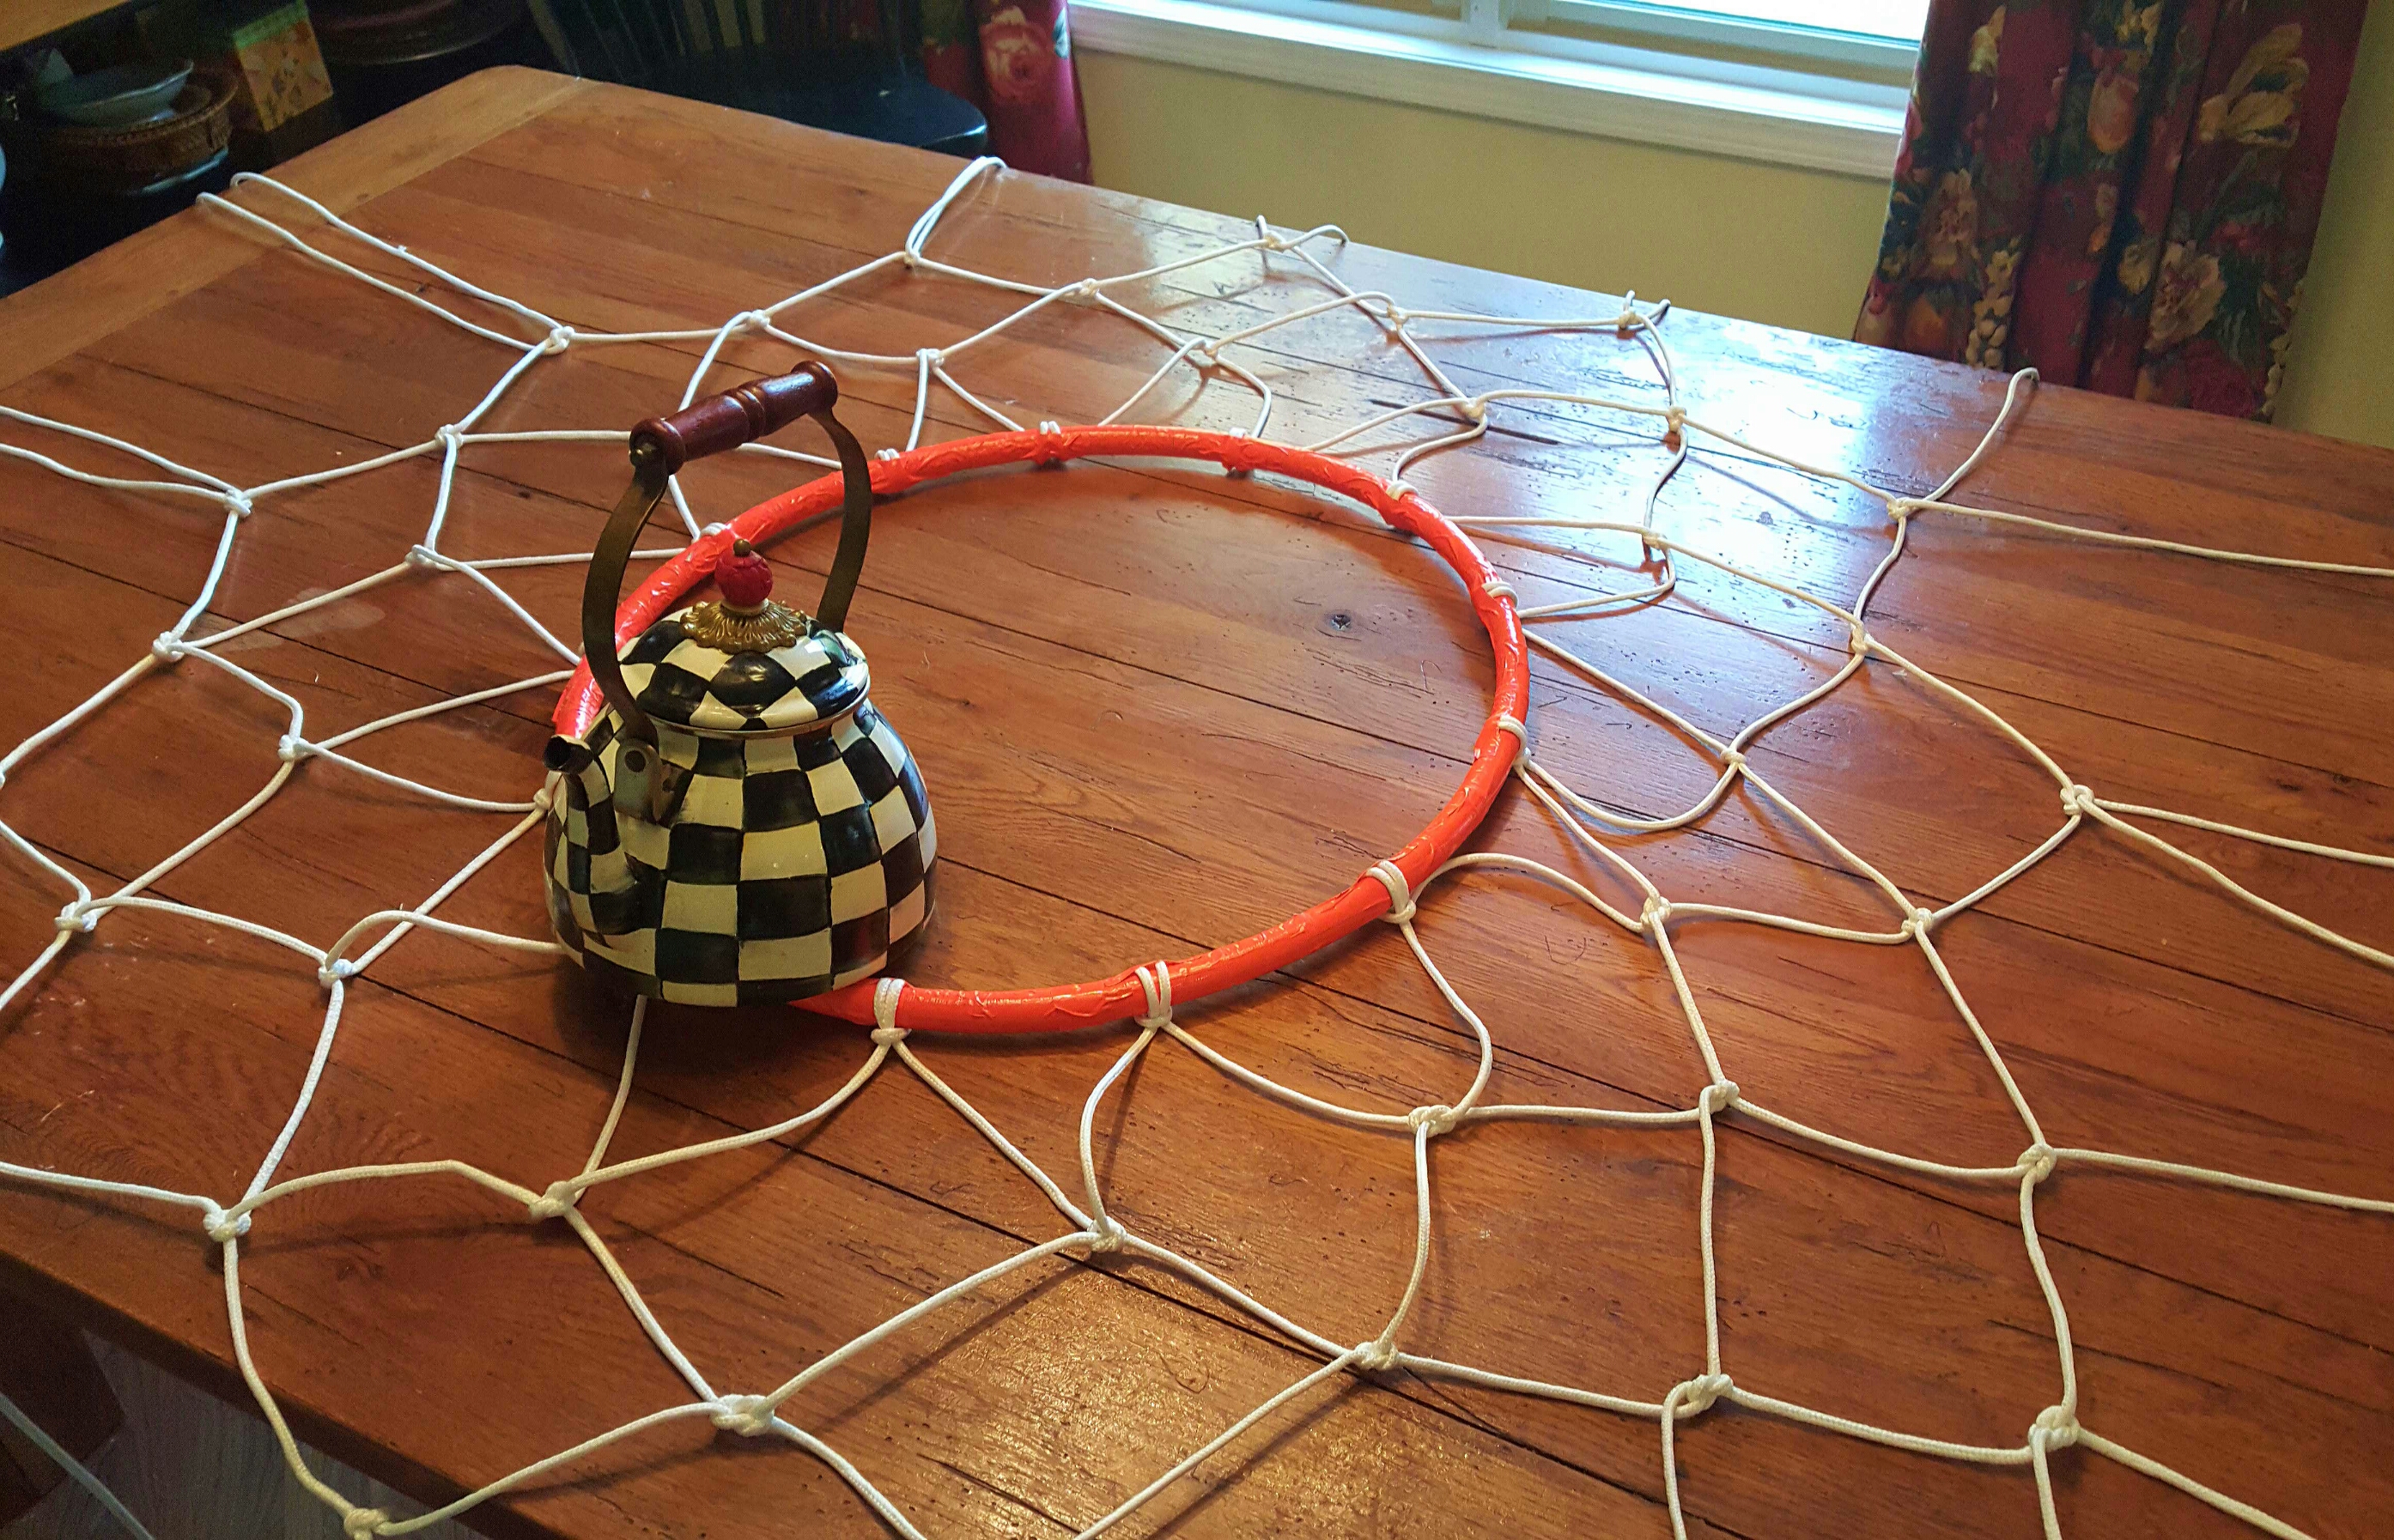
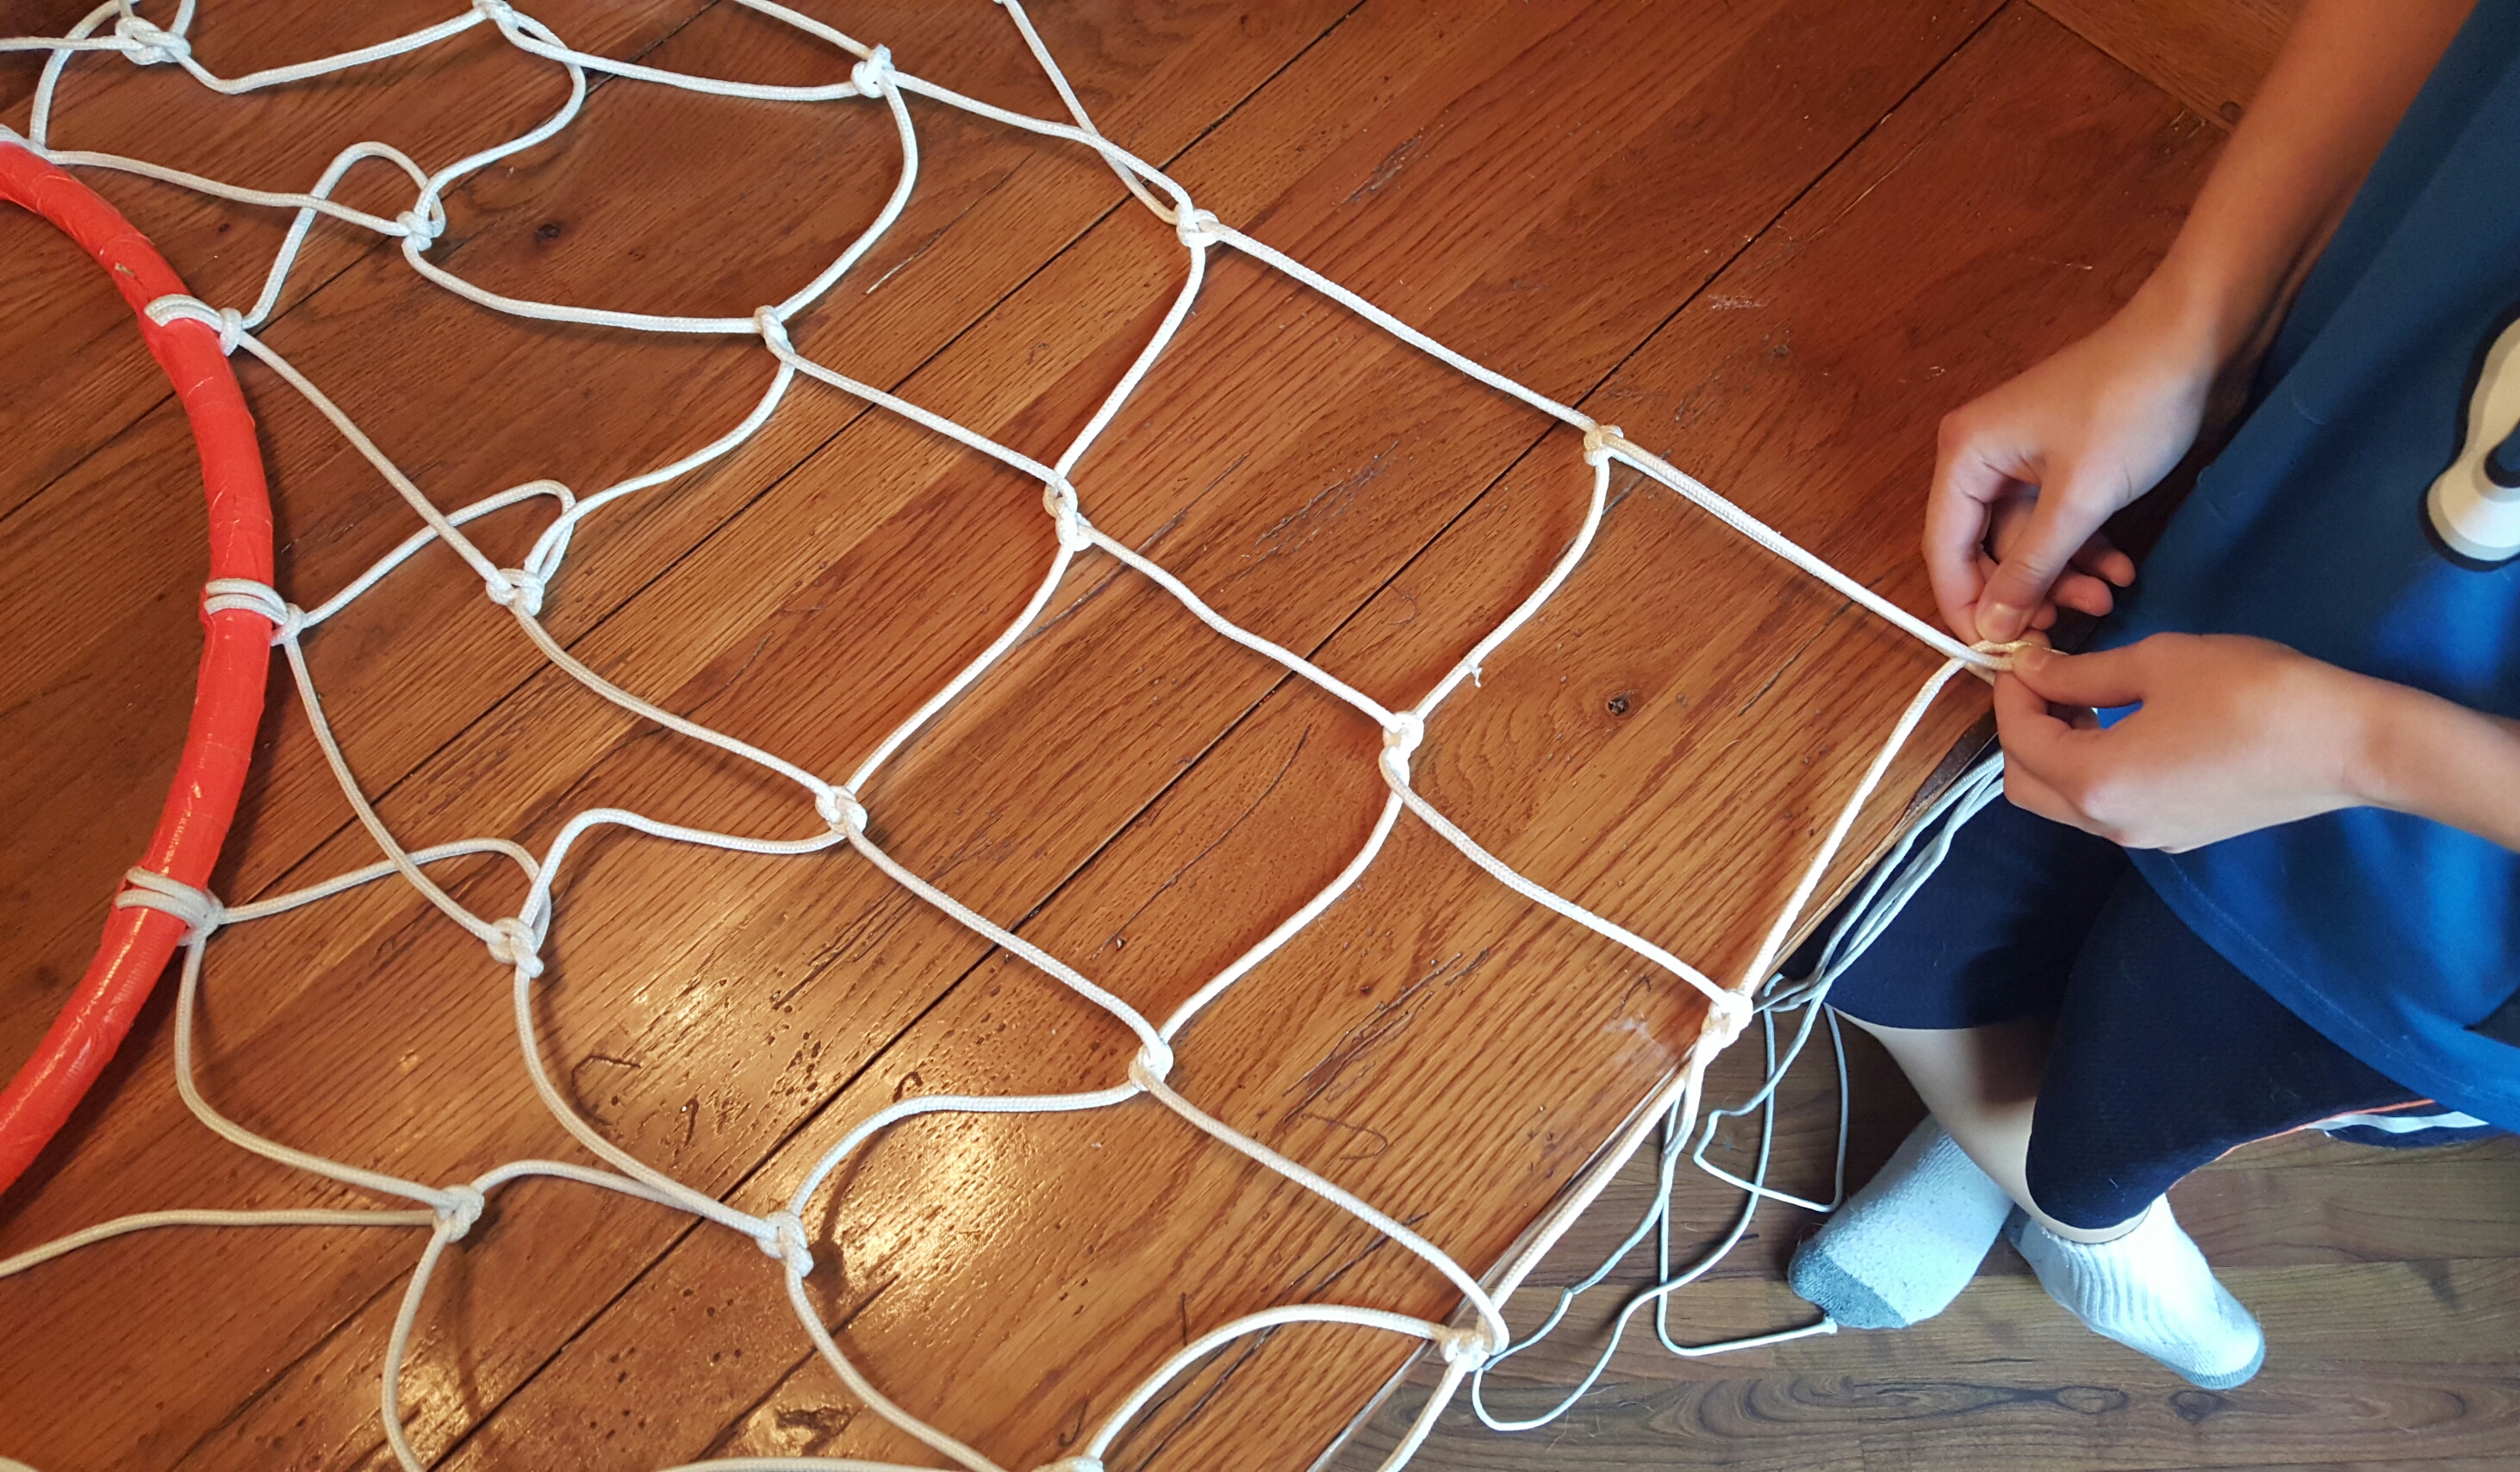
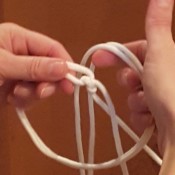
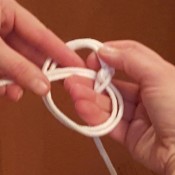
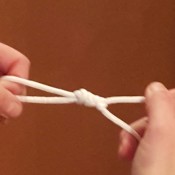
The next five pictures above show how the basketball net will be created. Take one side of clothesline from two loops side by side (holding pieces about 5″ down from the rim and in the middle of the two pieces) bring right over left and then taking that piece under and through the loop. Now bring the left over right and under and through to create a nice “figure 8” looking knot.
We placed the hoop in the center of my table weighted down with a water filled teapot to keep it from sliding around. Then we continued to go round and round until the net was complete.
Hold up rim to make sure it is the length you want.
To finish the basketball net, tie the ends at the end of each knot by wrapping the ends around the prior knot and then pull through the loop and pull tightly. Trim the excess ends.
NOW LET’S CREATE THE BASKETBALL BACKBOARD…
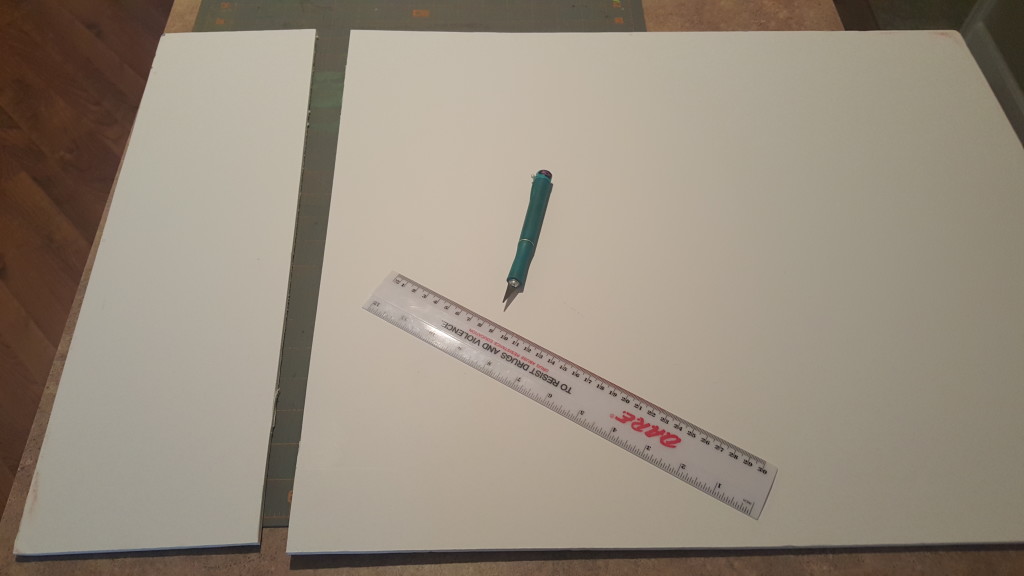
I cut 6″ off of the short side of my foam core board, leaving me with a 20″ x 24″ size back board. We decided this was a good size so that Reece could go in and out standards size doors easily 🙂
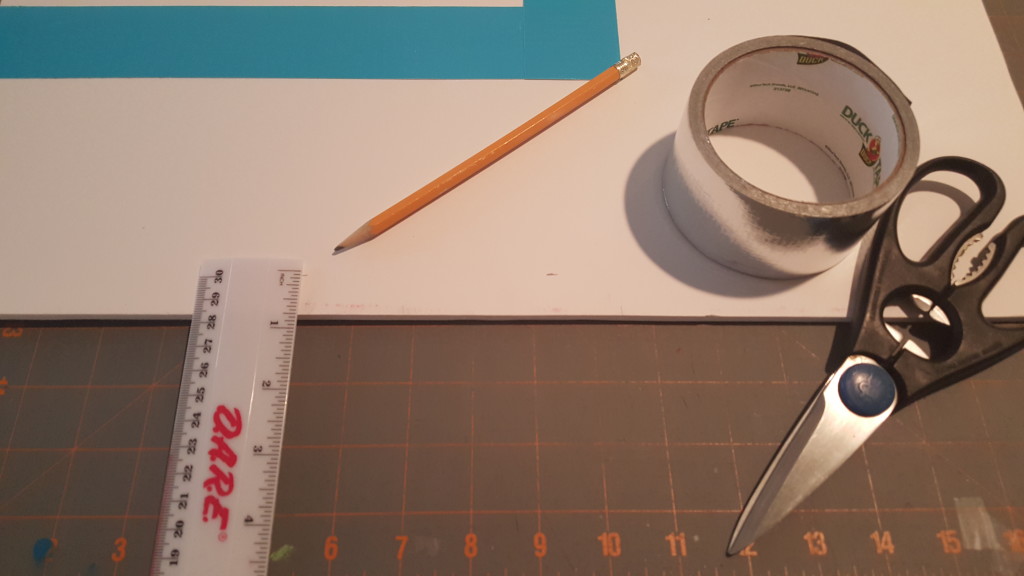
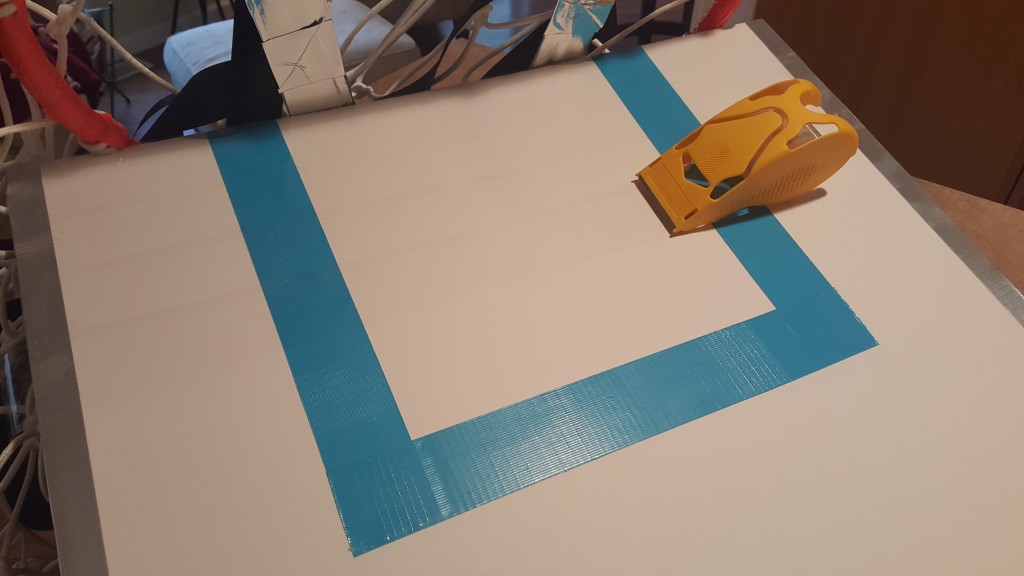
We measured in 5″ and made small pencil marks from each side and then 7 1/2″ from the top. These pencil marks gave me guidelines to place the outside edge of the blue duck tape to create the square in the middle of the board. I then made more pencil marks 1″ in from the sides and top of the board for guidelines to place one edge of the silver duck tape and then wrapped it to the back of the board.
Now you can decorate the backboard if you wish with team or basketball symbols. Since the foam board has a paper finish and since it looked like rainy weather was coming, I decided to weather proof the backboard with packing tape. I just started running stripes across the board overlapping each strip approximately 1/4″. I did this on the front and back.
NOW TO SECURE THE BACKBOARD AND ADD STRAPS TO SECURE TO THE WEARER…
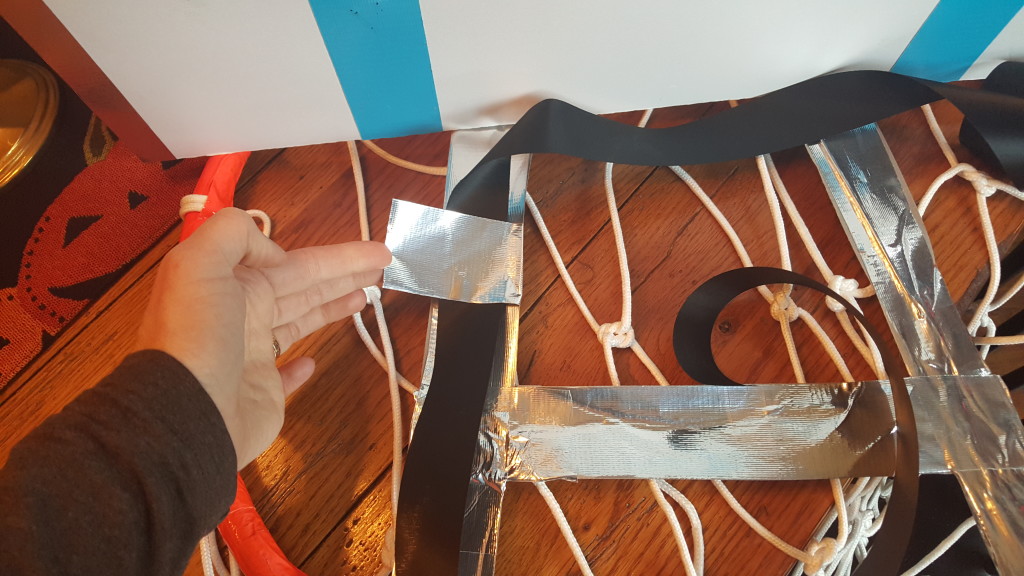
I forgot to take a picture for the next step, so if you will bare with me a bit 🙂 Add the horizontal strips of duck tape to the hoop, leaving enough room for a head to slip through the middle. Wrap the tape over and around onto itself to create secure straps to rest on the wearer’s shoulders.
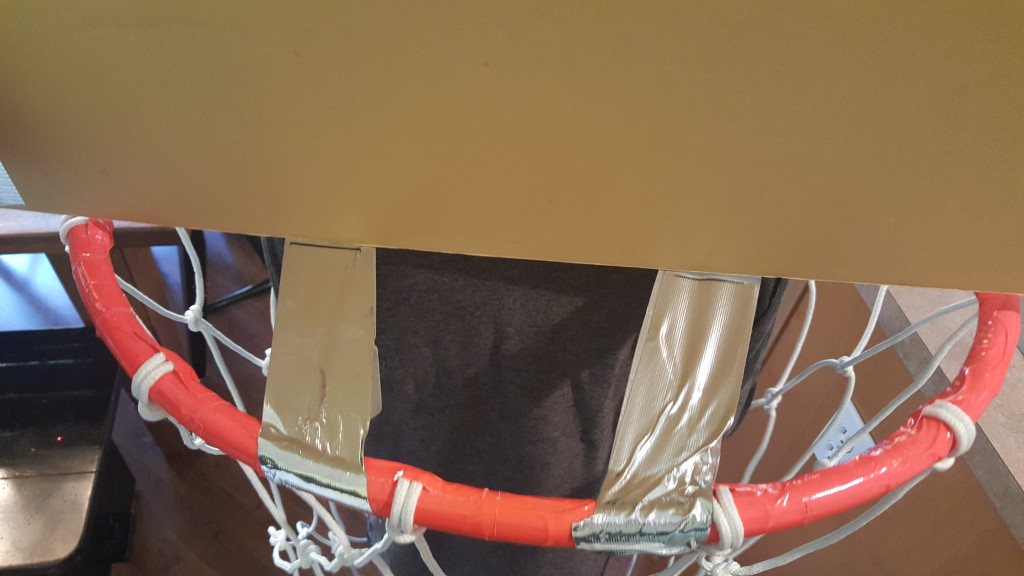
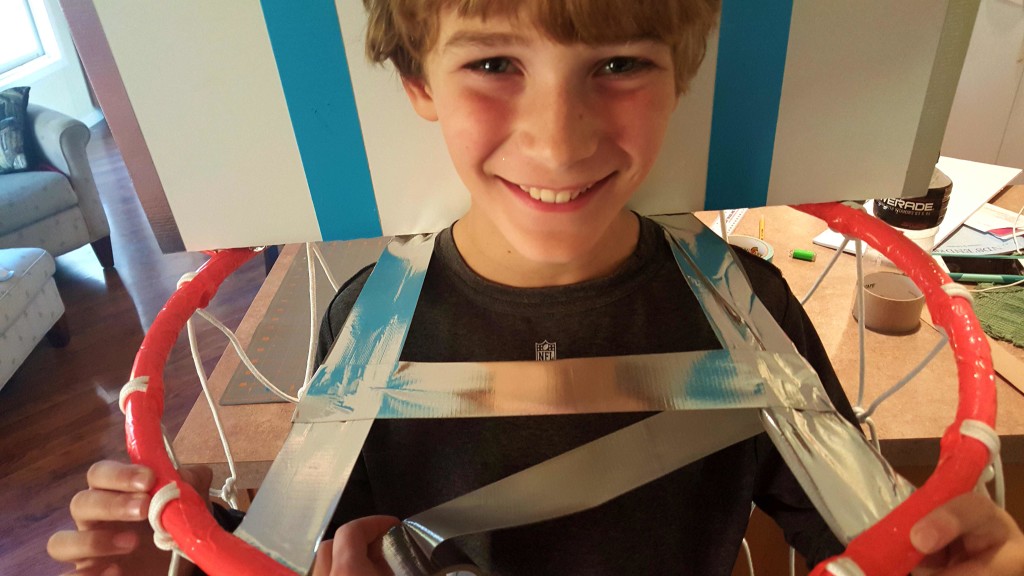
I had Reece try the hoop on for size and then placed the backboard behind his had and made two marks on the duck tape so I knew where to secure it.
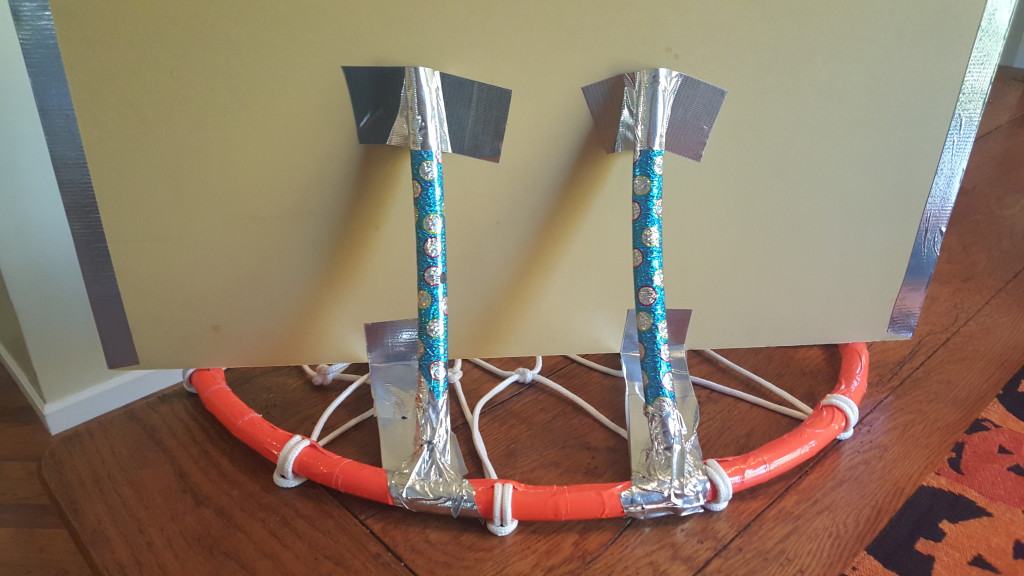
I then adhered backboard to the straps with more silver duck tape. Then I cut the left over piece of hula hoop in half and then taped to the back of the board and then to the rim with duck tape. I also placed duck tape over the top of the hula hoop pieces to keep water from entering.
Then I had Reece slip it on over his head again and added another strip duck tape between the two strips I added earlier (making sure he could still slip his head out).
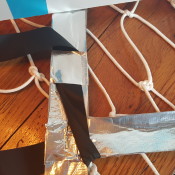
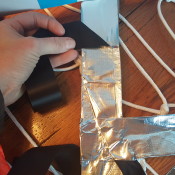
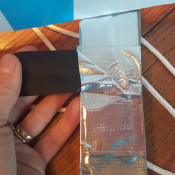
Cut two 4 foot pieces of 2″ wide ribbon. Place the middle of one ribbon on the middle of the front to back silver straps and adhere with duck tape. Run the front of that ribbon over the front cross strap to the inside and duck tape down. Fold over the back piece of the ribbon to the outside and tape. Repeat on the other side to create nice secure straps that you can tie under the arms of the wearer.
NOW TO CREATE THE BASKETBALL HELMET…
We happened to have an old, (yes old, mine from middle school!) basketball 🙂 Now if you don’t have an old basketball laying around, you could always cover a round balloon with paper mache (like we did with out Jumbo Easter Eggs) and then paint it like a basketball and then cut out a section for your eyes or face. Another option is just to paint your face like a basketball.
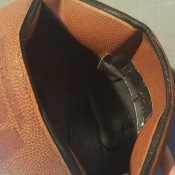
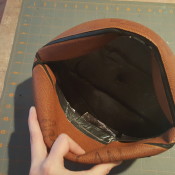
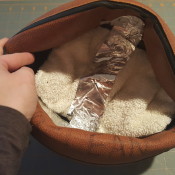
Cut the basketball along one of the seams on one side. Fold one section in on one side and two on the other and secure with duck tape. Try the basketball on for size 🙂 To make it more comfortable for Reece, we folded up a hand towel and duck taped that to the top of the basketball on the inside.
This was so much fun to make with Reece. We tested out his costume at our Trunk or Treat event which is usually head the weekend before Halloween which gave us a great opportunity to see if it would hold up to the weather! It was cold, rainy, and super windy but I am happy to say that this Basketball Hoop Halloween costume showed no wear or tear! We also made the local news which was fun!
