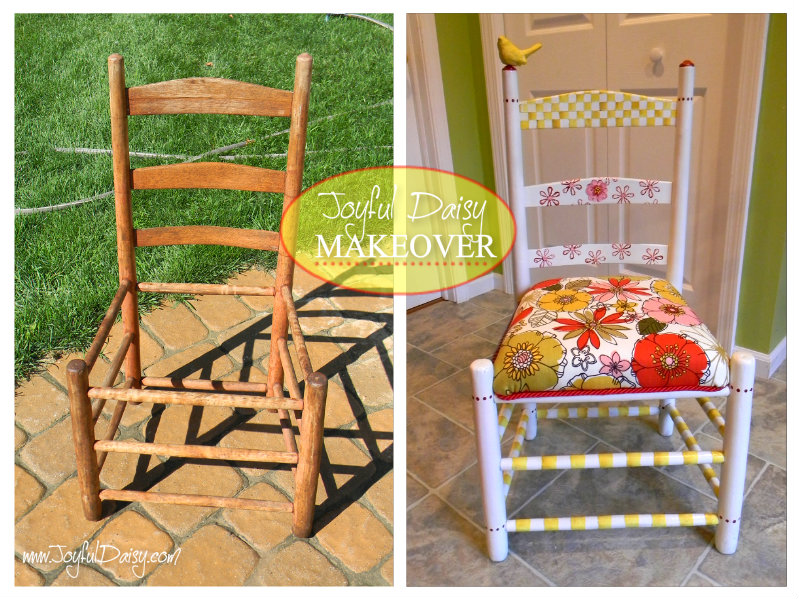
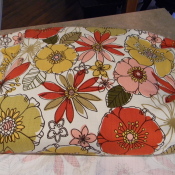
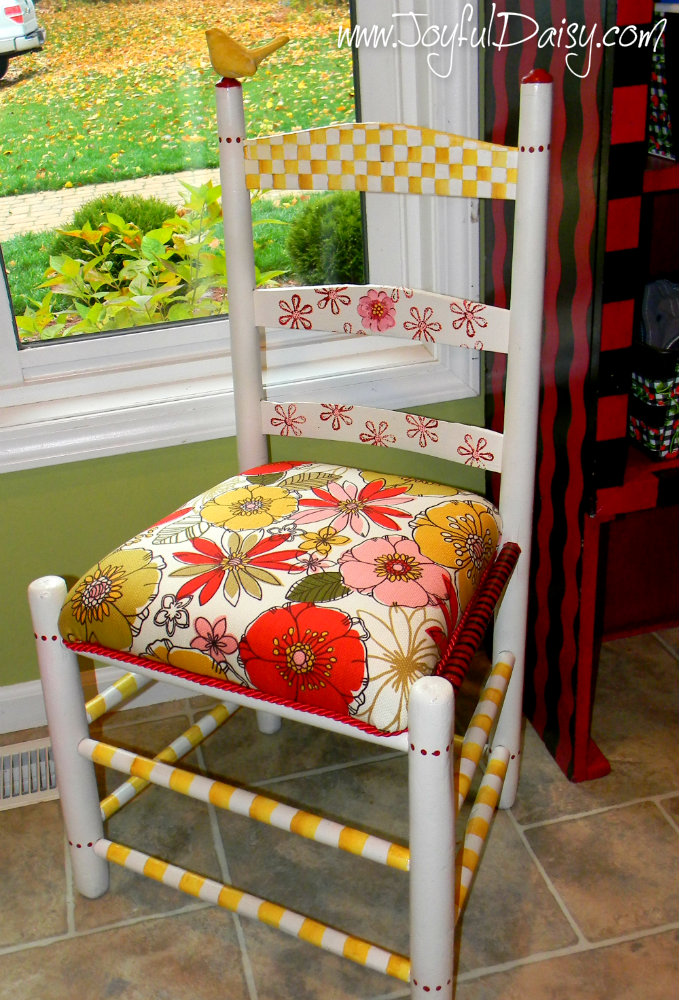
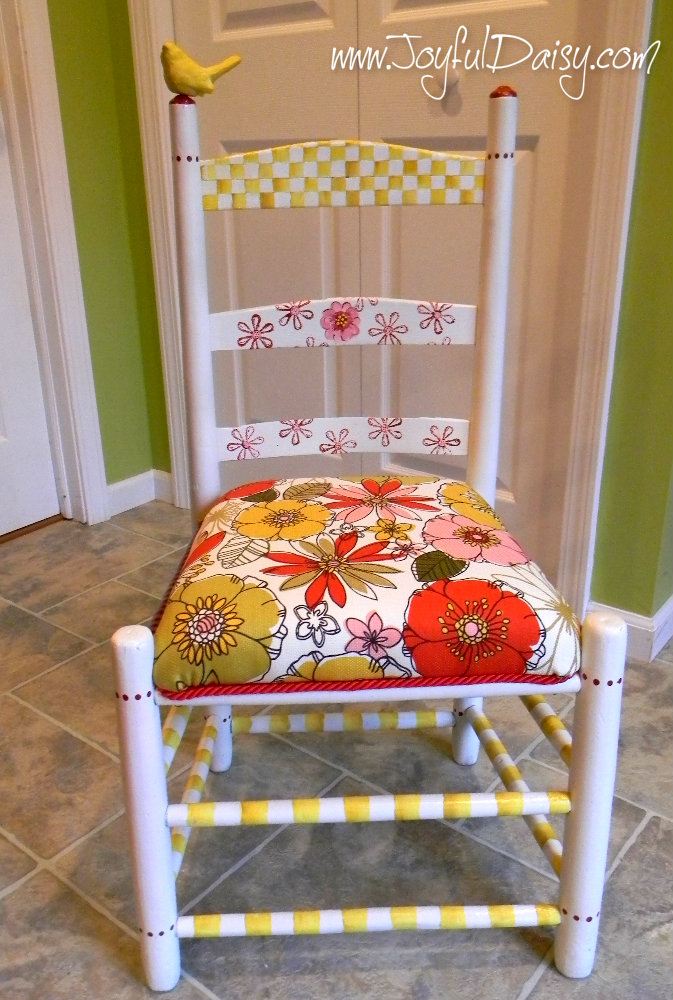
This adorable hand painted and stamped chair just gleams Joyful Daisy! All it needed was a bath, a new seat, and some paint!!! I love the Mackenzie Child’s style checkerboard done in cream and yellow. I thought the traditional black and white check that I have enjoyed featuring on many of my other hand painted projects was a bit to dark for this happy little chair. The inspiration for this chair started with the fabric for the seat which I purchased at Hobby Lobby off the clearance rack months ago. I purchased a couple yards just knowing it would perfectly compliment an upcoming hand painted furniture project or sewing project.
I forgot to take a picture of this chair with it’s original seat. It was a deteriorated woven seat made of jute that smelled so bad I had to remove it before bringing it in the house. Then I had to look at it for about a week before I started visualizing it’s new look.
My sketches started with just a cream chair and a very minimal amount of painting in gold. Then I went the complete other way with the chair completely covered in decorative paint. As you can see, I ended up somewhere in the middle as usual. 🙂
PREPPING THE CHAIR FOR PAINT…
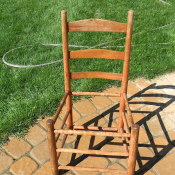
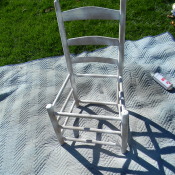
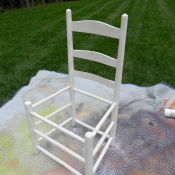
Give the chair a bath! I just hosed it off and then wiped it down with a rag
Once it dried, I applied a light coat of primer.
Lastly, I applied two coats of glossy cream spray paint.
MAKING A NEW SEAT…
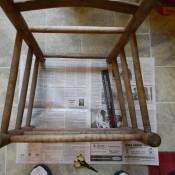
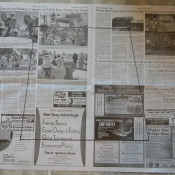
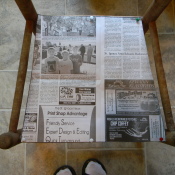
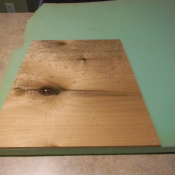
Sit the chair on a newspaper and make marks by each leg.
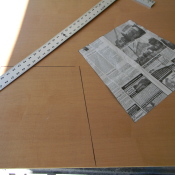
With a straight edge, draw lines connecting marks on the sides, front, and back of seat.
Cut out newspaper pattern piece and tack to chair to check the fit.
Be sure to trim the pattern piece a little on the sides to leave room for the new seat which will be wrapped with batting.
Trace pattern piece on wood and cut out with skill saw.
FINISHING SEAT CUSHION…
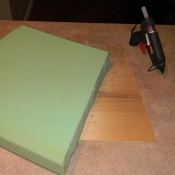
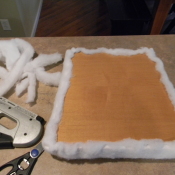
Trace seat on to foam and cut out using scissors or serrated knife.
Hot glue foam to seat.
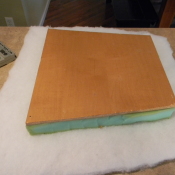
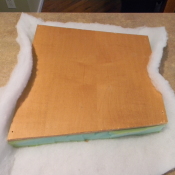
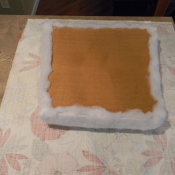
Cut a piece of batting large enough to wrap around seat to be stapled to the back.
Staple on batting starting on one side and then do the opposite. Repeat on the last two sides and then pull in the corners and staple until secured.
Trim excess batting.
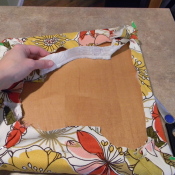
Wrap the padded seat to check fabric pattern placement.
Lie the seat, batting side down on the wrong side of the fabric.
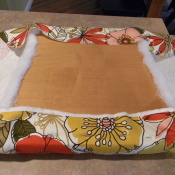
Cut a piece of fabric large enough to wrap around seat and then staple it as you did the batting.
Trim the excess fabric.
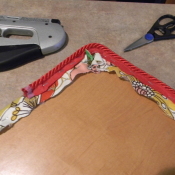
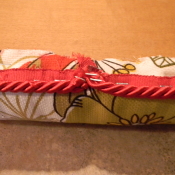
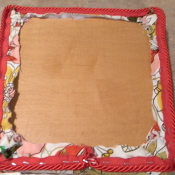
Begin stapling the rope trim at the back of the chair and continue around the seat.
PAINTING THE CHAIR…
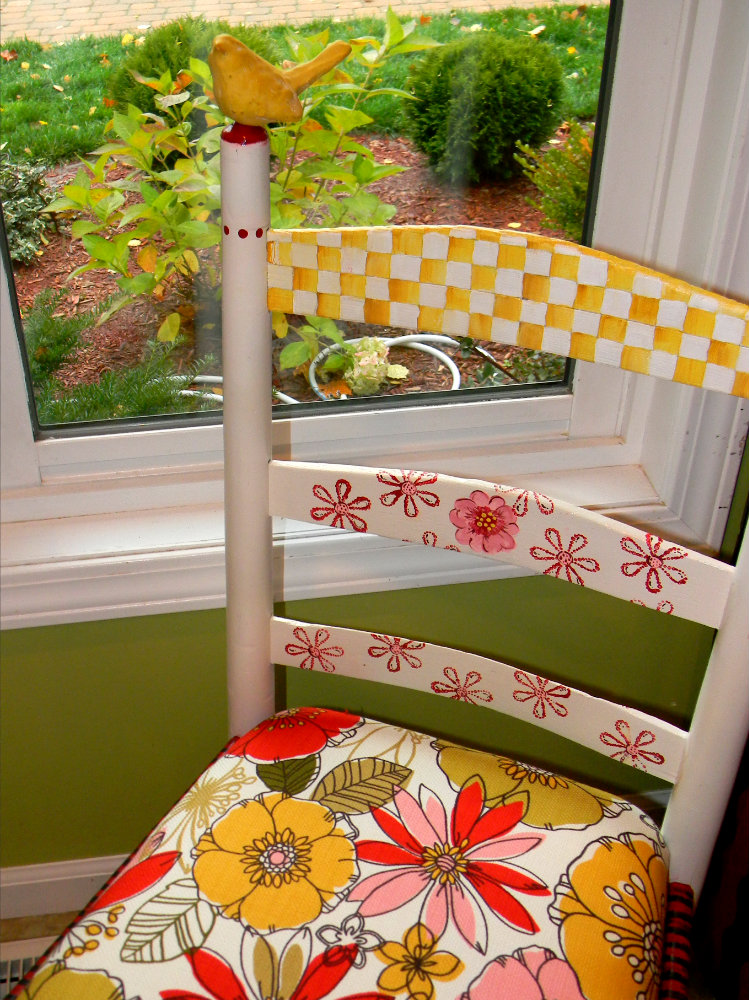
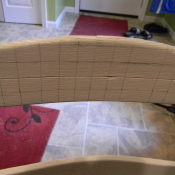
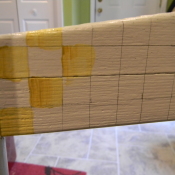
With a pencil and flexible ruler, measure and trace a checkerboard on the top backing of chair. I made the checkerboard 1/2″ squares so that one of the lines would line up with the crack in the wood.
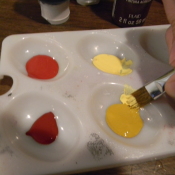
Using a 1/2″ brush, dip it in light yellow and then dip one corner in the gold to help create a two tone painted square.
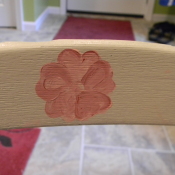
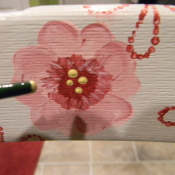
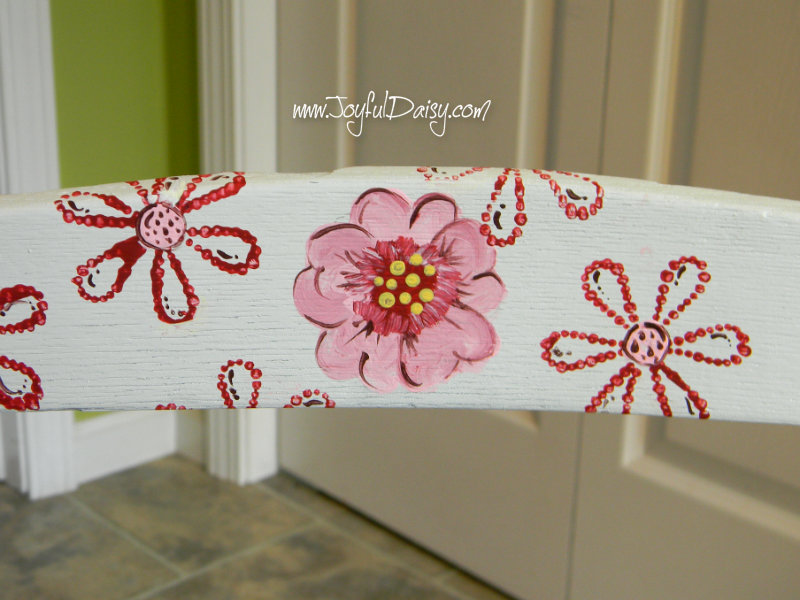
Dip a 1/4″ flat brush in pink and then one corner in dark red and paint five heart like petals to create flower on the middle slat on the back of the chair.
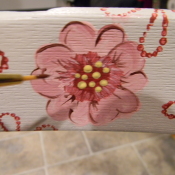
Once pink paint dries, paint a red circle center and then lightly drag red paint from center to feather out the red paint.
When red paint dries, add yellow dots by dipping the end of the paint brush in yellow paint.
Using a very small brush, add detail lines with dark brown paint.
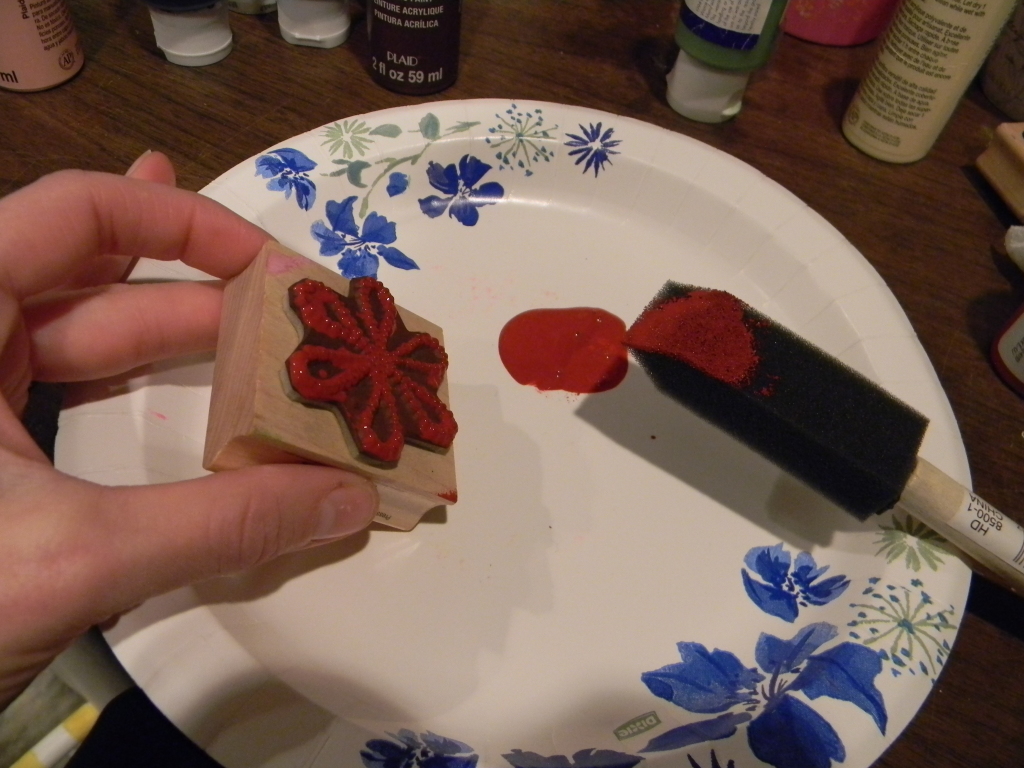
Using a foam brush, dab red paint on to stamp and then press firmly on chair where you want stamped image. Just a few tips…don’t get too much paint on the stamp. Also, you can always paint or in this case use the end of a paint brush to add any missing dots or lines.
Once stamped flowers have dried, paint in pink centers.
Once that dries add small detail lines and dots with tiny brush and dark brown paint.
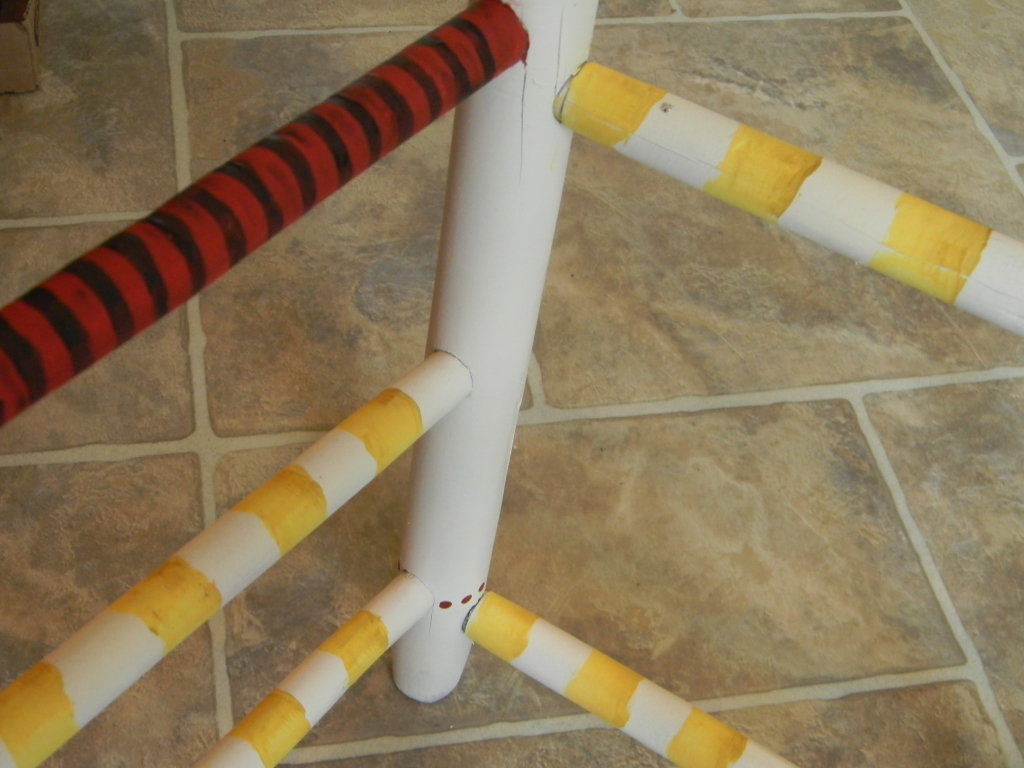
For yellow stripes, make small pencil marks every 1″. Dip 1″ flat paint brush in yellow with side tipped in gold to create varied stripes. Apply paint in between every other pencil mark.
For the red and black stripes, apply two coats of red paint and let dry. Make small pencil marks every 1/2″ and then using a 1/4″ flat brush dip in brown paint and then dip a corner of the brush in black and then apply stripes directly over each 1/2″ mark. Brush light black/brown marks on red stripes to soften.
Using the end of a new pencil eraser, dip in red paint and then add dots to chair around base and top of spindles.
Once all paint has dried, be sure to erase any visible pencil lines and then add a coat of glossy varnish.
FINISHING CHAIR…
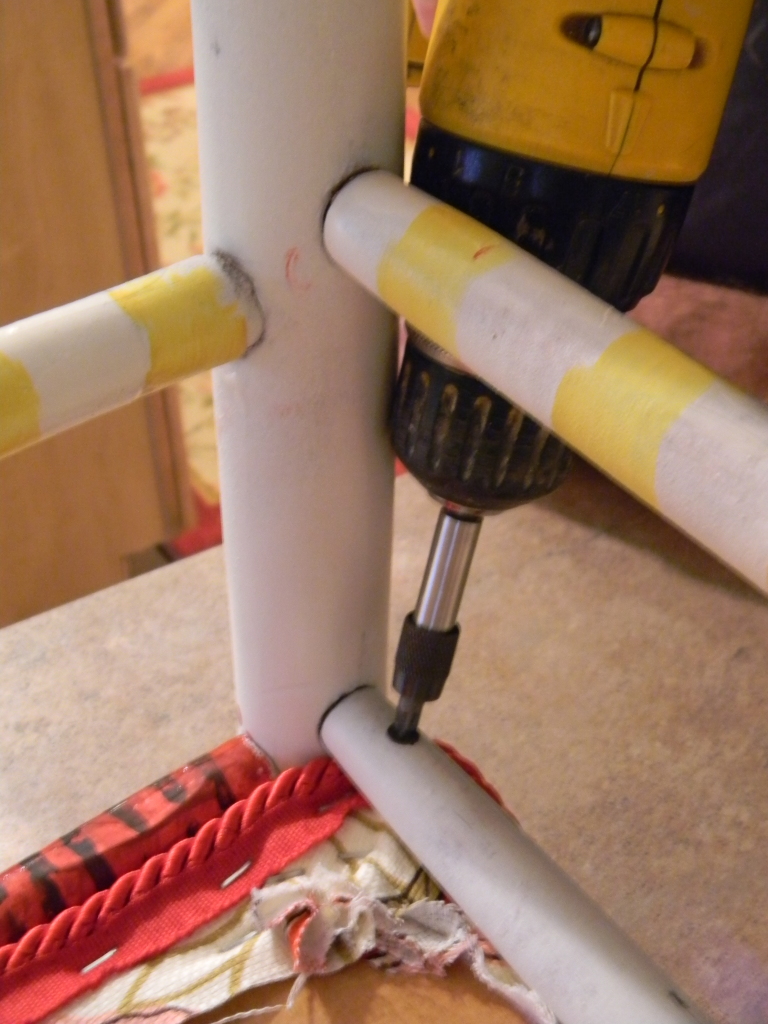
Lie the seat cushion upside down and then line up the chair so you can secure it to chair.
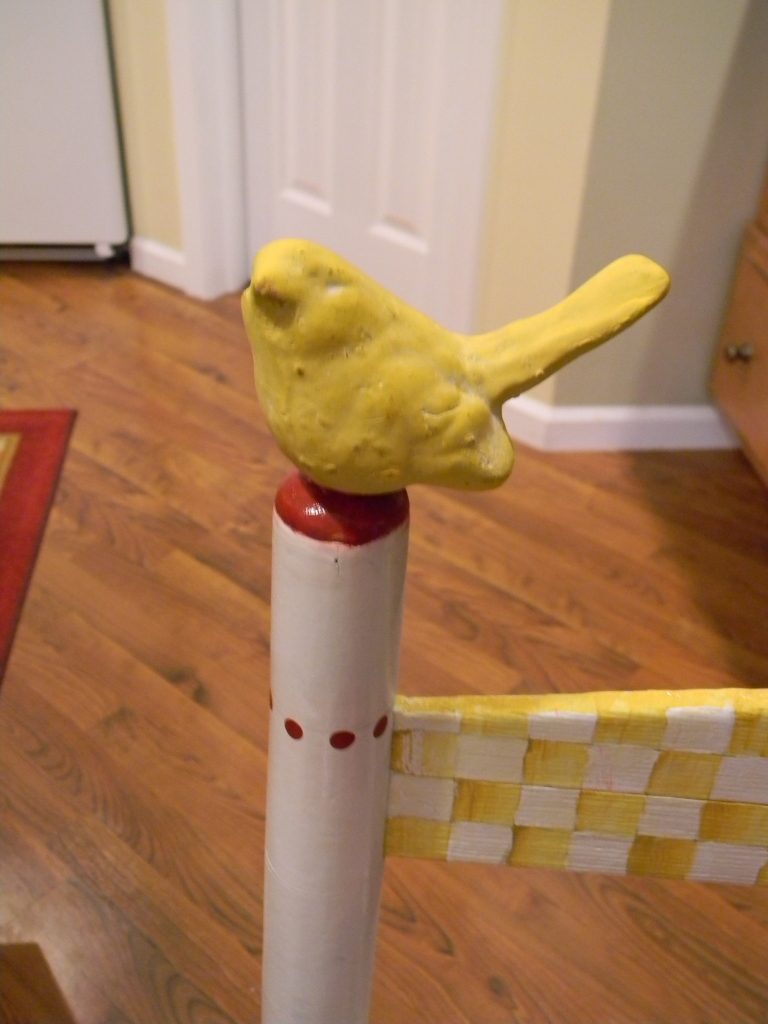
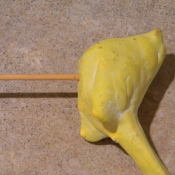
To add a little more whimsy.. I decided to add this cute little bird that fell off of an old bird feeder I had.
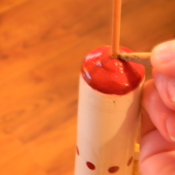
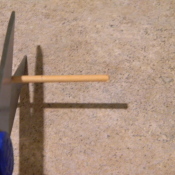 Randy drilled a hole in the top of one of the spindles about 1/2″ down. The bird already had a hole in the bottom from it’s previous life 🙂
To decide how long I needed the small dowel to be, I just stuck it in the bird and made a pencil line, then I stuck it in the chair whole and made a pencil line.
I added the lengths together and then cut the dowel.
Lastly I squeezed a bit of wood glue into the bird and chair wholes and then placed the dowel in the bird and then on the chair! How fun!
I have already started my next Joyful Daisy furniture makeover- a cute little desk/vanity, however, I am going to be on the look out for another chair where I can add some fun knobs on the back spindles!!
Hope this inspires and finds you well!!
Cyber hugs,
Amy 🙂
This chair is a perfect compliment to my hand painted hutch in the mud room and a cheerful welcome as you come in the side door! 🙂
Click here for more whimsical projects and Mackenzie Childs knock offs.
I party at Savvy Southern Style 🙂

