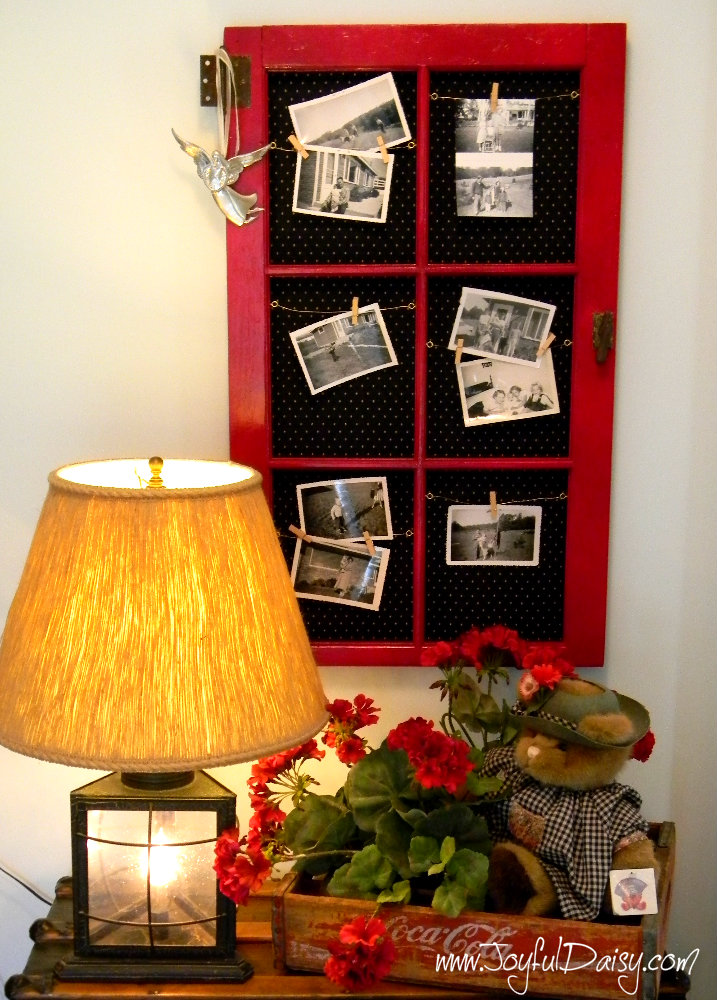
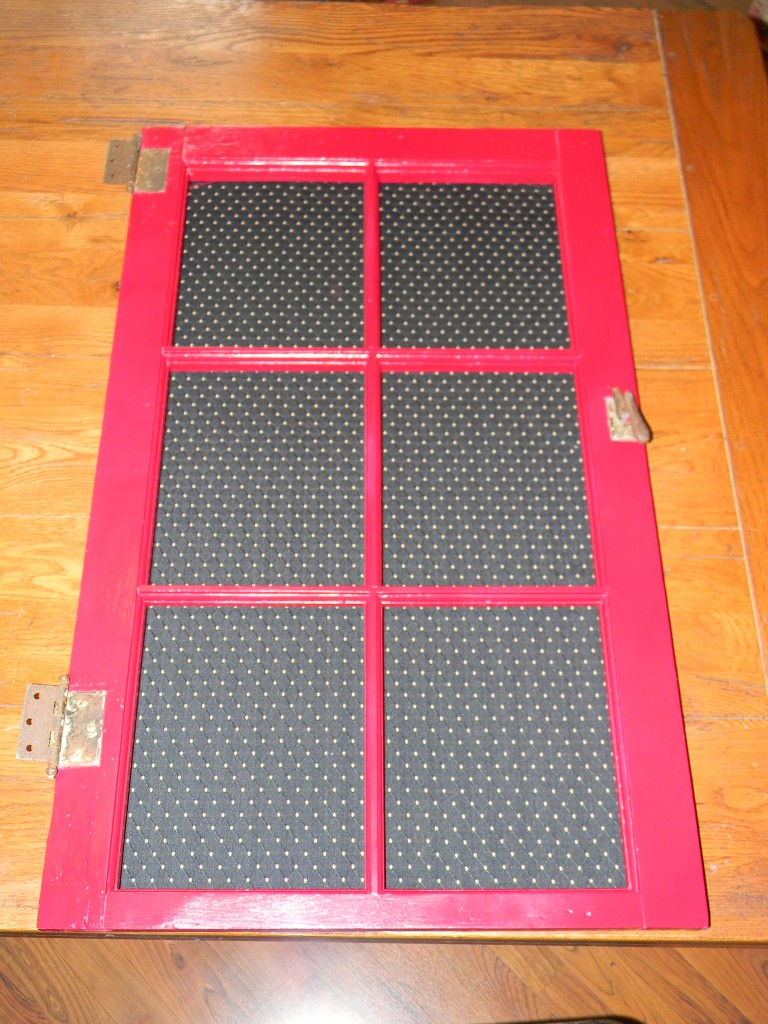
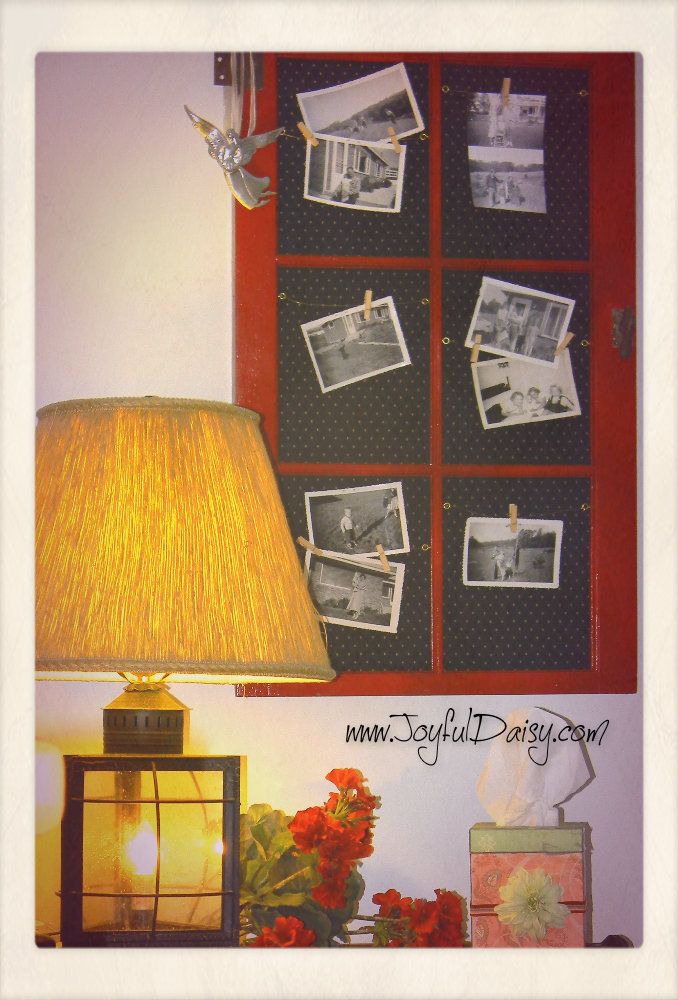
Here is another trash to treasure makeover that breathes new life into an old window frame and adds some more character to the guest room displaying some favorite old photos.
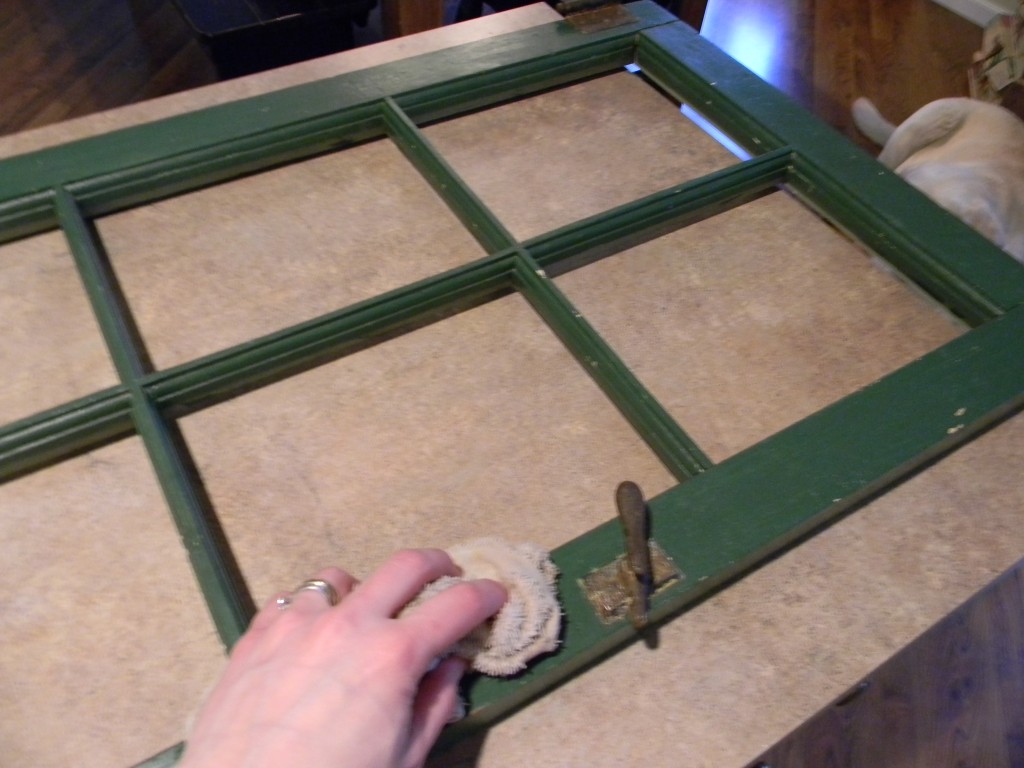
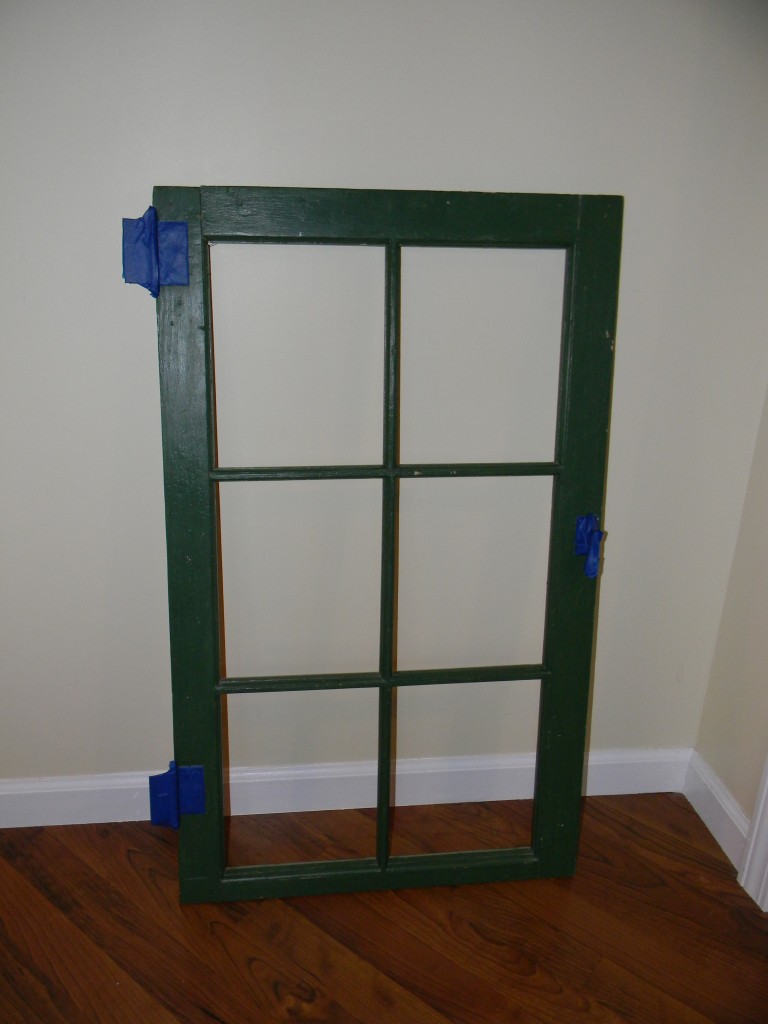
As I look at this worn out window without glass, I cannot help but be curious about all the lives it has led as I see remnants of many different colors of paint reflecting all the different looks it has sported throughout the years.
PRODUCTS & SUPPLIES…
Old window frame
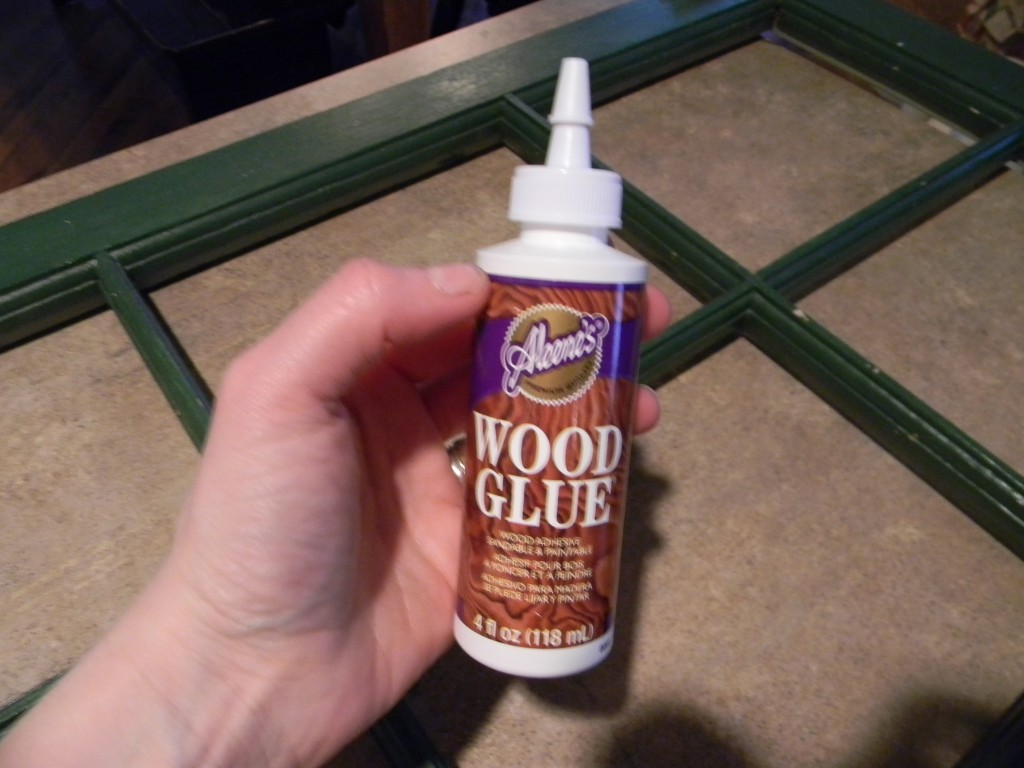
Wood glue
fabric cut slightly smaller then the size of the window
Kilz spray paint primer
Krylon spray paint in Burgundy gloss
Painters tape (to cover hardware while painting)
Eye screws
Gold wire
Nails and picture wire (to hang)
Small clothespins
Collection of old photos
Staple and 1/4″ staples
Clean frame with a damp rag and let dry.
The top window of the frame was loose so I added a little wood glue and pressed with clamps overnight.
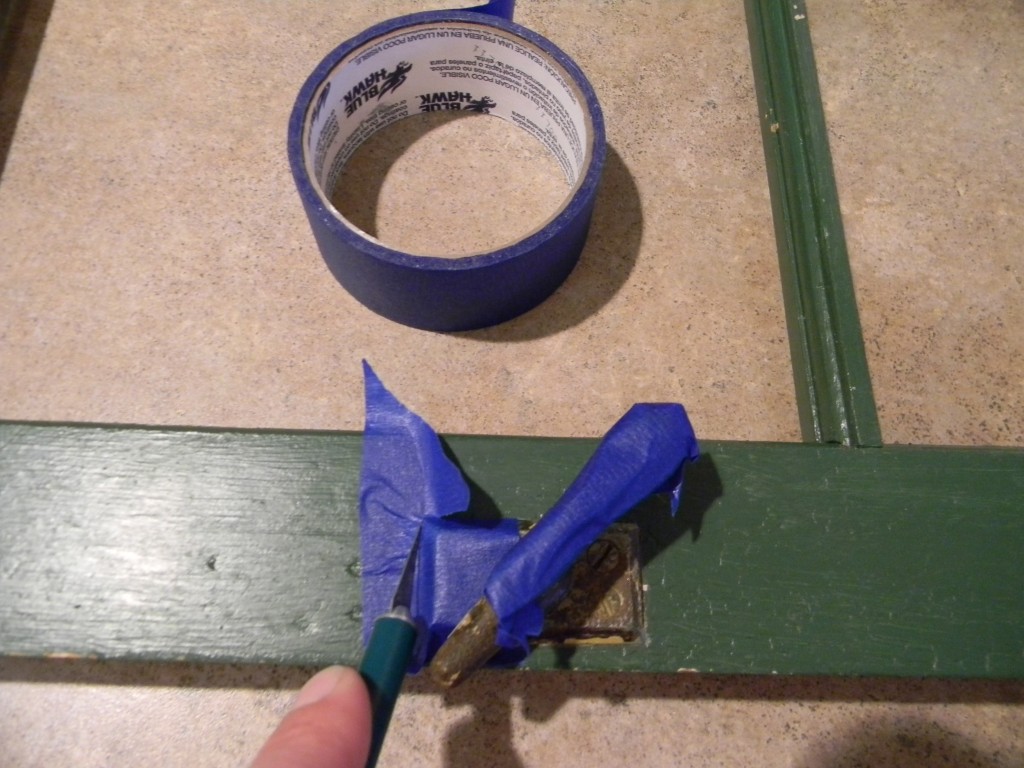
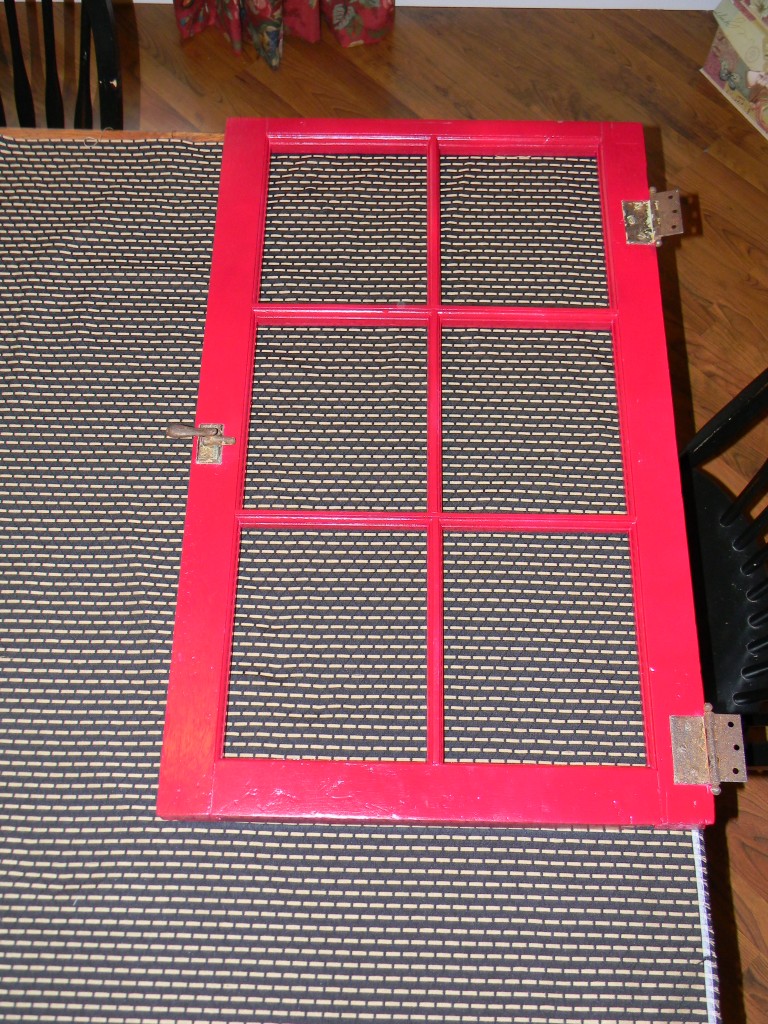
Cover hardware with painter’s tape.
An exacto knife works well to cut tape around some of the hardware.
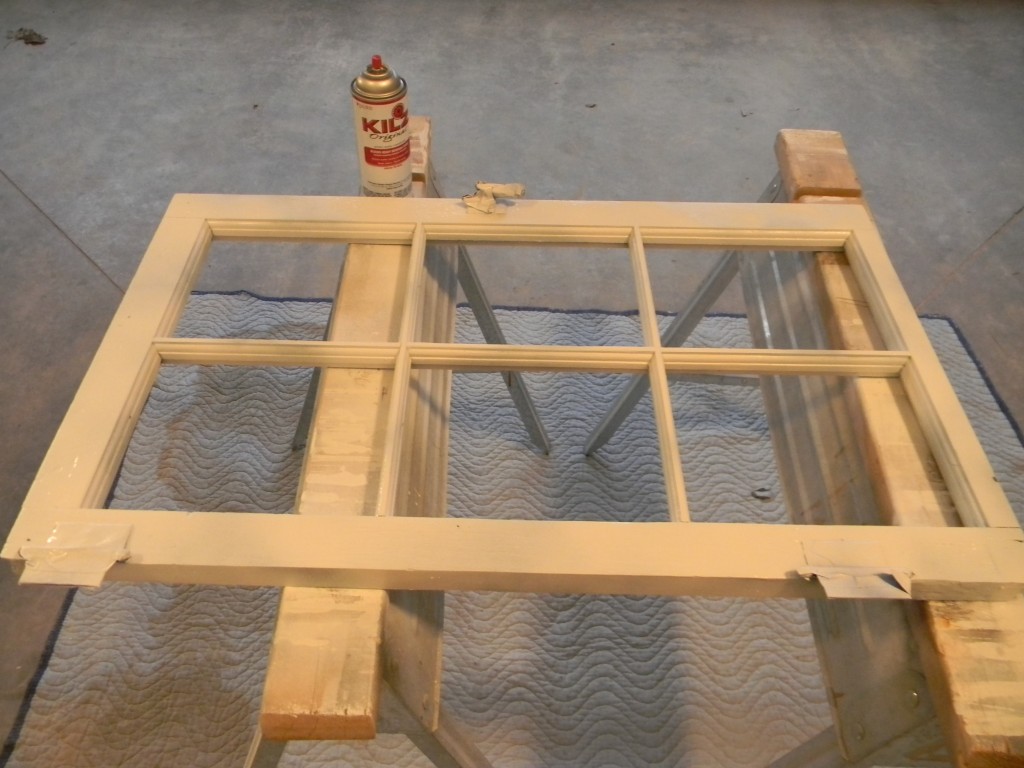
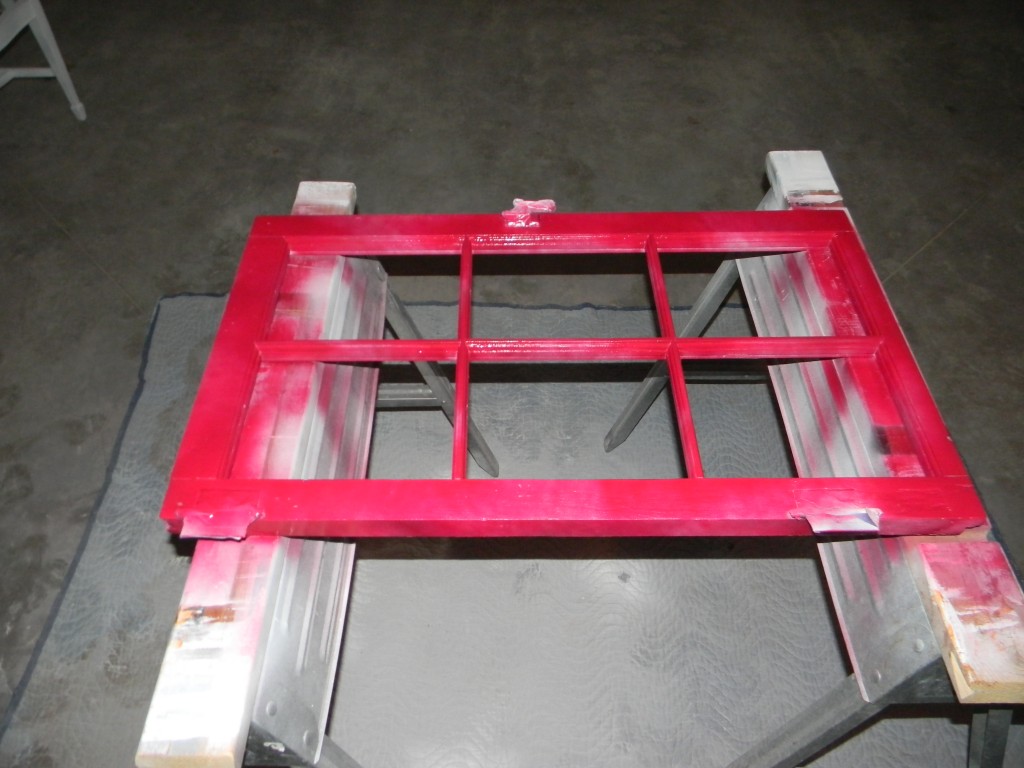
In a well ventilated area, spray frame with one coat of Kilz primer.
Once primer coat is dry, spray with Krylon Burgandy Gloss spray paint.
When paint is dry add one to two more coats until you get desired finish.
Cut a piece of fabric slightly smaller than the frame. This is the fabric I originally chose for the guest room window treatment before I found the adorable red and cream houndstooth fabric. I love this fabric for this project because it is a nice medium weight fabric and the black with small dot pattern creates a nice background for the photos without being too busy.
Pound small nails with heads on each side of the top of the frame.
Wrap picture wire around nails for hanger.
This step can be done after all fabric is stapled down.
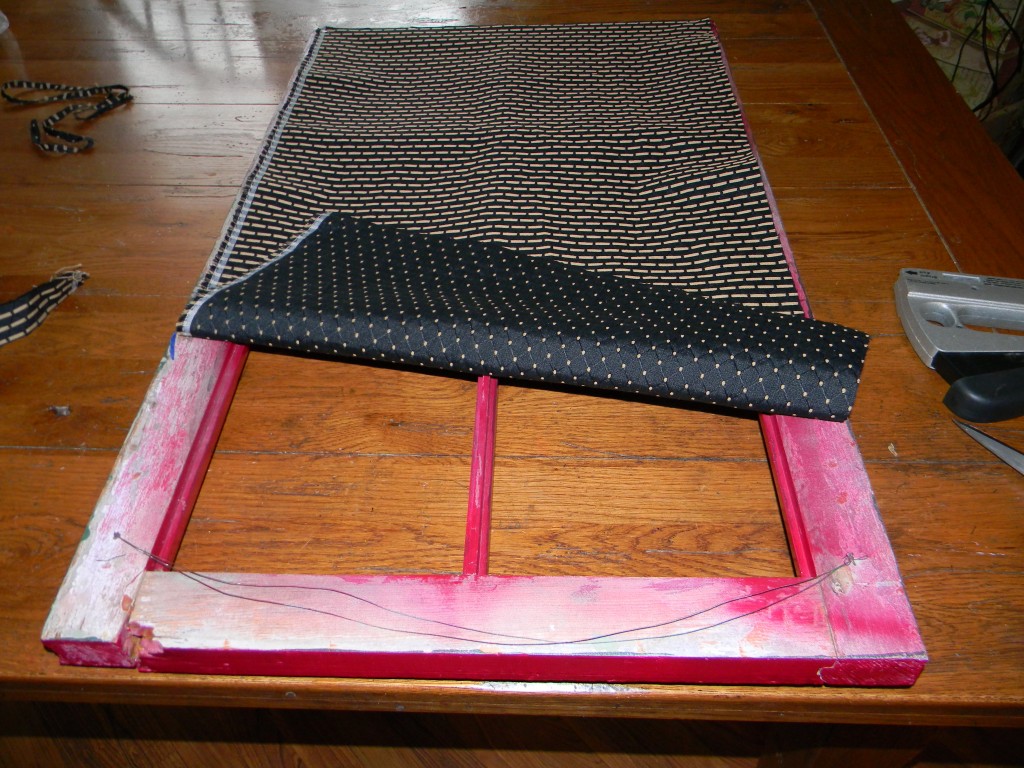
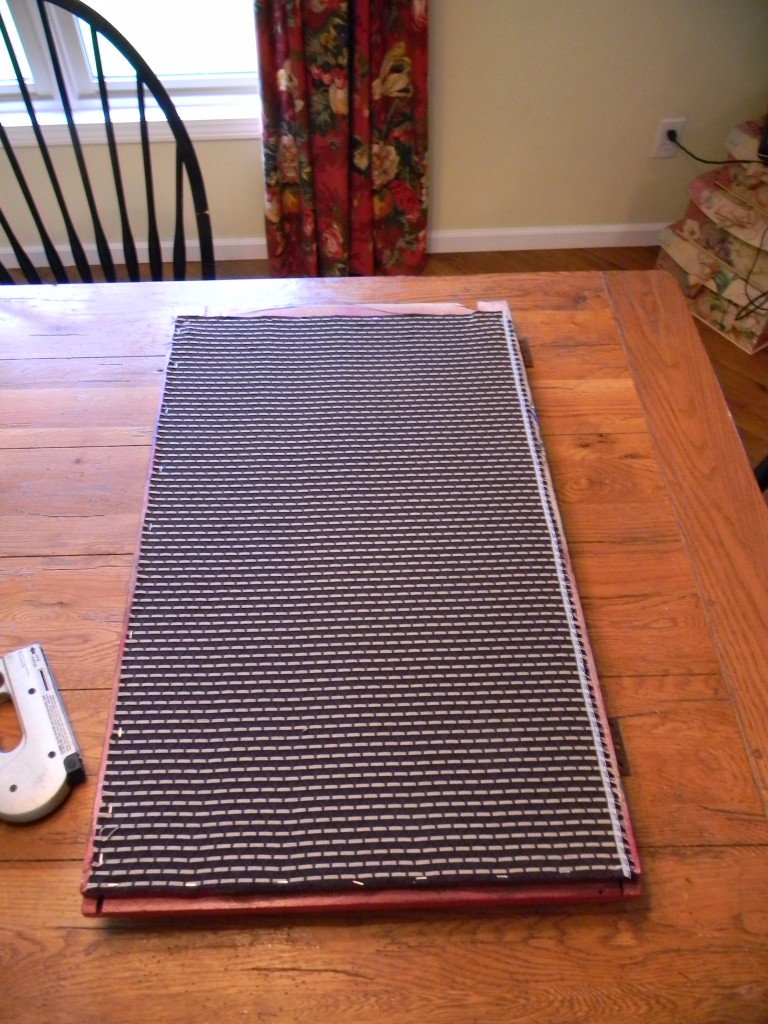
Place frame upside down on table and then lay the fabric right side down and staple.
Staple one end and then pull taunt and staple the other end.
Repeat on sides.
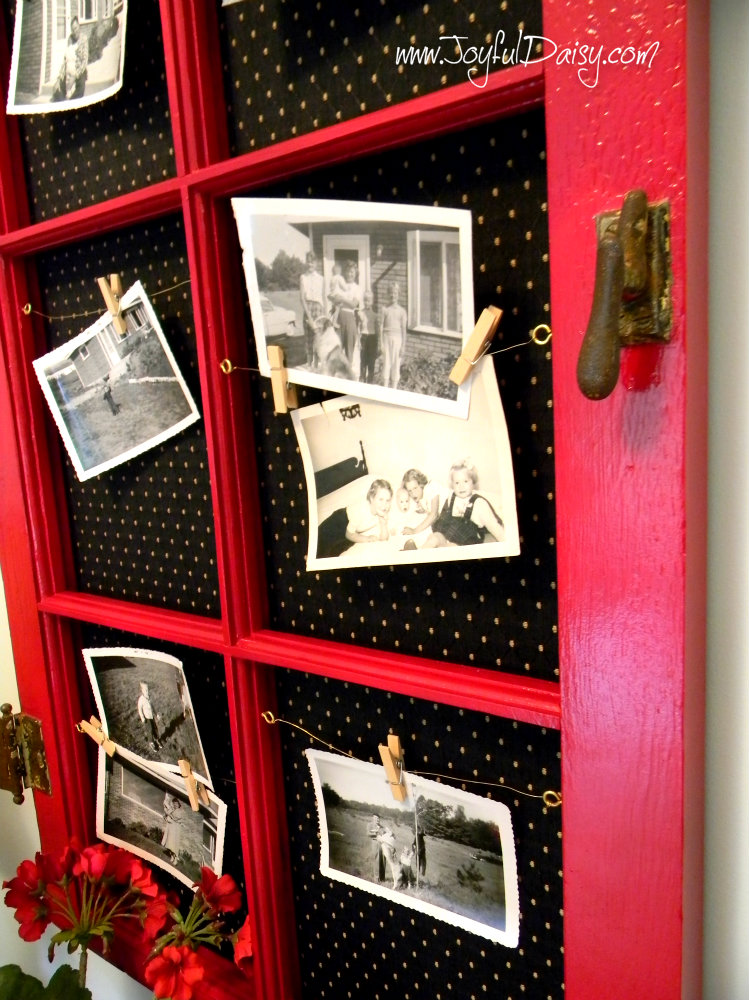
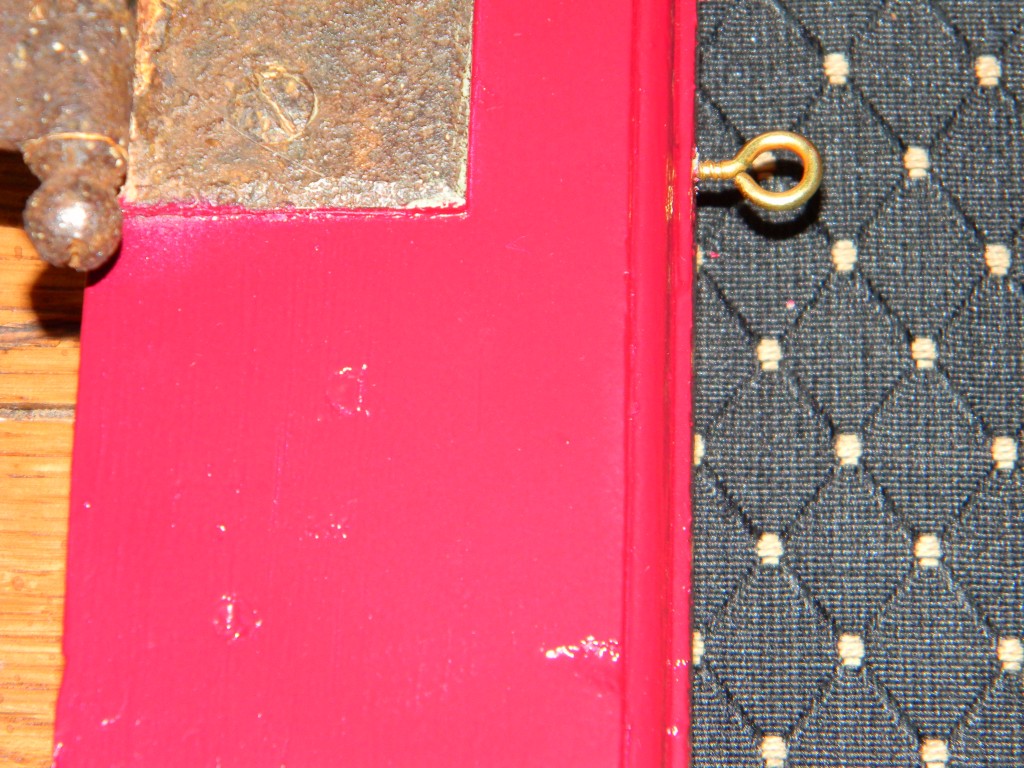
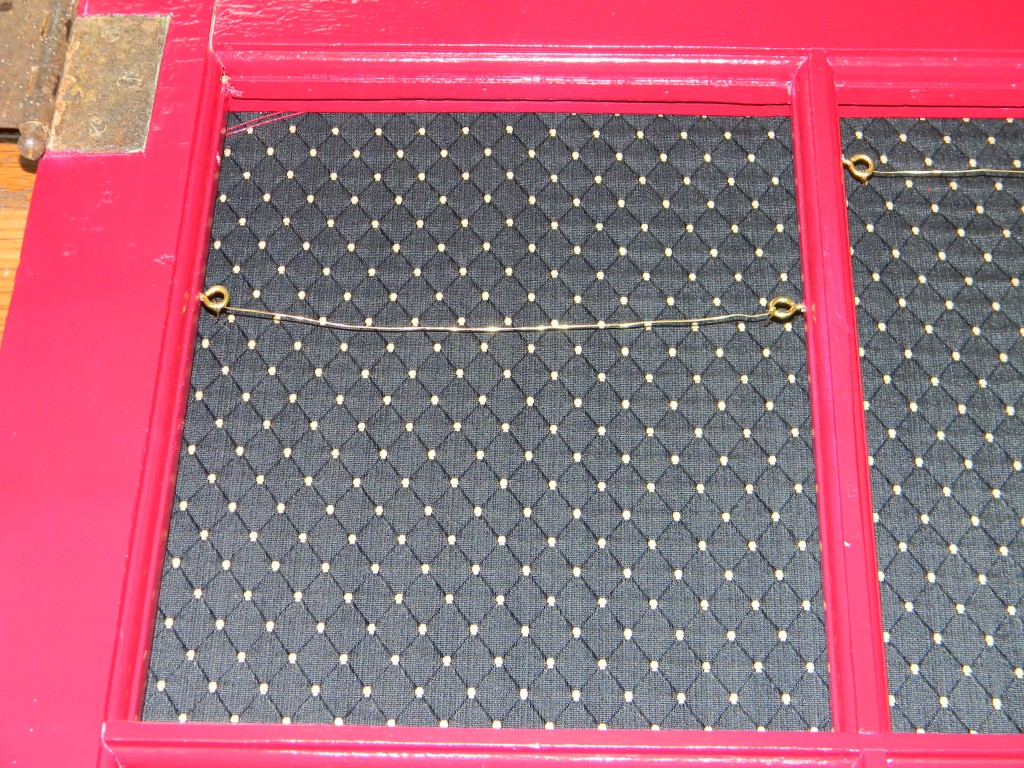
Add small screw eyes to each window frame where you will add wire and hang photos, cards, or notes.
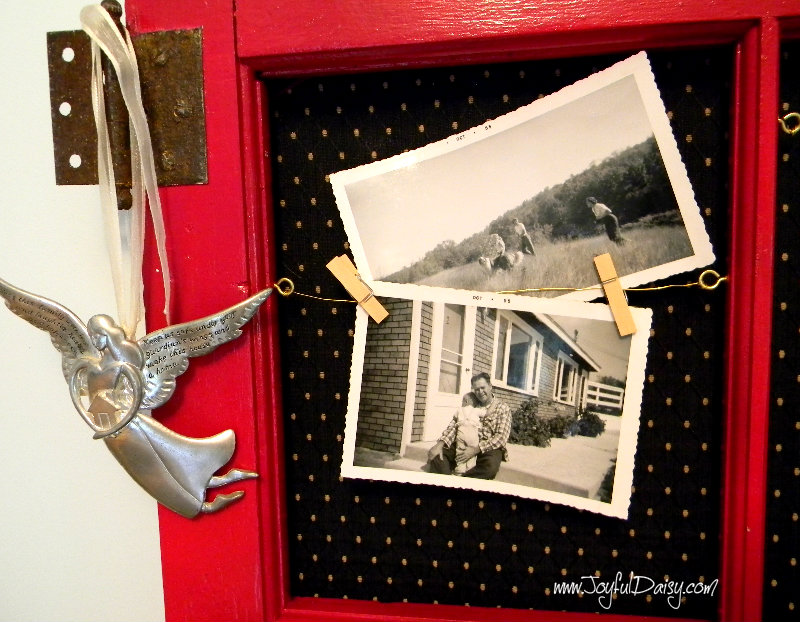
Using a small gage gold wire, wrap around screw eye and across window frame.
Using small clothespins, attach your favorite photos, postcards, Christmas cards, or notes to your renewed frame giving it another life to live 🙂
 I party at Savvy Southern Style and other links in Featured tab.
 If you enjoyed this post, be sure to sign our email list on the top right hand column. I have a lot more fun stuff planned!
You can also connect with Joyful Daisy on FACEBOOK, GOOGLE, PINTEREST, TWITTER, AND RSS. I would also love it if you shared this project by clicking social link buttons below, sharing is caring 🙂
Thanks for stopping by 
Cyber hugs,
Amy – joyfuldaisyforever@gmail.com

