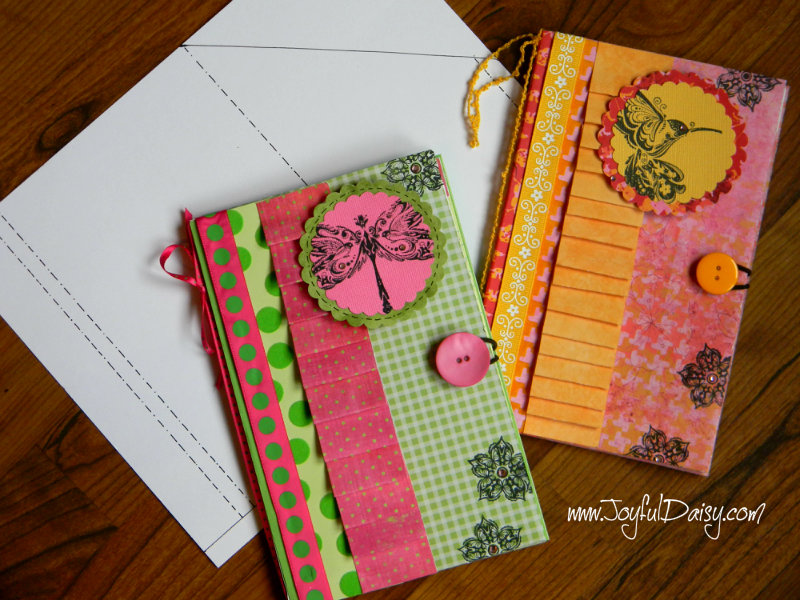
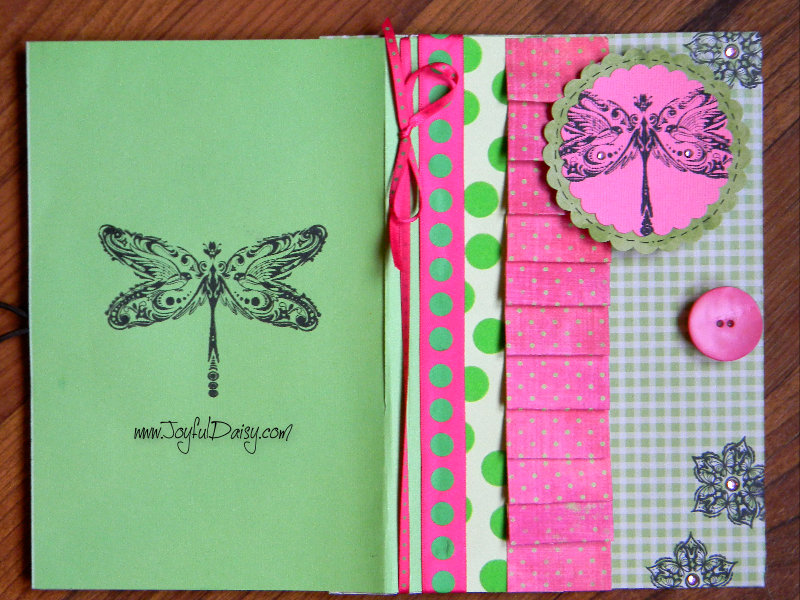
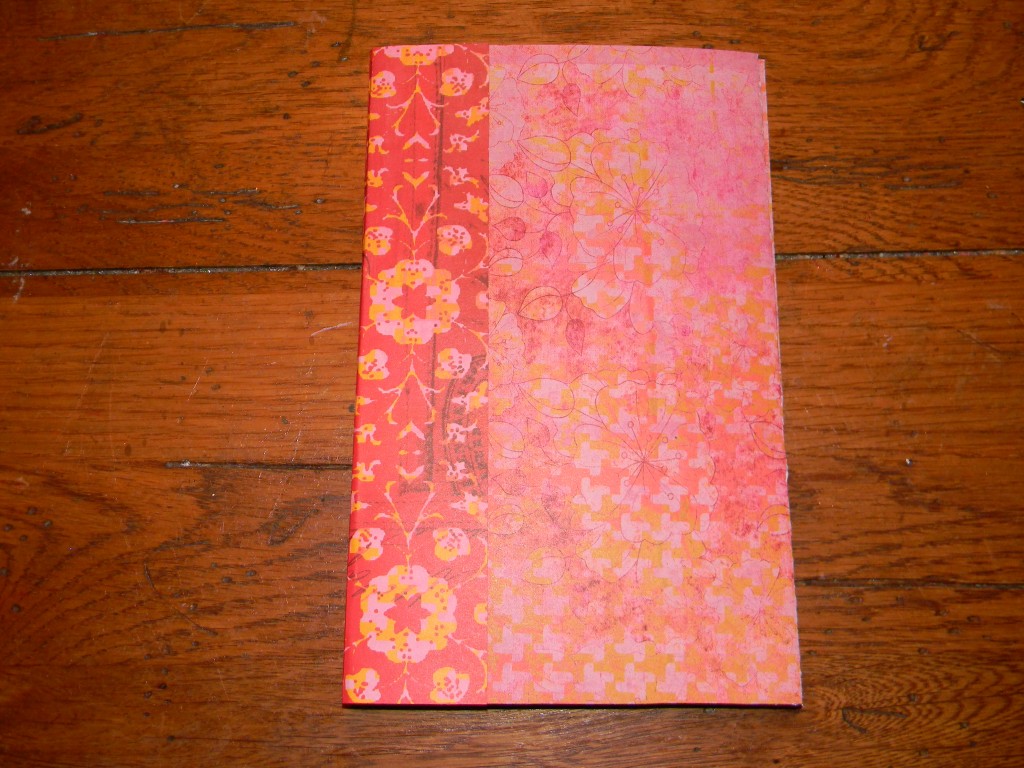
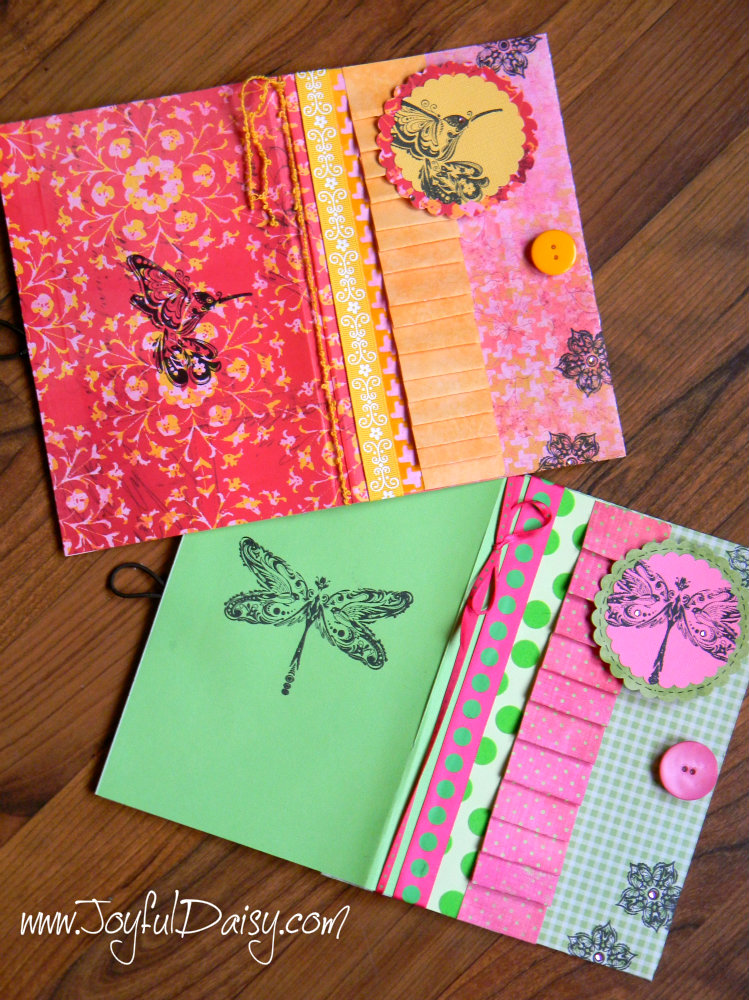
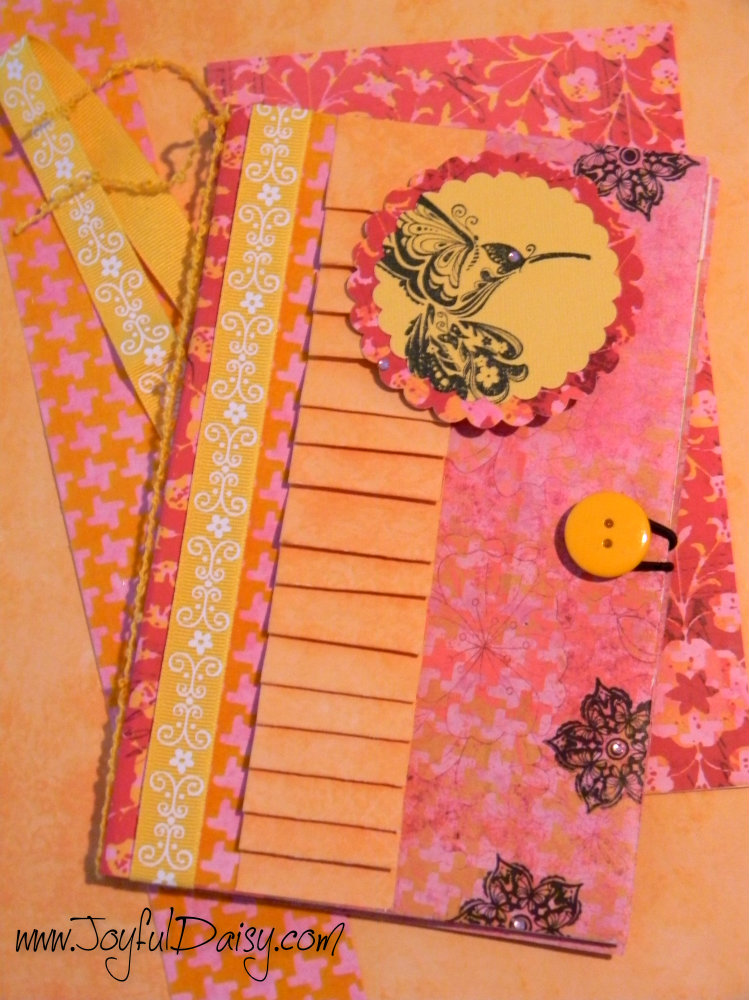
This is such a fun and quick project! It is not quite as addictive as my exploding book but this paper notebook cover with notepad makes and adorable thinking of you or thank you present. I am also planning to make some in school colors to stick in graduation presents next month. It would also be cute to stick one in a basket with a nice shiny apple for a teacher appreciation gift which is also coming up next month.
I wish I new who to thank for this little template, it came from a wonderful customer I met while running Victorian Village. I know we have some Joyful Daisy followers from Victorian Village so if you are the sweet someone who gave me this cute idea please send me a little email memo and help me remember who you are 🙂
I added a paper ruffle decoration, a little stamping, and a button closure to this paper project but the template is a copy of what was given to me a few years ago.
LET’S GET STARTED AND GATHER SUPPLIES
FOR OUR NOTEPAD & PAPER NOTEBOOK COVER…
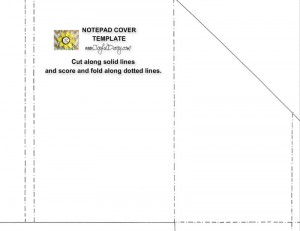
First download the notepad cover template
5″ * 8″ note pad (I purchase a package of 5 at Walmart for about $4.)
Assorted double sided cardstock papers.
17″ half inch ribbon
24″ thin ribbon or yarn
skinny hair twanger
Buttons (1-about 1/2″ and 1- about 1″)
Rhinestones
Black Stazon Ink Pad
Rubber Stamps
Hot Glue Gun and Adhesive
Paper Trimmer and Scissors
READY, SET, GO…
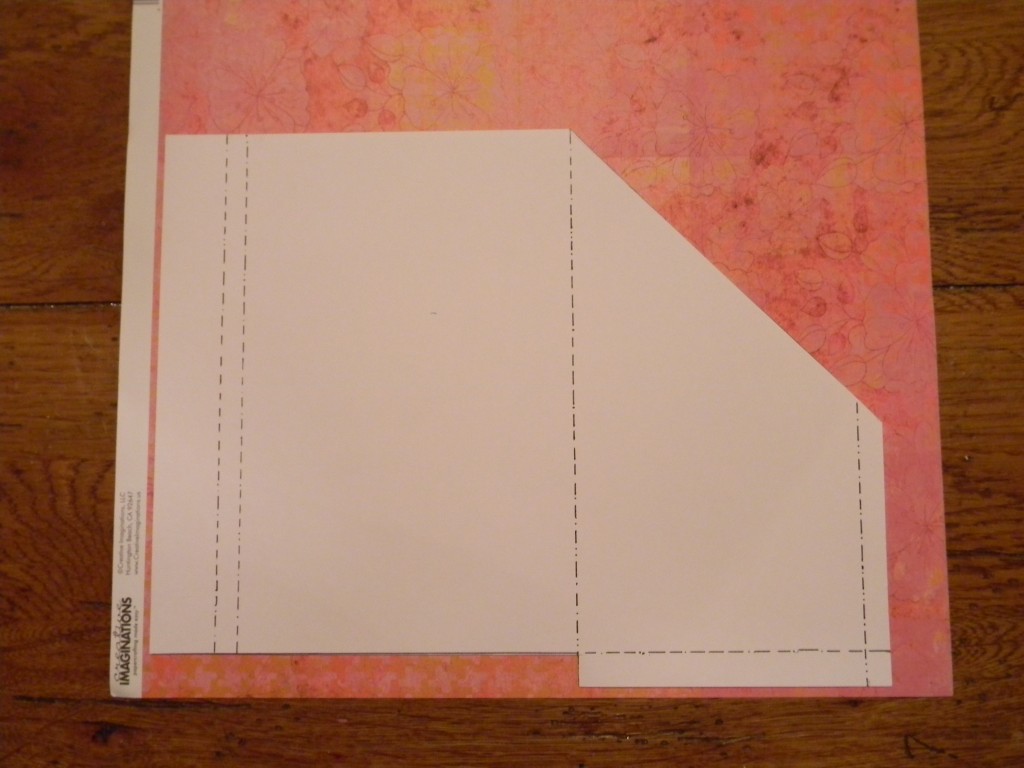
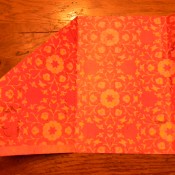
Trace template and cut out.
Score along dotted lines and fold.
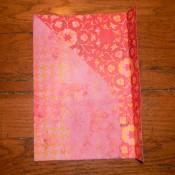
Fold up the small little flap on the bottom an glue.
Apply adhesive to the folded up flap and on along the short side, fold over and glue to create a little pocket.
Cut out a 8″ *7″ piece of double sided cardstock.
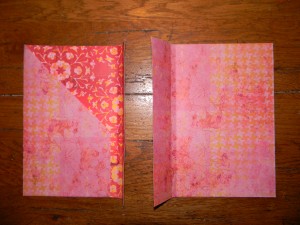
Measure over 5 1/8″ from short edge and score or fold. Then measure over 5/8″ past that score or fold line and score/fold again.
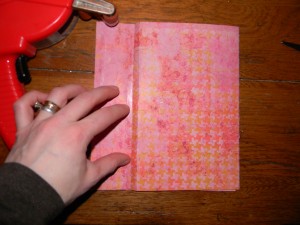
Run adhesive down the middle of these two score/fold lines and then line up with the 5/8″ score/fold line on your pocket page and adhere.
Adhere the inner flap of paper down to the opposite side of the pocket page and then wrap the back flap around to the front of the paper notebook cover and glue down.
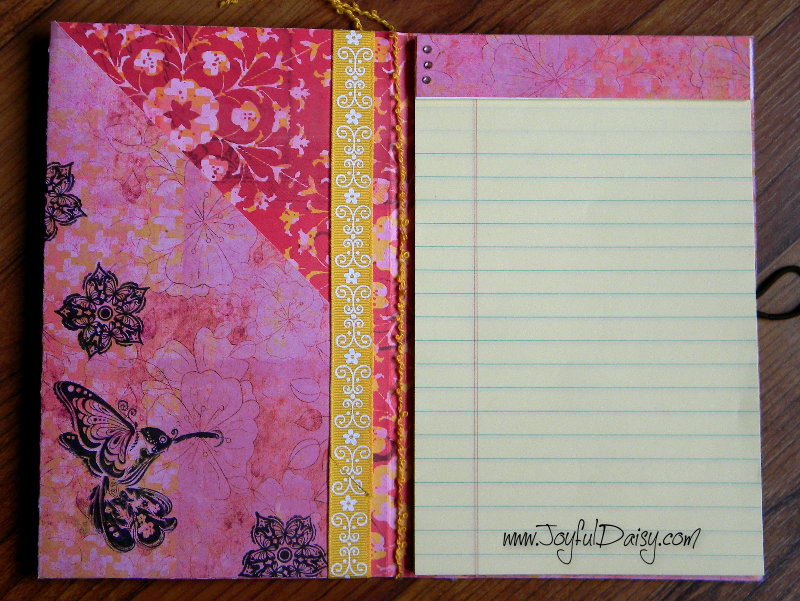
Decorate the inside of your notebook cover with rubber stamps.
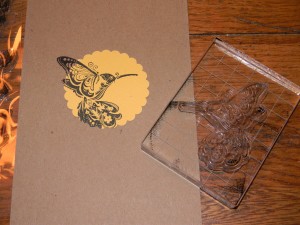
Decorate a circle for the front of the notebook cover or you could print out a saying, name, or initials.
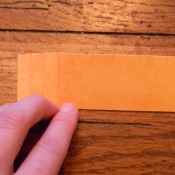
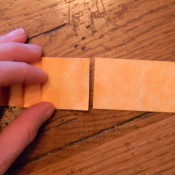
Cut two 1/2″ * 12″ strips.
Make marks along the strips at 1″ then 1/2″ and repeat down the whole strip.
Fold at marks making an accordion fold down both strips and adhere together.
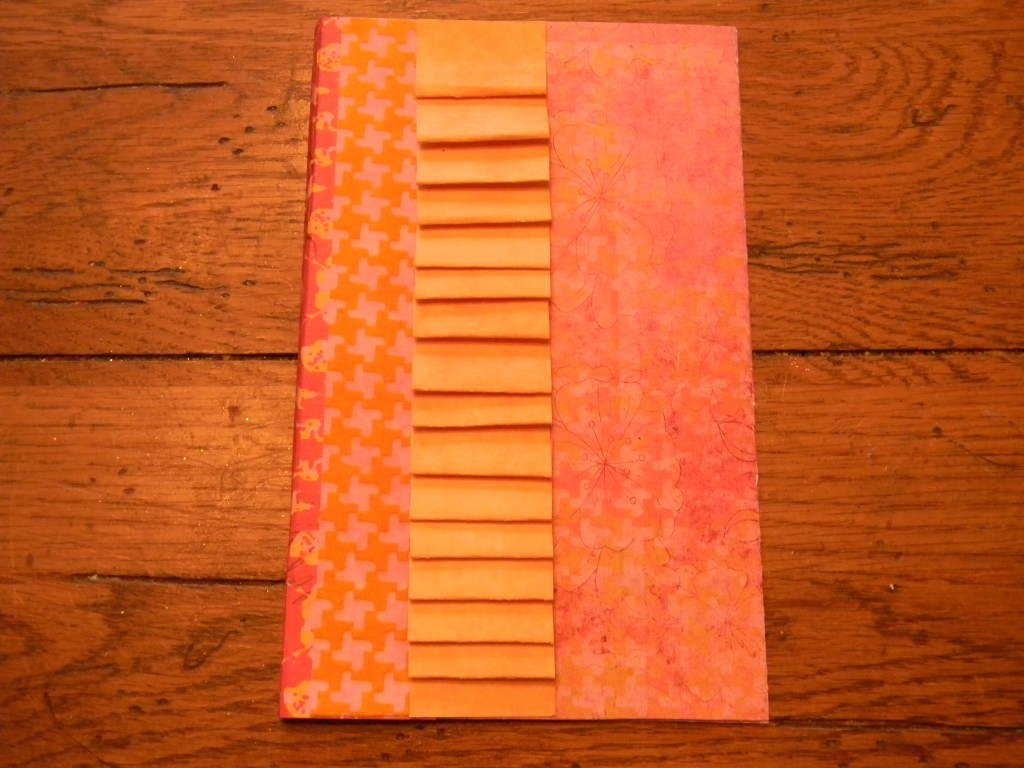
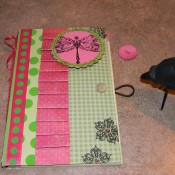
Cut a decorative piece of paper 8″ * 1 1/2″ and adhere down 1/4″ from left side of front cover.
Run two lines of adhesive down to the right of this strip and place pleated paper strip down.
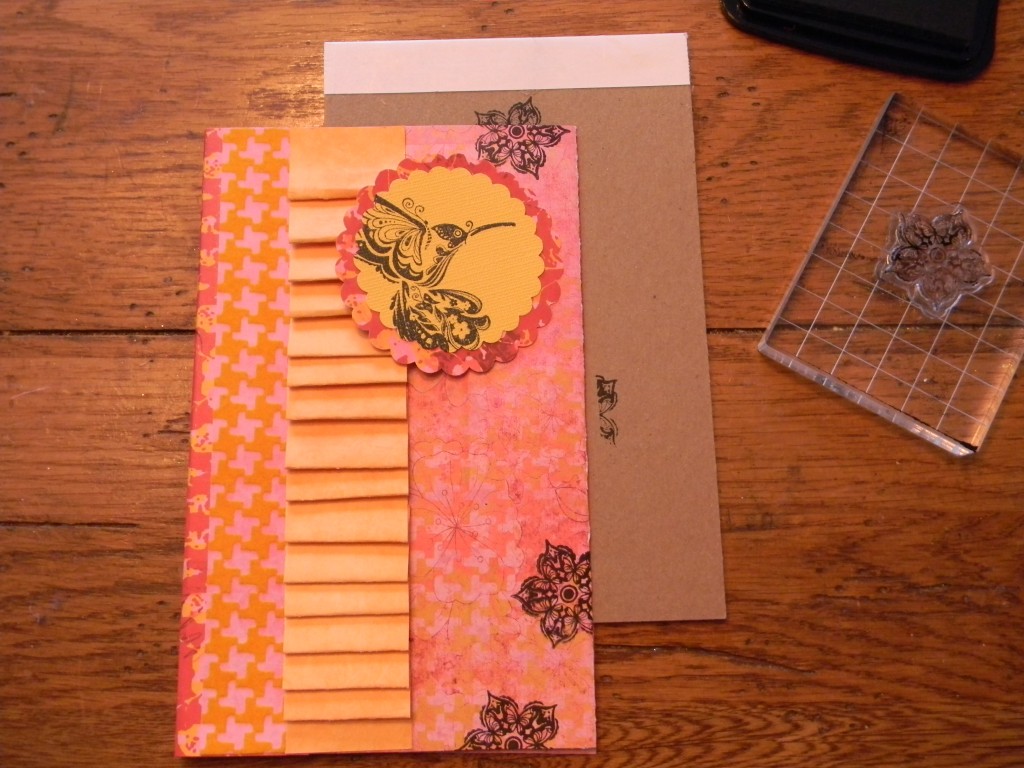
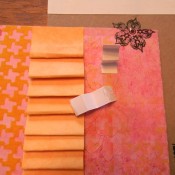 Add a mat to stamped circle and adhere to front with dimensional tape behind the right side or if you ran like I did… just fold a small piece of cardstock like an accordion and adhere one end to cover and the top to the circle to add some dimension.
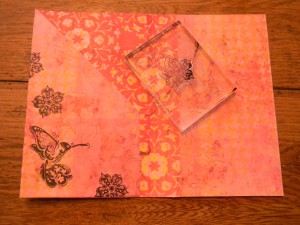
Add decorative stamps to the front of the cover. You can use the back of the notepad as I did to stamp off the cover and protect the table.
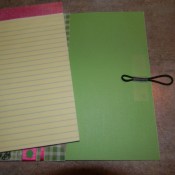
Tape half of hair twanger down in the middle on the right side of the notebook cover. Adhere notepad down securely over twanger.
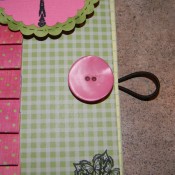
Using hot glue gun, glue small button down 1″ in from right edge of notebook cover.
Using hot glue, glue larger button on top of the smaller button.
Glue decorative ribbon around front cover 1/4″ from center.
Wrap thin ribbon or yarn around the binding and tie letting loose ends dangle or tie in a bow on the side.
Cut a 7/8″ * 5″ piece of paper and adhere to the top of the notepad and decorate with small crystals.
Stamp back of notebook covers.
If you enjoyed this post, be sure to sign our email list on the top right hand column. I would love to stay in touch 🙂
You can also connect with Joyful Daisy on FACEBOOK, GOOGLE, PINTEREST, TWITTER, AND RSS.
You can also share this on your favorite social media sites by clicking square buttons at the end of this post. Sharing is caring…enjoy!
Cyber hugs,
AMY joyfuldaisyforever@gmail.com



![The Scoop_thumb[5] TUES](https://joyfuldaisy.com/wp-content/uploads/2014/04/The-Scoop_thumb5-TUES.jpg)
