
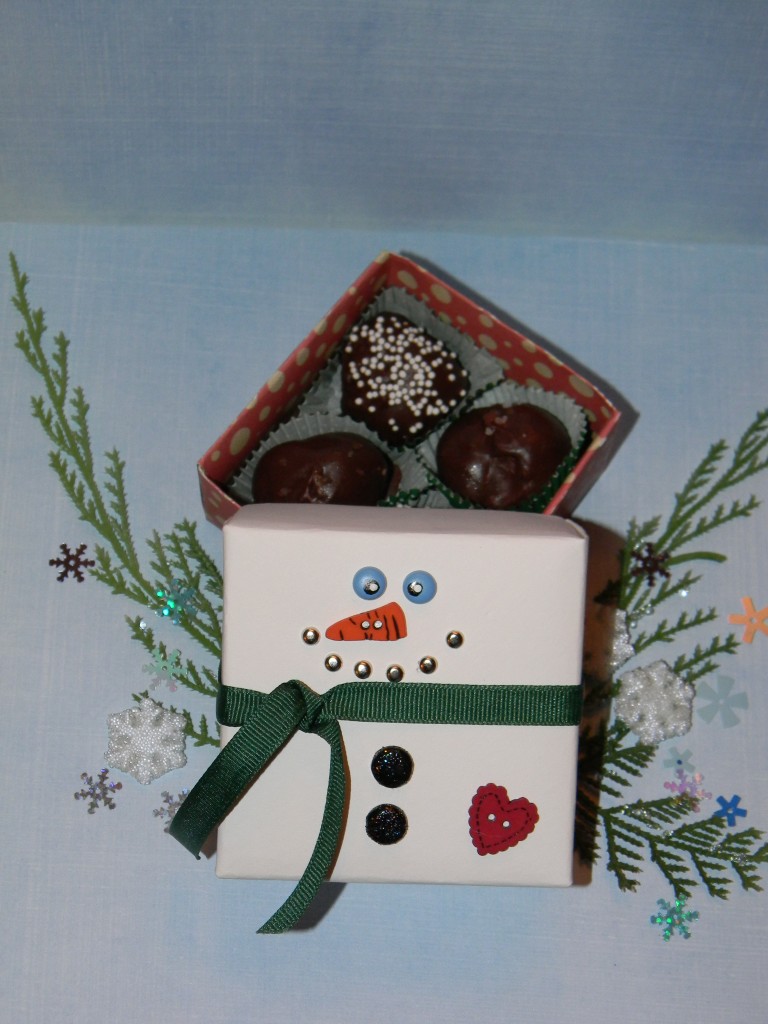
Ok, maybe you can relate… 2AM and you wake up with another way to expand upon your latest project and then you are too inspired to get back to sleep! Well that’s how this how to make a snowman box idea came to me. Fortunately, it turned out as cute as I envisioned because sometimes those late night inspirations don’t transpire the way I want, thus waking me to no avail:)
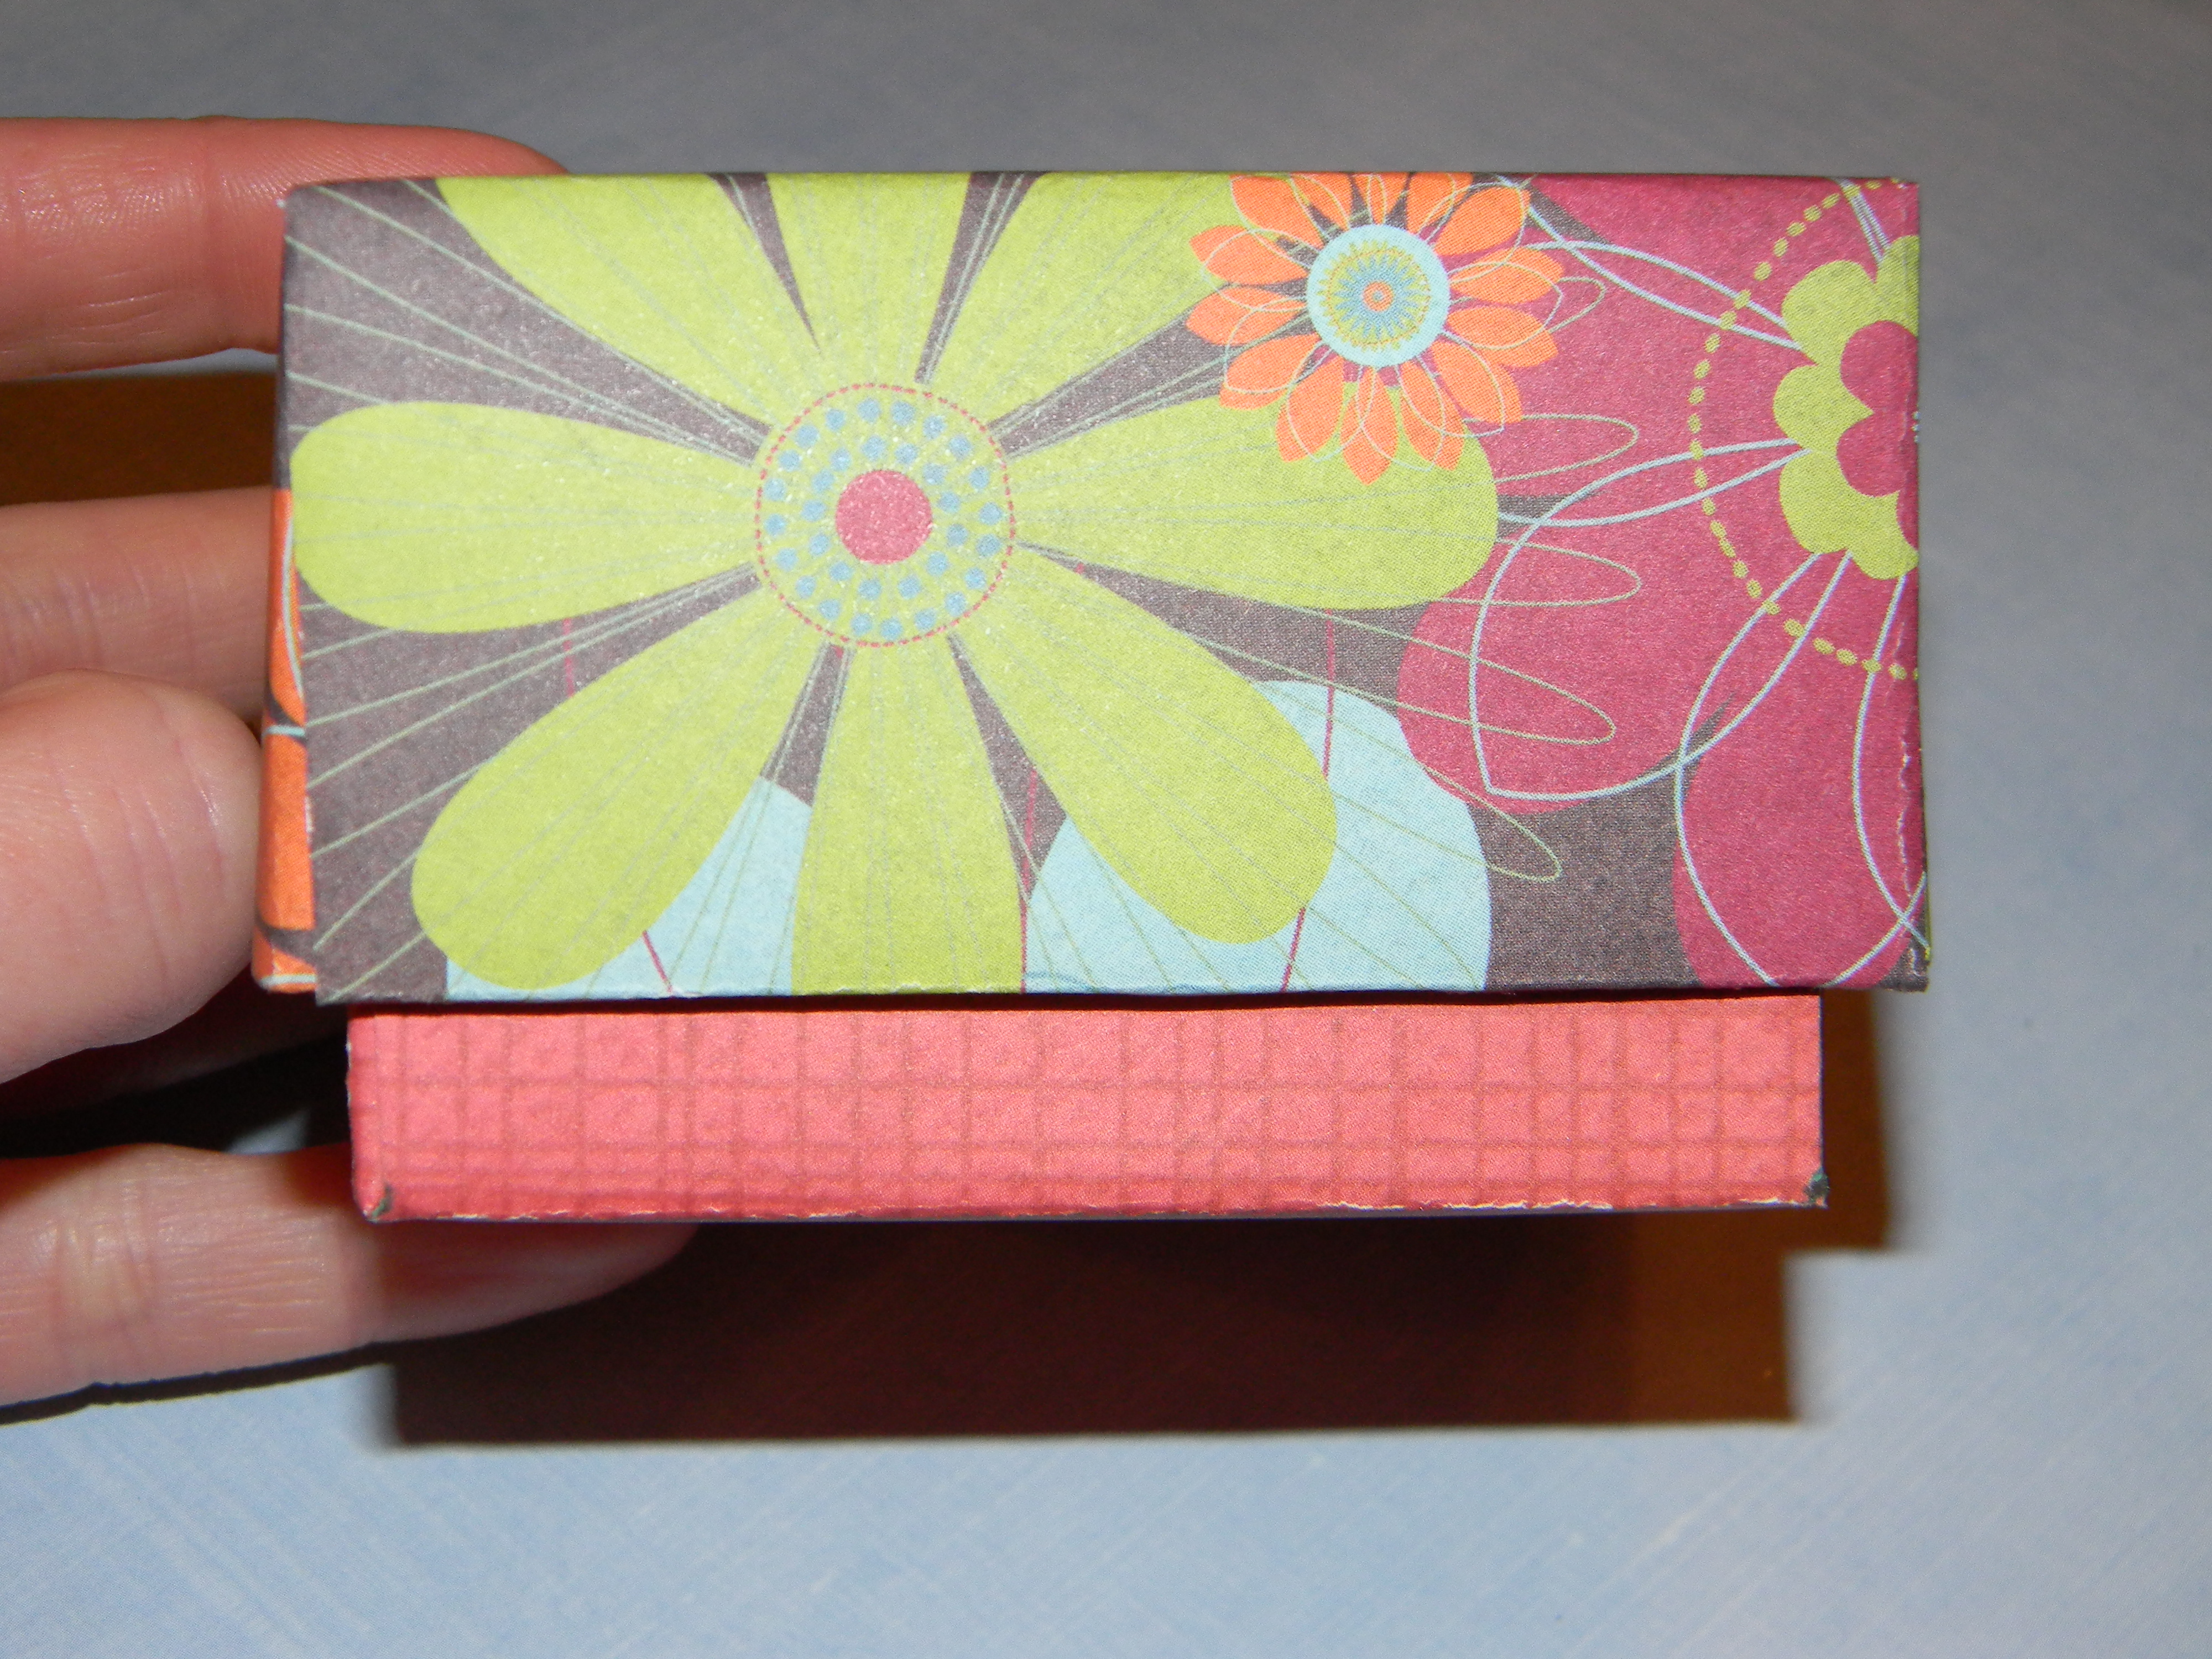
Start by making the box top out of a 9 1/2″ square of white card stock or a subtle white patterned paper would look nice too. Find instructions at https://joyfuldaisy.com/?p=185
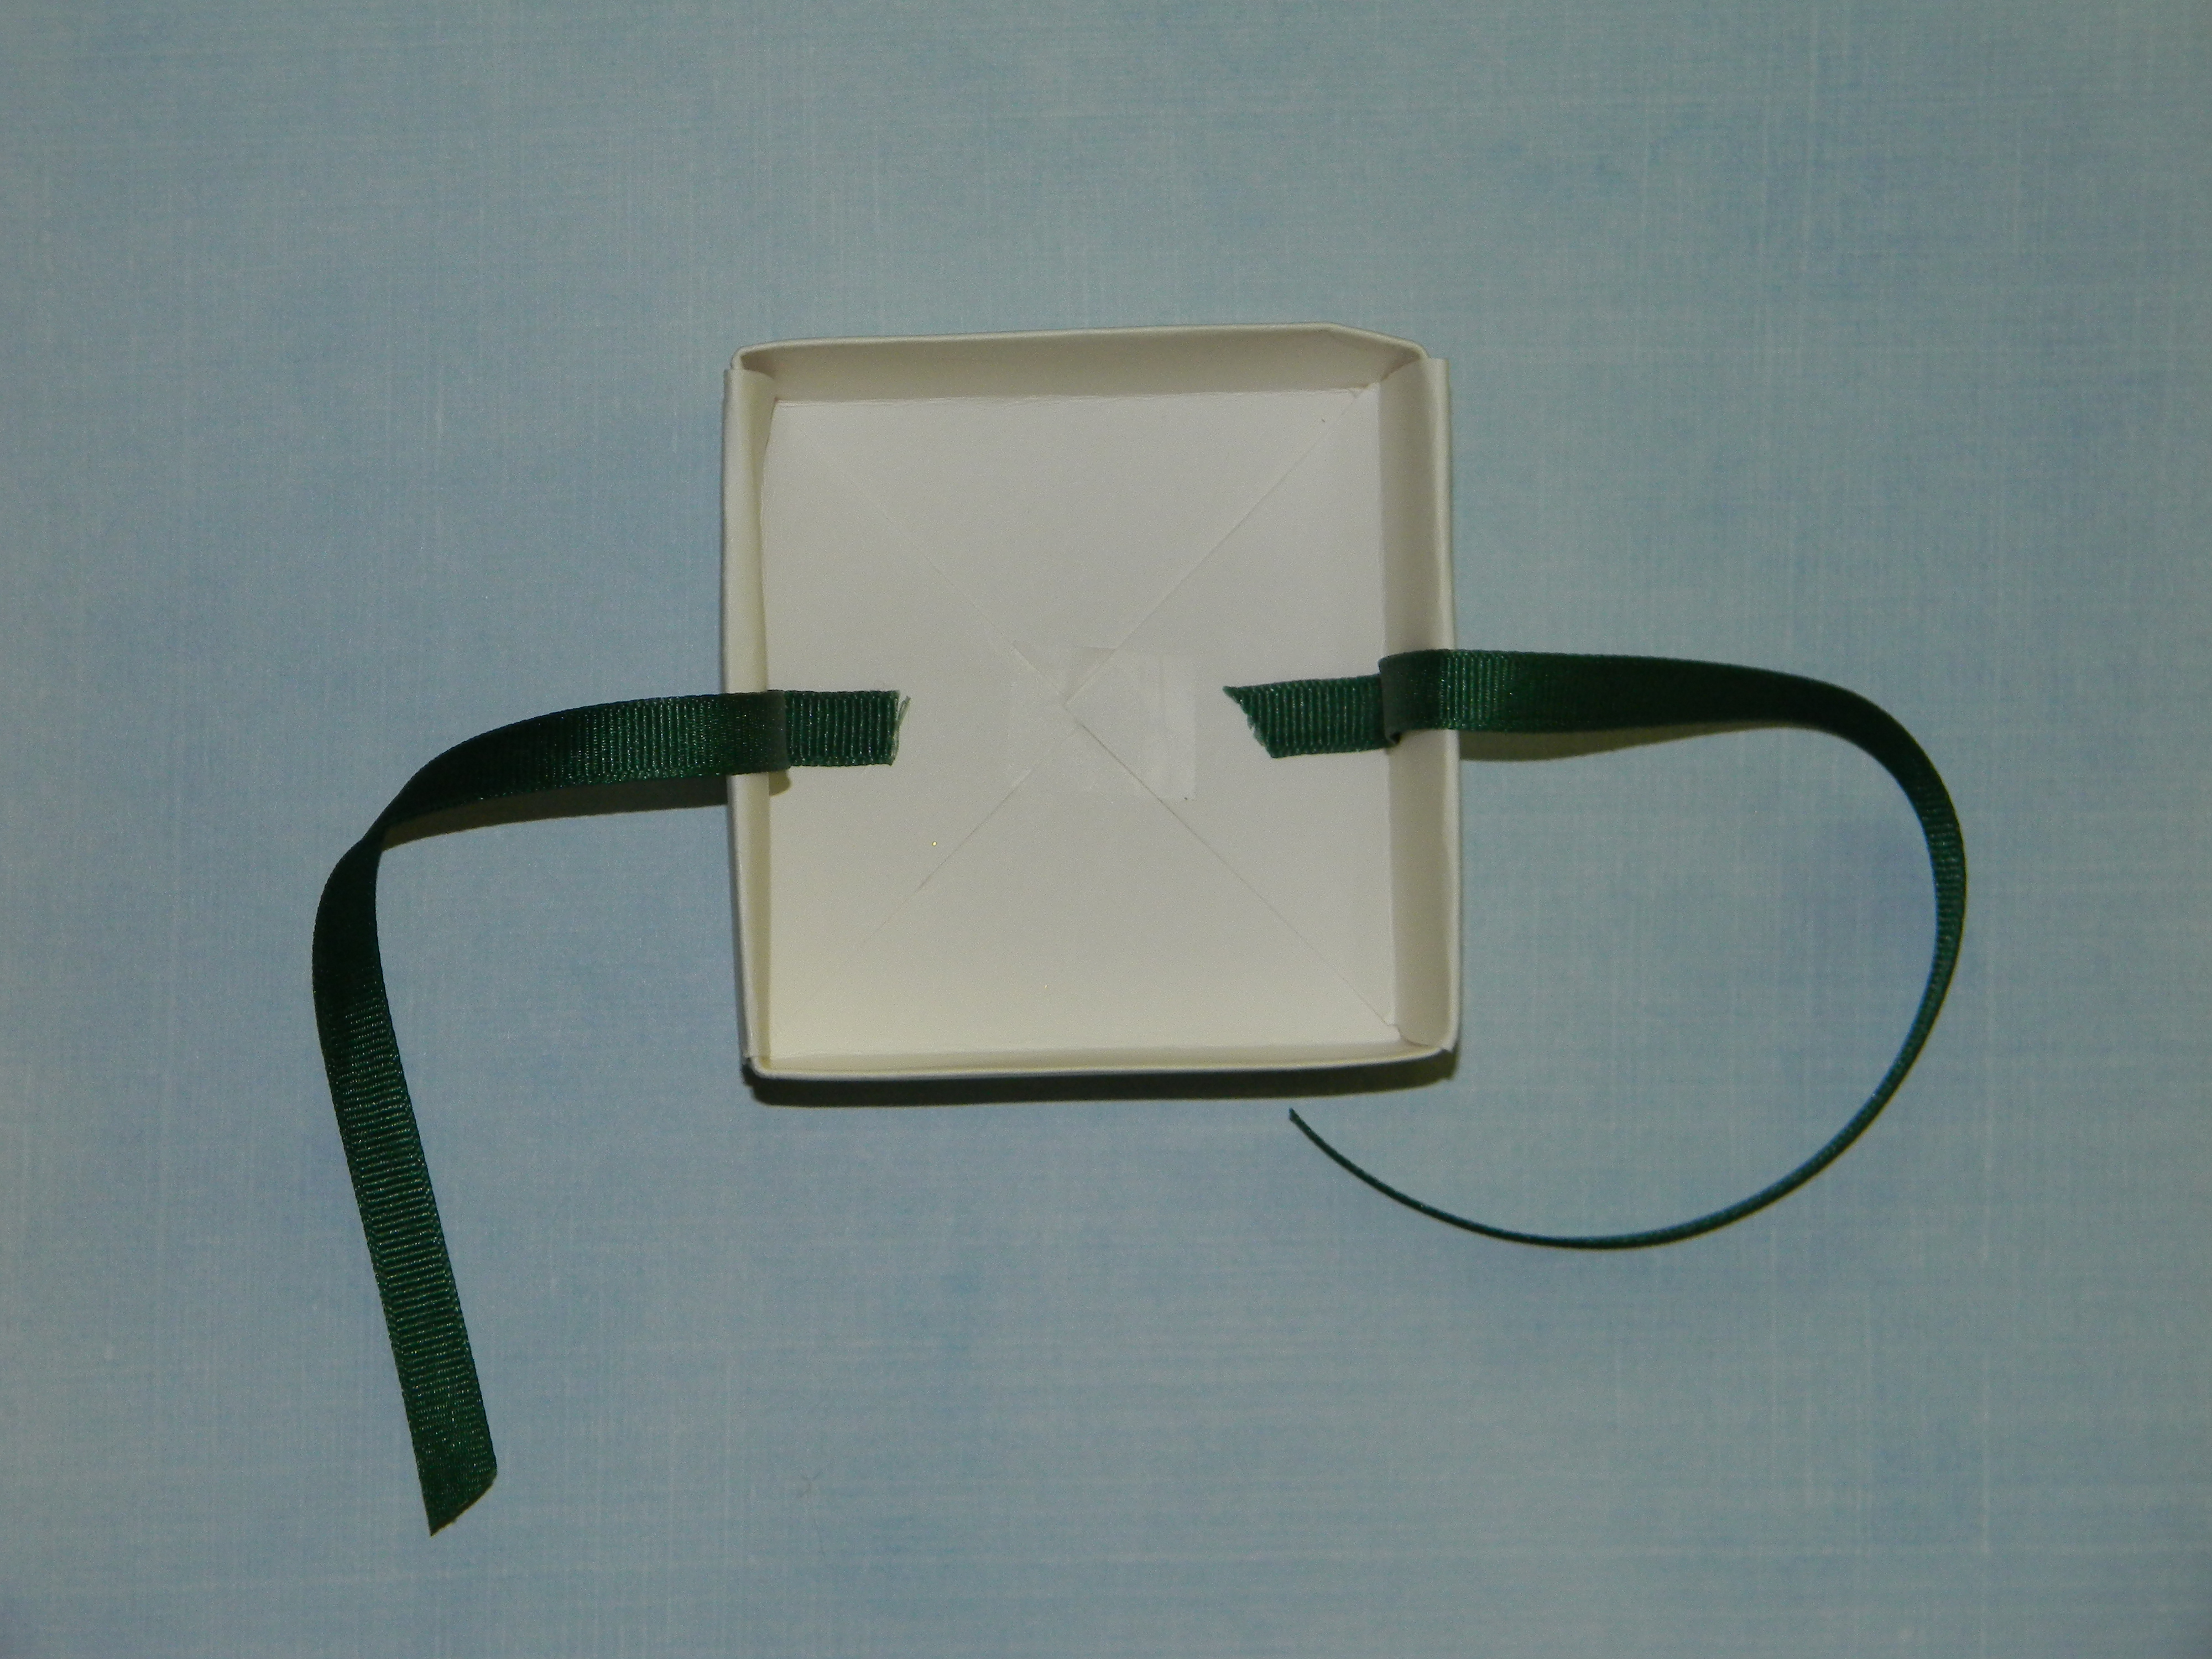
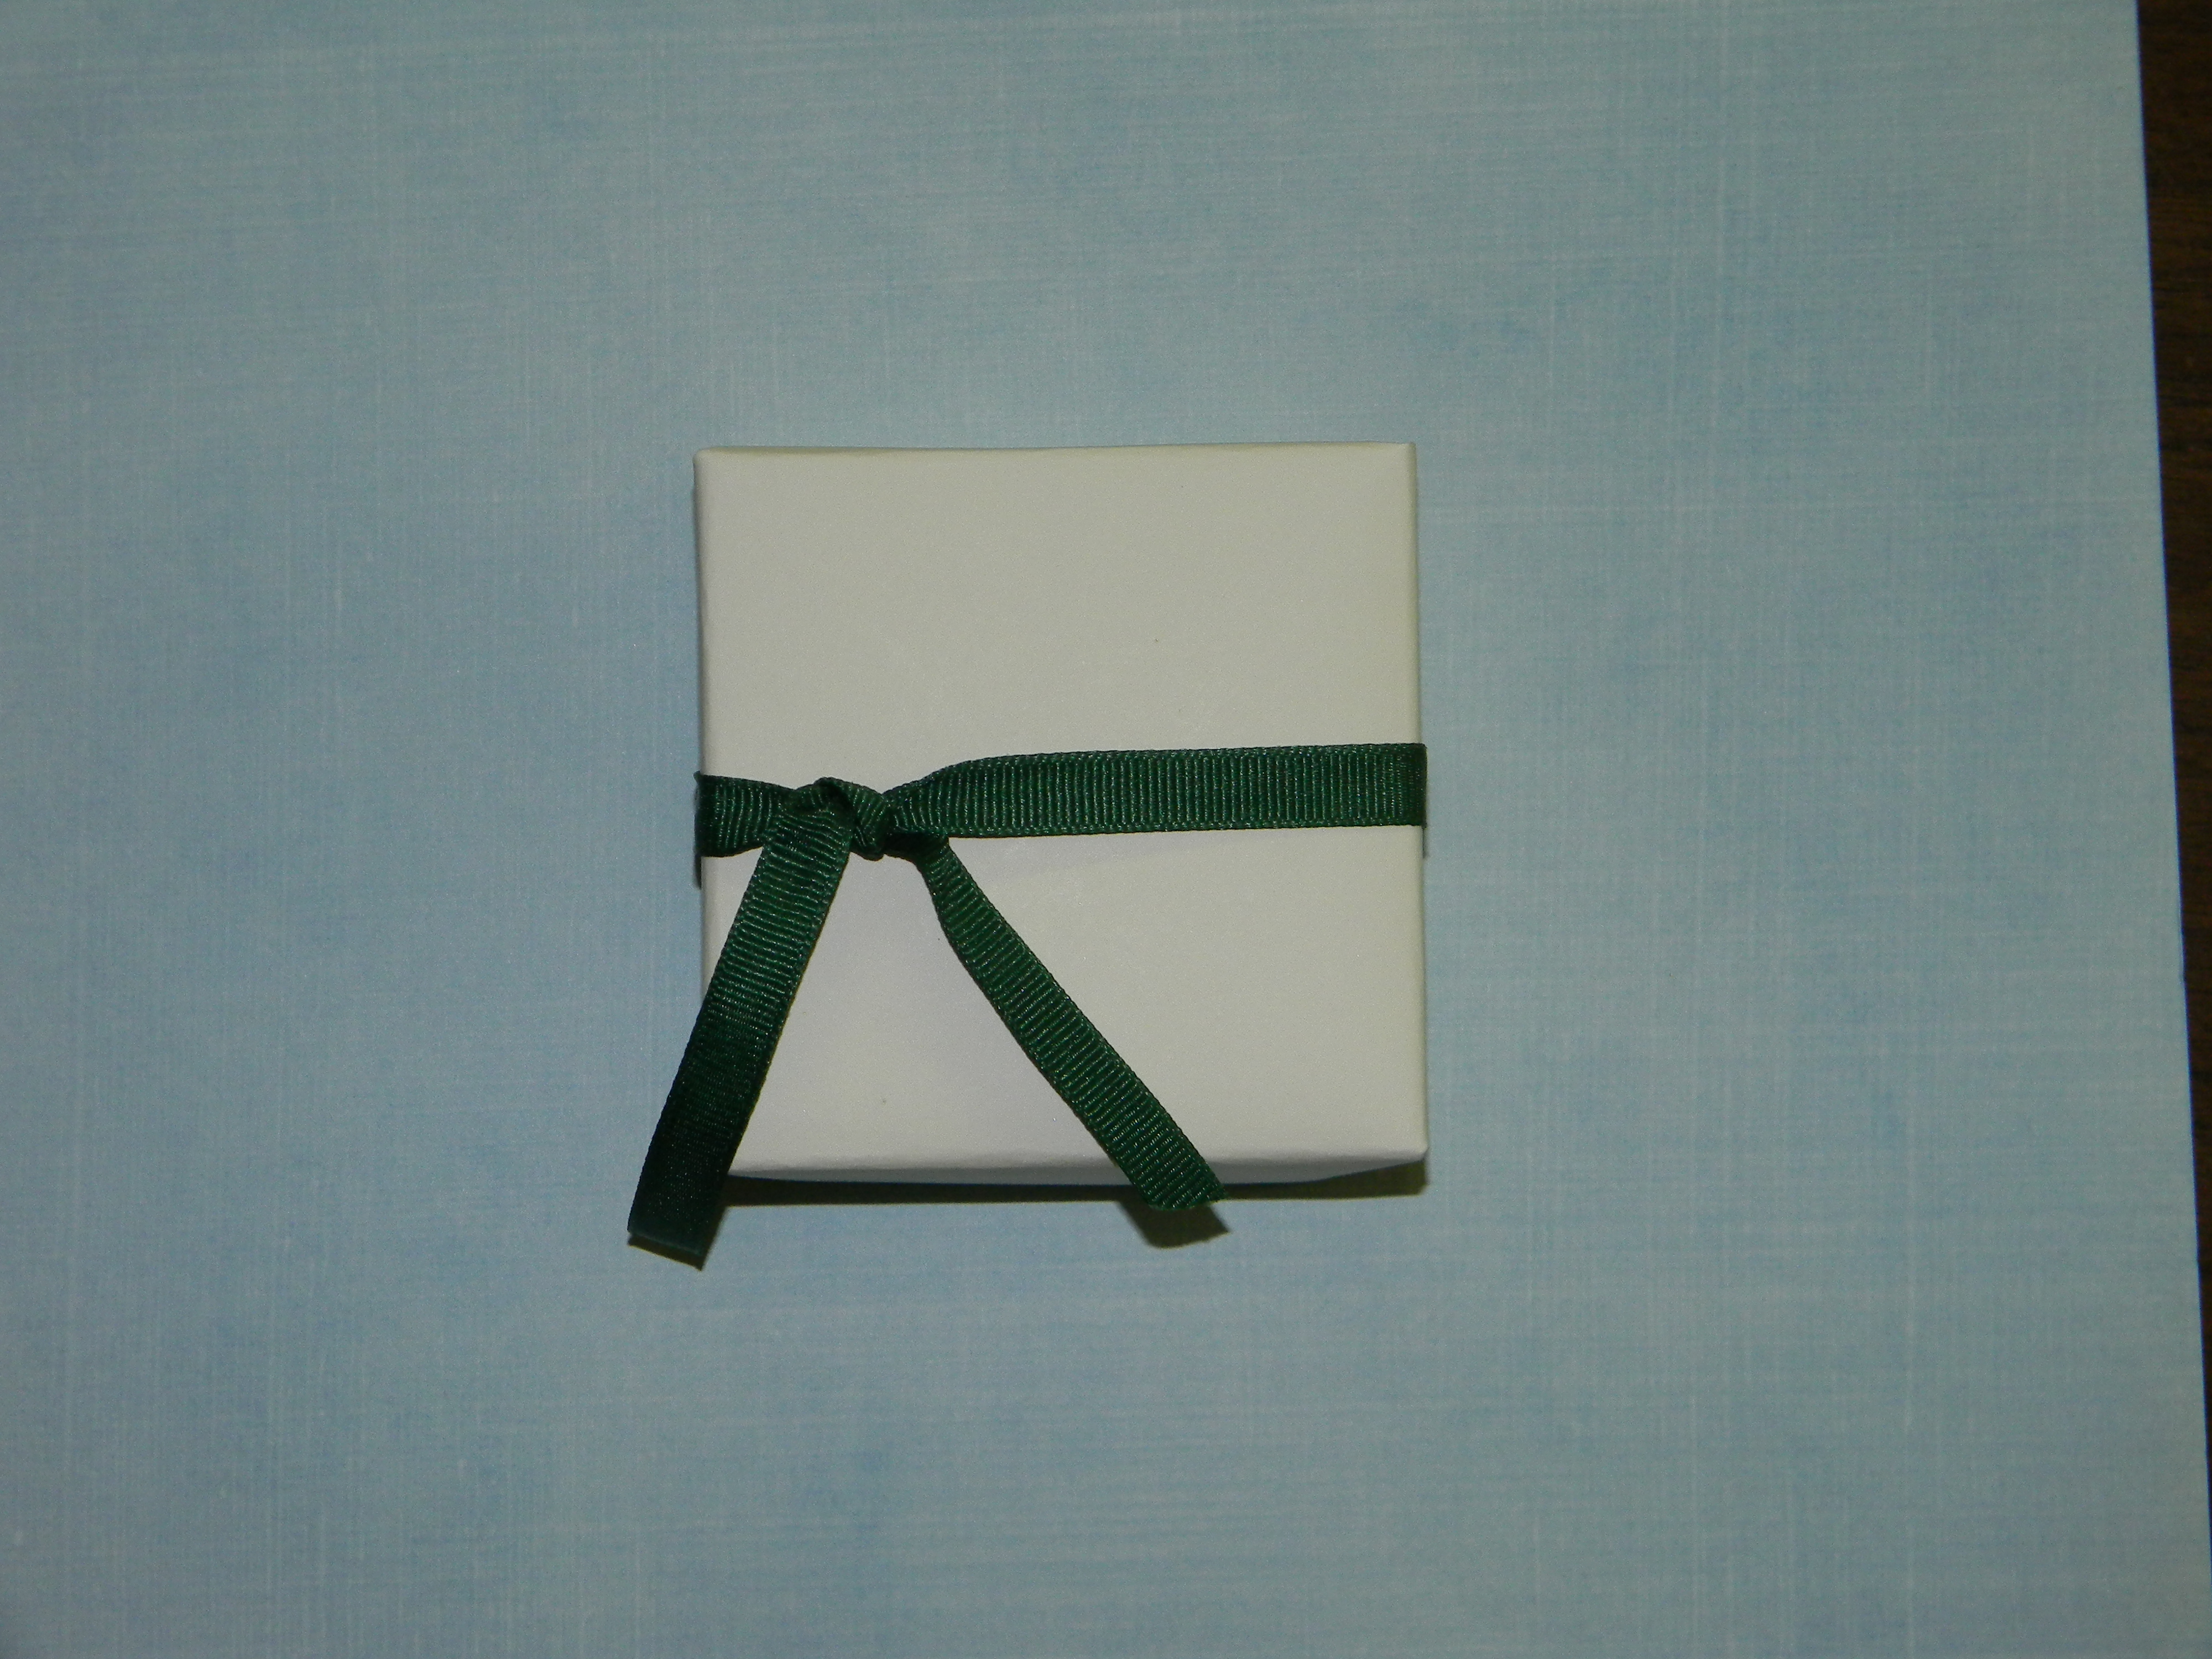
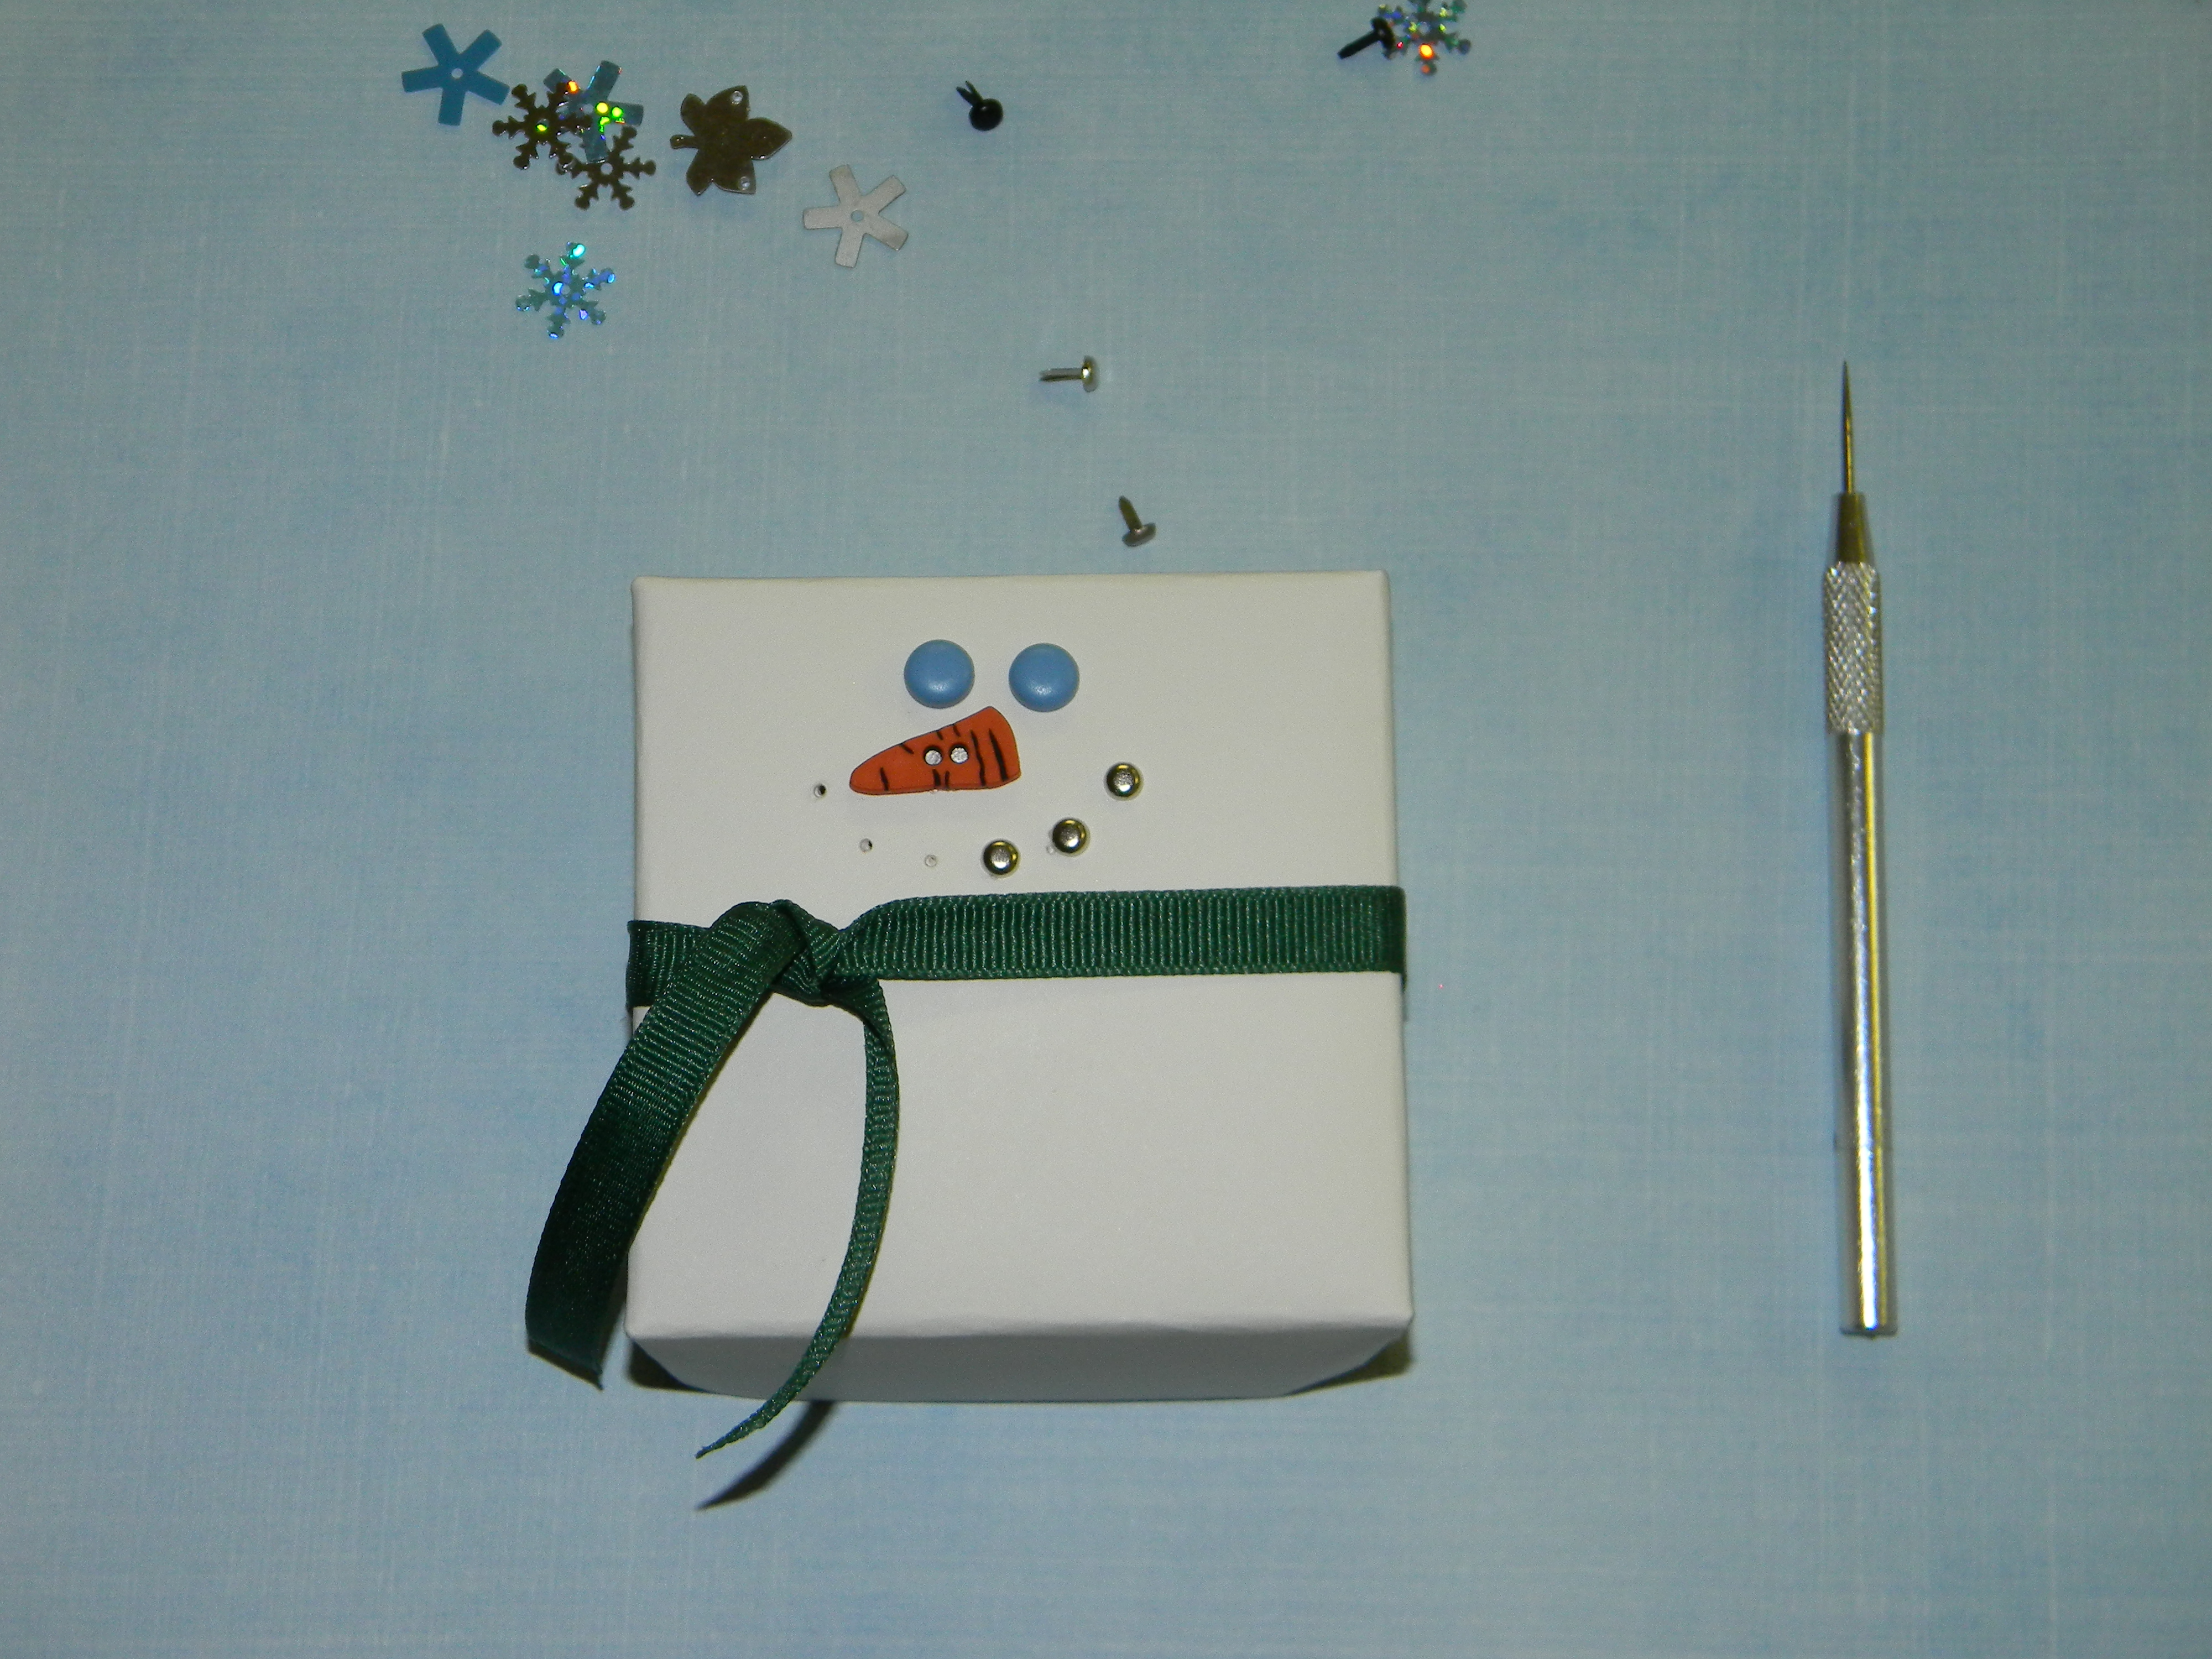
1. STEP ONE- ADDING SCARF Cut two 10″ pieces of ribbon ( I used 3/8″ grosgrain ribbon). Then adhere to the inside of the box, as shown above (I have used tape or a glue stick for this step). Make sure that the ribbon is adhered to the bottom and partially up the inside of the box so that the bottom of the box will slide in nicely. Then flip the box lid over and tie a small knot on the left side and trim ends to desired lengths.
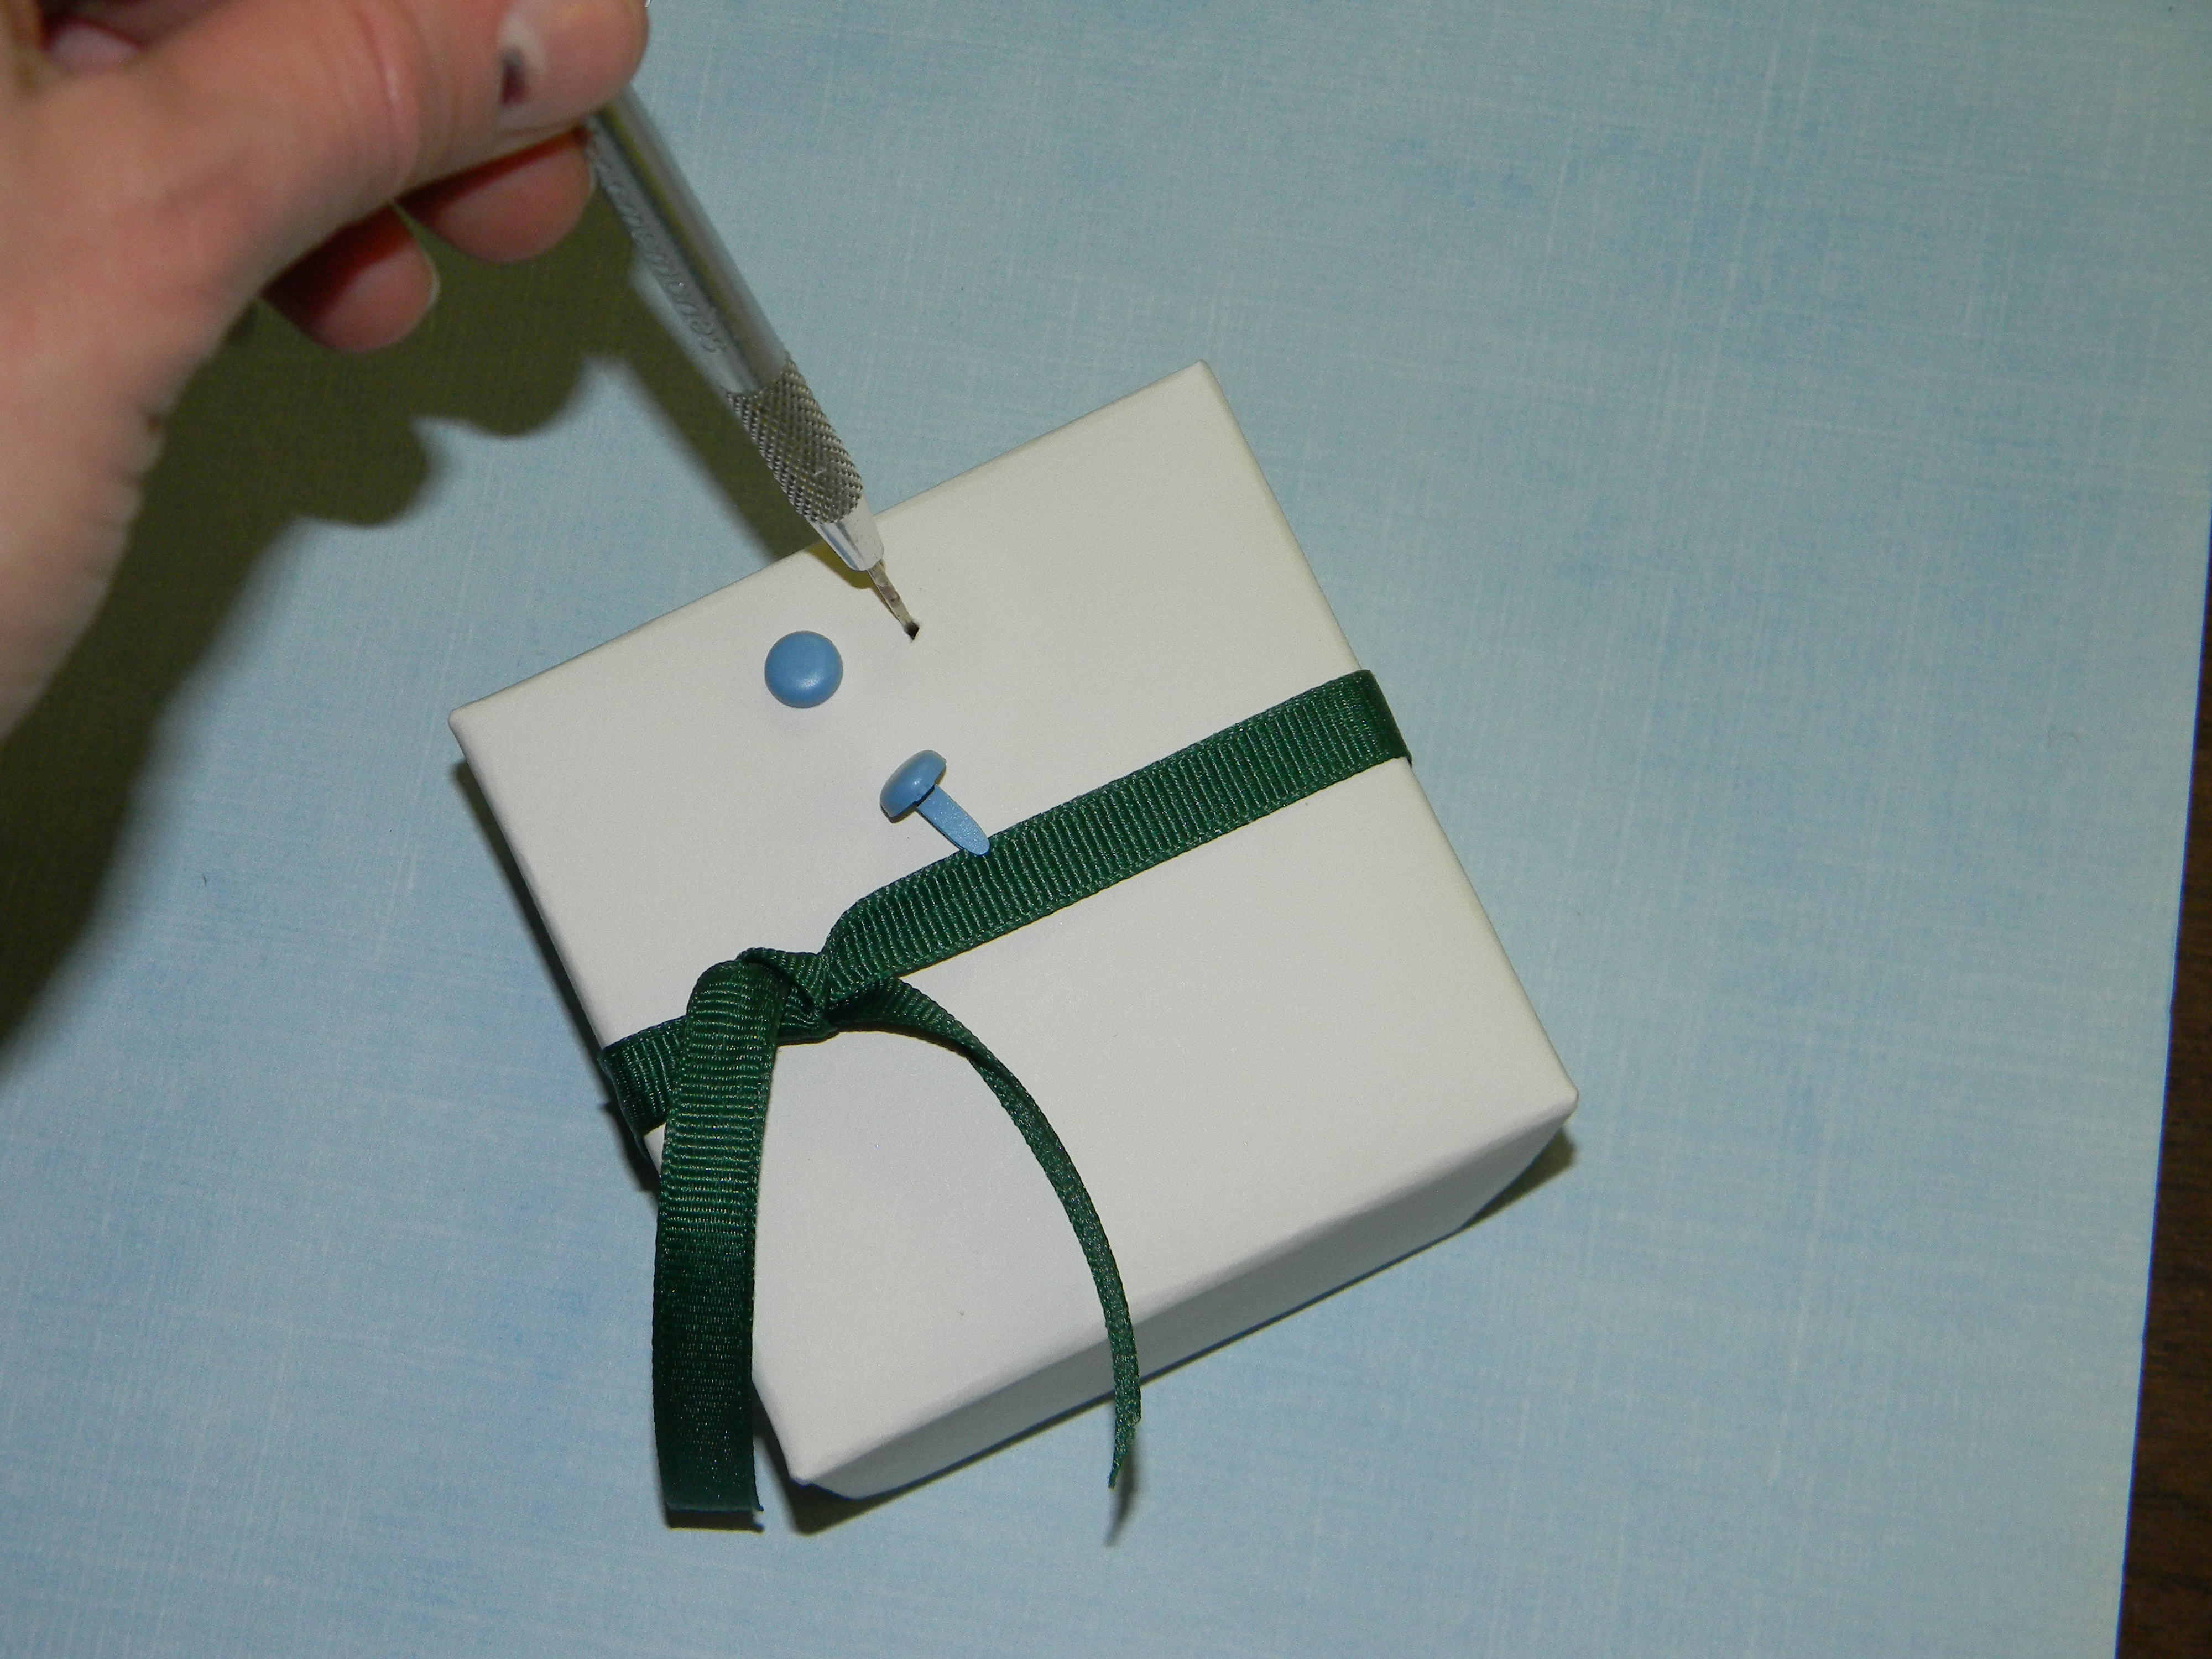
2. STEP TWO-ADDING EYES Using a piercing tool or gently with the end of sharp scissors, make two holes for your large brads to create snowman eyes. You could use googley eyes from a craft store too! Might have to try that next:)
3. STEP THREE- MOUTH AND NOSE Start by adhering carrot button nose or some alternatives for this would be cutting a nose out of orange paper or if you have femo clay you could make one:) Next using your piercing tool again, make six small holes for mouth. Start with the middle holes first and then make holes on the side where the nose sticks out and then repeat on other side. Now add small brads to complete the mouth. If you do not have small brads, you could always draw in mouth, draw x’s where each brad would be, or using —- draw it in making it look stitched.
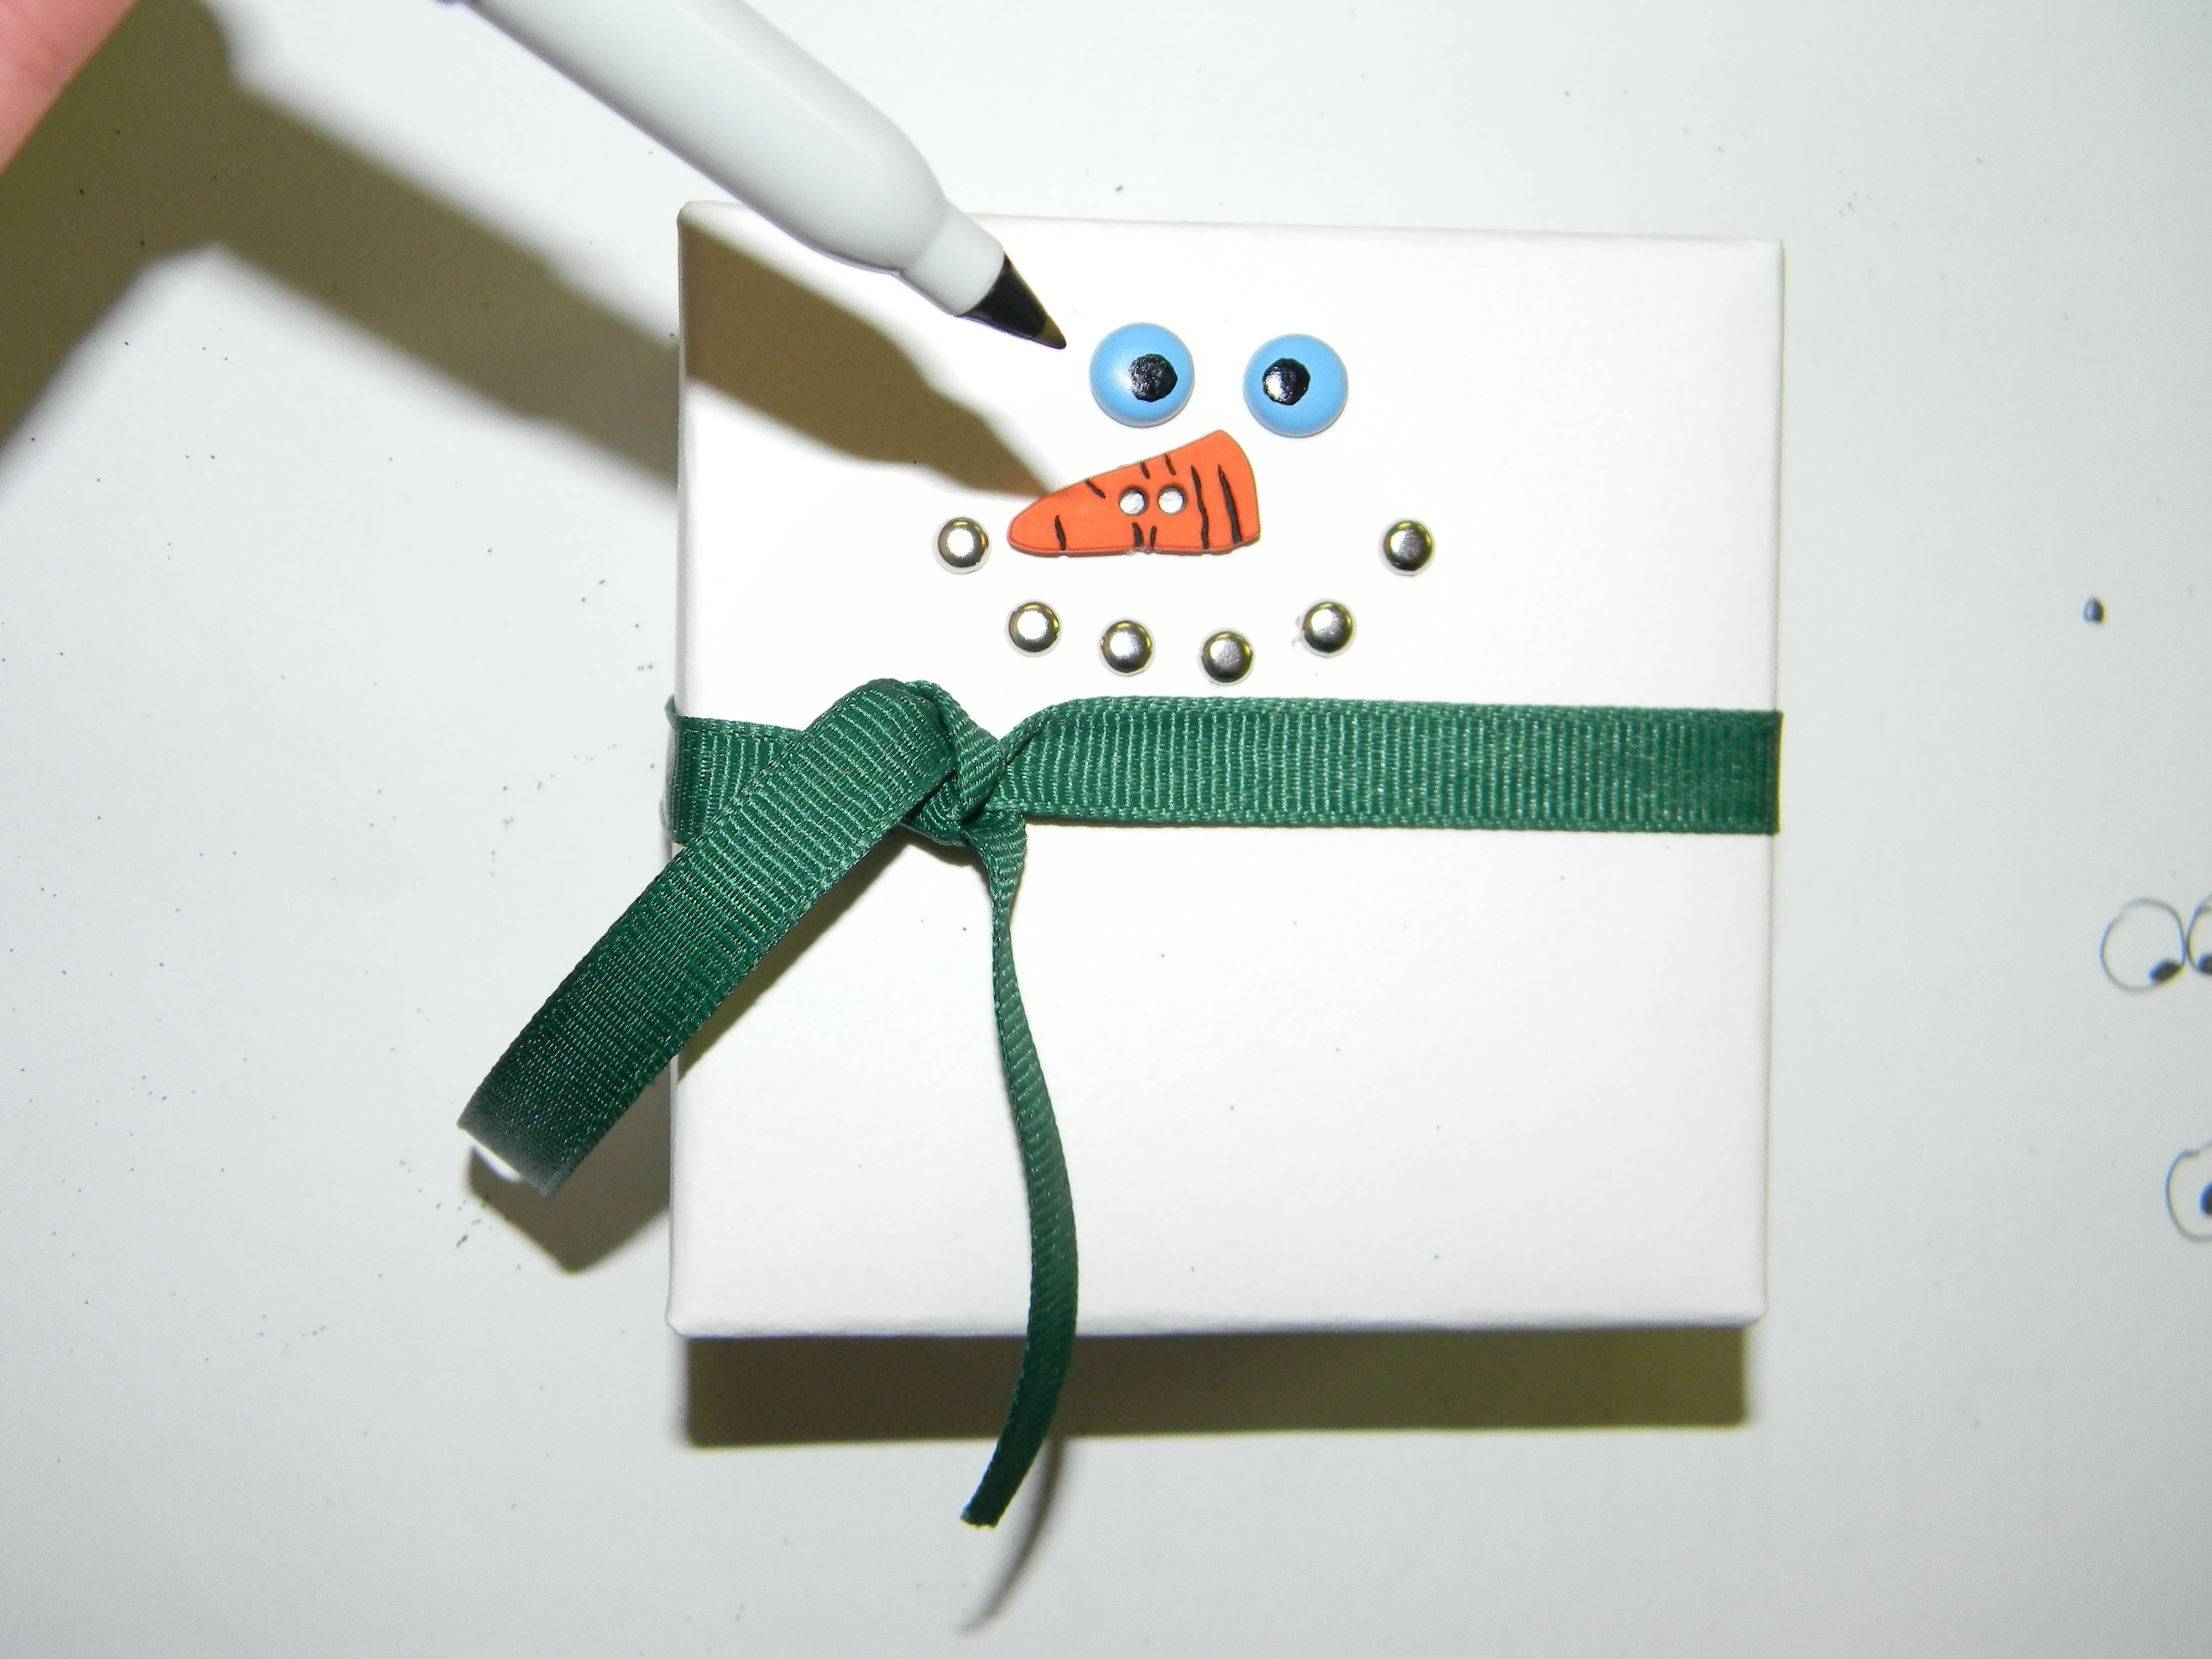
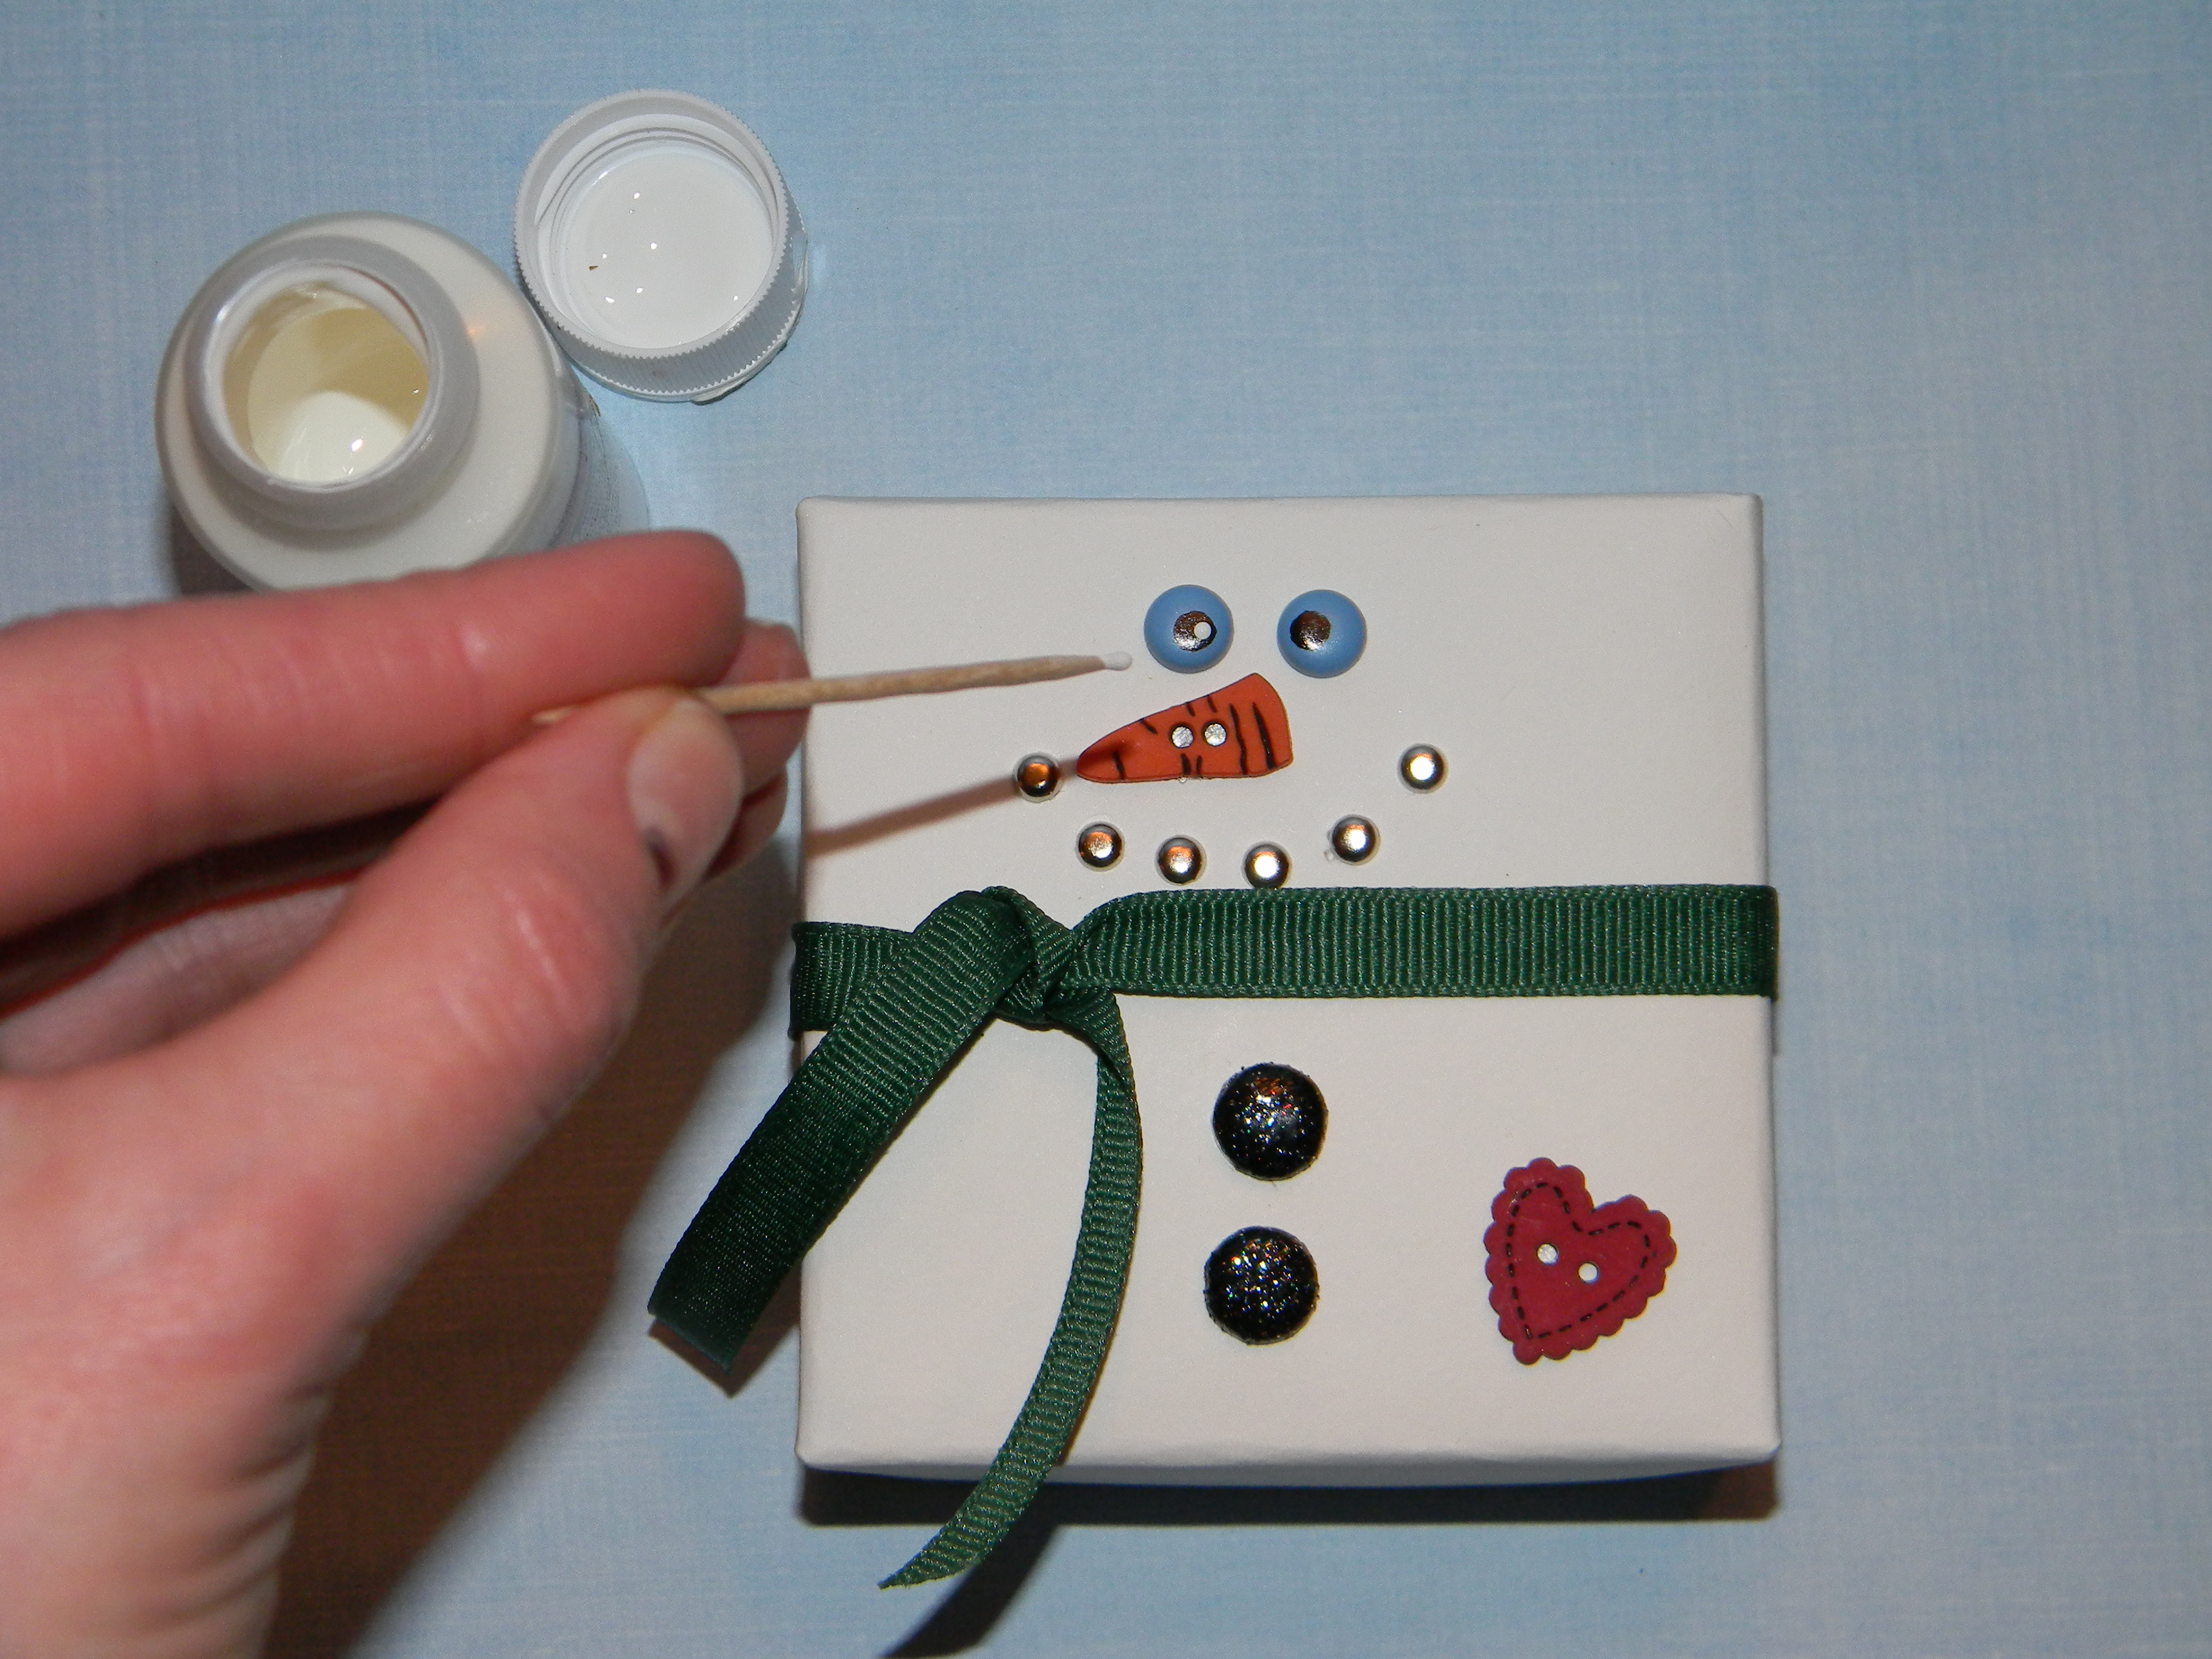
4. STEP FOUR- BRINGING YOUR SNOWMAN TO LIFE There is nothing like that happy little twinkle in someone’s eye so let’s add a little happy twinkle to our snowman:) I just used a fine point black Sharpy pen for the first step. A lot of the snowman I make have eyes looking up, but for this project I decided to give him a straight ahead look. Some times it is fun to make silly snowman with eyes looking down and crossed-eyed but I will leave that up to you. The most important step, I think, is the little twinkle in his eye that you can simply achieve with a toothpick and white craft paint. Just dip your toothpick into the white paint and then very lightly touch the end to the part of the eye that you wish to make twinkle. Make sure there is not much paint at all on the end of the toothpick so you can get just a fine little dot of white, that is all it takes! If you want to add a little more color to your snowman just add a little heart or star button or cut one out of paper and adhere to snowman box.
To make the bottom of the box just refer back to https://joyfuldaisy.com/?p=185
To make a taller bottom for your snowman box to showcase complimentary paper, refer to this link
https://joyfuldaisy.com/?p=252
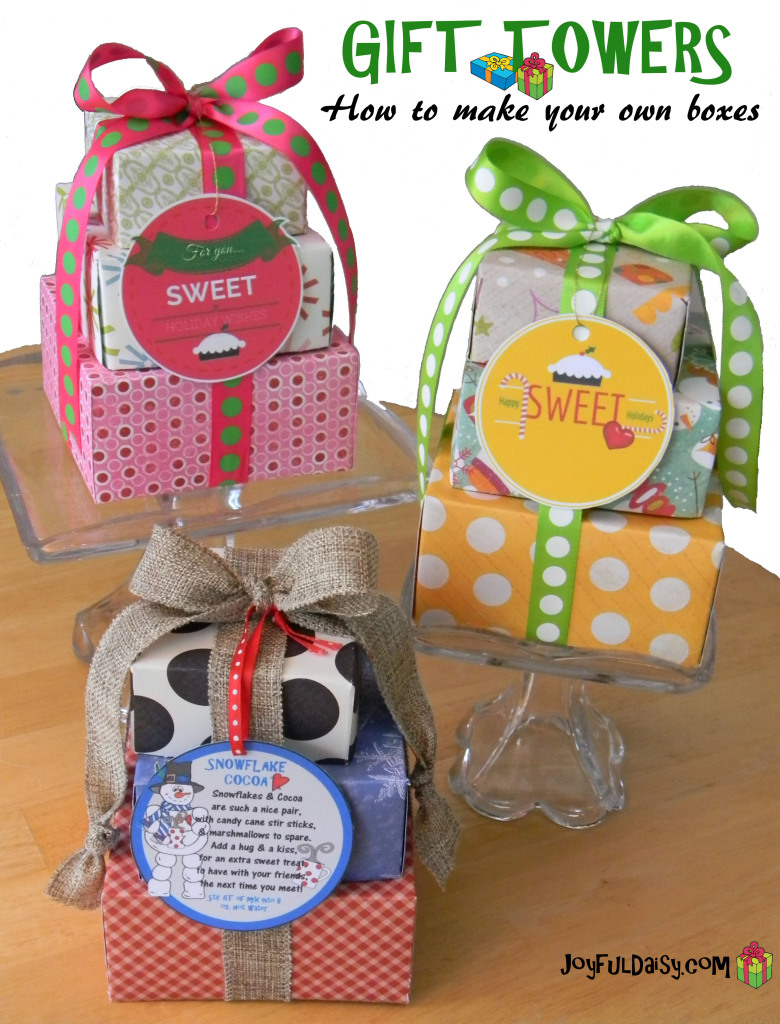
CLICK HERE to view Gift Box Tower Tutorial 🙂
