
How fun would it be to drive down the street and be greeted by these fun, bright, and whimsical mailboxes?!! Both mailboxes were in great need of a makeover and with the spray paint and duck tape, they were looking lovely in the blink of an eye! I need to give a shout out to duck tape and Mackenzie Childs for inspiration on this product because ever since I started painting Mackenzie Child knock offs and playing with duck tape it seems everything I look at is a possible new canvas for me to decorate! If your mailbox is in need of makeover…walk with me through this easy, step by step tutorial so you can create your own postal masterpiece!
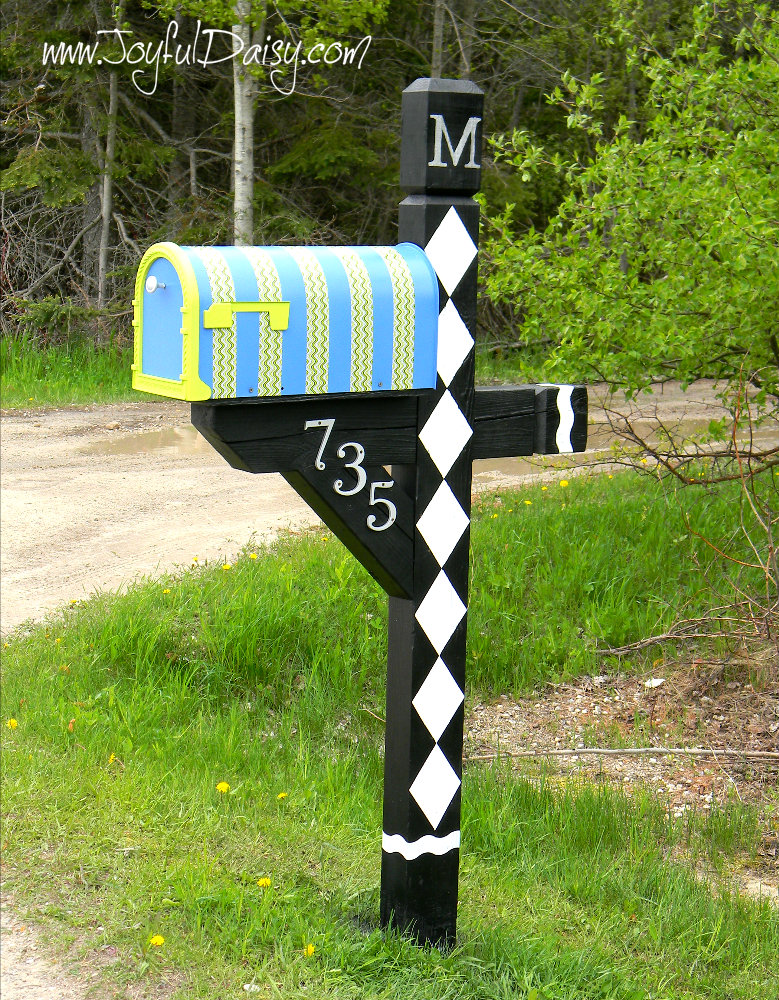
Notice anything different in this picture????? Well, I took this photo right when I was done with this project. I put the numbers back where they originally were… not really thinking of placement because I was just so excited with the overall look. Once I got done patting myself on the back…LOL…I realized how the numbers looked off and needed to be relocated a bit to the left. What do you think… much better huh?!! 🙂
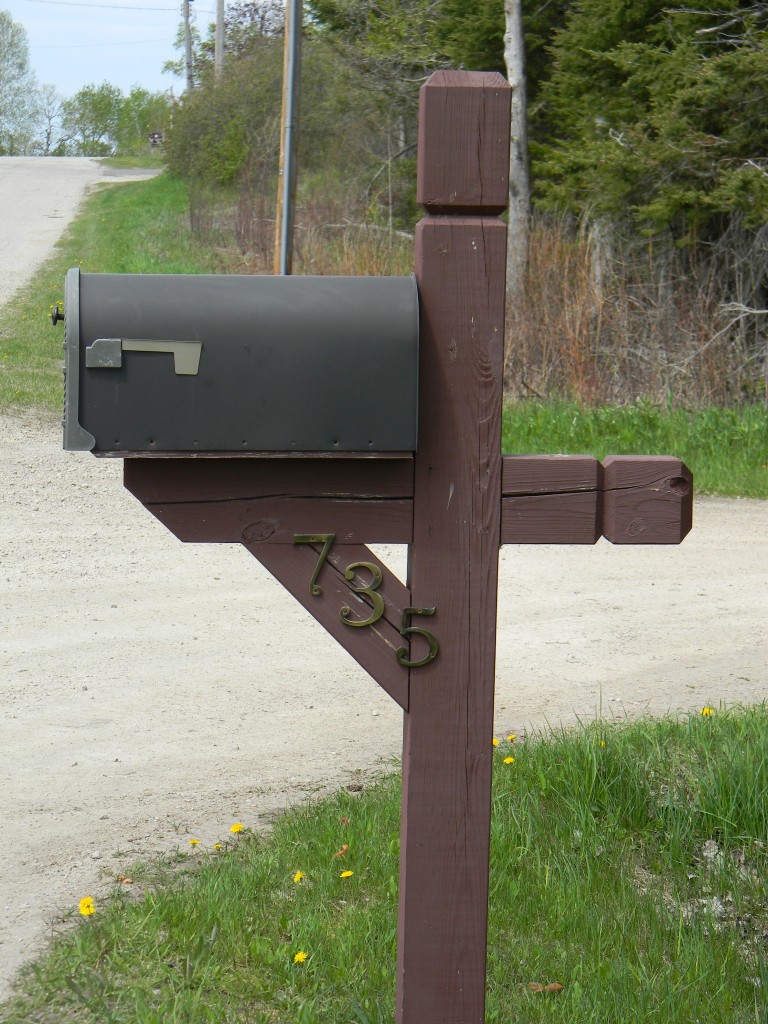
OK… let me begin with a mailbox makeover before picture.
Ah yes, it is saying, “Help me please! I am feeling a bit dull and depressed!”
Take down your mailbox by removing screws along the bottom sides of the mailbox.

This mailbox has a removable trim piece that goes on the door of the mailbox. It was easy to take off by removing six screws on the inside of the door. The flag also was easy to remove by removing two screws on the inside of the mailbox.
Wipe everything down with a damp rag and let dry.
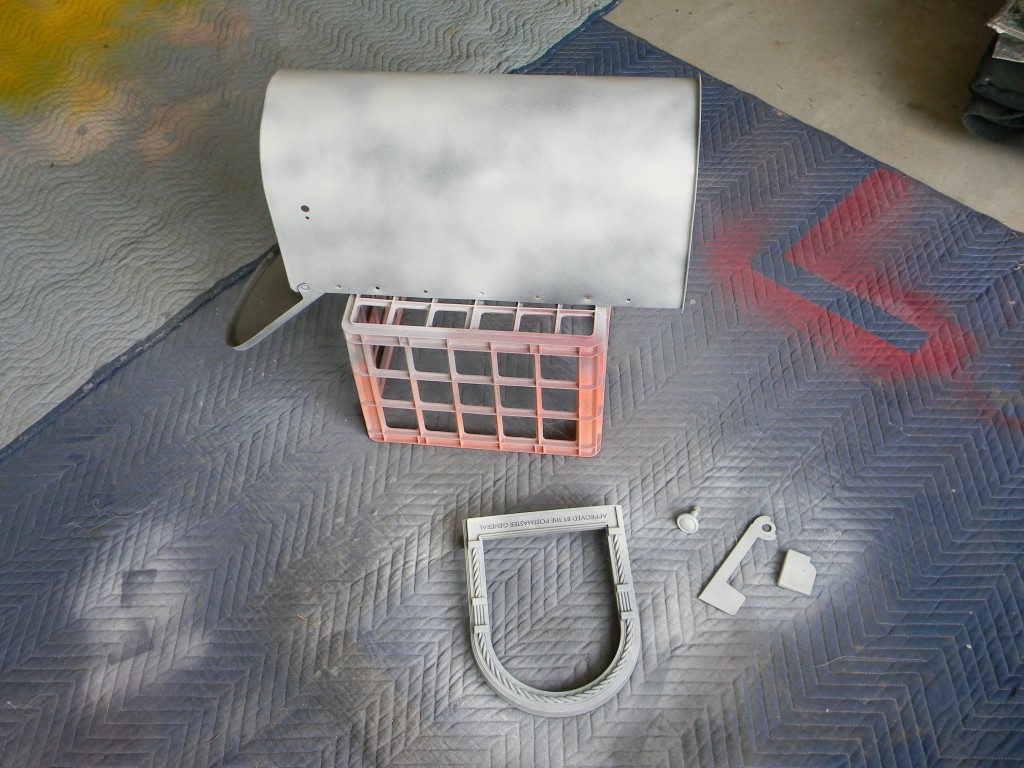
Apply a light coat of primer to the mailbox and all the other pieces.
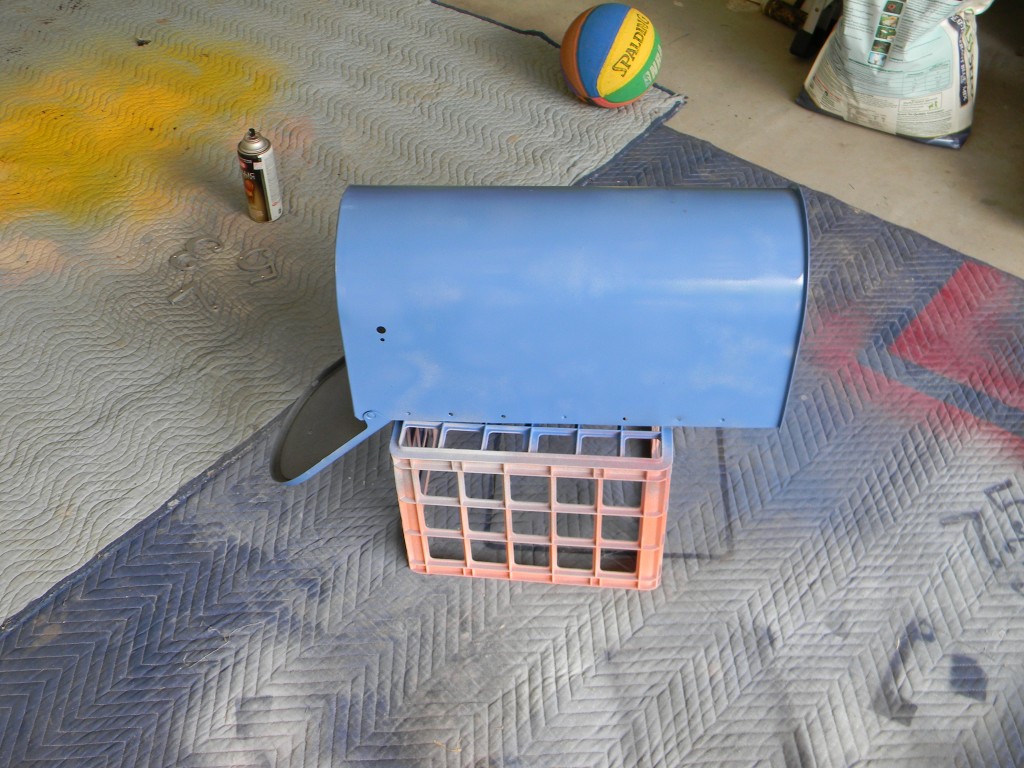
Apply two coats of paint to mailbox letting each coat dry completely.
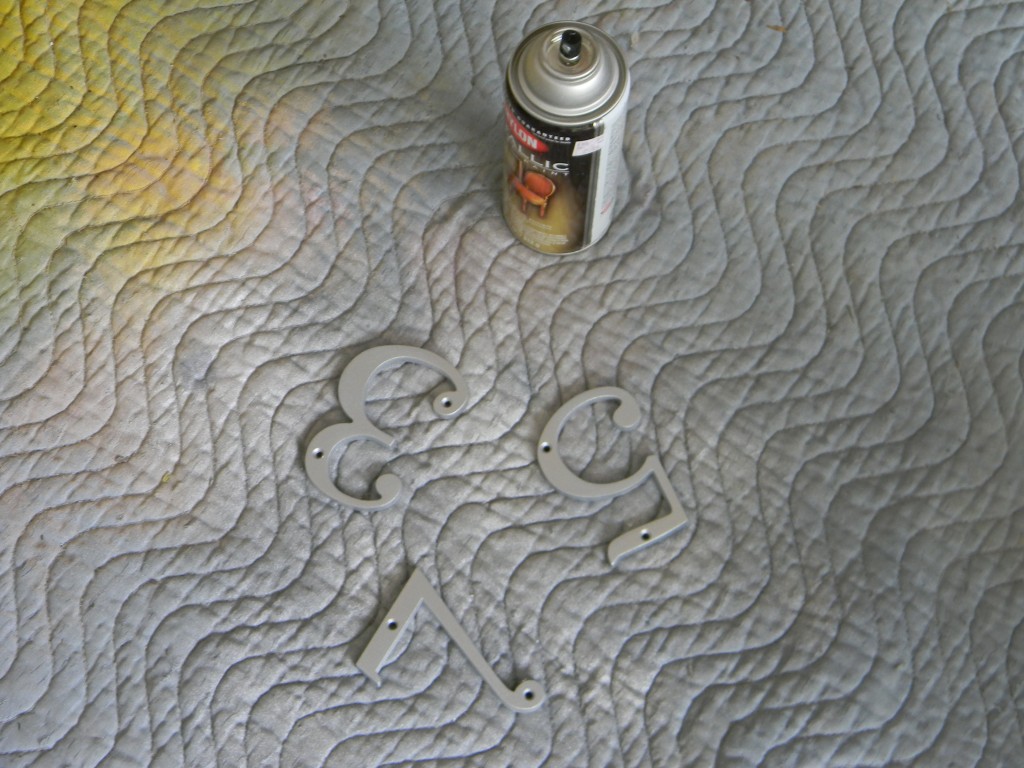
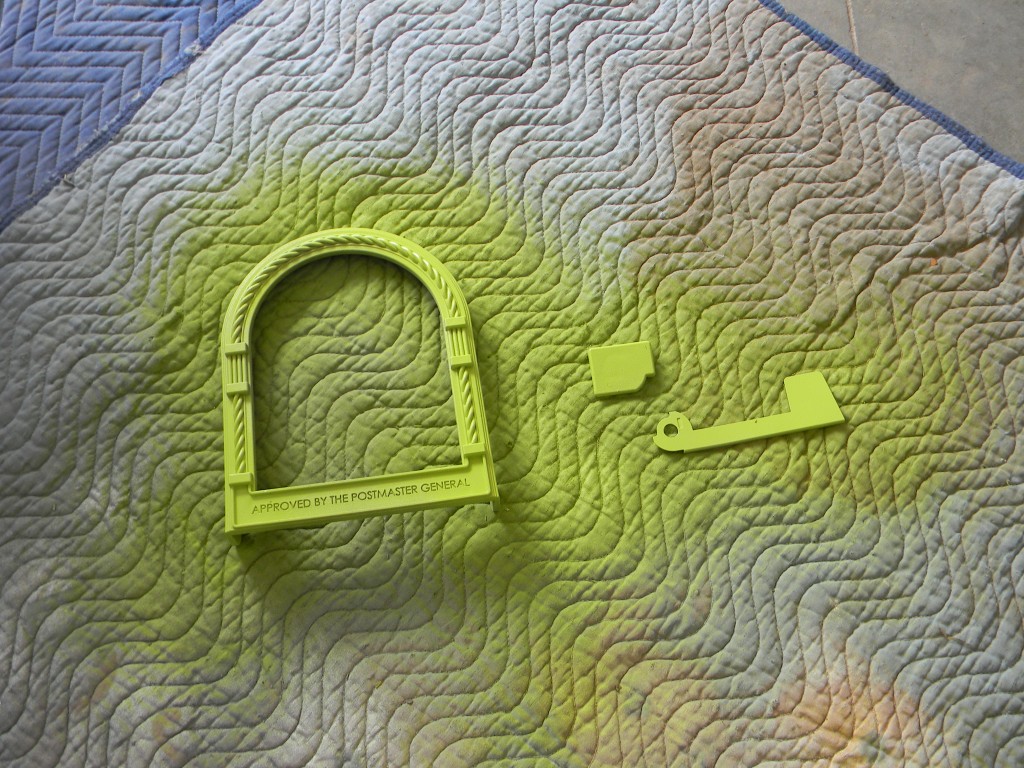
Apply two coats of paint to the other pieces letting each coat dry completely.
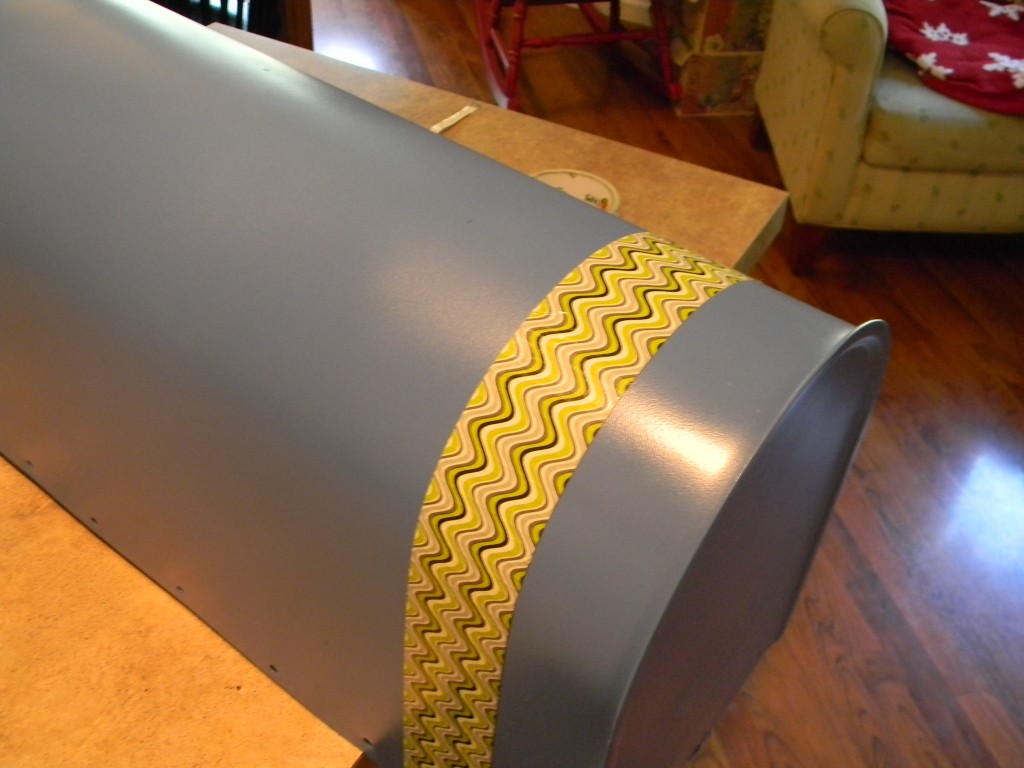
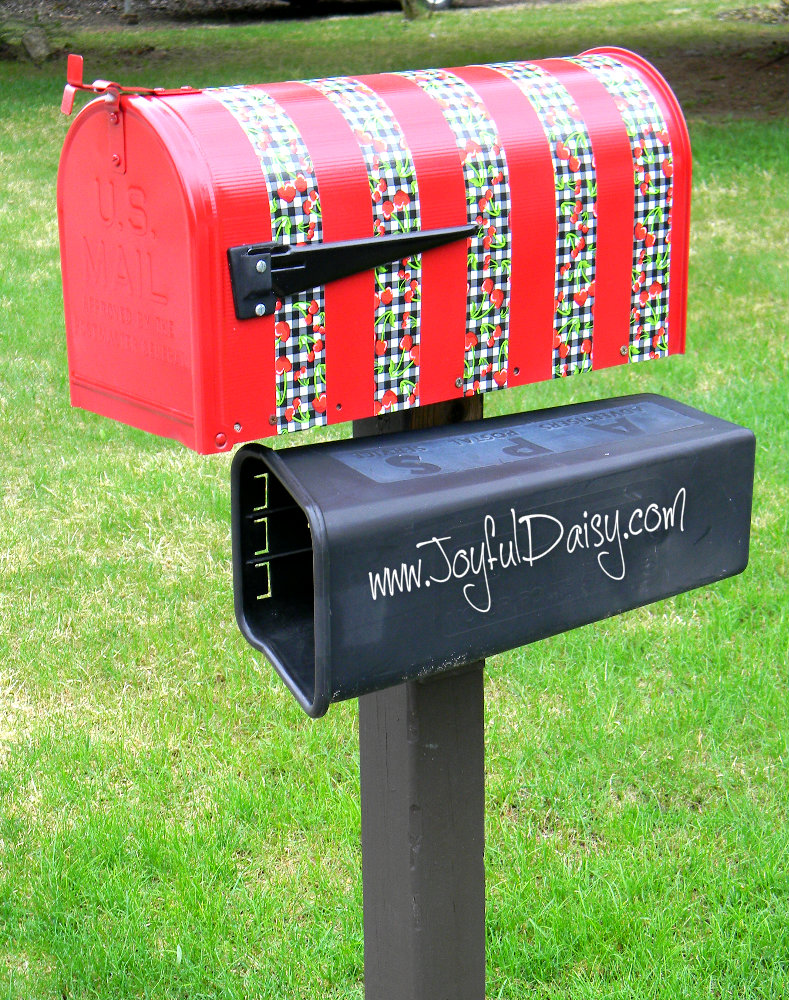
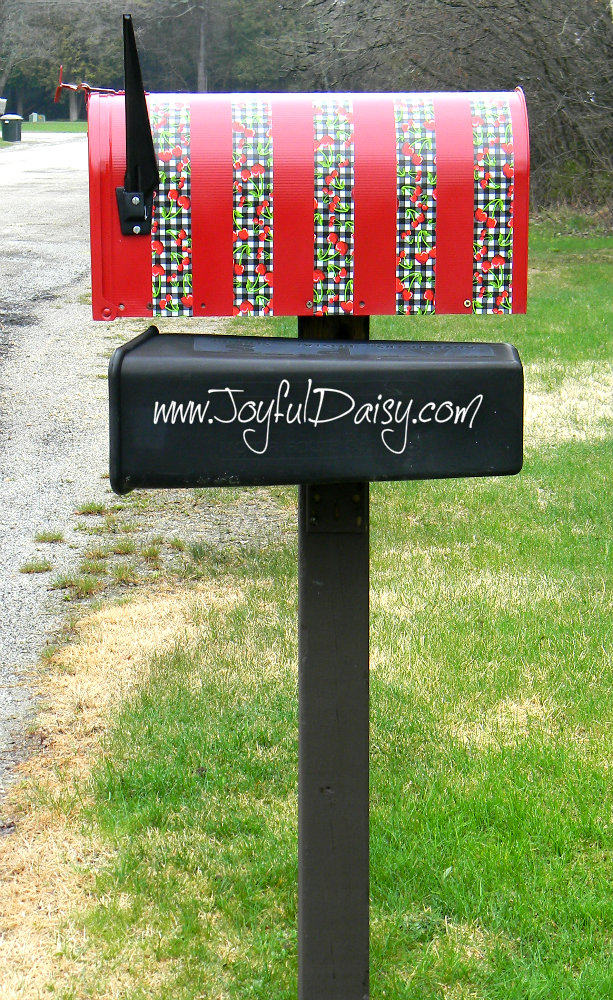
Measure over mailbox from side to side and cut duck tape 2″ longer then this measurement. Measure 2″ from back edge of mailbox and make a small mark so you can see where to place duck tape. Make a small mark on the middle of your duck tape strip and place it on the top of the mailbox at the 2″ mark. Smooth duck tape down sides and around to bottom of mailbox.
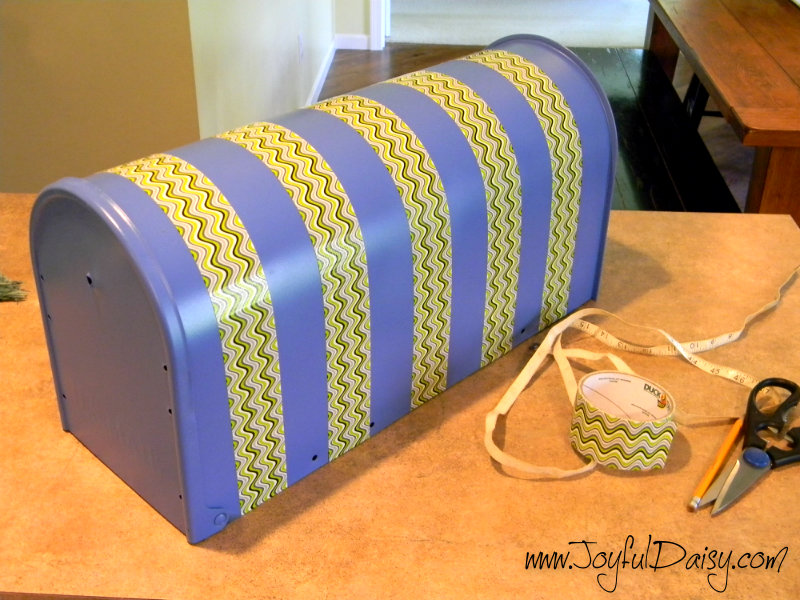
Continue placing strips of duck tape every two inches across the mailbox. Add the knob, flag, and front trim piece.
Wipe post down with a damp rag. Apply a light coat of primer to the mailbox post.
Once the primer is dry spray the areas white where diamonds and waves will be taped out.
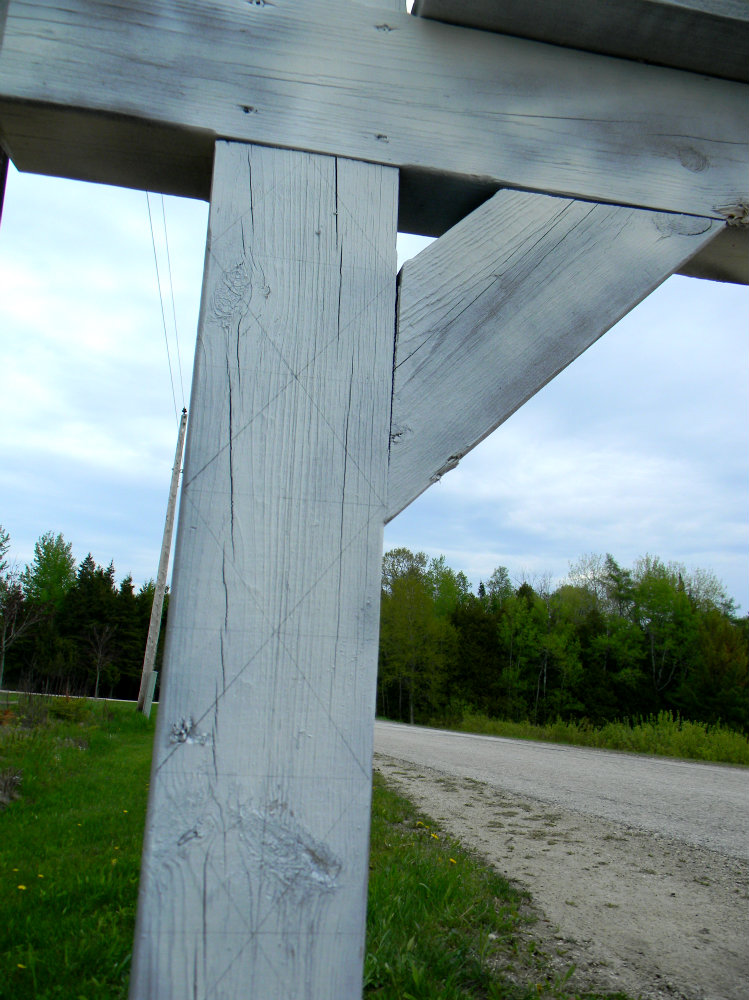
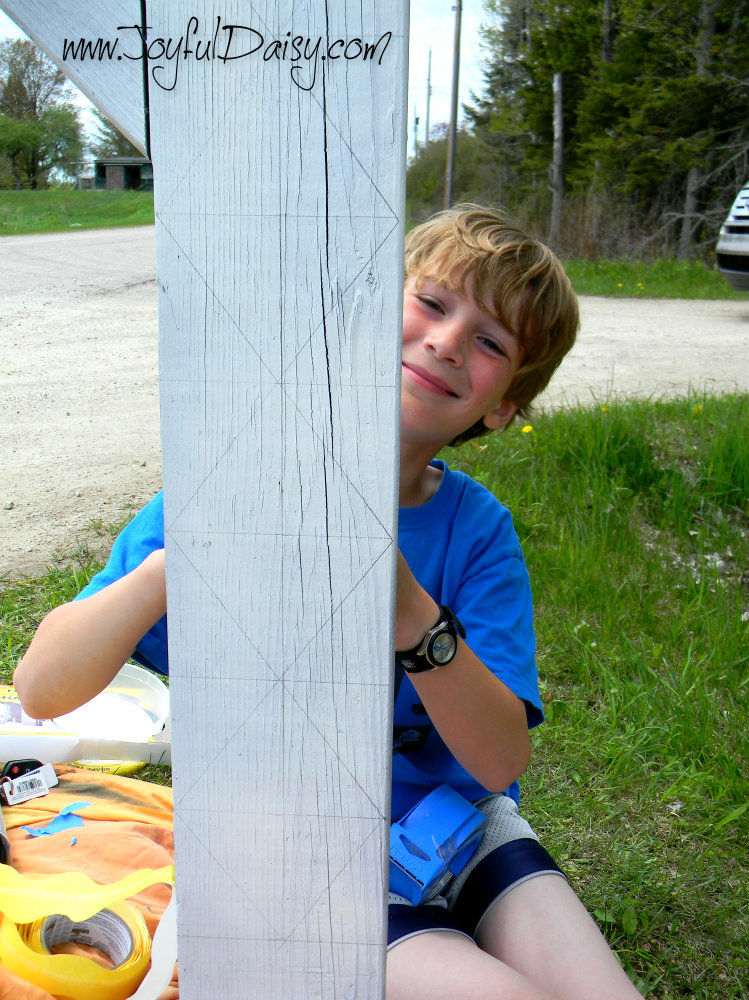
To create diamonds, decide how many you want and how big you want them. I wanted 7″ long diamonds so I made horizontal lines every 3 1/2″ down the main post. Then I drew a vertical line down the center of the post. With these guidelines, draw in your diamonds as shown in picture above.
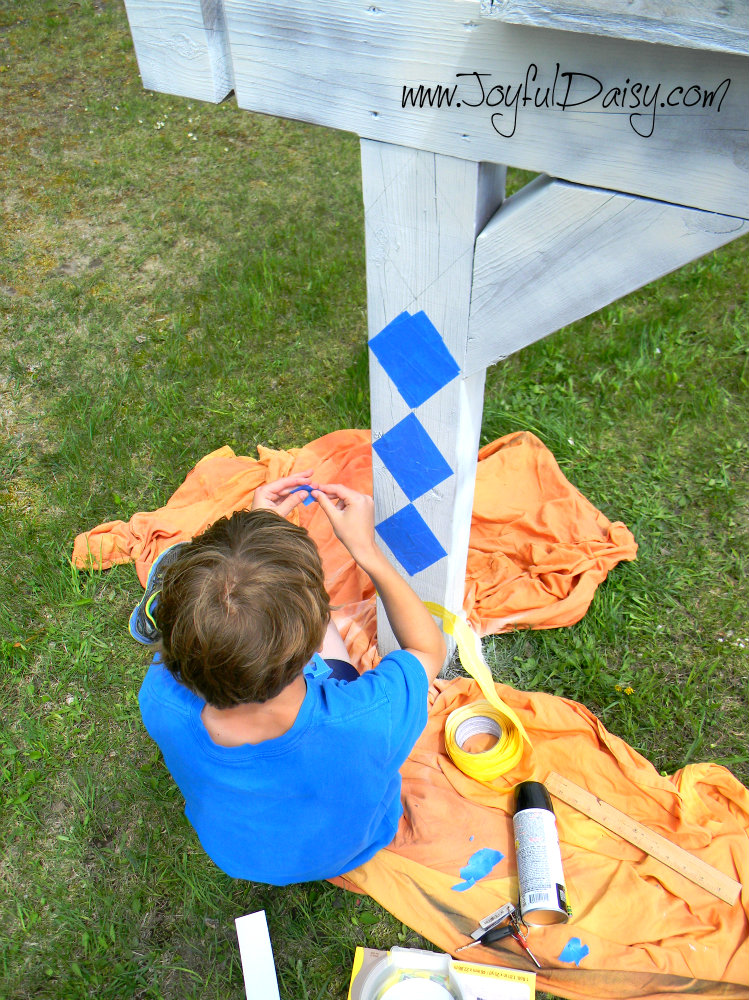
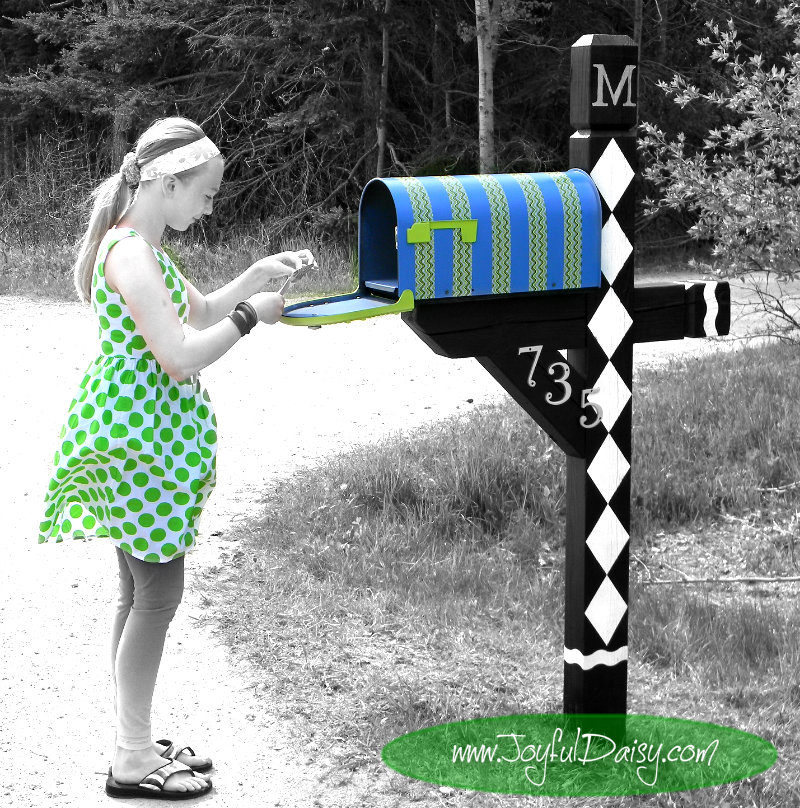
I had a wonderfully eager assistant who helped me tape out all the diamonds.
Then we added a few strips of waves masking tape that was left over from our mud room hutch makeover.
Thanks partner 🙂
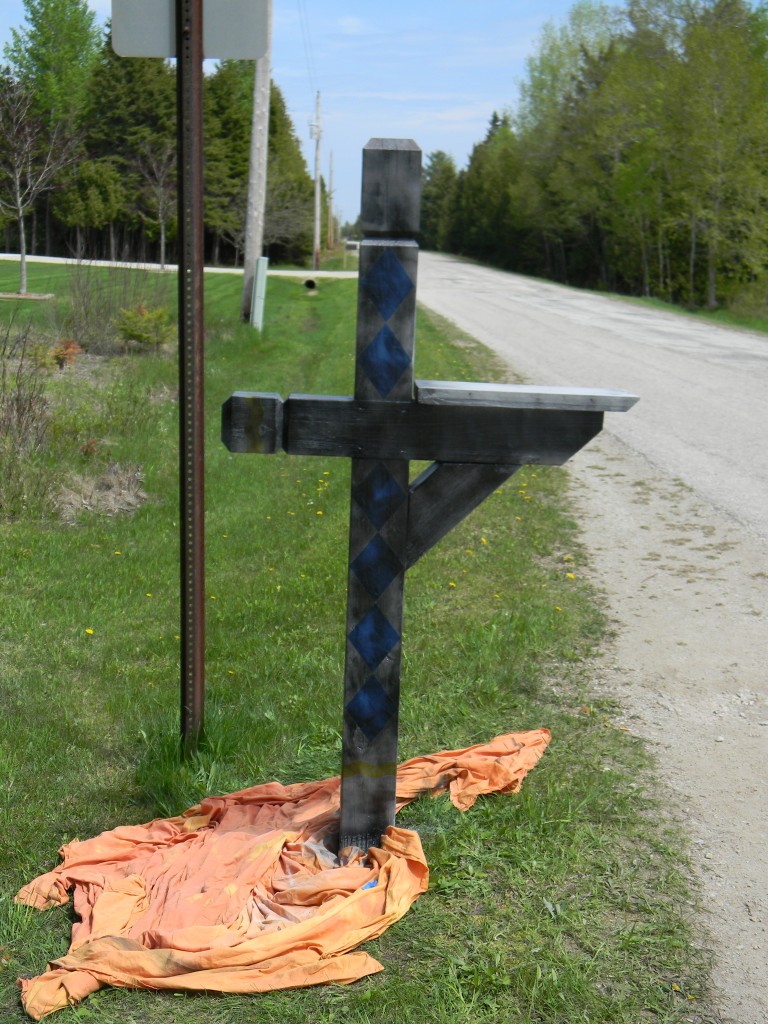
Add three coats of paint letting each layer dry completely.
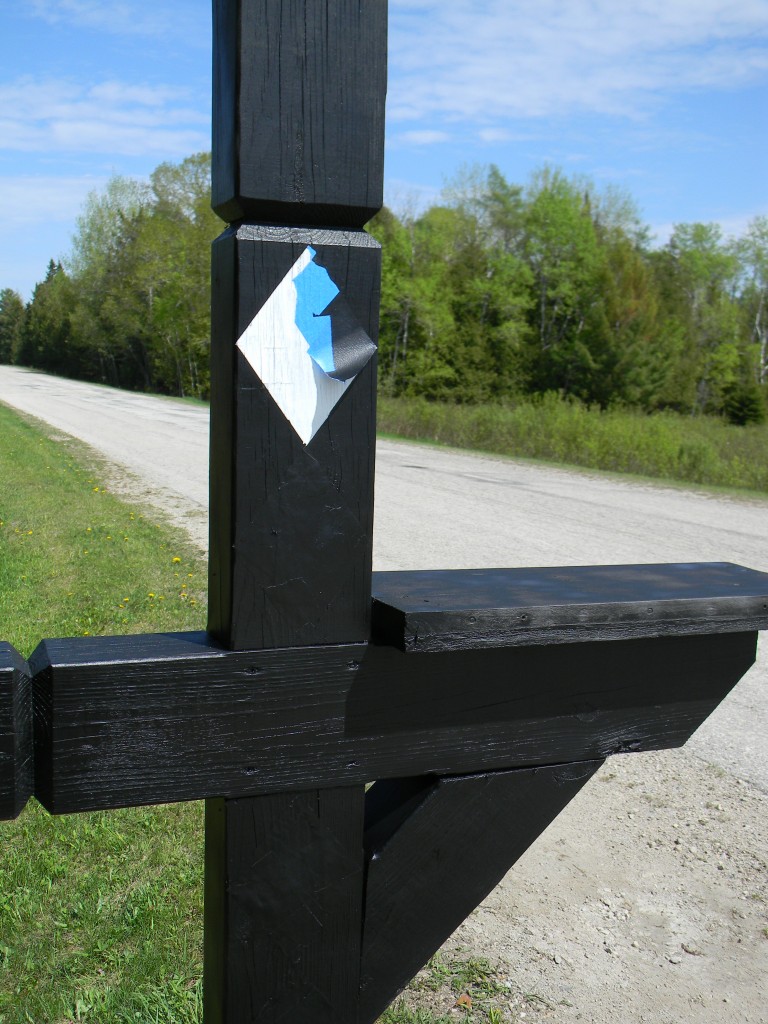
Now for the fun part….removing the tape!!!
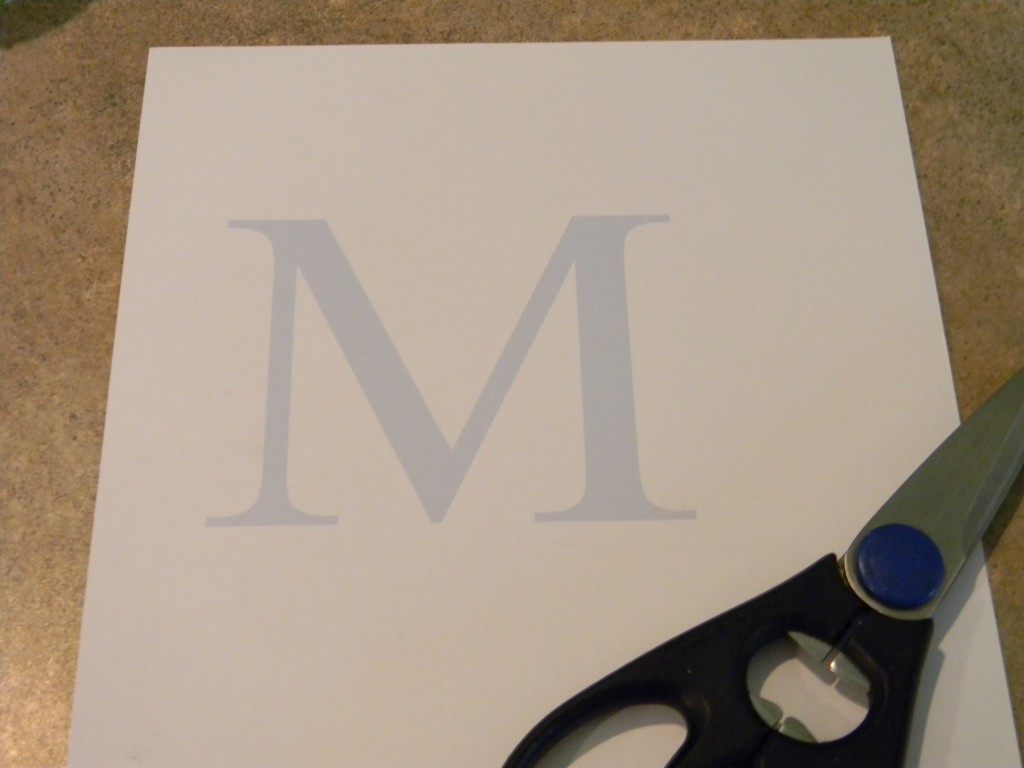
To add monogram, print out a large initial on cardstock paper and cut out to use as a pattern.
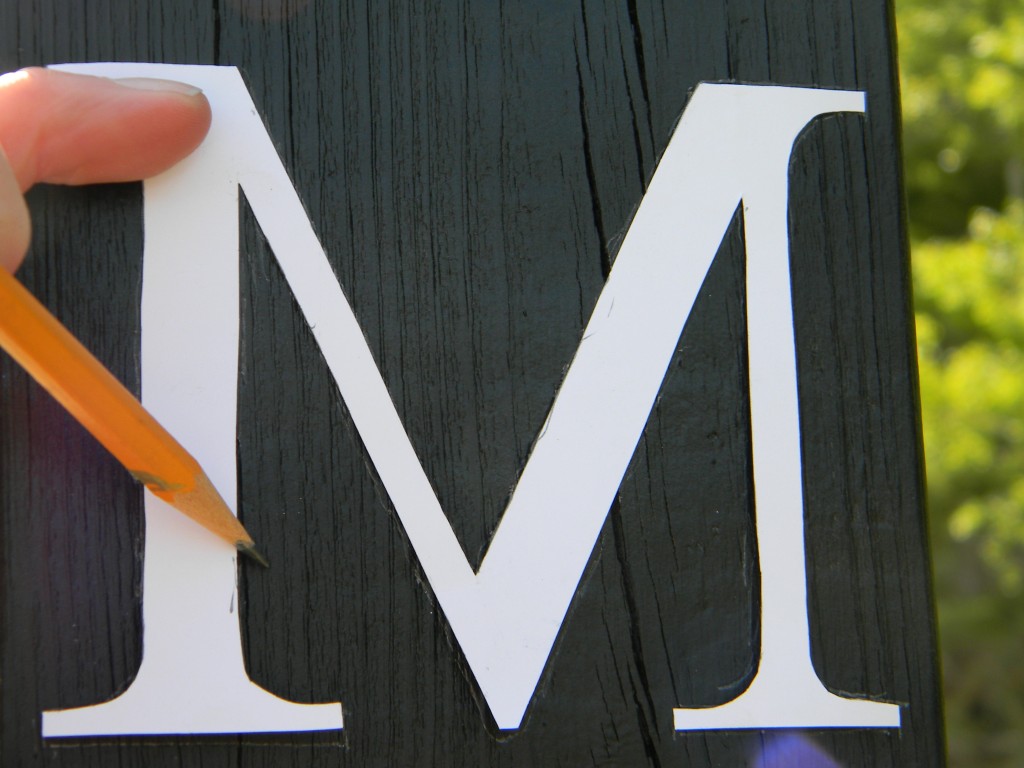
Trace initial onto post.
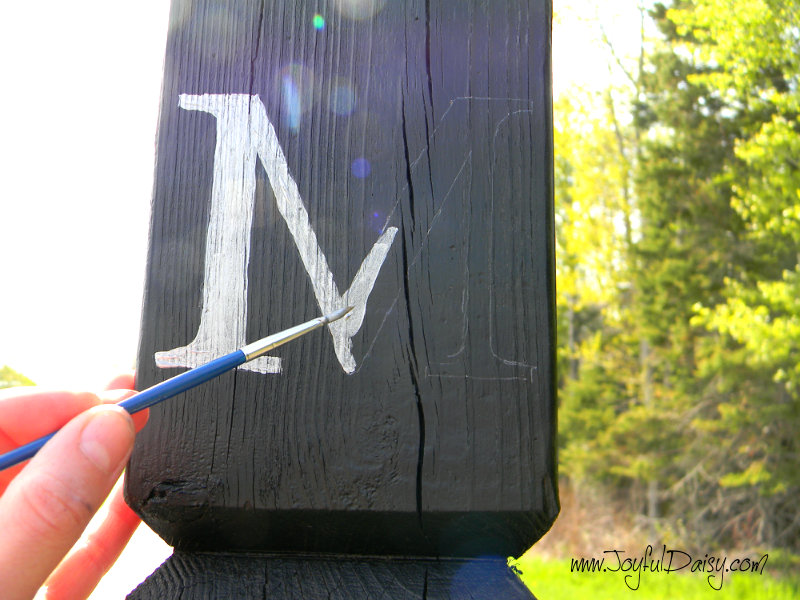
Paint initial.
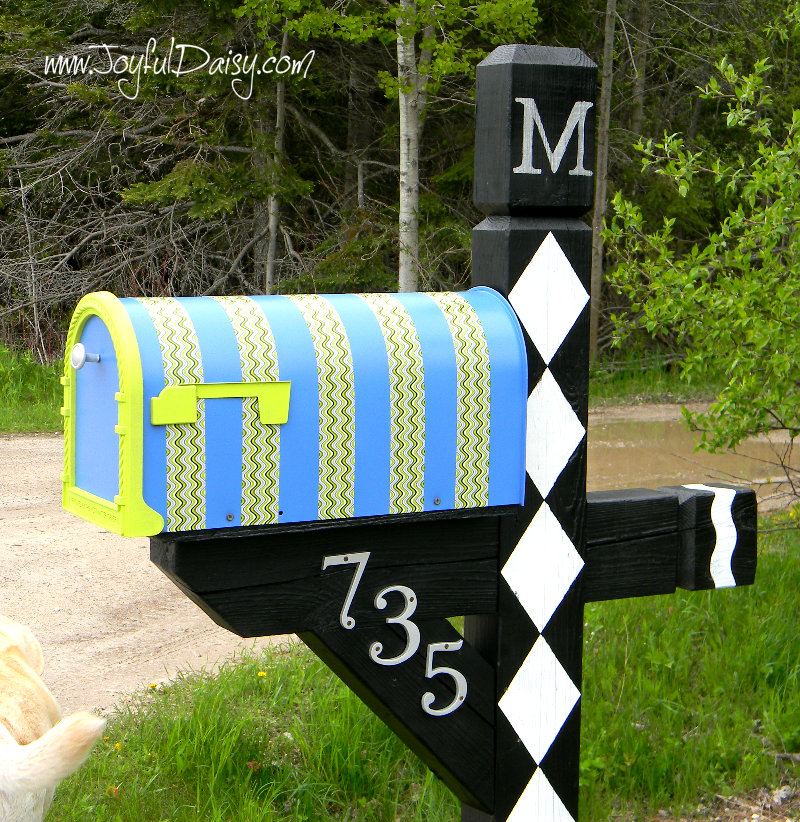
Refasten the mailbox to post and add numbers! VOILA – as I like to say when I finish a project!!!!
One last shout out to the Duck Tape Doctor…”Thanks for letting me use some of your waves duck tape!”
***************************************************************
I party at Savvy Southern Style and other great linky parties 🙂
 If you enjoyed this post, be sure to sign our email list on the top right hand column and you will be the first to see our new projects. We have a lot more fun stuff planned!
You can also connect with Joyful Daisy on FACEBOOK,GOOGLE, PINTEREST, TWITTER, AND RSS. I would also love it if you shared this project by clicking social link buttons below, sharing is caring 🙂
Thanks for stopping by 🙂
Cyber hugs,
Amy – joyfuldaisyforever@gmail.com
