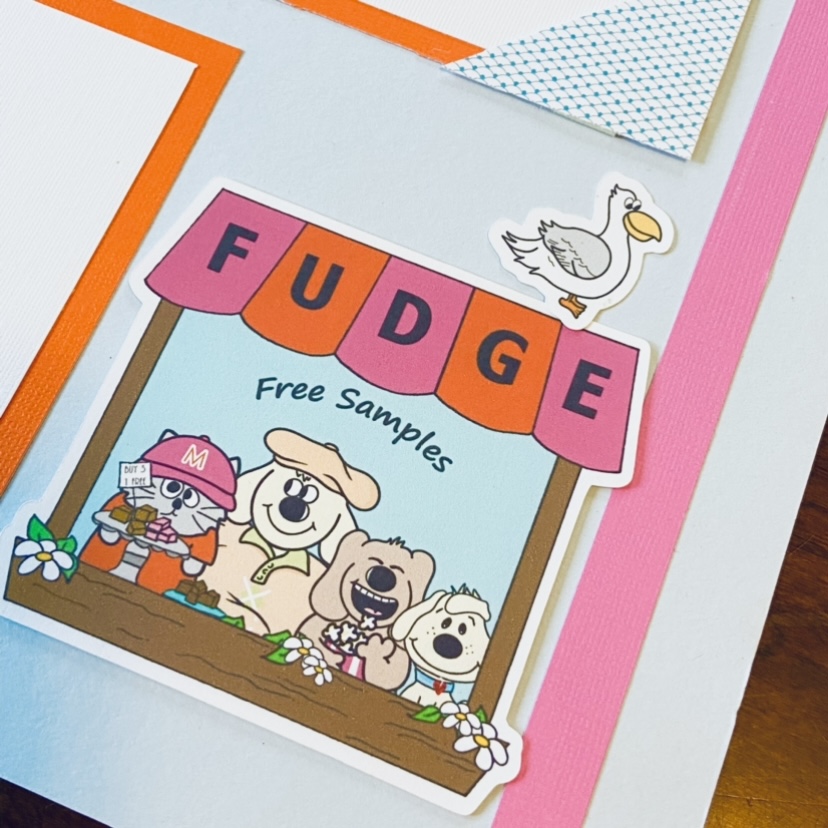
This Mackinac Island Fudge scrapbook layout pairs two of my favorite colors – pink and orange which adds lots of whimsy combined with a 12″ awning and lots of fun Mackinac Island die cuts including the definition of a fudgie and the popular saying – “My family is like Mackinac Island fudge…real sweet with a few nuts!” As I have mentioned before, I think it is impossible and perhaps even illegal to leave Mackinac Island without purchasing and overindulging on fudge! I mean with all the fun flavors to choose from, who could pass it up? Ok, let me stop thinking about eating fudge for a moment and start sharing how to make some great scrapbook pages that you can display your favorite Mackinac Island fudgie photos on!
***************************************************************
GATHER YOUR SUPPLIES…
2 – 12″ x 12″ light blue cardstock or preferred background color
1 – 12′” x 12″ hot pink cardstock (Cut three 1/2″ x 12″ pieces, A,C,E from awning template)
2- 12″ x 12″ orange cardstock (Cut three 4 1/2″ x 6 1/2″ pieces, 4 1/2″ square piece, B & D from awning template)
1- patterned 12″ x 12″ paper (Cut 2″ square piece, 2″ x 3 1/2″ piece)
OPTIONAL: 2- 12″x 12″ paper (Cut three 4″ x 6″ piece, 4″ square piece)
5- 5 ” pieces of ribbon thin enough to tie
Mackinac Island Die cuts and Awning Template
TOOLS: Paper trimmer, scissors, tape gun or glue, dimensional tape or pop dots
***************************************************************
OK, LET’S GET STARTED SHALL WE?!!!
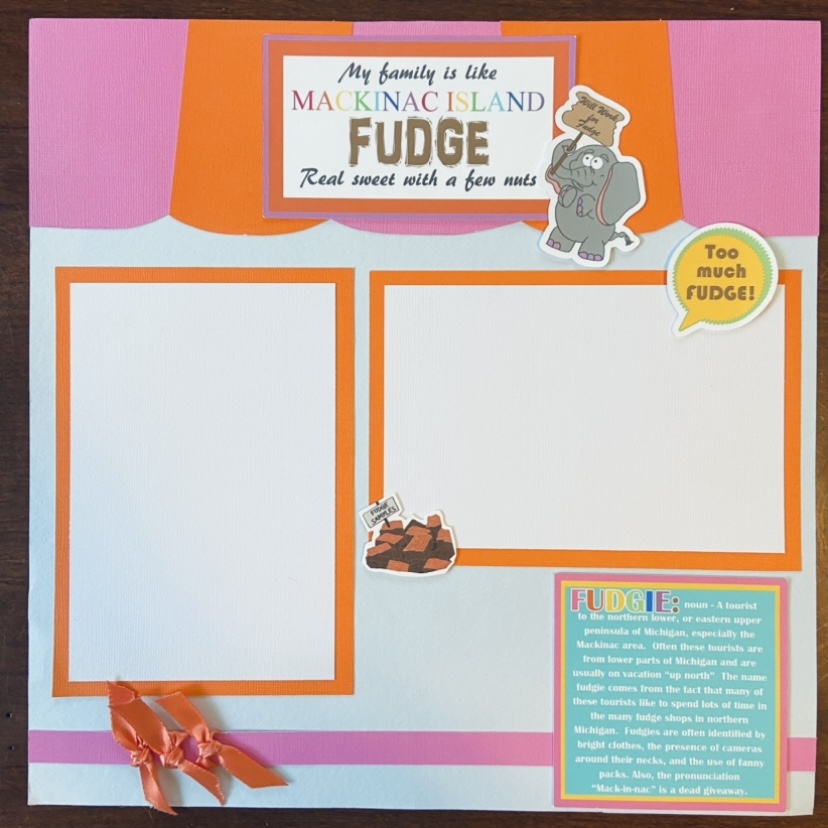
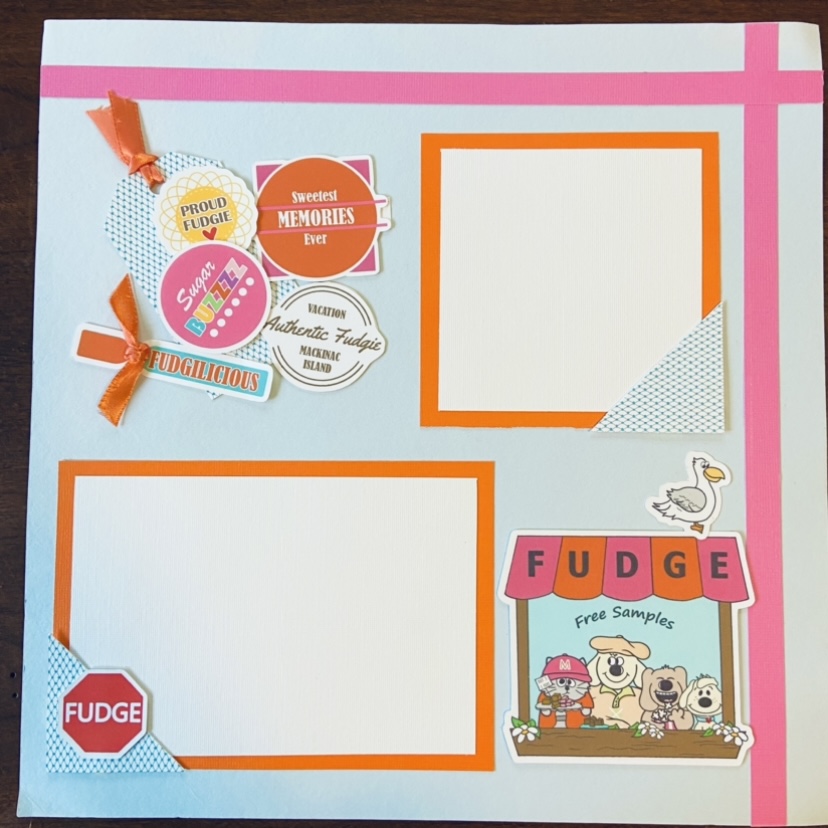
PAGE ONE:
Print out awning template and cut out pattern pieces. Adhere A-E pattern pieces to the top of the page creating awning.
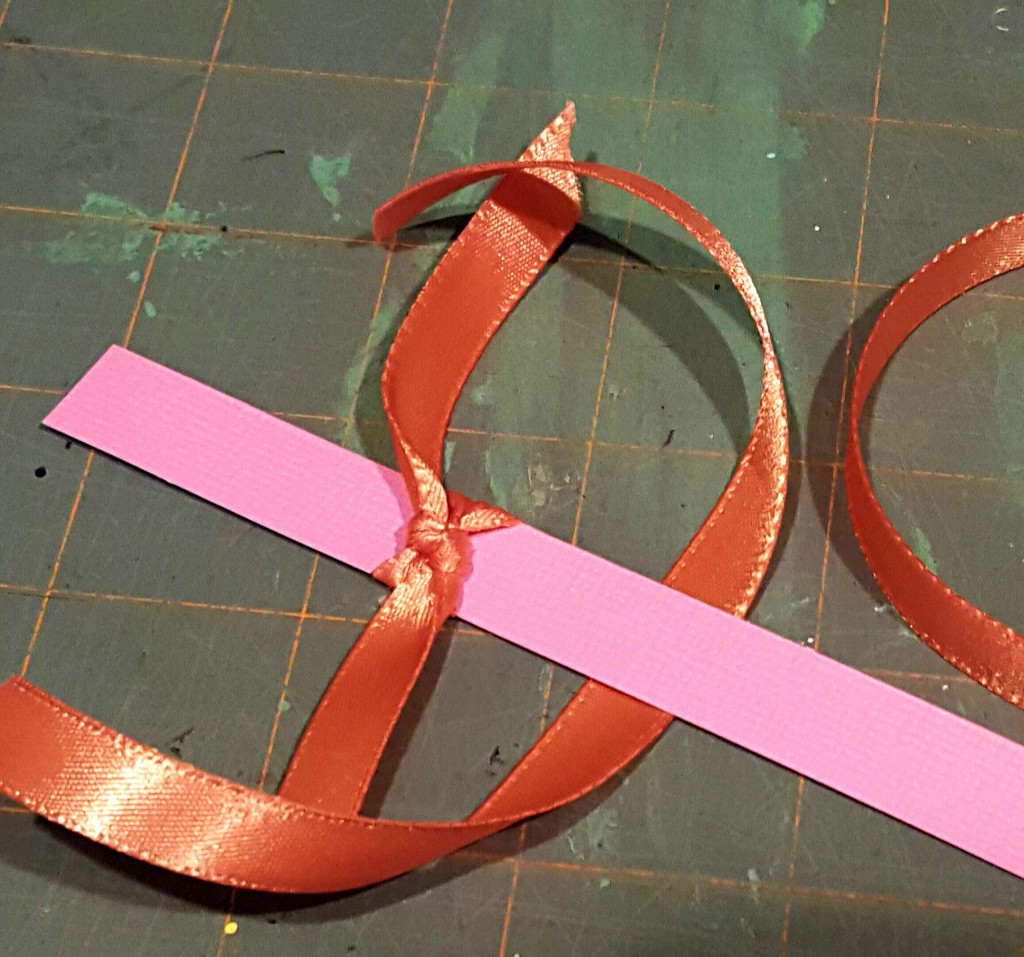
Tie three pieces of ribbon around a 1/2″ x 12″ pink piece and adhere approximately 3/4″ up from the bottom edge.
Adhere one orange 4 1/2″ x 6 1/2″ piece approximately 1/2″ from the left edge and centered between the awning and bottom pink strip. Adhere a 4 1/2″ x 6 1/2″ orange piece approximately 1/4″ from the right edge and lined up with the top of orange piece on the left of the page.
Have fun adding your Mackinac Island die cuts to finish page one. I adhered the elephant, fudge samples and “Too much fudge” die cuts with dimensional tape.
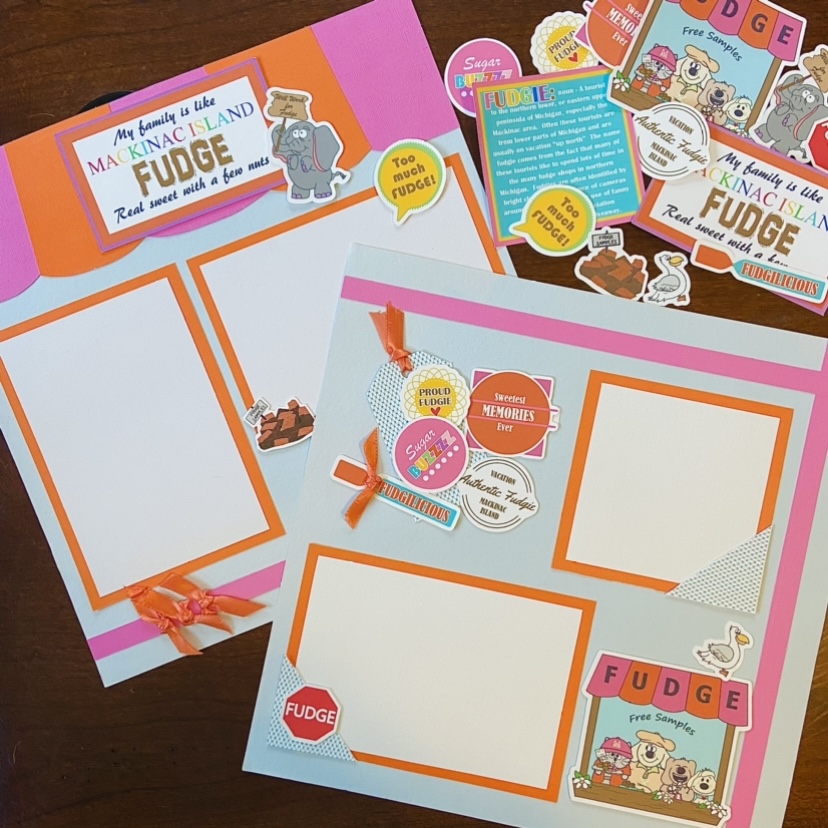
AND NOW TO COMPLETE PAGE 2 🙂
Cut out the eight die cuts used in page above.
Adhere the 1/2″ x 12″ pink pieces to the top and right edge approximately 3/4″ in from the edges. Adhere an orange 4 1/2″ x 6 1/2″ piece approximately 1/2″ from left edge and 3/4″ from bottom edge. Adhere 4 12″ orange square approximately 1/2″ from pink strips in top right corner.
Don’t mind my very used cutting mat! We are serious crafters here!!!
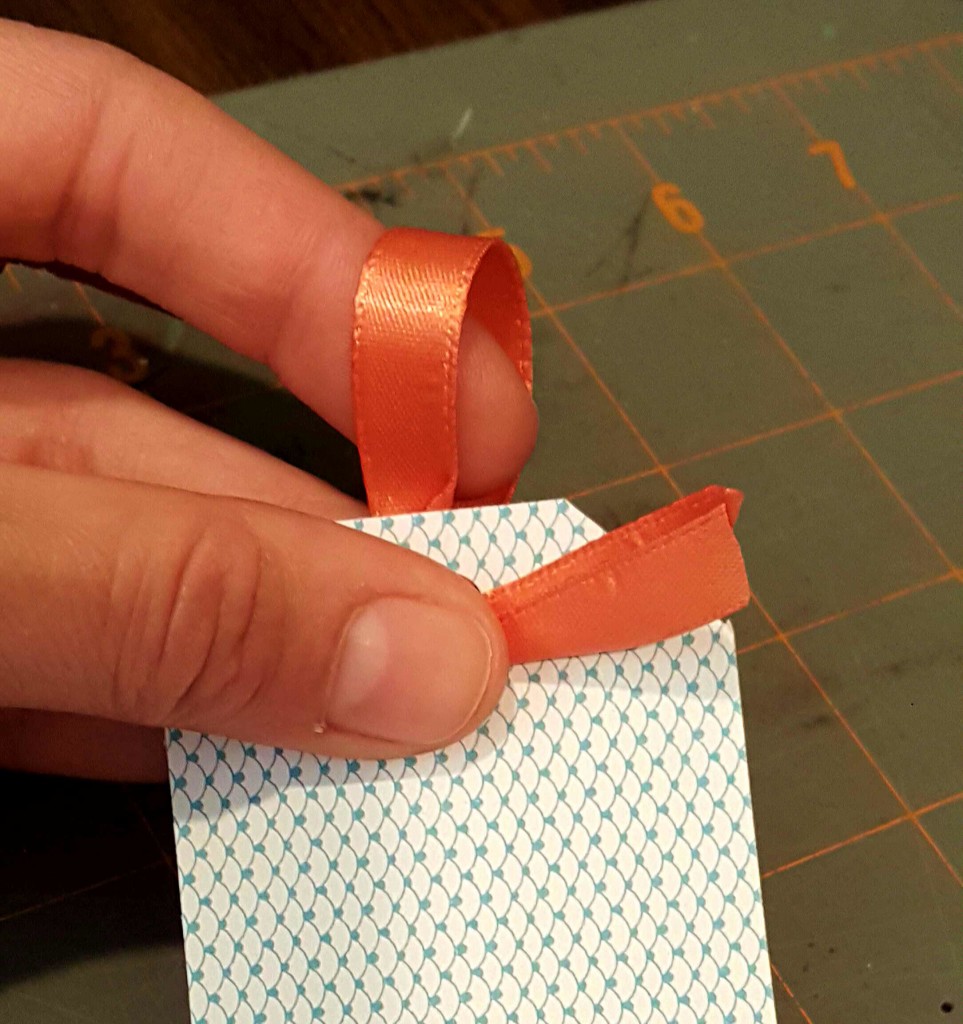
Cut the top corners off the short end of the 2″ x 3 1/2″ patterned piece. (An easy way to do this is to make small marks on the back of the paper 1/2″ in on top edge and down the sides and then make cuts on both sides from mark to mark.)
Punch a whole on the top of tag. Fold one of the 5″ pieces of ribbon in half and thread the ends through the hole front to back and then wrap those ends around the tag and through the loop in the back and pull gently to tighten.
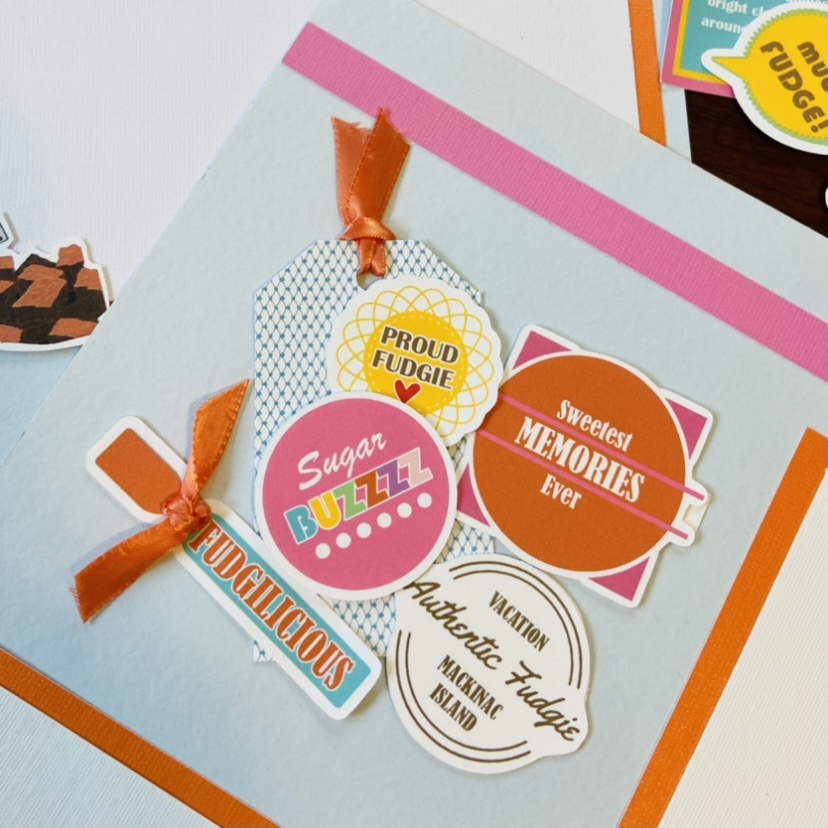
Tie a piece of ribbon around the FUDGILICIOUS tag. Adhere the tag with ribbon and die cuts to the top left corner of 2nd page. Cut the 2″ square pattern paper piece in half corner to corner and then adhere directly over the corners of the orange mats. Add the FUDGE stop sign die cut to decorate the bottom corner piece. Add the optional white mats to the orange mats or just add your photos.
VOILA! YOU ARE DONE!
This completes our Mackinac Island Scrapbook Series.
Thanks for scrapping with us!
Visit the Joyful Daisy shop on ETSY!