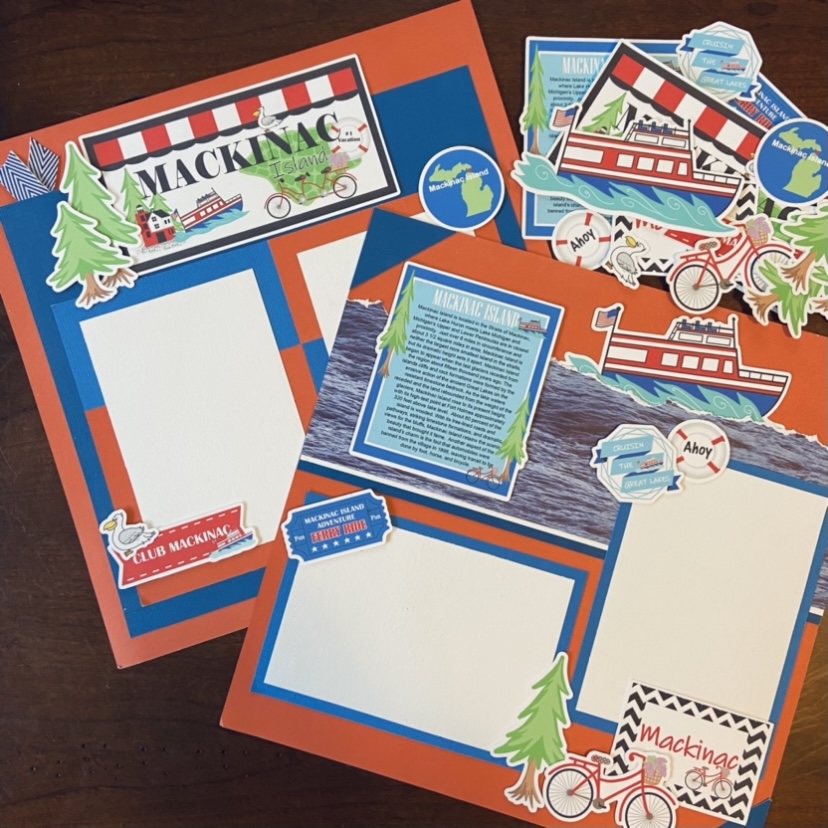
Maybe it’s the patriotic part of me but I just love the classic look that red, white, and blue presents. Featured here on our Mackinac Island Ferry Scrapbook Layout, gather just a few simple supplies and you will have a great patriotic 2 page layout ready for your favorite water front or Mackinac Island ferry photos. So simple, yet so classic. Oh and sorry about the picture quality! EEEk! I am definitely a crafter and not a photographer! 🙂
***************************************************************
GATHER YOUR SUPPLIES…
2 1/2 – 12″ x 12″ red cardstock (2 Full sheets, 5″ x 2 1/2″ piece, 5″ x 4 1/2″ piece)
1 – 12″ x 12″ navy cardstock (1″ x 12″ piece, 11″ x 10″ piece, 2″ x 2″ piece)
1 – 12″ x 12″ royal blue cardstock (two – 4 1/2″ x 6 1/2″ pieces, 5″ x 2 1/2″ piece, 5″ x 4 1/2″ piece)
1 – 1″ x 12″ white cardstock (The 4″ x 6″ white rectangles are just taking the place of photos, or you could add them for an extra photo mat)
1 – 4″ x 12″ piece of water paper
6″ of ribbon
TOOLS: Paper trimmer, scissors, tape gun or glue, dimensional tape or pop dots
***************************************************************
OK, LET’S GET STARTED SHALL WE?!!!
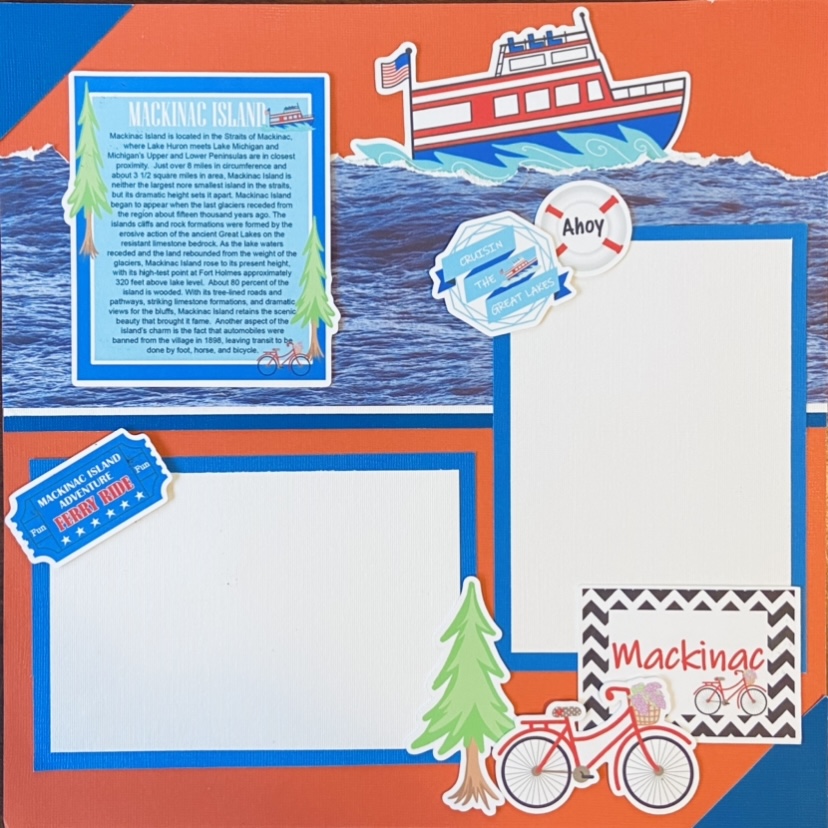
PAGE ONE:
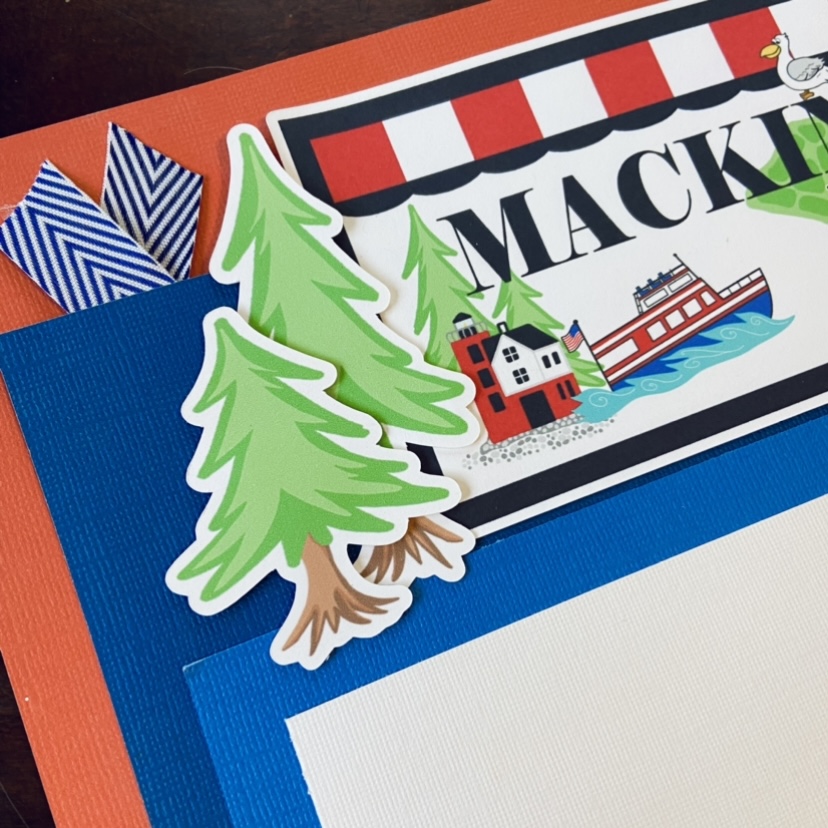
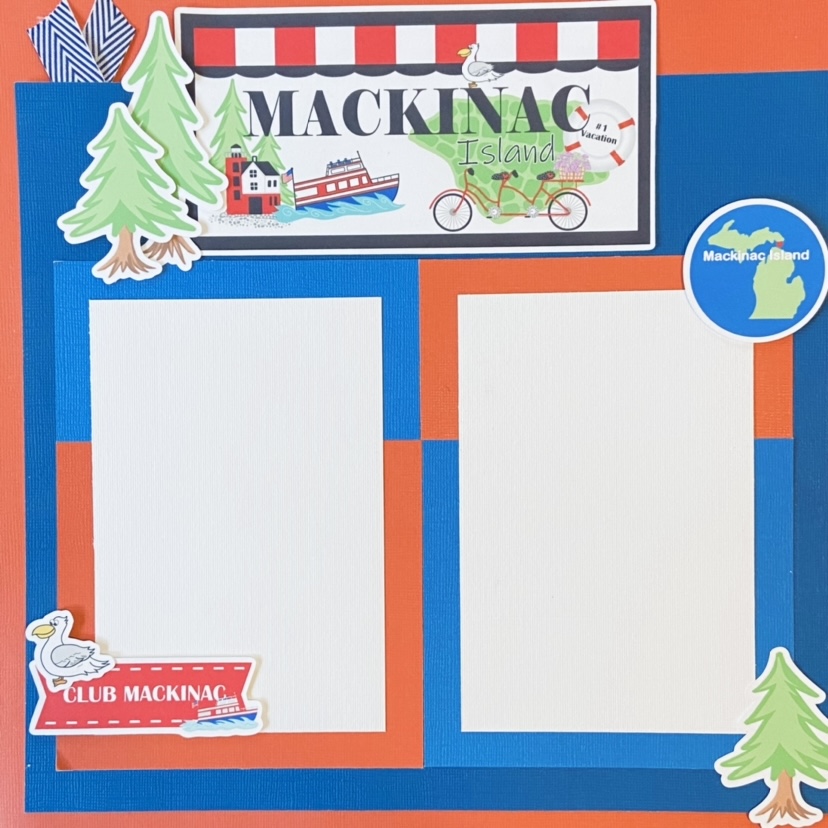
Cut ribbon in half leaving two 3″ pieces. Fold ribbon in half forming a “v” and tape at the top of the 10″ x 11″ piece of navy paper about 1/2″ in on the 11″ side so that you can see most of the ribbon from the front . Repeat on opposite side. Adhere this 10″ x 11″ navy square, 1/2″ up from the bottom edge of the red cardstock with the ribbon side toward the top. Adhere the red and royal blue 4 1/2″ x 5″ pieces on to the navy layer approximately 1/2″ up from the bottom. Top each of these pieces with the 2 1/2″ x 5″ pieces of paper in the opposite color.
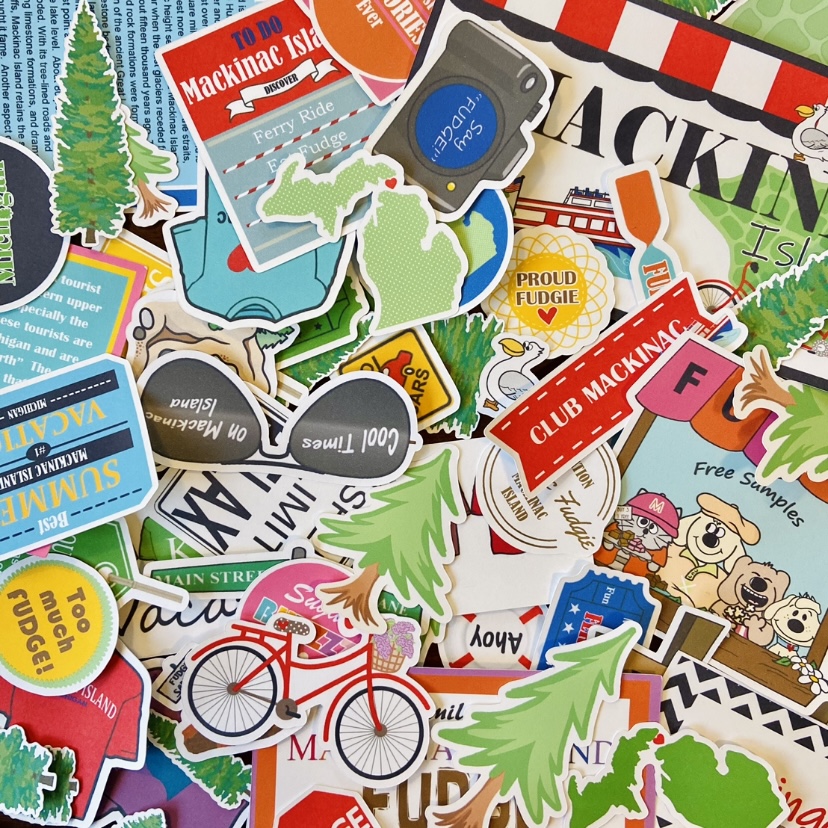
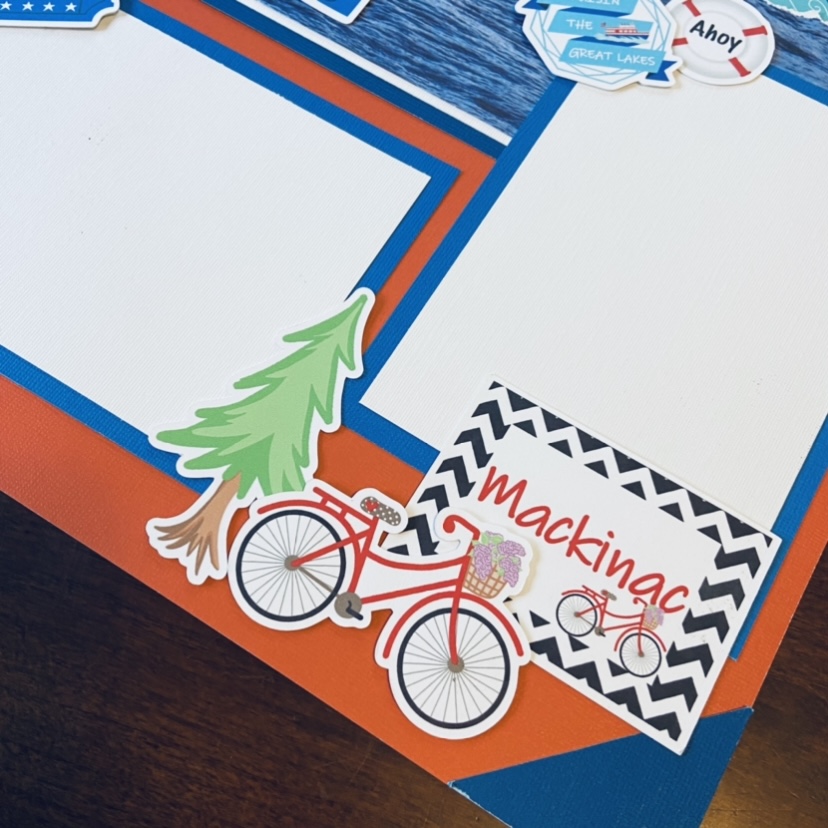
Adhere the Mackinac Island title die cut to the top center of the page. Adhere the small pine tree die cut about 1/4″ to the left of the title piece and then pop dot the large pine tree die cut on top of the left edge of the title piece giving the page a little dimension.
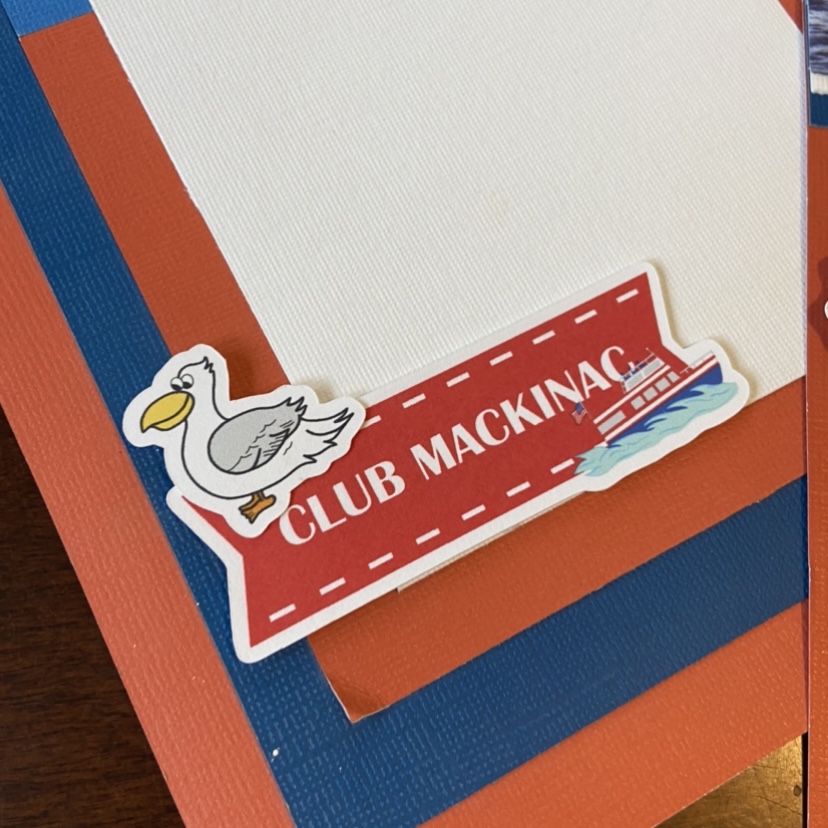
Add Club Mackinac and Mackinac Island circle bike die cuts to the page. I pop dotted these die cuts on the edge so that my photos just slip underneath when I am ready to add them or you can just add your photos now and then top with die cuts.
AND NOW TO COMPLETE PAGE 2 🙂
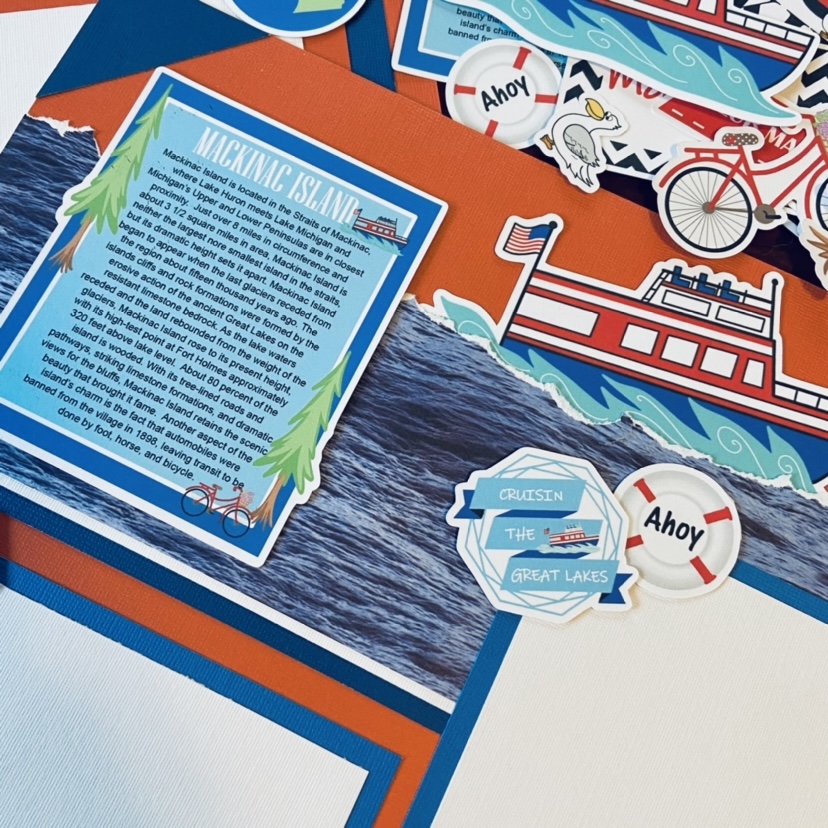
Start by tearing 1/2″ off the top of your water paper. If you are right handed, just hold the paper down with your left hand and then gently tear toward yourself. (Vice versa for you leftys 🙂 ) I love the white edge this gives you, looking like white caps.
Run adhesive down one of the 12″ sides of the white 1″ x 12″ paper and adhere this strip to the bottom of the water paper leaving about 1/8″ visible. Repeat this step with the navy 1″ x 12″ strip leaving about 1/4″ showing beyond the white edge.
Adhere the water paper approximately 2 1/4″ down from top edge. Be sure not to add adhesive too close to the top edge so that the ferry die cut can slide slightly behind the “white cap” edge.
Cut out the seven die cuts shown above on page 2. Cut the 2″ square of royal blue cardstock in half corner to corner creating 2 triangles. Adhere triangles to the top left and bottom right corners of the page. Adhere the 4 1/2″ x 6 1/2″ frames to the bottom of the page placing one approximately 1″ up from bottom and 1/2″ in from left edge. Place the 2nd frame approximately 2 1/4″ up from bottom and 1/4″ from right edge of paper. Add die cuts to complete the page. I pop dotted the bike, ferry ticket, and “cruisin the great lakes” die cuts.
VOILA! YOU ARE DONE!
Thanks for scrapping with me, see you soon 🙂
Visit the Joyful Daisy shop on Etsy!