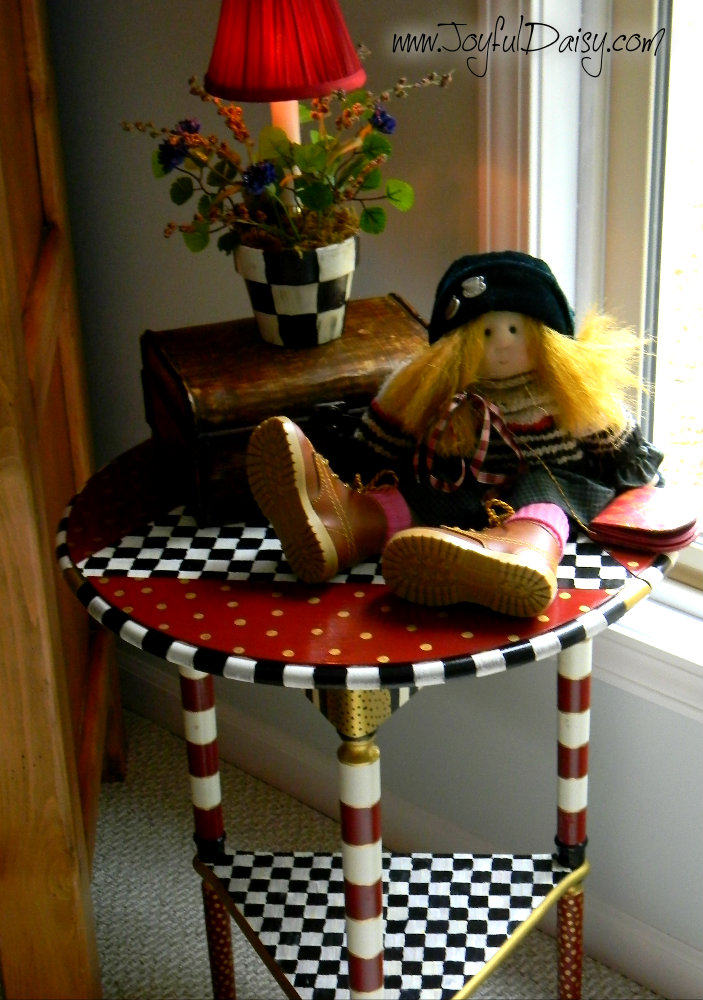
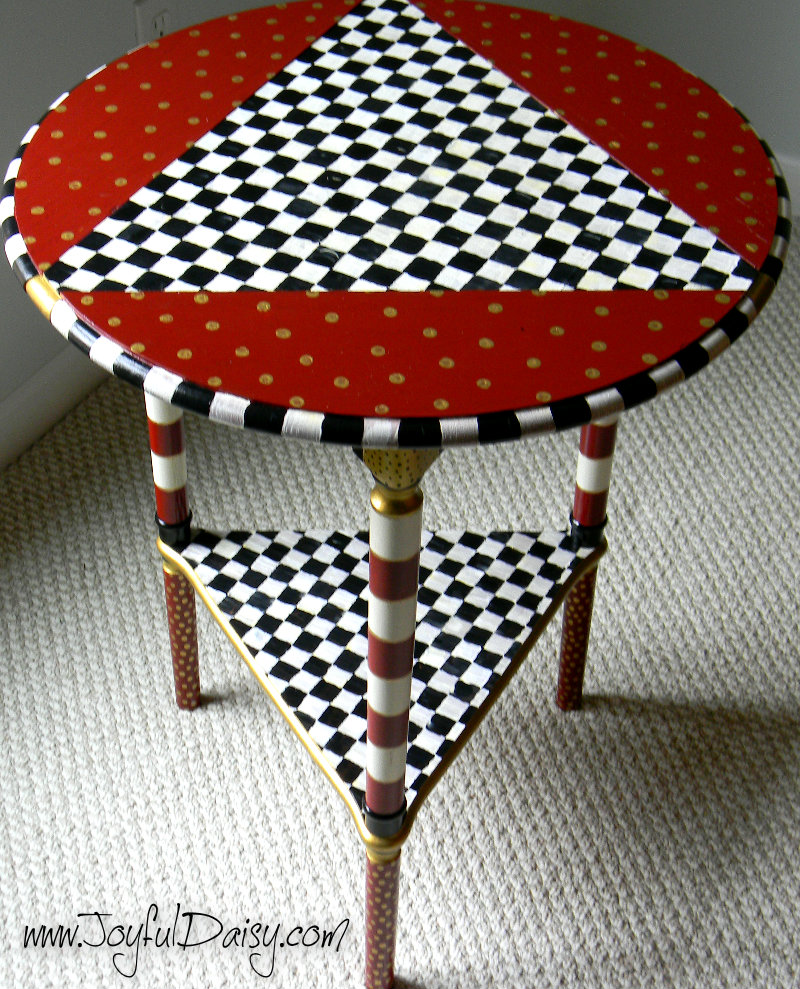
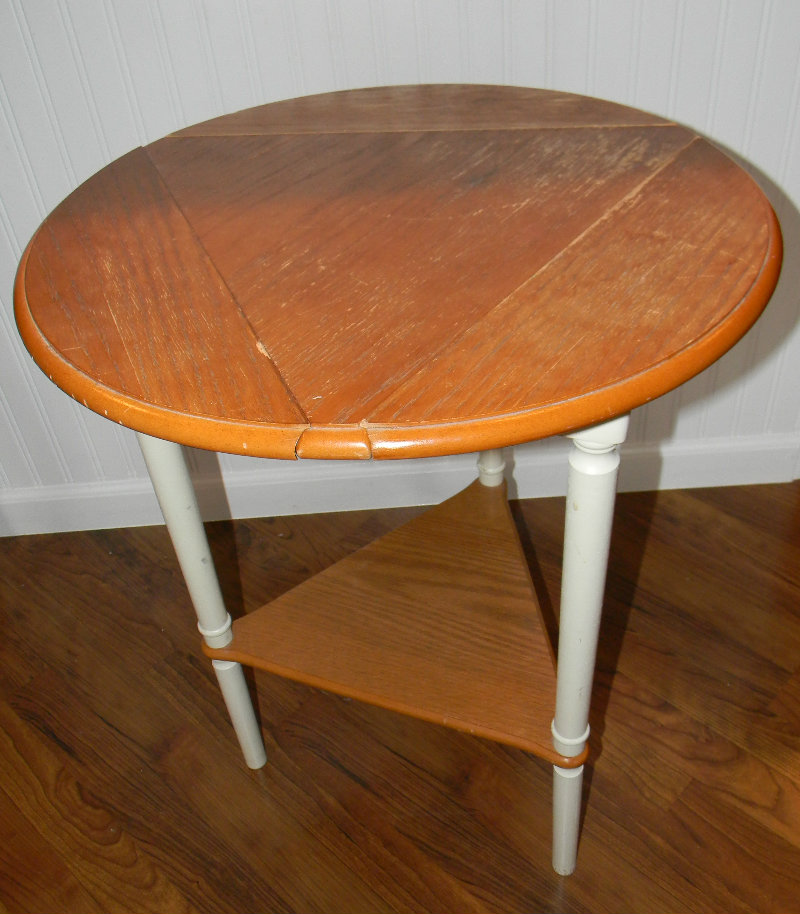
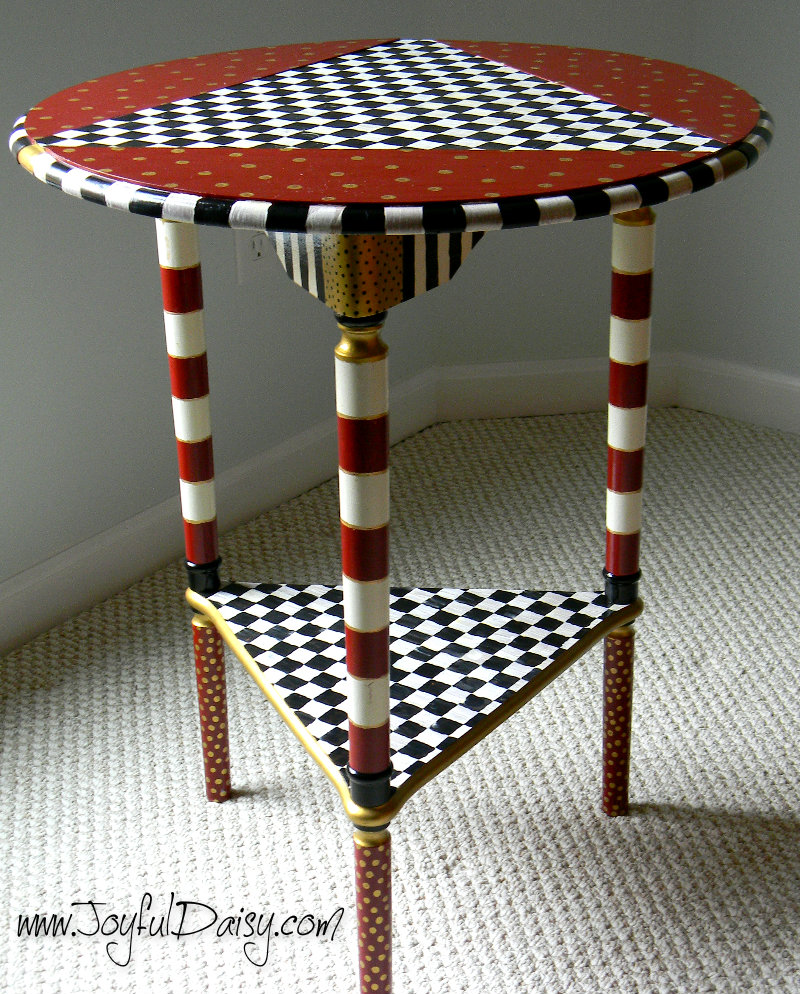
Ok this is it…my first Mackenzie Childs knock off furniture piece and I am addicted! This is so much fun and I learned some wonderful tips along the way to get that famous Mackenzie Childs checkerboard look. This was a cute little table, just a little plain and worn…in need of some lovin.
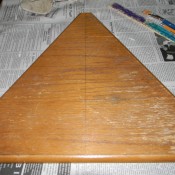
The before picture! Don’t you just love before and after pictures to inspire you?! It inspires me to see the extraordinary in the ordinary 🙂
OK, this table was the perfect candidate for my first Mackenzie Childs hand painted knock off piece. It has great lines, a bit of character already, and I could already visualize the well known checkerboard on some of the flat surfaces!
WHAT YOU NEED…
Acrylic Craft Paint (Choose your color palette – Think of a few main colors (red) plus black, white, and cream and then think of a few accent colors (gold))
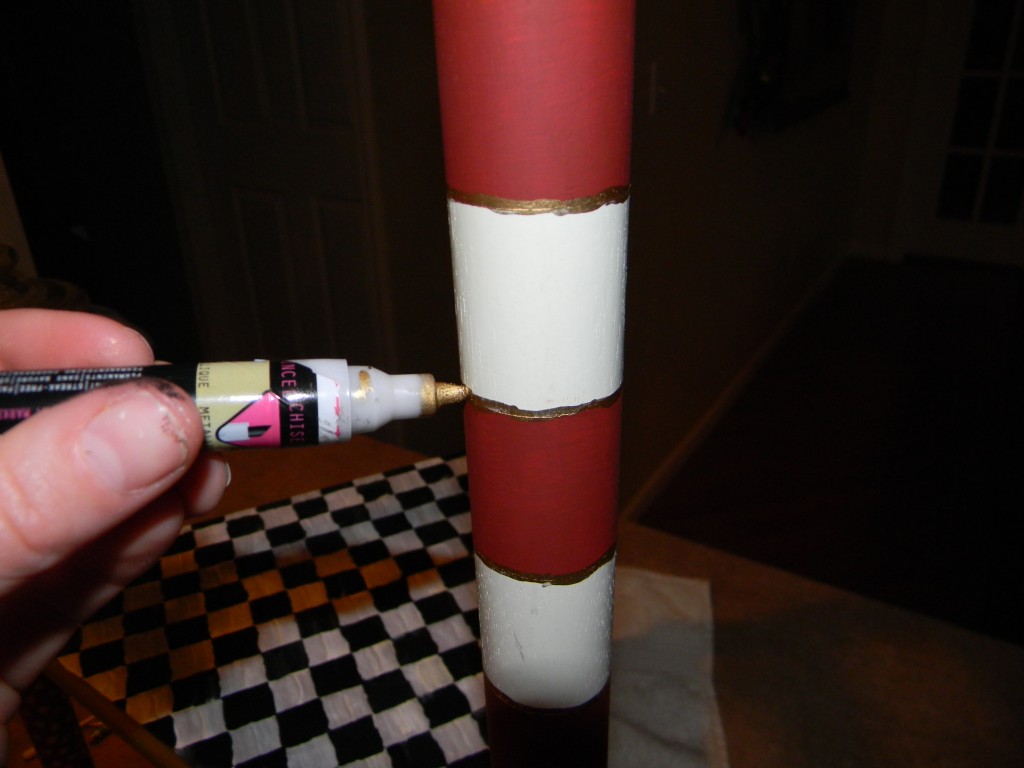
Gold paint pen
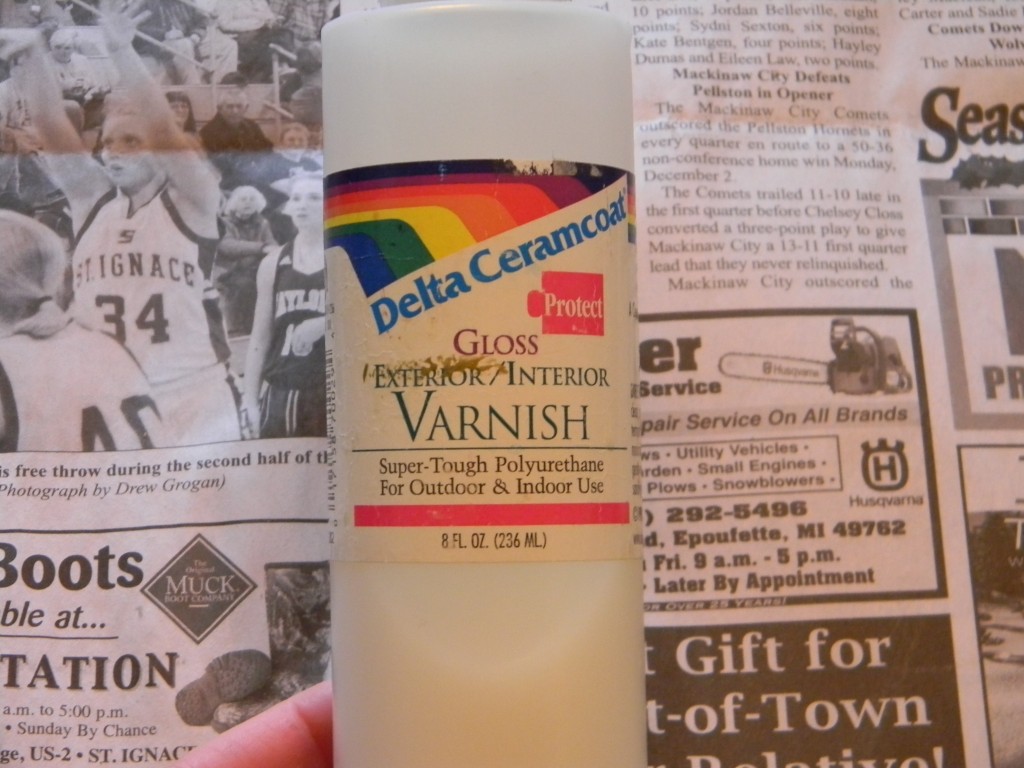
Glossy varnish
Optional sand paper (I didn’t need to sand my project)
Assorted brushes (1/2″ and 3/4″ flat brushes and small round brush)
Painters Tape (for stripes)
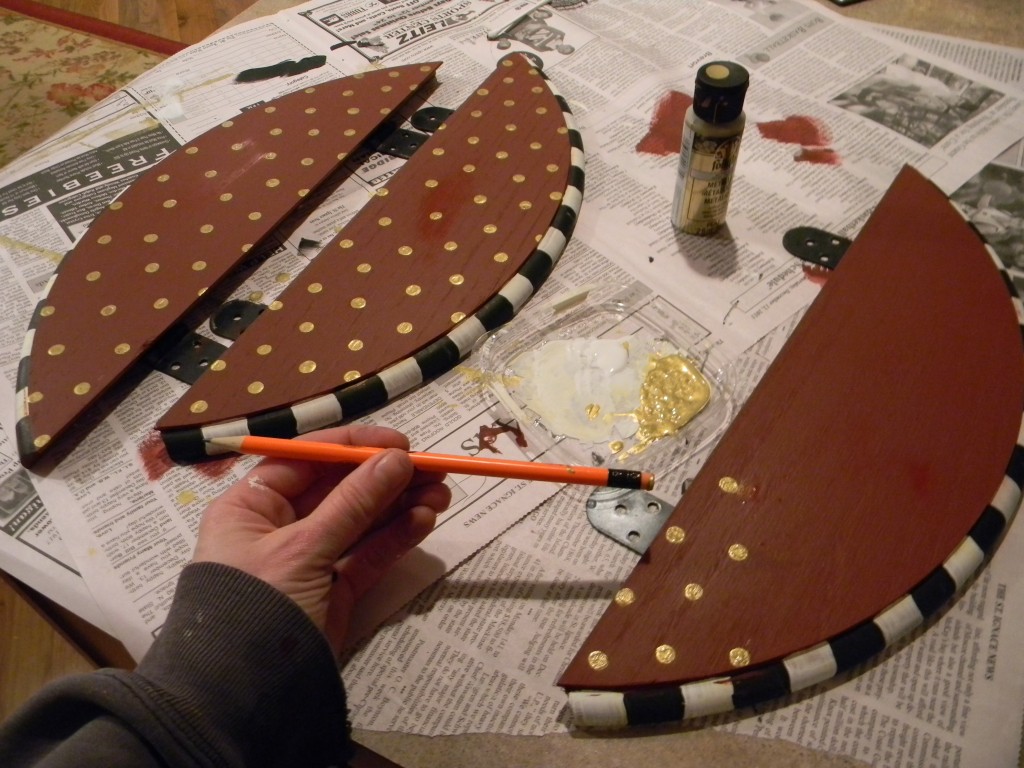
Pencil with new eraser (eraser used for polka dots 🙂 )
Q-tips (for smaller polka dots)
First be sure to clean your table up. Mine was super dusty, so I just used a wet cloth and wiped it down real good. I didn’t have any rough edges or dings that I was concerned with so I didn’t sand it. I also chose not to primer it to just see how it worked out and after the varnish was added, the paint did not scratch off at all.
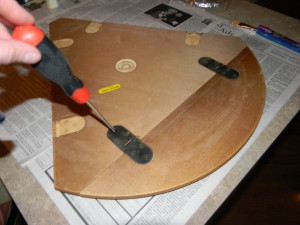
I decided to dismantle part of the table for easy painting. I removed the top first and the sides.
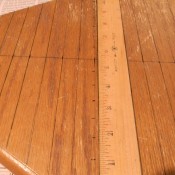
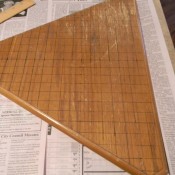
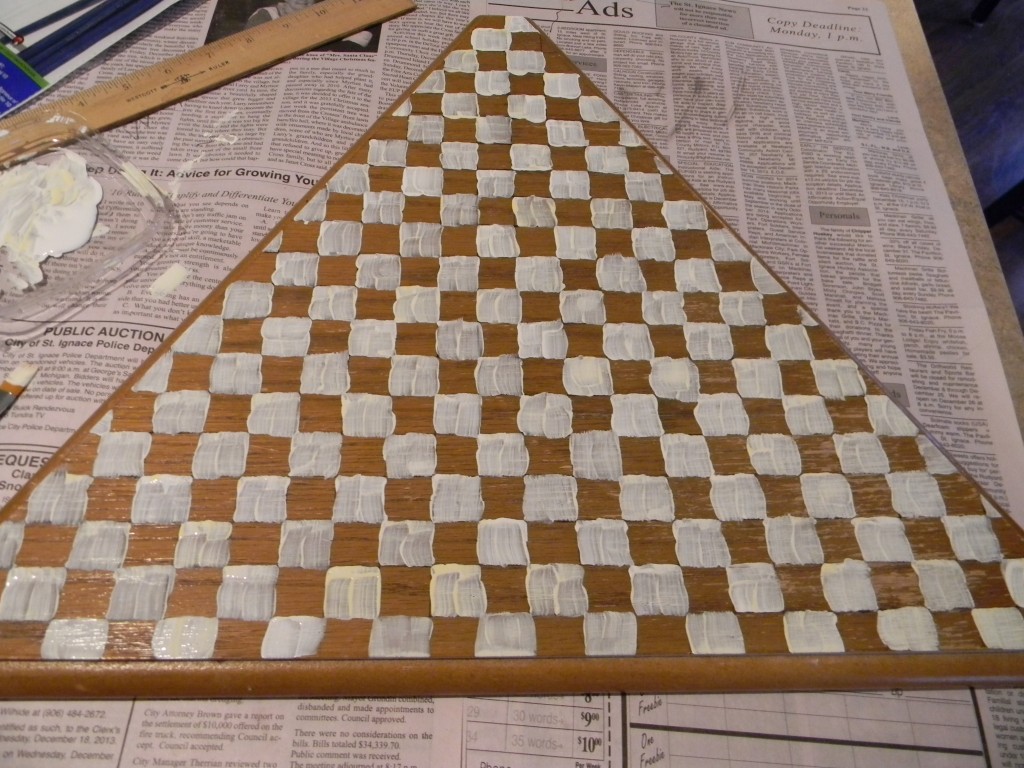
Mark the middle of the center table piece. Then working out from that middle mark, place marks every 3/4″ in both directions and draw lines to create checkerboard.
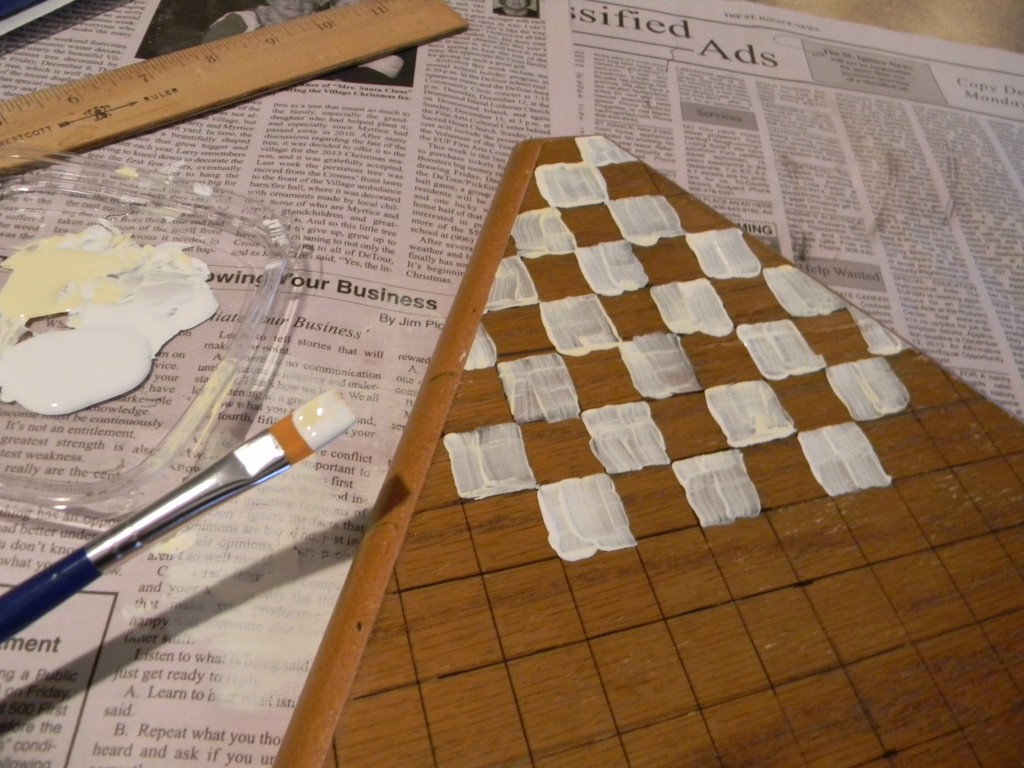
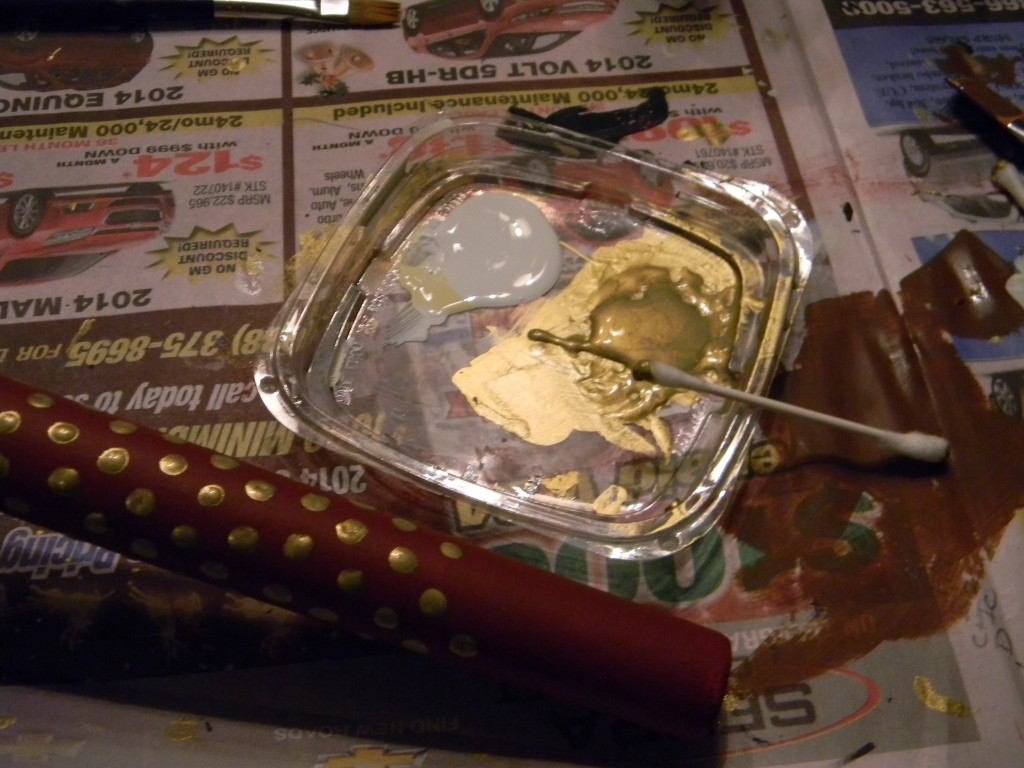
Squeeze some white onto a plate or lid (Recycled yogurt lids work great.) Then add a bit of cream paint next to the white.
Dip your brush in white and then on dip the side into a little of the cream paint.
This two-tone techniques looks great and closely resembles the checkerboard on my authentic Mackenzie Childs tea pot 🙂
Paint in all the white/cream squares.
I only had a 1/2″ and 1″ flat brush so I had to do double swipes of with the 1/2″ brush and it looked ok, however, if you have a 3/4″ brush I would use that.
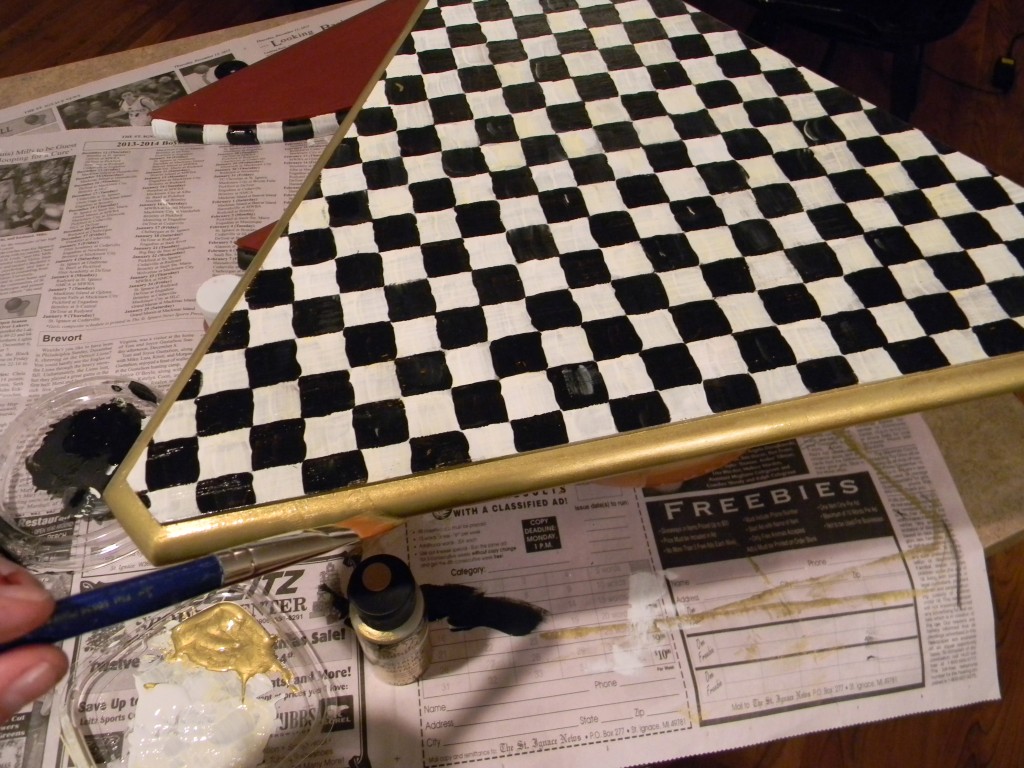
Once the white/cream squares dry, add the black.
With the black you need to be a little more careful and stay in the lines.
You can also add a tad bit of cream with the black for a more subtle two tone affect.
Once the black is dry I added gold to the edges, which you cannot see when it is complete and the sides are up. I wasn’t sure if I was going to have them up or down so I painted the edge.
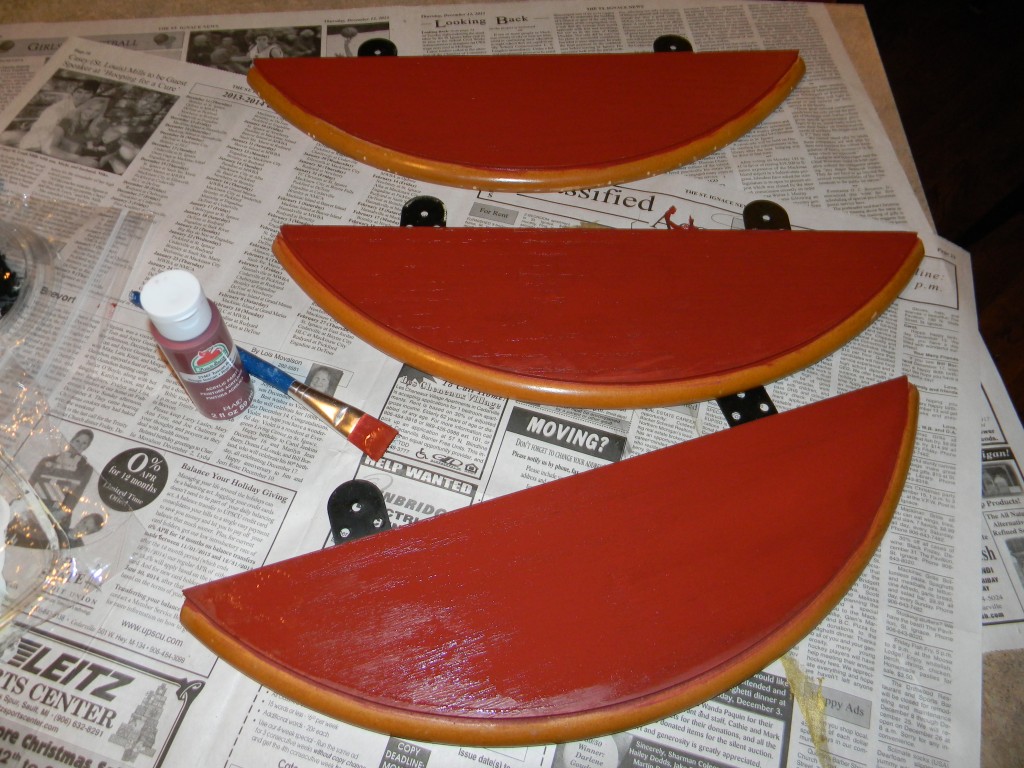
I put two coats of red on the side pieces of the table top.
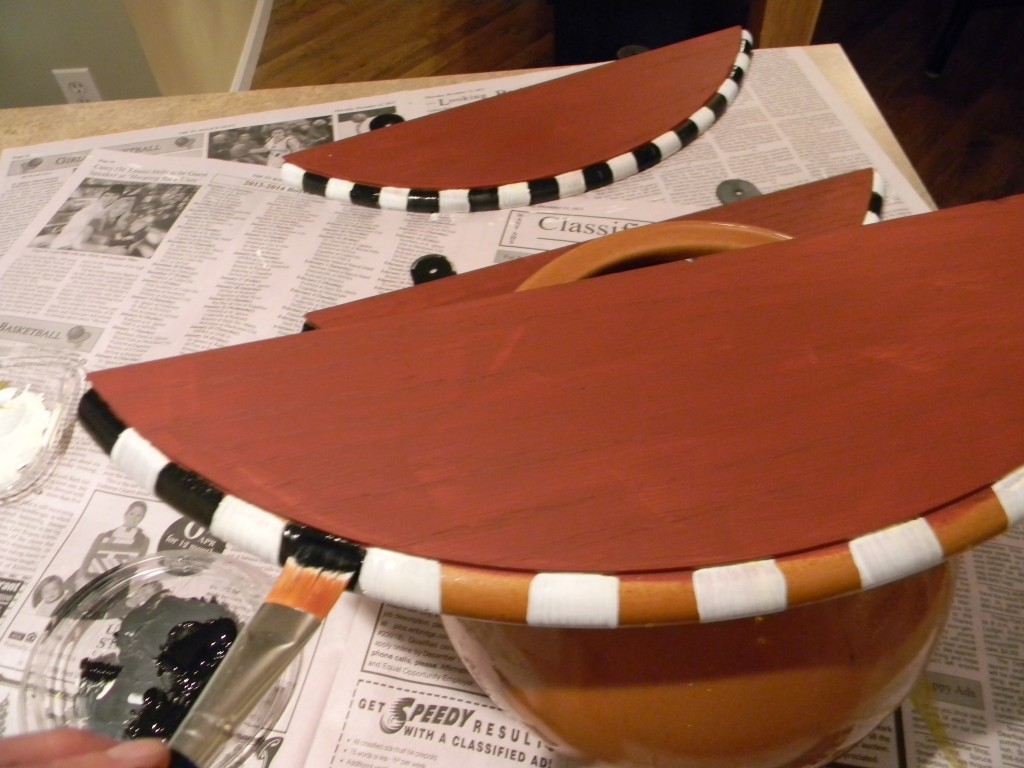
Using my 1″ flat brush, I added some stripes to the side with cream/white and then black. I only used one coat because I liked seeing the brush strokes showing a bit of the table color behind the white.
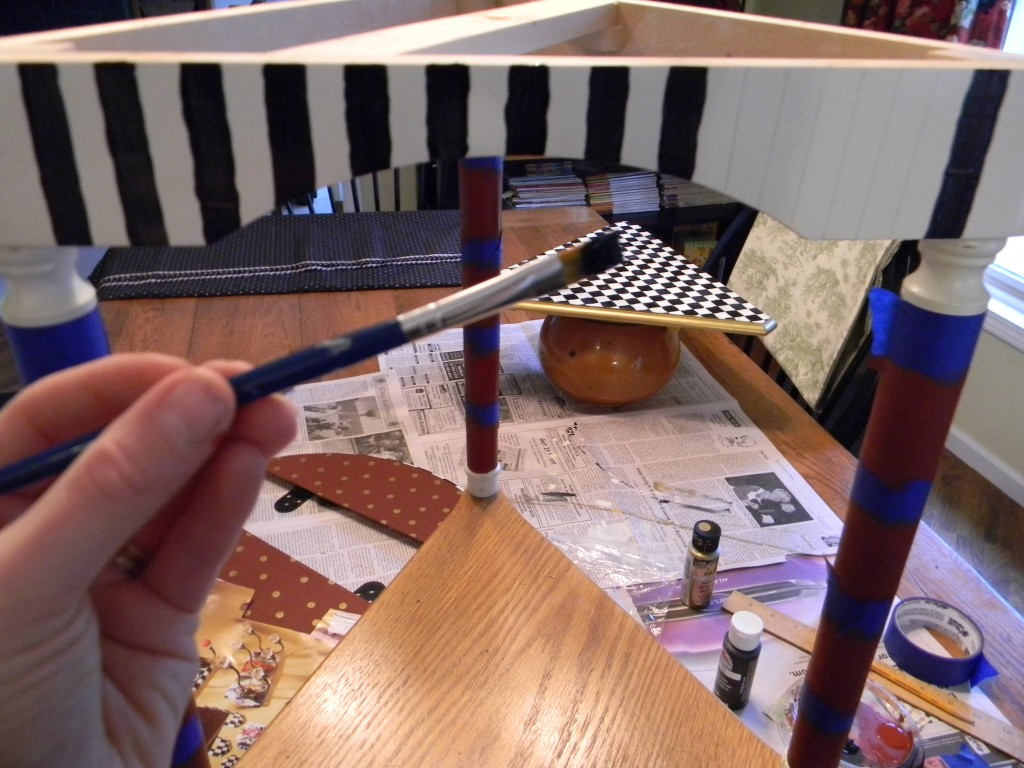
Another TIP… elevating the piece on a bowl or cookie jar worked great to paint the edges.
Add polka dots to the red tops by dabbing the end of pencil into gold paint.
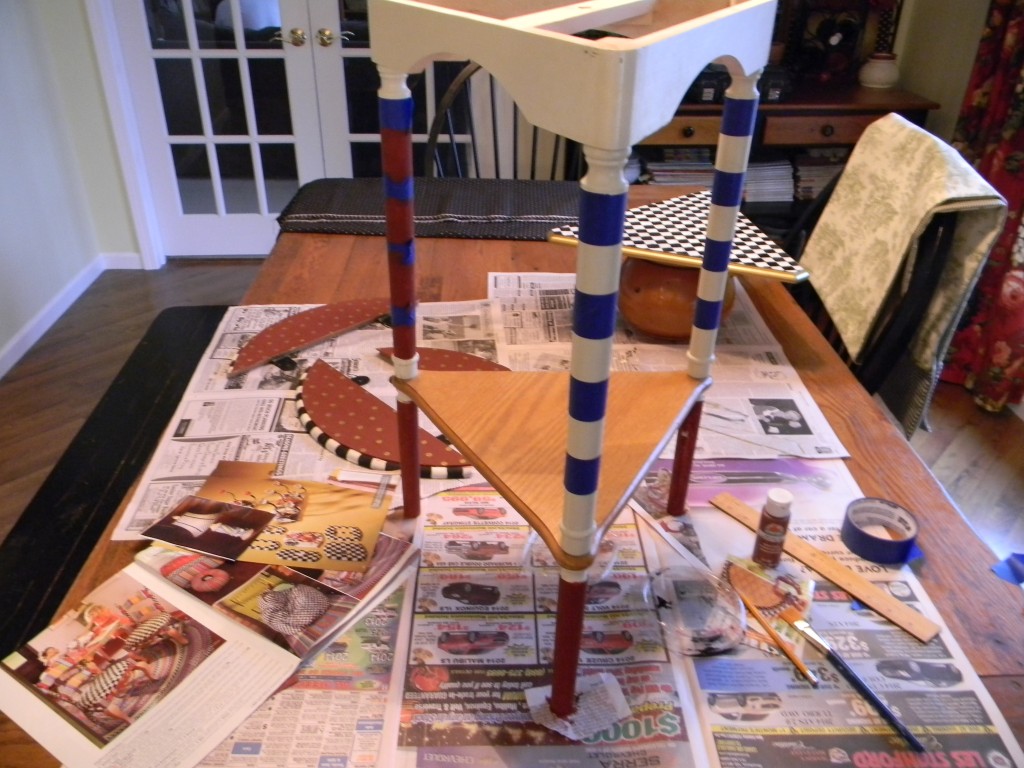
I left the legs on to paint.
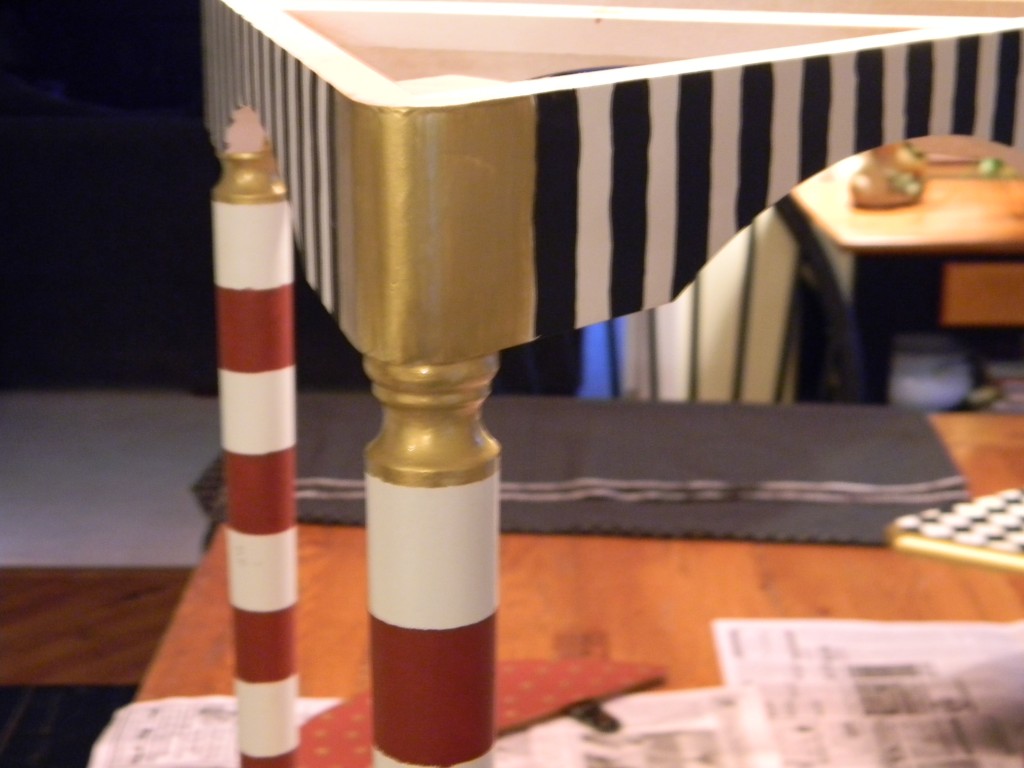
I liked the cream color on the legs so I added some painters tape so I could strip them with 2 coats of red paint.
Then I painted the bottom of the legs with two coats of red.
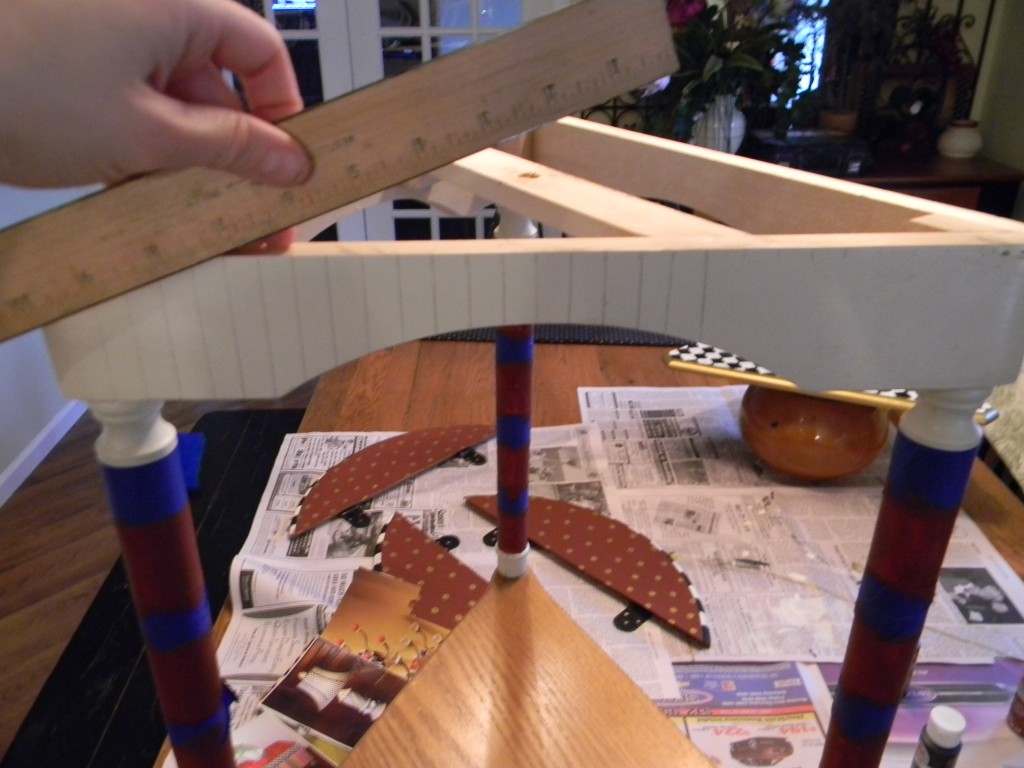
I placed a ruler in the center of the sides of the table and made 1/2″ marks starting at the center.
TIP- Make an odd number of marks if you are using 2 colors and want the same color to end up on both ends.
I just did one quick coat of black with the 1/2″ flat brush. I wiggled the brush just a tiny tad so they wouldn’t be too straight! I suppose I could have gotten this technique by doing it in the morning before coffee 🙂 LOL
Once the legs were dry, I took the table apart so I could paint the checkerboard and gold on the bottom flat surface and add gold polka dots to the bottom part of legs with Q-tips.
Lightly wet the end of the Q-tip to make sure there aren’t any fuzzys sticking out.
Dab the Q-tip in the gold paint and then on the table leg. Prop up and let dry.
I did go through a few Q-tips on each leg.
Reassemble bottom of table when the gold dots have dried.
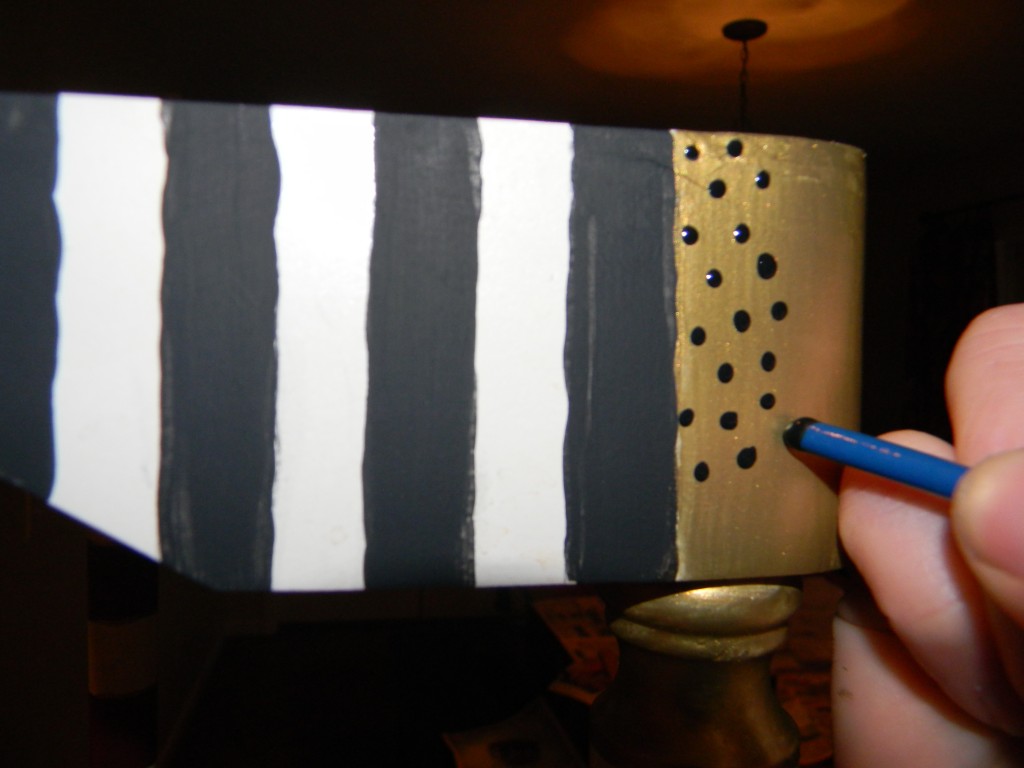
Paint the top of the main spindles gold and the corners of the sides gold.
I also painted the top of the bottom spindles black.
Using the end of a paint brush I added black dots to the gold corners.
OK… this was the hardest part for me because I didn’t want wiggly gold lines between the red and white stripes on table legs but I did my best!
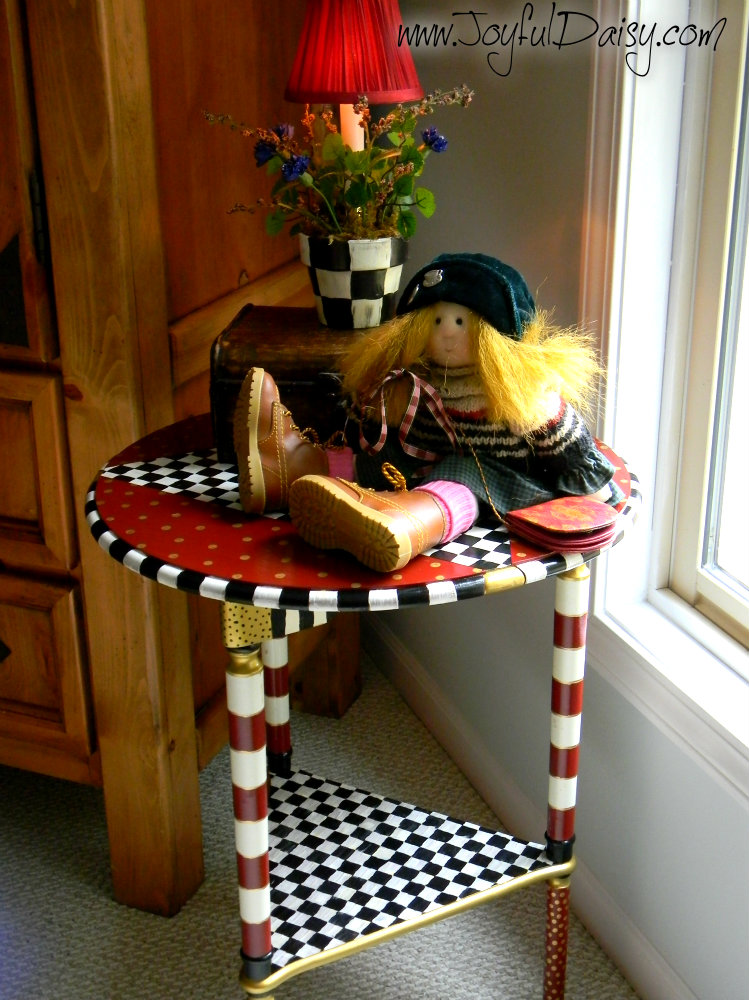
When table was all painted and stripes and polka dots were all added and completely dry I added one layer of glossy varnish to complete my first Mackenzie Childs knock off table! The shiny finish really made it look beautiful 🙂 Thank you Mackenzie Childs for giving me such inspiration with all your whimsical designs! This project was a blast and it looks awesome in the kitchen sitting area and the guest room! I need another one 🙂 I cannot wait to start my rocking chair!
KNOCK OFF MACKENZIE CHILDS TABLE RUNNER TUTORIAL
KNOCK OFF MACKENZIE CHILDS ENAMEL BOARD TUTORIAL
KNOCK OF MACKENZIE CHILDS COOKIE JAR TUTORIAL
SASSY MUD ROOM HUTCH FOR A LITTLE ORGANIZATION TUTORIAL
*************************************************************************************************
 If you enjoyed this post, be sure to sign our email list on the top right hand column. I have a lot more fun stuff planned 🙂
You can also connect with Joyful Daisy on FACEBOOK, GOOGLE, PINTEREST, TWITTER, AND RSS. I would also love it if you shared this project by clicking social link buttons below, sharing is caring 🙂
Thanks for stopping by 🙂
Cyber hugs,
Amy- joyfuldaisyforever@gmail.com
I PARTY AT SAVVY SOUTERN STYLE & OTHER FUN LINKY PARTIES FEATURING JOYFUL DAISY PROJECTS- THANK YOU TO ALL THE WONDERFUL HOSTS!
