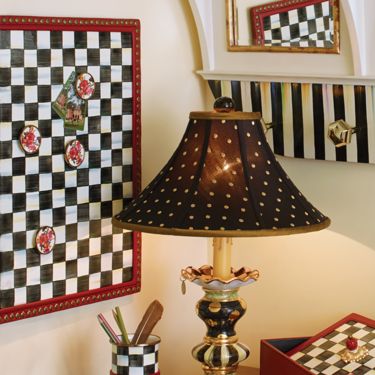
I have loved or shall I say drooled over MacKenzie Childs home décor for years. I just love looking through their catalogs and savoring each whimsical detail as if the catalog itself is a Belgian truffle. I must admit that while I love their furniture and home accents, I do not love their price tags and that is probably why I only own one MacKenzie Childs product- their wonderful checkered teapot and the box it came in- thank you Aunt Jan:) Yes, even the boxes are delightful!
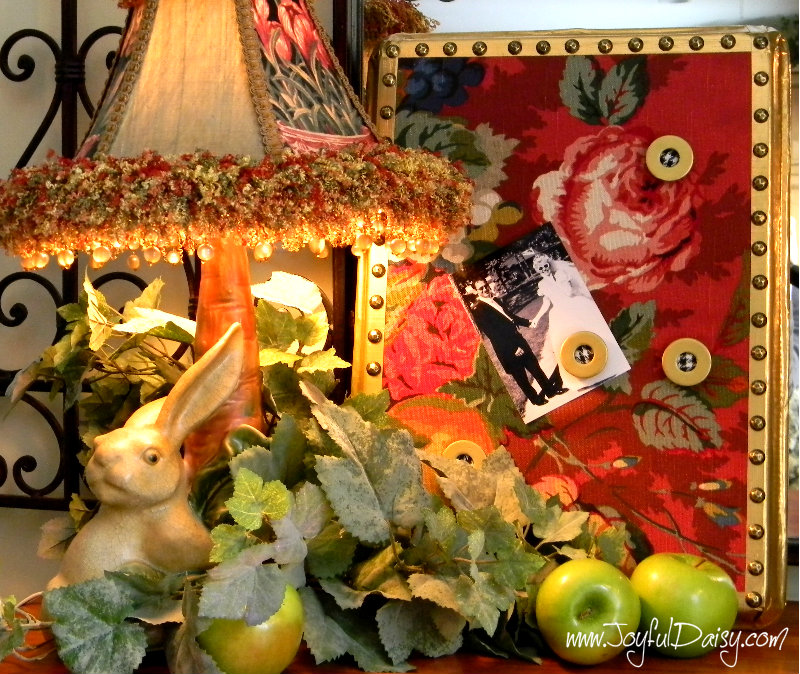
As I looked through the last catalog I received, I just fell in love with their new enamel message boards and large enamel magnets.
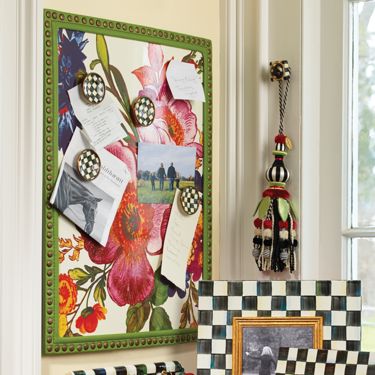
Aren’t they just adorable? Adding just one of these lovely accessories into any room will definitely add happiness! So instead of paying $245, which let me add is probably worth it when you see the quality of MacKenzie Childs products, I started gathering supplies around the house and figuring a way to make my own knock of décor version.
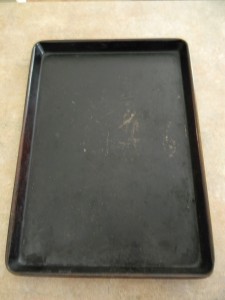
Now this project could also be classified as trash to treasure because the base of my board is a very old, ugly pan from our kitchen cupboard that was once a shiny silver-EEK!
This project is pretty easy and affordable so let’s get ready to…
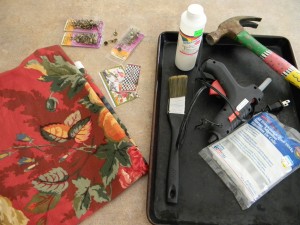
GATHER YOUR SUPPLIES…
Pan- old or new, any size- JUST BE SURE IT IS MAGNETIC! Aluminum is used in a lot of pans and is generally not magnetic so if it is an old pan, try a magnet on it first. And if you are heading out to buy the perfect size pan, bring a magnet along to check it out and be sure!
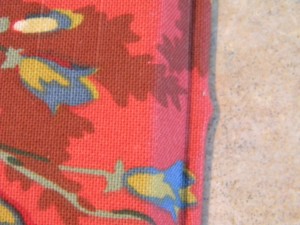
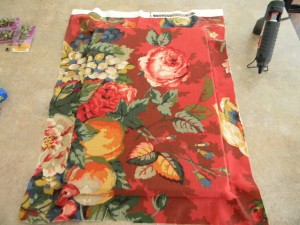
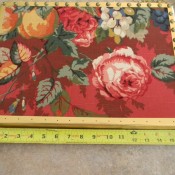
Fabric- 5″ wider and longer then your pan or larger if you have a large pattern and want to play with the placement
Upholstery tacks (I placed them about 1″ apart, so you can figure out how many you need based on the pan’s perimeter measurement.)
Duck Tape ( I used gold on the main board shown in this tutorial and silver on the 2nd larger one I did)
Scissors
Glue gun and glue sticks
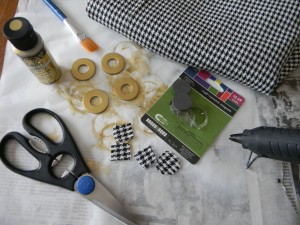
FYI- I did not use the large brush and varnish shown in the supplies picture. I brushed it on some fabric to try it out to see if it added any sheen to create the enamel look but I liked the matt look of the plain fabric better.
Snips or wire cutters
Hammer
Quarter or piece of metal
Block or cutting board
LET’S GET STARTED…

Lie fabric on the back of the pan and decide the placement of pattern if need be. Then trim fabric a couple inches out from each side.
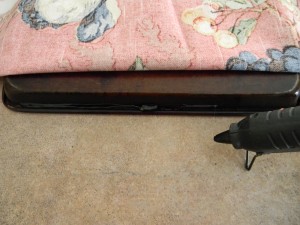
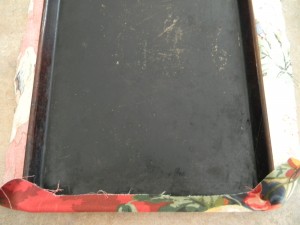
Starting at one of the shorter ends of the pan, run a line of hot glue along the lip a few inches at a time.
Working swiftly before the glue hardens, fold fabric down and run your fingers along the lip pressing the fabric into the glue. Please be careful not to burn yourself if your fabric is too thin or your glue is too hot.
FYI- work a little at a time so that the fabric gets glued down really well. Also don’t use too much glue because if it oozes out it will create lumps along the side.
JD TIP…As you can see in the picture, too much glue will create ugly lumps in our beautiful project so beware of that. Also if you do as I did in this one spot… gently pull fabric back and carefully cut off excess glue with an exacto knife.
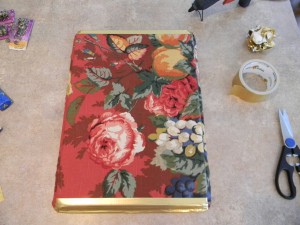
After one short end lip is glued down, flip the pan and do the opposite edge pulling the fabric nice and taunt. Then move on to each of the sides and then the corners.

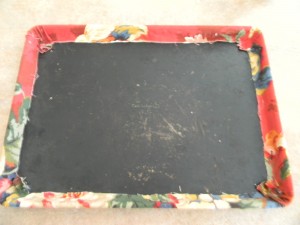
Once pan is glued around the entire lip of the pan, flip it over and hot glue side edges of fabric to the back side of the pan.
Fold in corners, pulling tauntly and hot glue down. Trim any excess fabric if you wish.
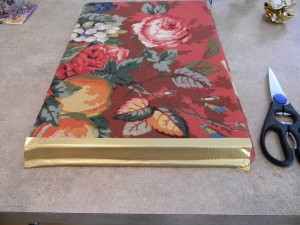

With a pencil or fade-away marker, make a few marks 1/2″ in from edge of pan to show where to place duck tape. Yes duck tape! It gives a great faux leather wrap look 🙂
Starting at a short end of pan, cut a piece of duck tape just shy of the length of the short end, and line it up with the 1/2″ mark on pan. Smooth it down the side of pan and around the lip.
Repeat on other short end.
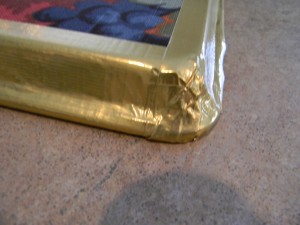
Now cut a piece of duck tape a couple inches longer then the long sides of pan and place 1/2″ in from edge of pan. Smooth it down the sides and over the lip.
Wrap the ends down and to the back of the pan as smoothly as possible.
Notice the wad of duck tape in the background of the pictures above, yes I had to try this a few times before I got the look I wanted:)
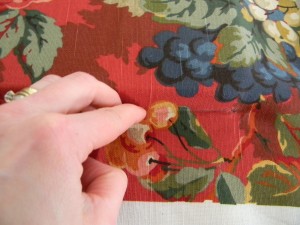
Silly me, thought I was just going to pound the tacks in the pan and then bend over on the other side to secure! ( My project visions are very rarely achieved on my first try 🙂
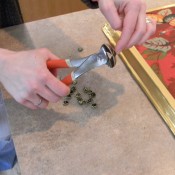
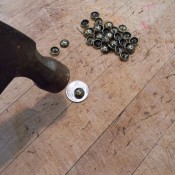
Seeing very quickly…the best way to add the upholstery tacks is to cut of the backs and then hot glue on. So using wire cutters or snips, cut of the back of the tacks as close to the top as possible. To flatten any remaining point of the back of the tack, I just place it on a quarter, on a cutting board and gave each tack three good whacks with the hammer to flatten completely. Kind of loud, don’t do during the kid’s nap time 🙂 but this actually went pretty fast.
Then lay out a ruler or measuring tape and make marks along the duck tape for placement of the tacks. I placed mine about 1″ apart.
To glue the tacks, again working swiftly so that the glue doesn’t harden, I held a tack in my left hand, carefully applied a bit of hot glue to the mark on my duck tape, and then quickly placed tack on glue until all sides were done:)
VOILA-well done with the board! Now one more step…
The Knock Off Décor Enamel Magnets…
GATHER YOUR SUPPLIES…
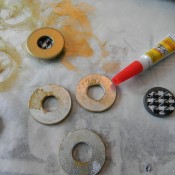
1 1/2″ METAL WASHER MAGNETS
4- 1 1/2″ metal washers
Small piece of decorative paper or fabric for centers
4 Strong round magnets
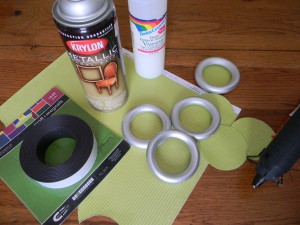
Kilz Spray Primer
Gold Paint – I used craft paint but Krylon Spray paint would have been easier
Hot glue gun and glue
Super Glue
 2 1/2″ CURTAIN RING MAGNETS…
4- 2 1/2″ Curtain rings
Cute scrapbook paper
Varnish
Hot glue gun and glue
4 Good magnets – NOT the magnet strip as shown in picture!
Kilz spray primer
Krylon metallic silver paint
Chipboard
MAGNET FYI…
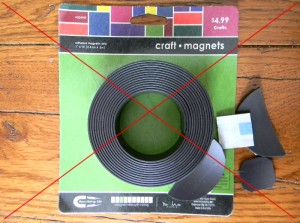

Magnet tape on the left was a waste of money, for this project at least. It would not hold the lightweight curtain rod designs even when I lined all 2 1/2″ of the back:( JOYFUL DAISY UNAPPROVED!
 The package of ceramic magnets on the right are real champs, and worked great even with the heavier washers:) They are definitely JOYFUL DAISY APPROVED and I will be buying them again:) Oh, and I purchased the magnets at Hobby Lobby.
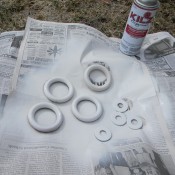

Remove screw hooks from curtain rings. Spray rings with primer, let dry 10-15 minutes and then flip and spray other side and let dry 10-15 minutes.
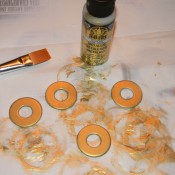
Spray or brush paint over primed rings. Spray paint worked the best I just didn’t have any gold spray paint.
TO COMPLETE THE METAL WASHER MAGNETS…
Cut pieces of fabric slightly smaller then magnet and then hot glue to magnet.
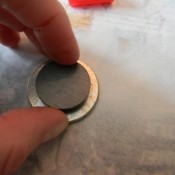
Place a small amount of super glue around the inner ring of washer.
Hold the washer down with one hand as you place the magnet down with your other hand. These are nice and strong magnets so it will try to pull up washer.
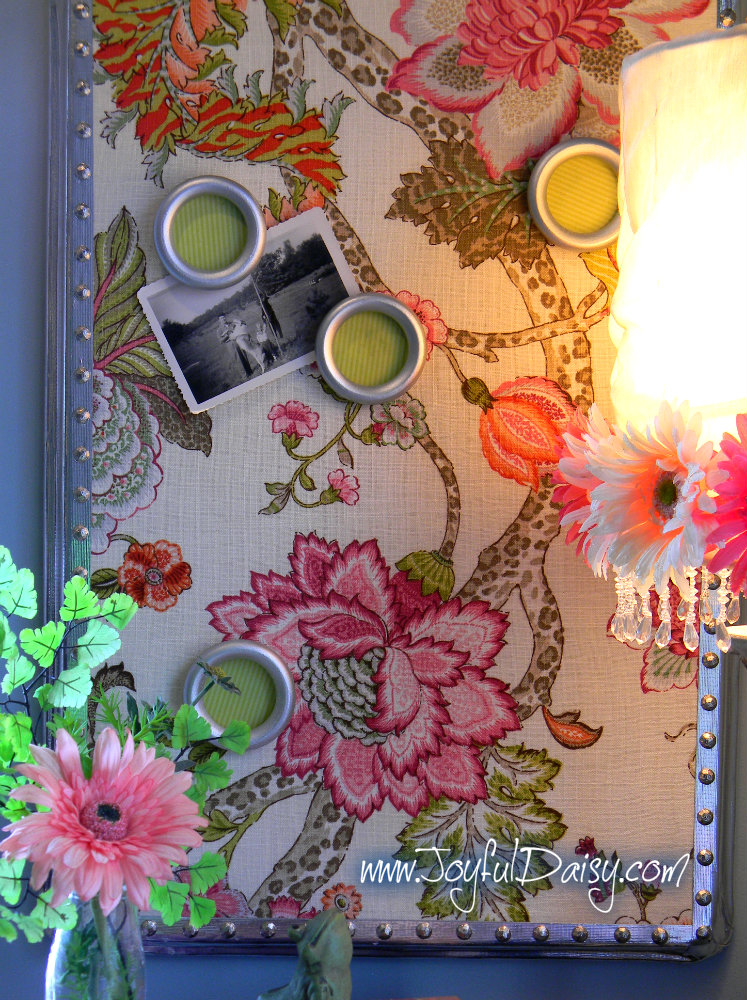
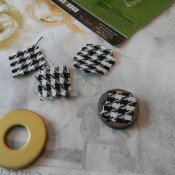
TO COMPLETE CURTAIN RING MAGNETS…
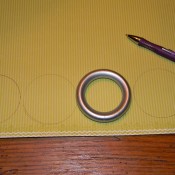

Trace curtain rings onto scrapbook paper.
Paint varnish over paper and let dry. This creates a nice shiny look.
Cut out varnished circles about 1/8″ inside of edge.
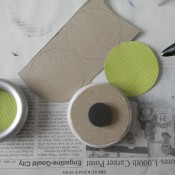
Put hot glue around rim of curtain ring and place scrapbook paper shiny side down on it.
To reinforce paper, cut out chipboard circles and adhere to back of ring before adding magnet with hot glue.


KNOCK OFF MACKENZIE CHILDS ACCENT TABLE
KNOCK OFF MACKENZIE CHILDS TABLE RUNNER
![]()
If you enjoyed this post, be sure to sign our email list on the top right hand column. I have a lot more MacKenzie Childs, Pottery Barn, and Ballard Desgin knock offs planned:)
You can also connect with Joyful Daisy on FACEBOOK, GOOGLE, PINTEREST, TWITTER, AND RSS.
Cyber hugs,
Amy – joyfuldaisyforever@gmail.com


![]()


![The Scoop_thumb[5] TUES](https://joyfuldaisy.com/wp-content/uploads/2014/04/The-Scoop_thumb5-TUES.jpg)