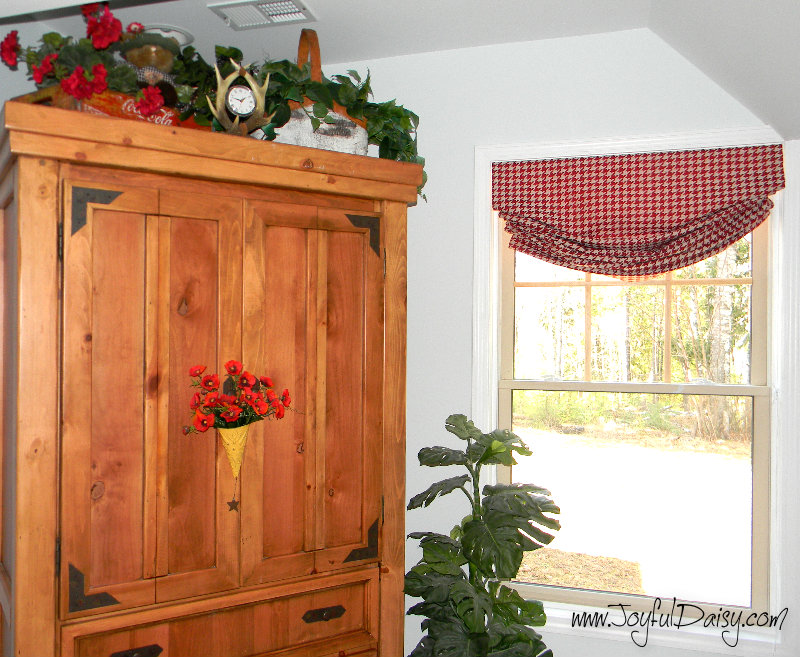
I just love fabric shades. They are functional and yet add so much to your décor softening the wood, glass, and lines of the windows. This tutorial features the relaxed roman shade I made for the guest room and at the end of the post you can see how easy it is to create a London shade with an outside mount like I did in the kitchen. These do not take long so take a look around your house and see where one or two or three might look nice in your home. I used a sewing machine but if you do not have one you can hand stitch or use the no-sew seam tape. 🙂 Let us begin with how to make a relaxed roman shade with an inside mount…
GATHER YOUR SUPPLIES…

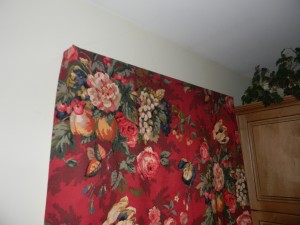
Fabric and lining- 3″ wider and 8″ longer then the inside of your window (Medium light weight fabric works best. My fabric is a bit heavy but I just loved the pattern for this room.)
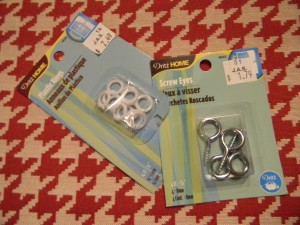
Plastic rings ( I used 18 for my five foot window) and 2 screw eyes – shown above
Fastener to wrap cords – sorry cannot remember the name (shown above on right)
Cording- (Usually you need about 5 times the length of the window)
Board cut to the size of the top of your window casing
Drill and screws
Scissors
Sewing machine with hemming foot or you can use no sew adhesives along the sides and bottom hem
Needle and thread to hand stitch plastic rings in place
Cut fabric and lining to size – for inside mount add three inches to the width measurement of the inside of your window and add 8 inches to the length of the height of the inside of your window.
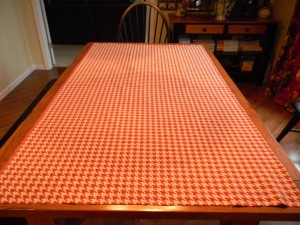
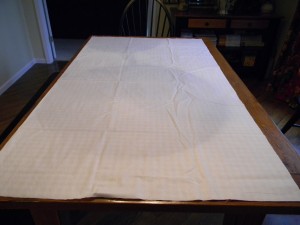
Lay out your fabric right side down.
Top with your lining.
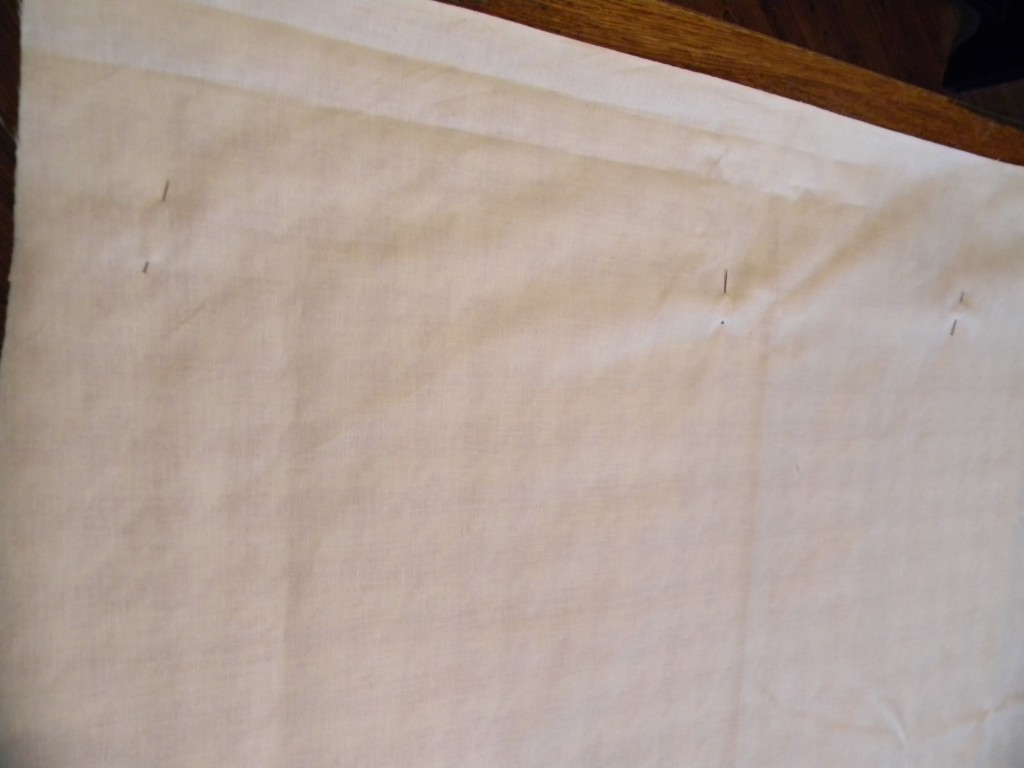
Pin along sides to keep the two layers together.
Bring fabric to the ironing board and measure 1/2″ on both sides and iron.
Fold over again at 1″, iron, and pin.

At the bottom, measure 1″, fold, and iron.
Then measure 2″, fold, and iron.
At the bottom, at the sides, trim the fabric as shown above being careful not to cut above the main bottom fold.
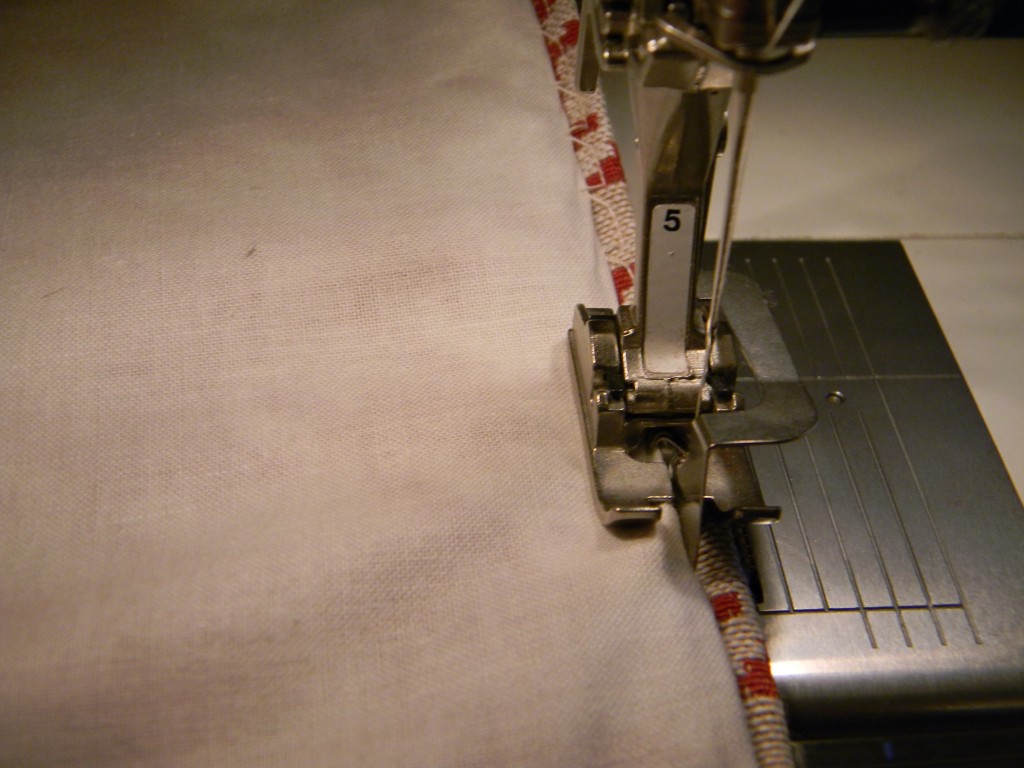
I hemmed my side seams and bottom seam on the sewing machine, or you could use fabric no-sew seam tape or hand stitch.
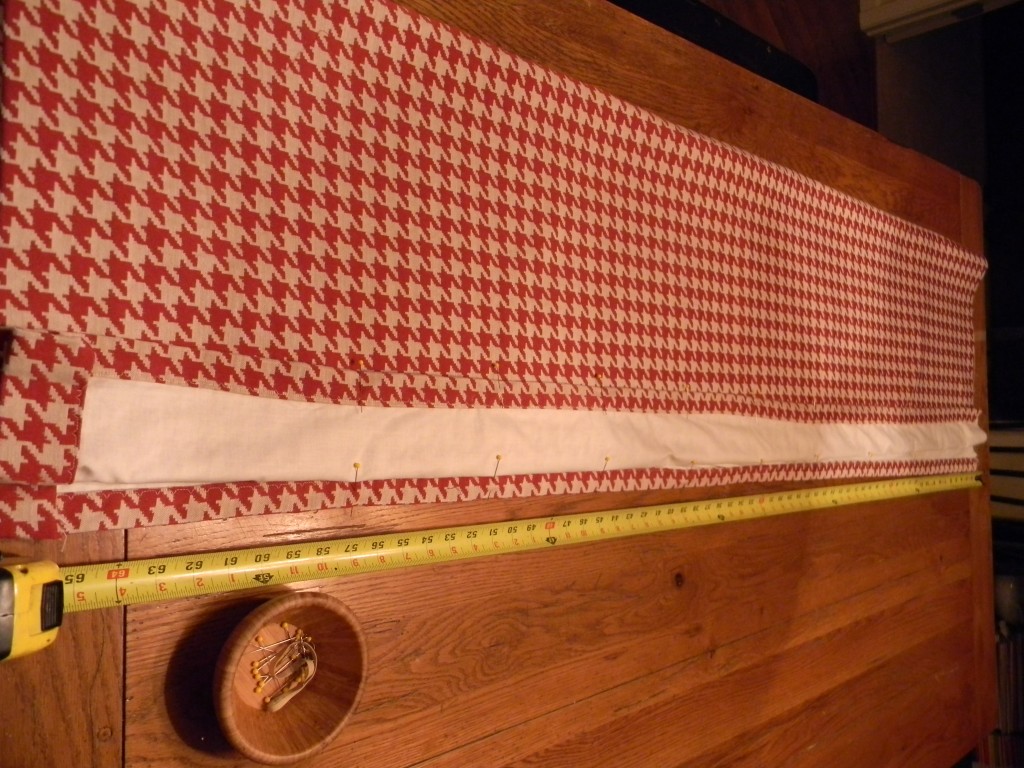
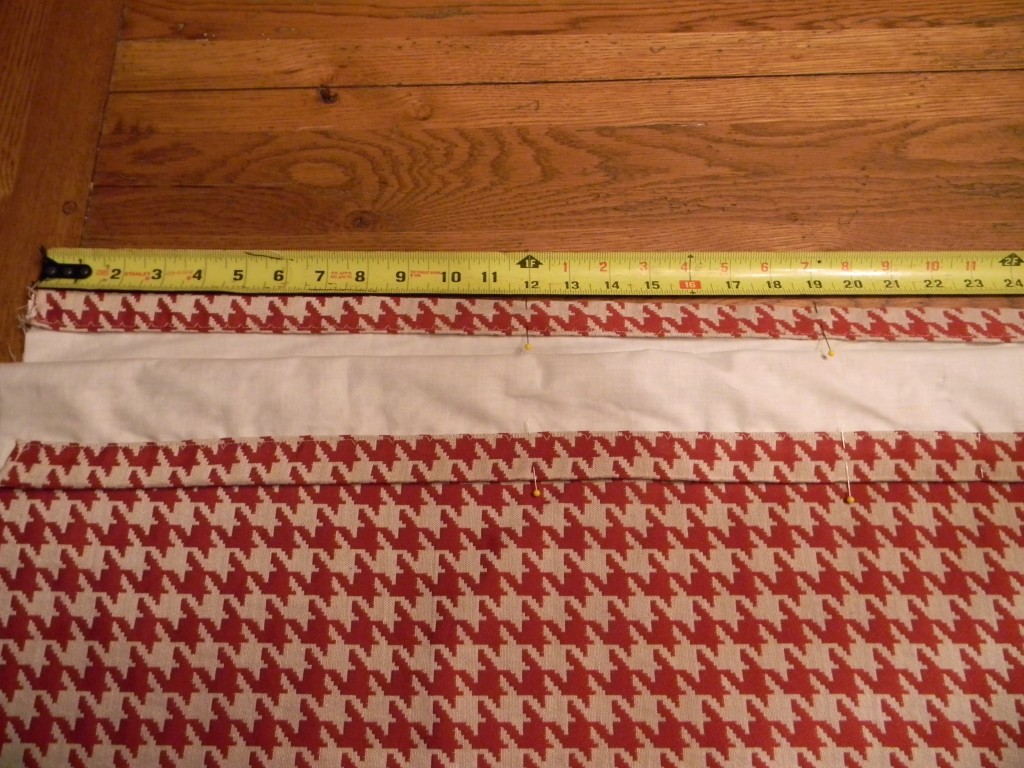
Lay out your fabric and fold over so you can see both side hems.
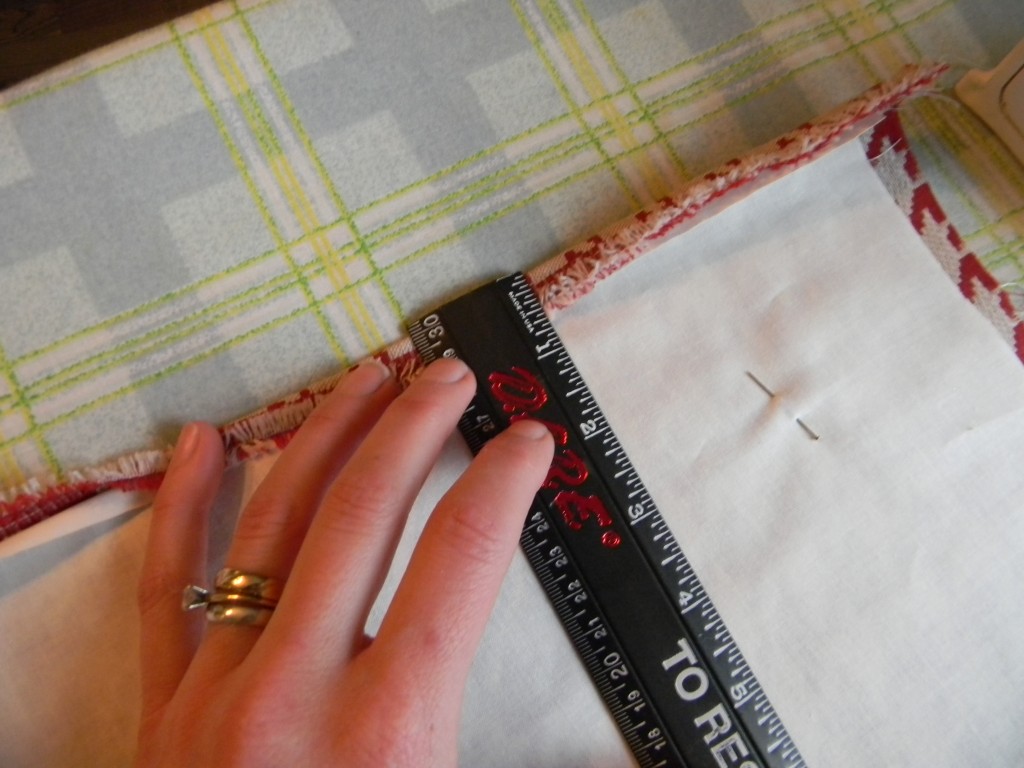
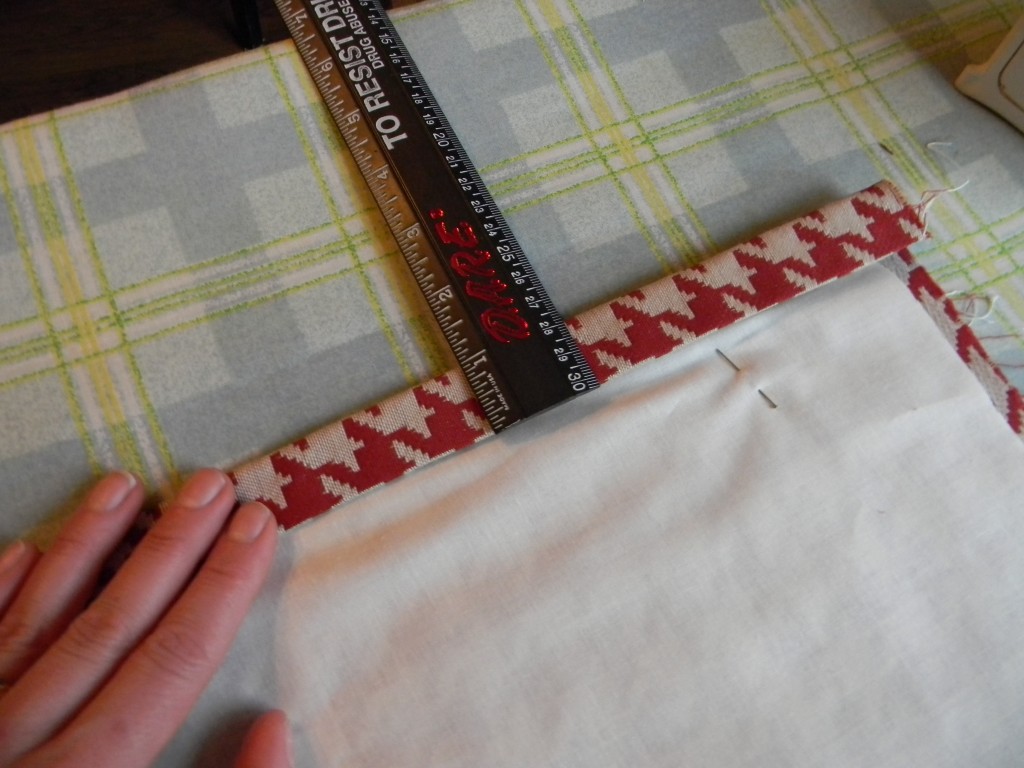
Measure down 12″ from to top edge and place pins on both seams to mark where plastic rings need to be sewn.
Then measure down and mark every 6-7″ with pins.
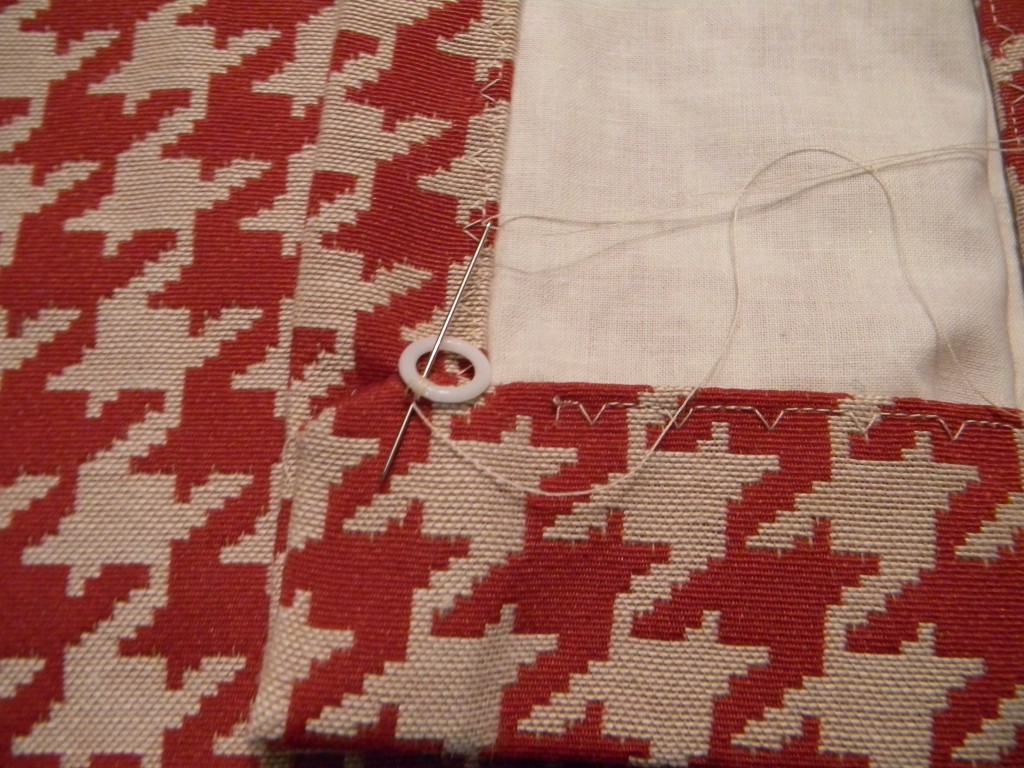
I started stitching my rings at the top of the bottom hem about 1/4″ in from the side hem.
I made about 10 stitches around ring to make sure it was secure.
Sew the rest of the plastic rings down at the pin markers.
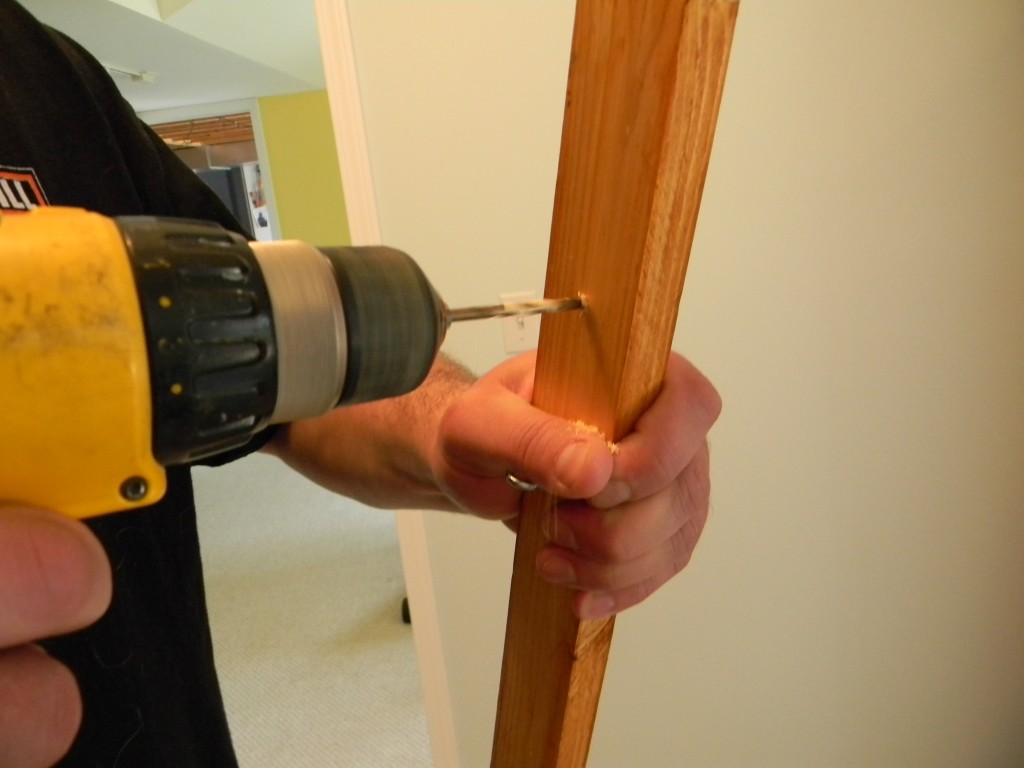
Drill small holes on each end of wood piece where it will be screwed into window casing.
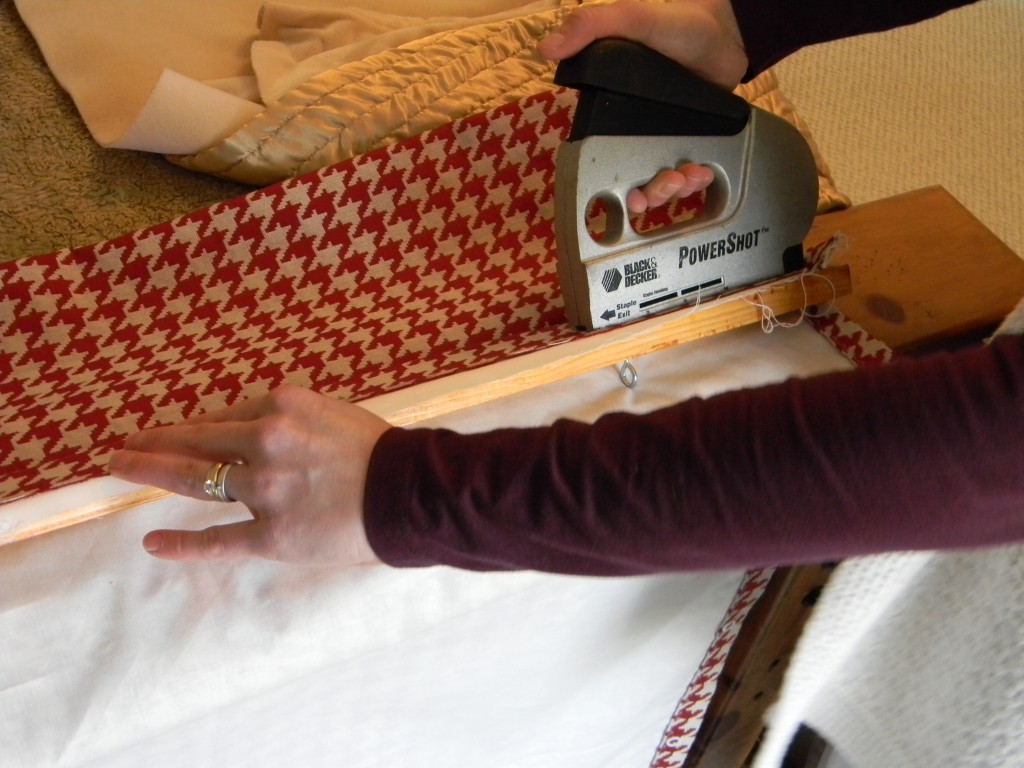
Staple fabric down to board lining up the edge of fabric to the edge of the board. My lining is sticking out a bit further but I just trimmed this after stapling.
Start stapling in the middle and then work toward sides pulling taunt.
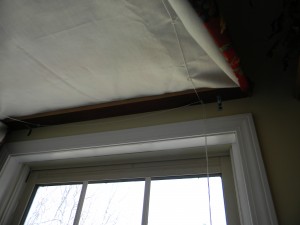
Also you can add a screw eye to the bottom of this board but FYI…I placed mine wrong in this picture and had to move them. Place the screw eyes on the board directly above the plastic rings.) I placed them where I normally do for London shades and learned very quickly as I pulled the cords that I had done it wrong! 🙂
Screw board into the top casing of the window.
It is best to have a helper that can hold up the fabric as you screw the board in.
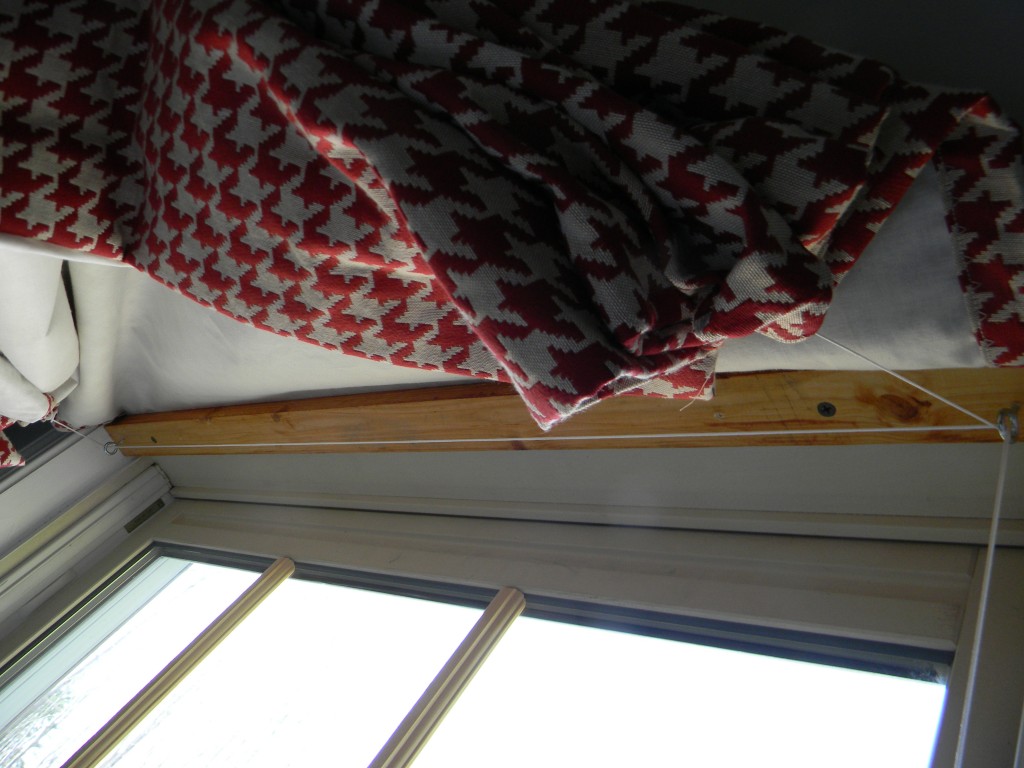
Take one end of cording and tie to the plastic ring at the hem. Then thread that cording up through the rest of the rings and then through the screw eyes at the top in the direction of where you place the fixture to wrap the cording.
Repeat with the plastic rings on the other side.
Tie the end of the loose cording ends together and then pull up shade and wrap cording around fastener.
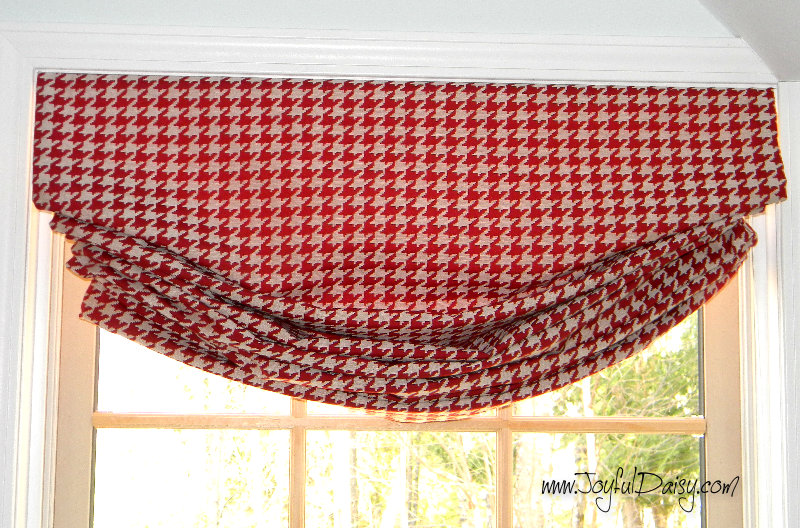
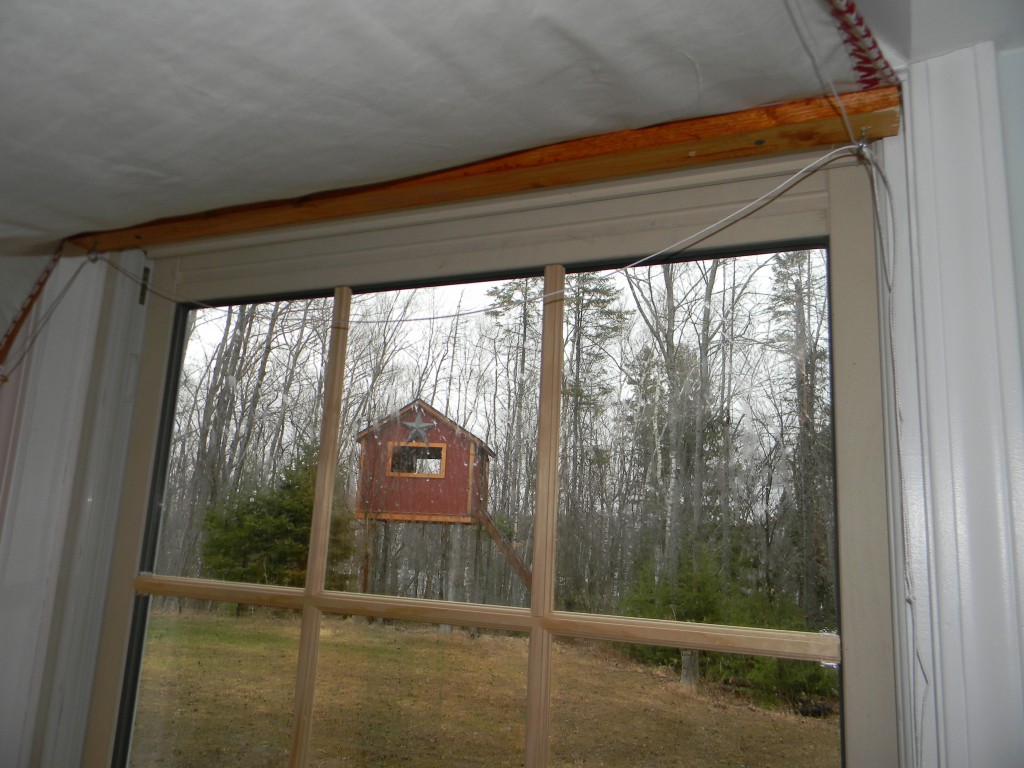
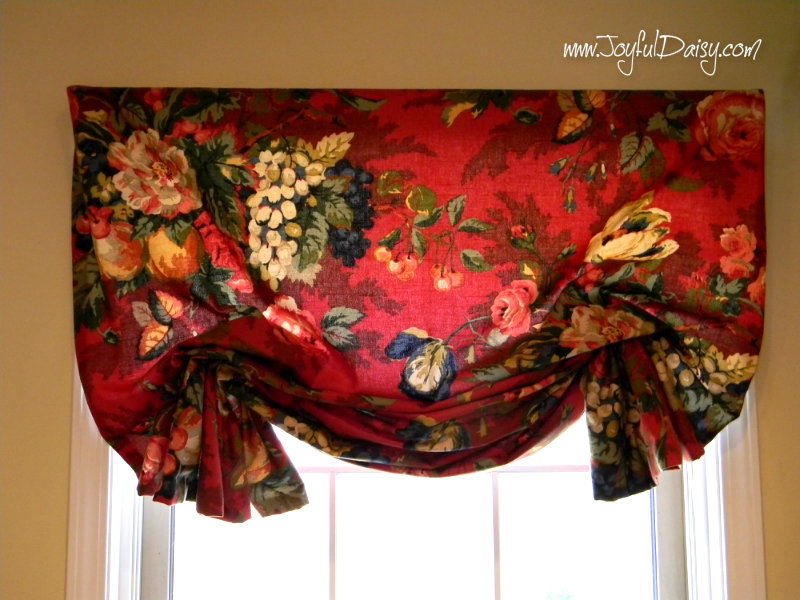
If you used medium to lightweight fabric it should pleat rather nicely as you pull the cording, you may have to help the folds a bit at first slightly tugging the outside edge of fabric folds. My fabric is more on the medium heavy side so I had to help it fold a bit more but that’s ok because I love it 🙂
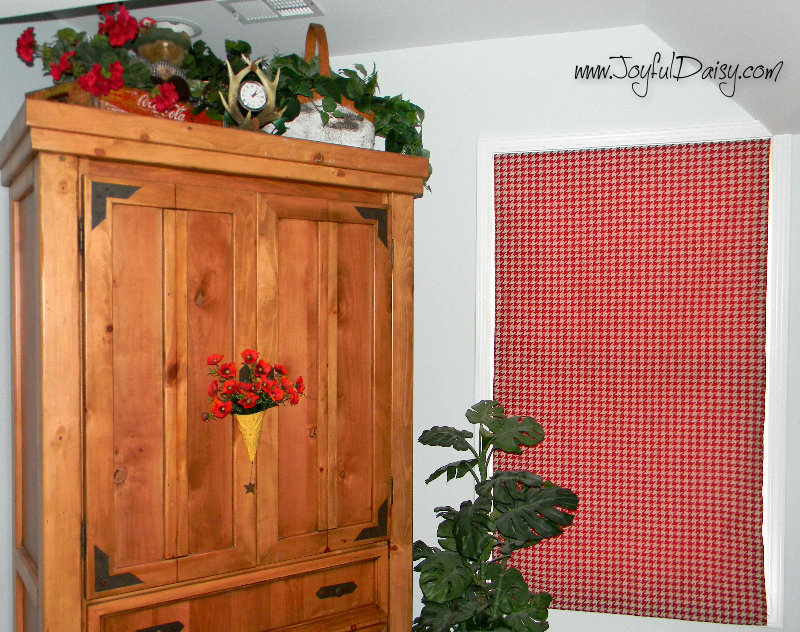
Here is one of the London shades I made for the kitchen windows. Instead of stitching the plastic rings up the side hem of the fabric, I came in about 6 inches from each side and added the plastic rings. Then add your screw eyes to the board directly above the plastic rings.
The kitchen London shades feature an outside mount.
For this you just cut the board to the width of the outside of the window trim. The board is 3 inches wide and I used L brackets to hold the board in place. Be sure to add more length to your fabric if you use an outside mount and place it higher then the window.
If you enjoyed this post, be sure to sign our email list on the top right hand column. I have a lot of fun things in store!