Our gingerbread houses are perfect in their imperfection! Over the years when I have searched for gingerbread houses I have found gingerbread works of art where it appears the creator has a fine arts degree and a very steady hand. While I love looking at these beauties, they just don’t look like that much fun to make with my kids so instead we have made are own version of the gingerbread house that doesn’t even include gingerbread, well except for the cute little tree in front of the big house shown above that my mom was making as we dove in and decorated our gingerbread houses:) So follow along and I will share the tips and tricks of how to make easy gingerbread houses!
We make the bases out of recycled boxes. Just choose whatever will work for your desired shape, if you are like us this time of year you will have lots of empty kleenex boxes!
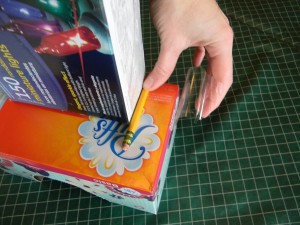
TIP: Square tissue boxes are easier because each side can be covered with two whole graham crackers. Small milk cartons are easier too, using just 1/2 graham cracker per side. and they are a nice size for little kids to decorate. However you can cut graham crackers to fit any size.
We used packing tape to assemble the boxes, if you decide to use more then one box. Put the tape on one edge of a box and then when you attach it to another, be sure to use a pencil to keep the tape very close to corners.
Now that you have your house, just choose a tray or sturdy piece of cardboard cut to size and cover with tinfoil for your base.
NOW THE MOST IMPORTANT PART… I say this because it is so much fun to decorate your house exactly how you want without worrying about your decorations sliding down the side because the icing is not thick enough or even worse having your icing dry before it has done its job because it is too thick.
So here are a few NANA LIN TIPS to help it all go smoothly:)
1. Do not use plastic bowls or spoons when making icing because it will break down the egg whites and make them runny.
2. Start with room temperature eggs for best results.
3. Keep your icing bowl covered with a damp cloth so it doesn’t dry out.
4. Just fill your pastry or plastic bags 1/2 way the icing so that it doesn’t start breaking down and get too loose. You can also put your bag of icing in the fridge for a little while if the heat of your hand starts to make it too loose.
ICING RECIPE:
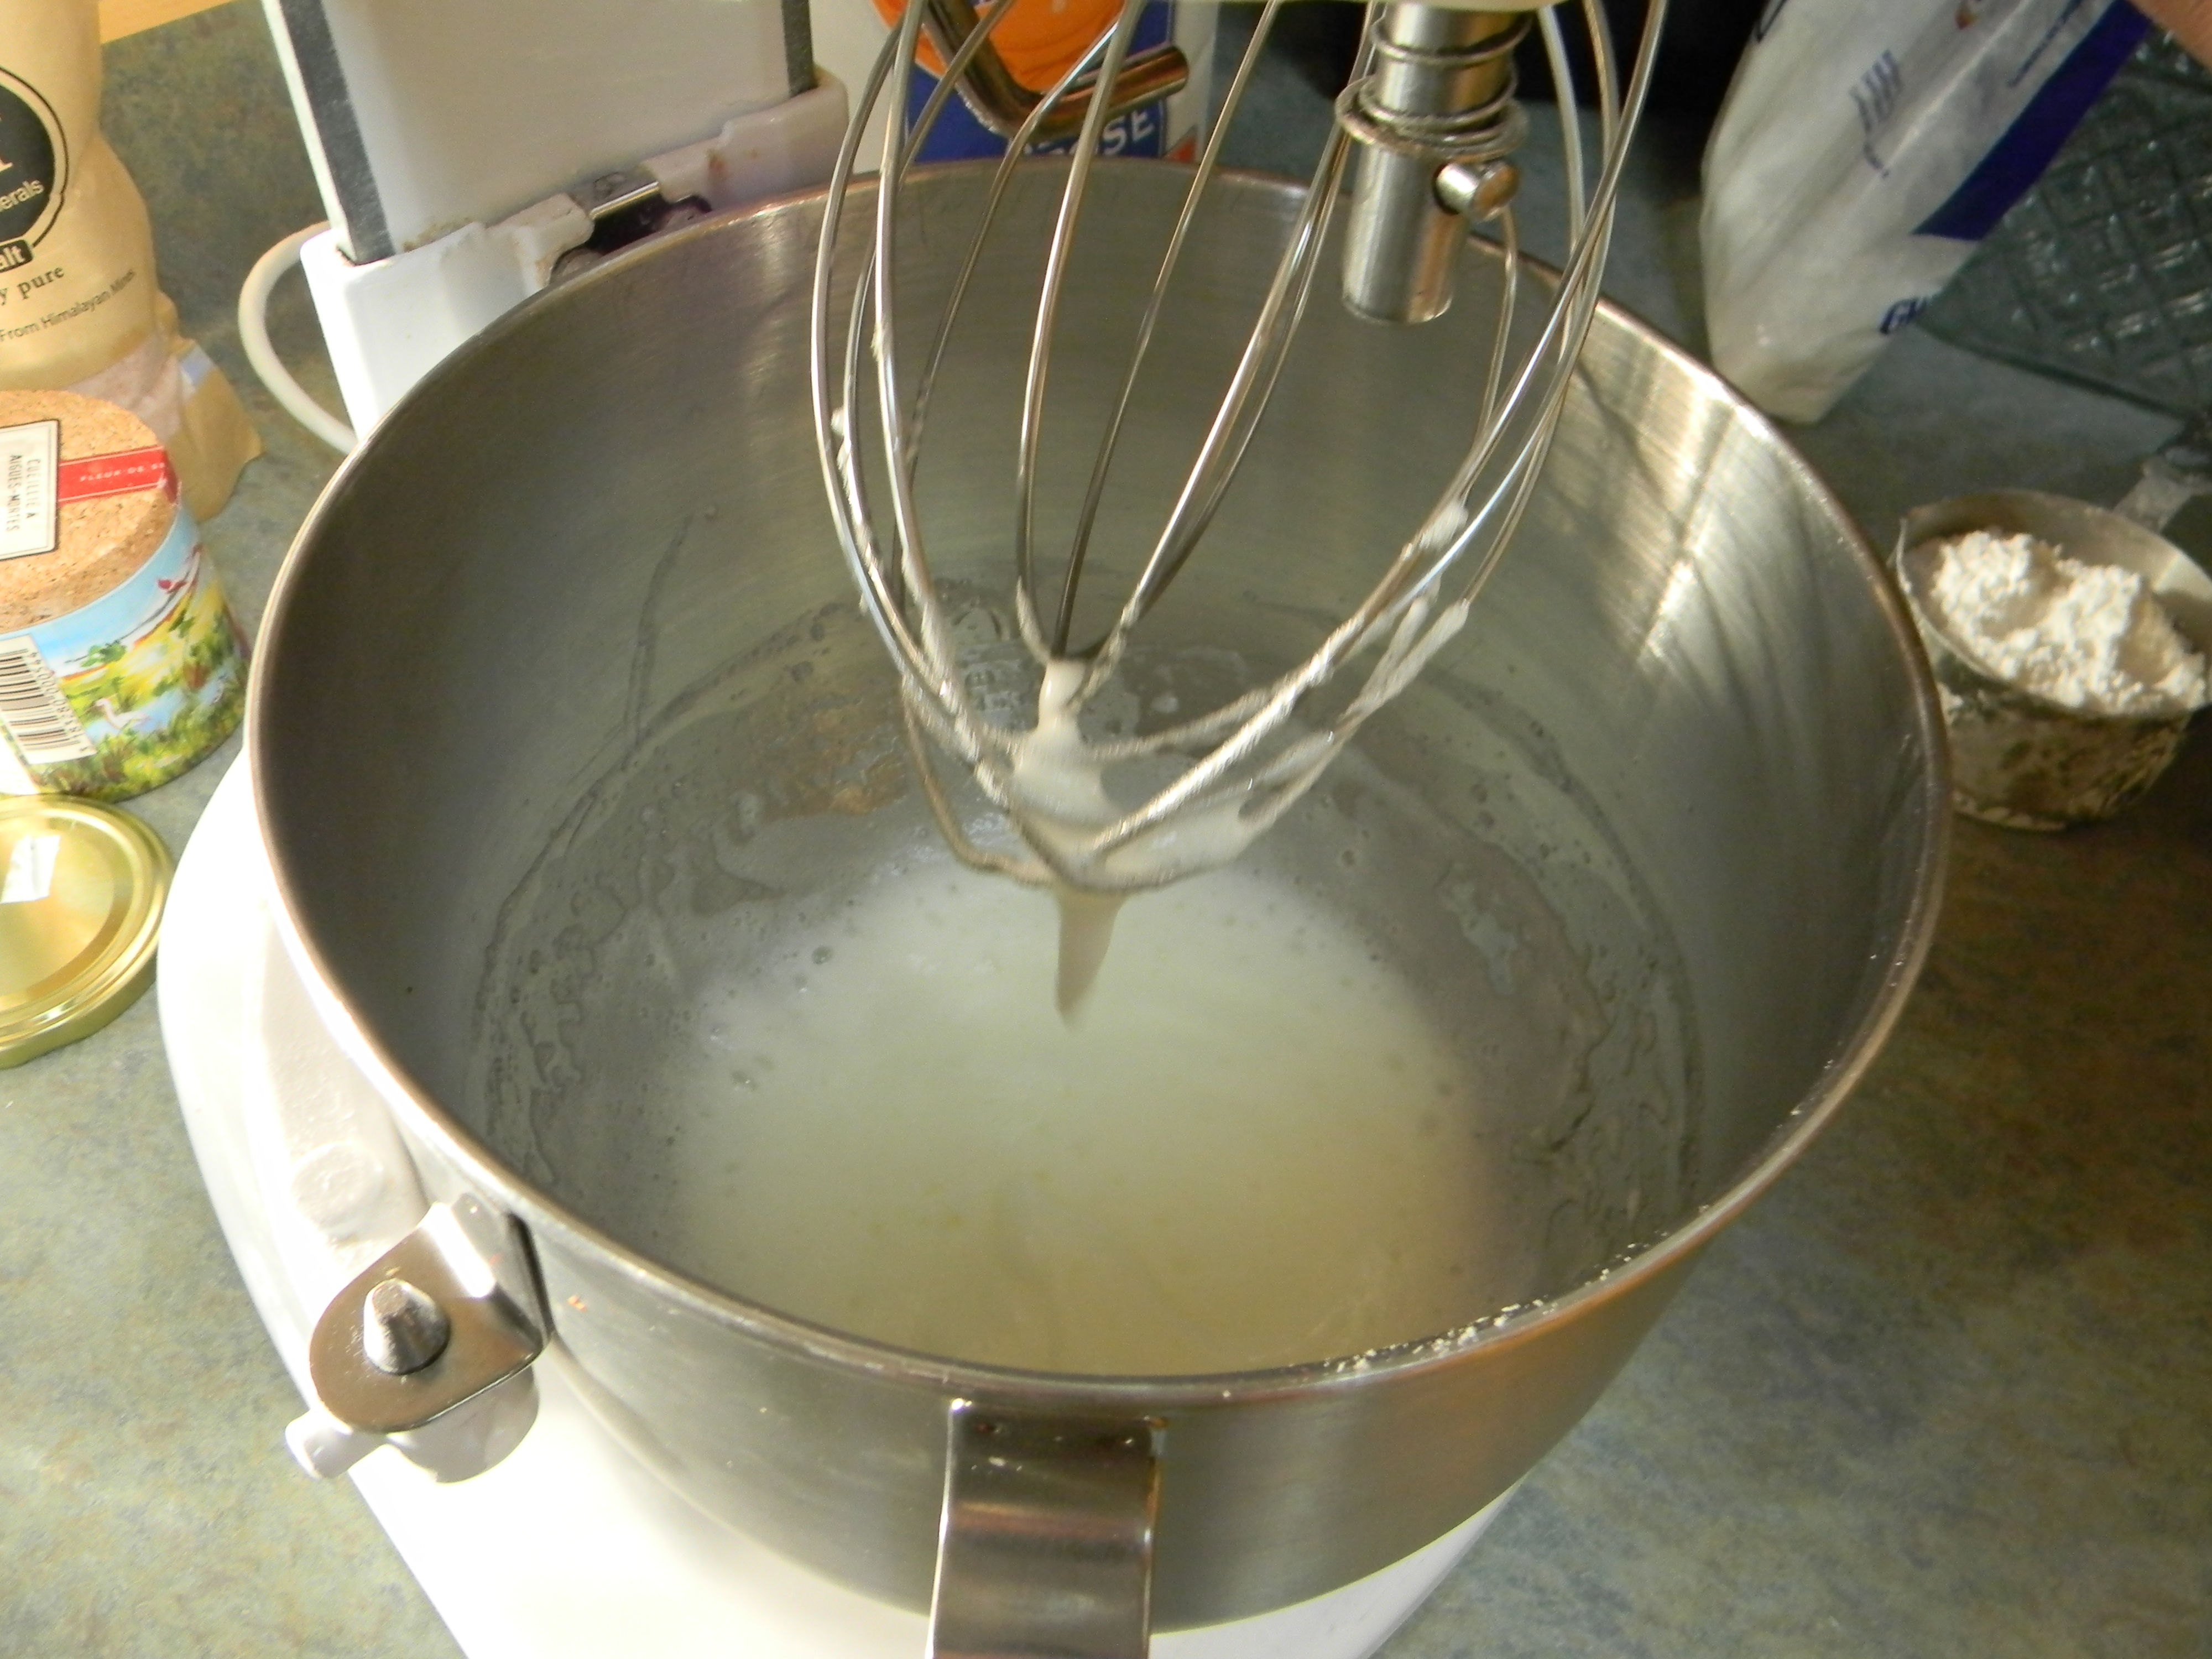
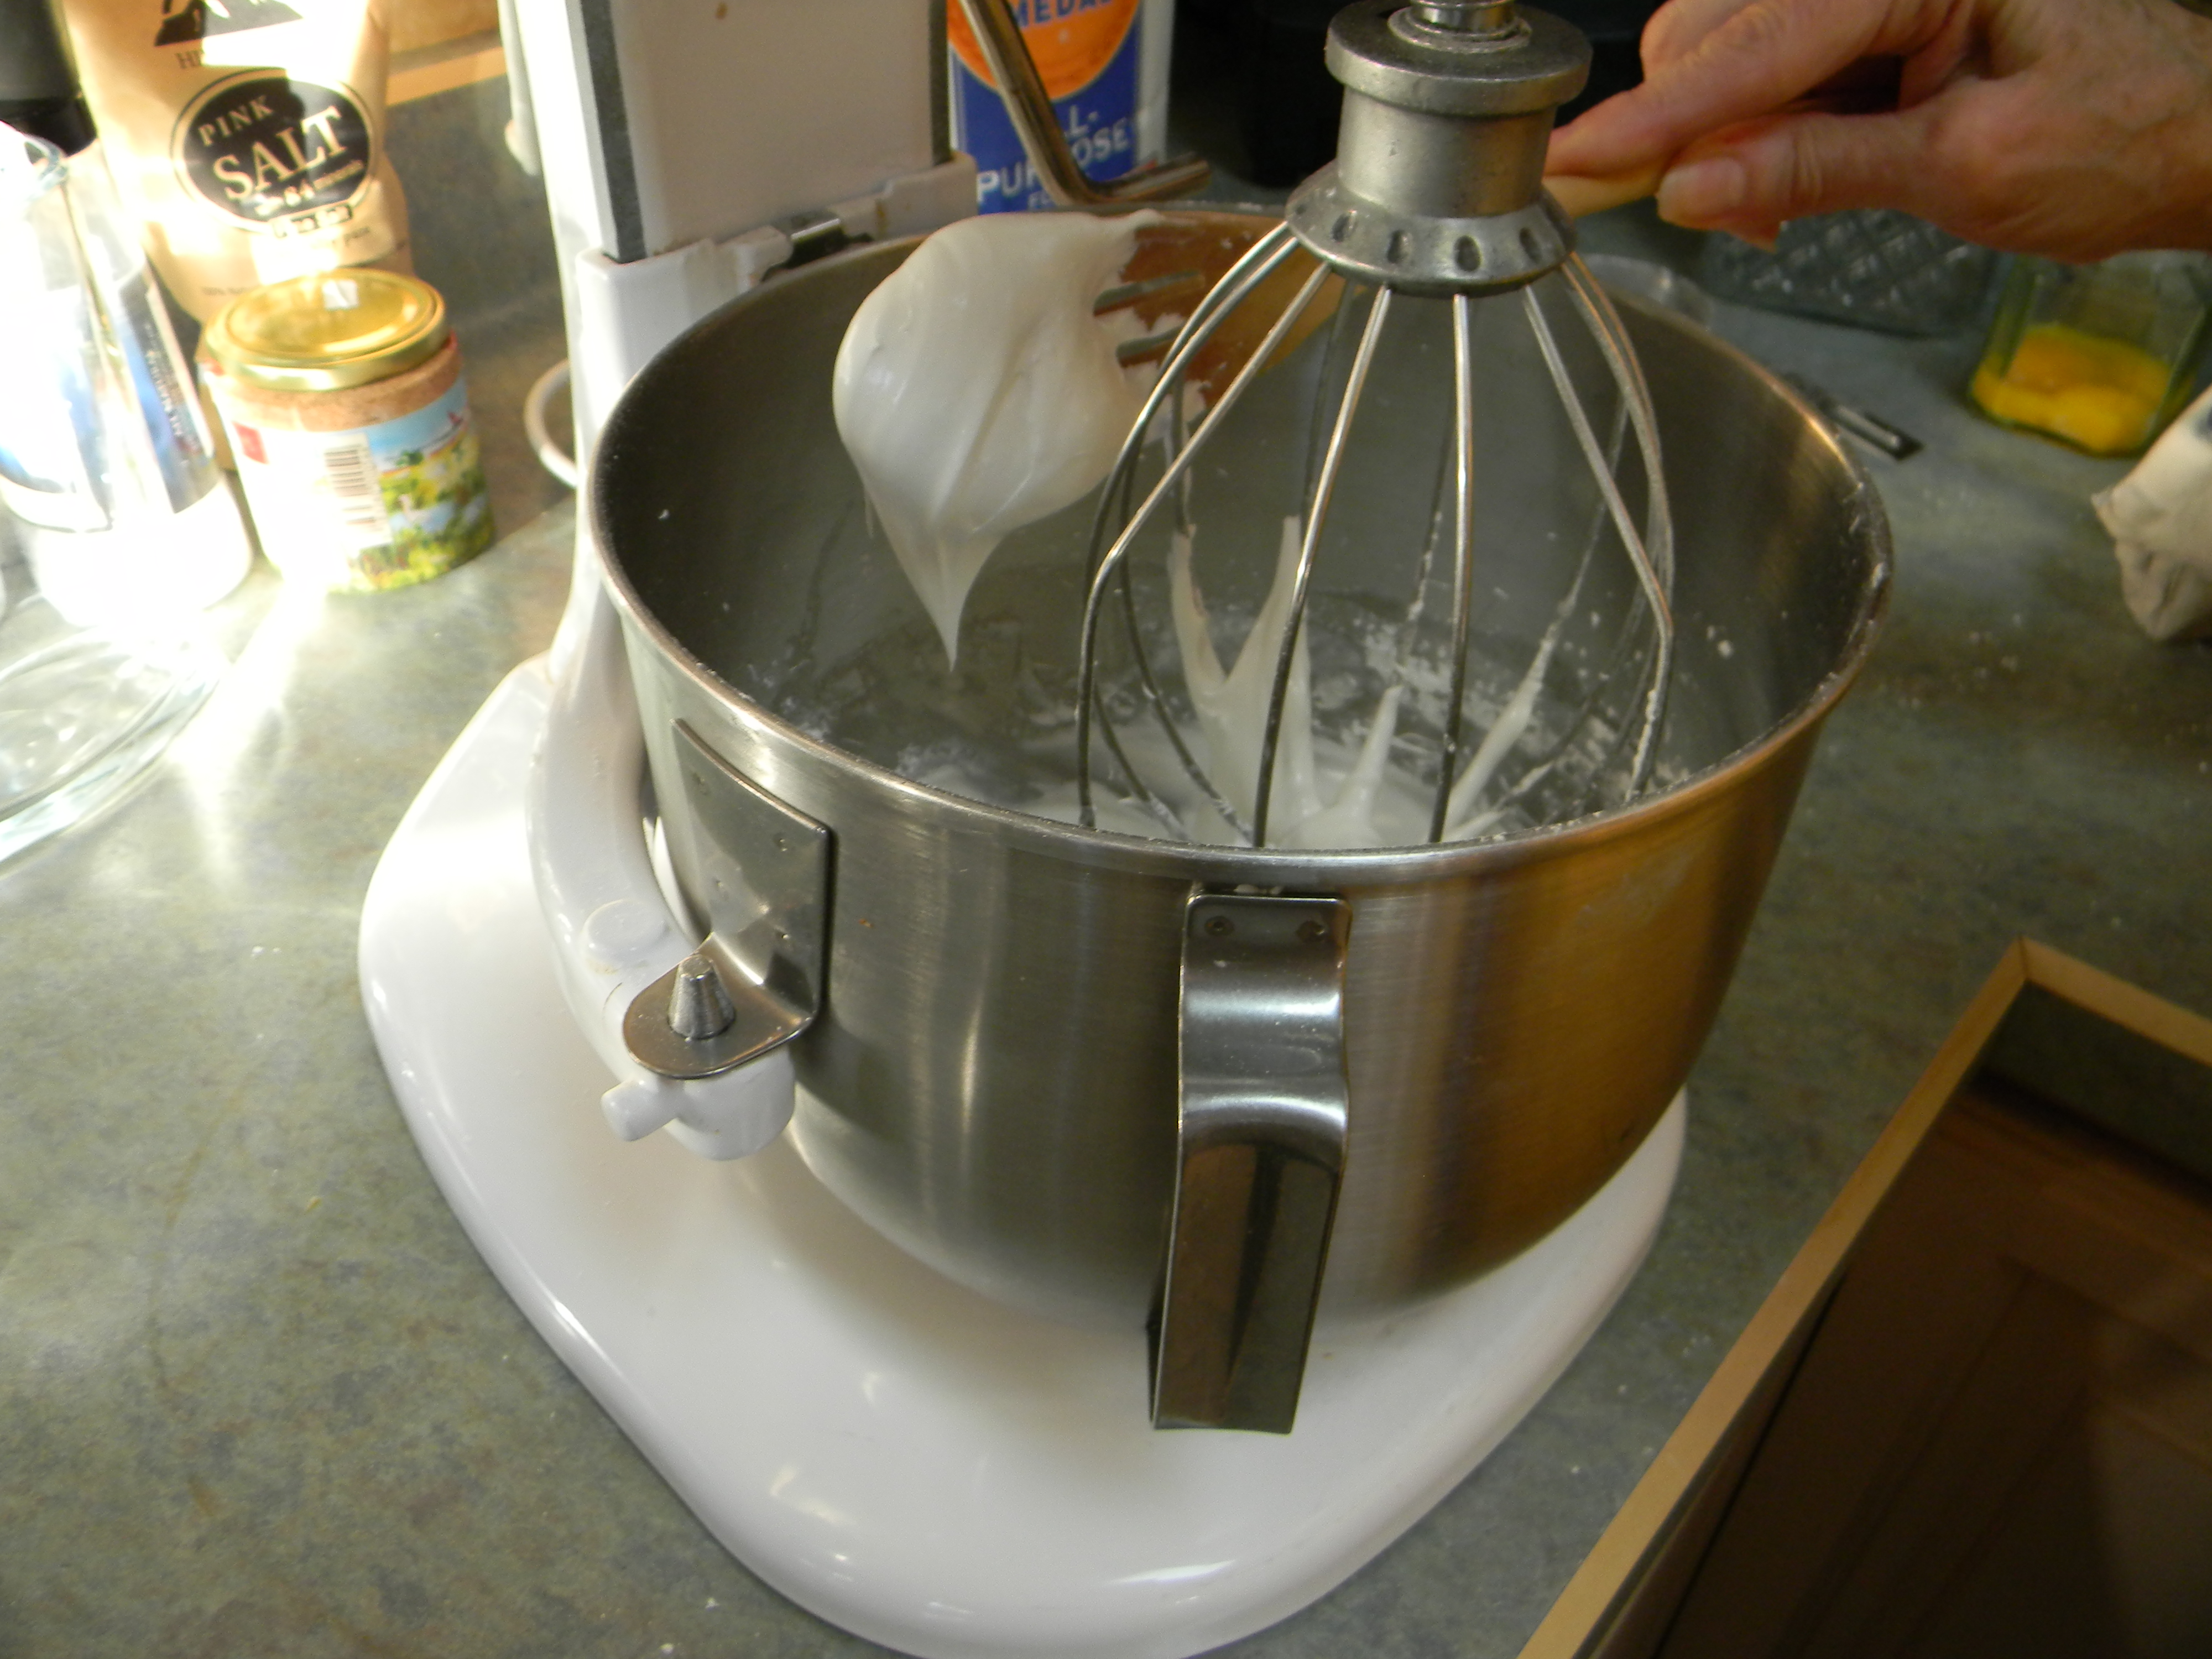
Beat 3 room temperature egg whites until frothy, see right picture above. Then add 4 cups of powdered sugar 1 cup at a time and then beat until consistency shown above. Beat it just until a peak forms from your spoon without dripping. If you happen to beat it too much, like I did once, just add another egg white and then if necessary a little more powdered sugar until you get an easy to use consistency.
Now place a plastic bag in the inside of a glass and fold over the top edge of the bag over the rim of the glass. This makes it easier to fill it with the icing. I like the disposable pastry bags you can find in the cake making area of Walmart or craft stores, or you can use a heavier zip lock bag. Then just cut a small hole in the bottom corner of the bag so that you can pipe out the icing and start decorating your masterpiece!
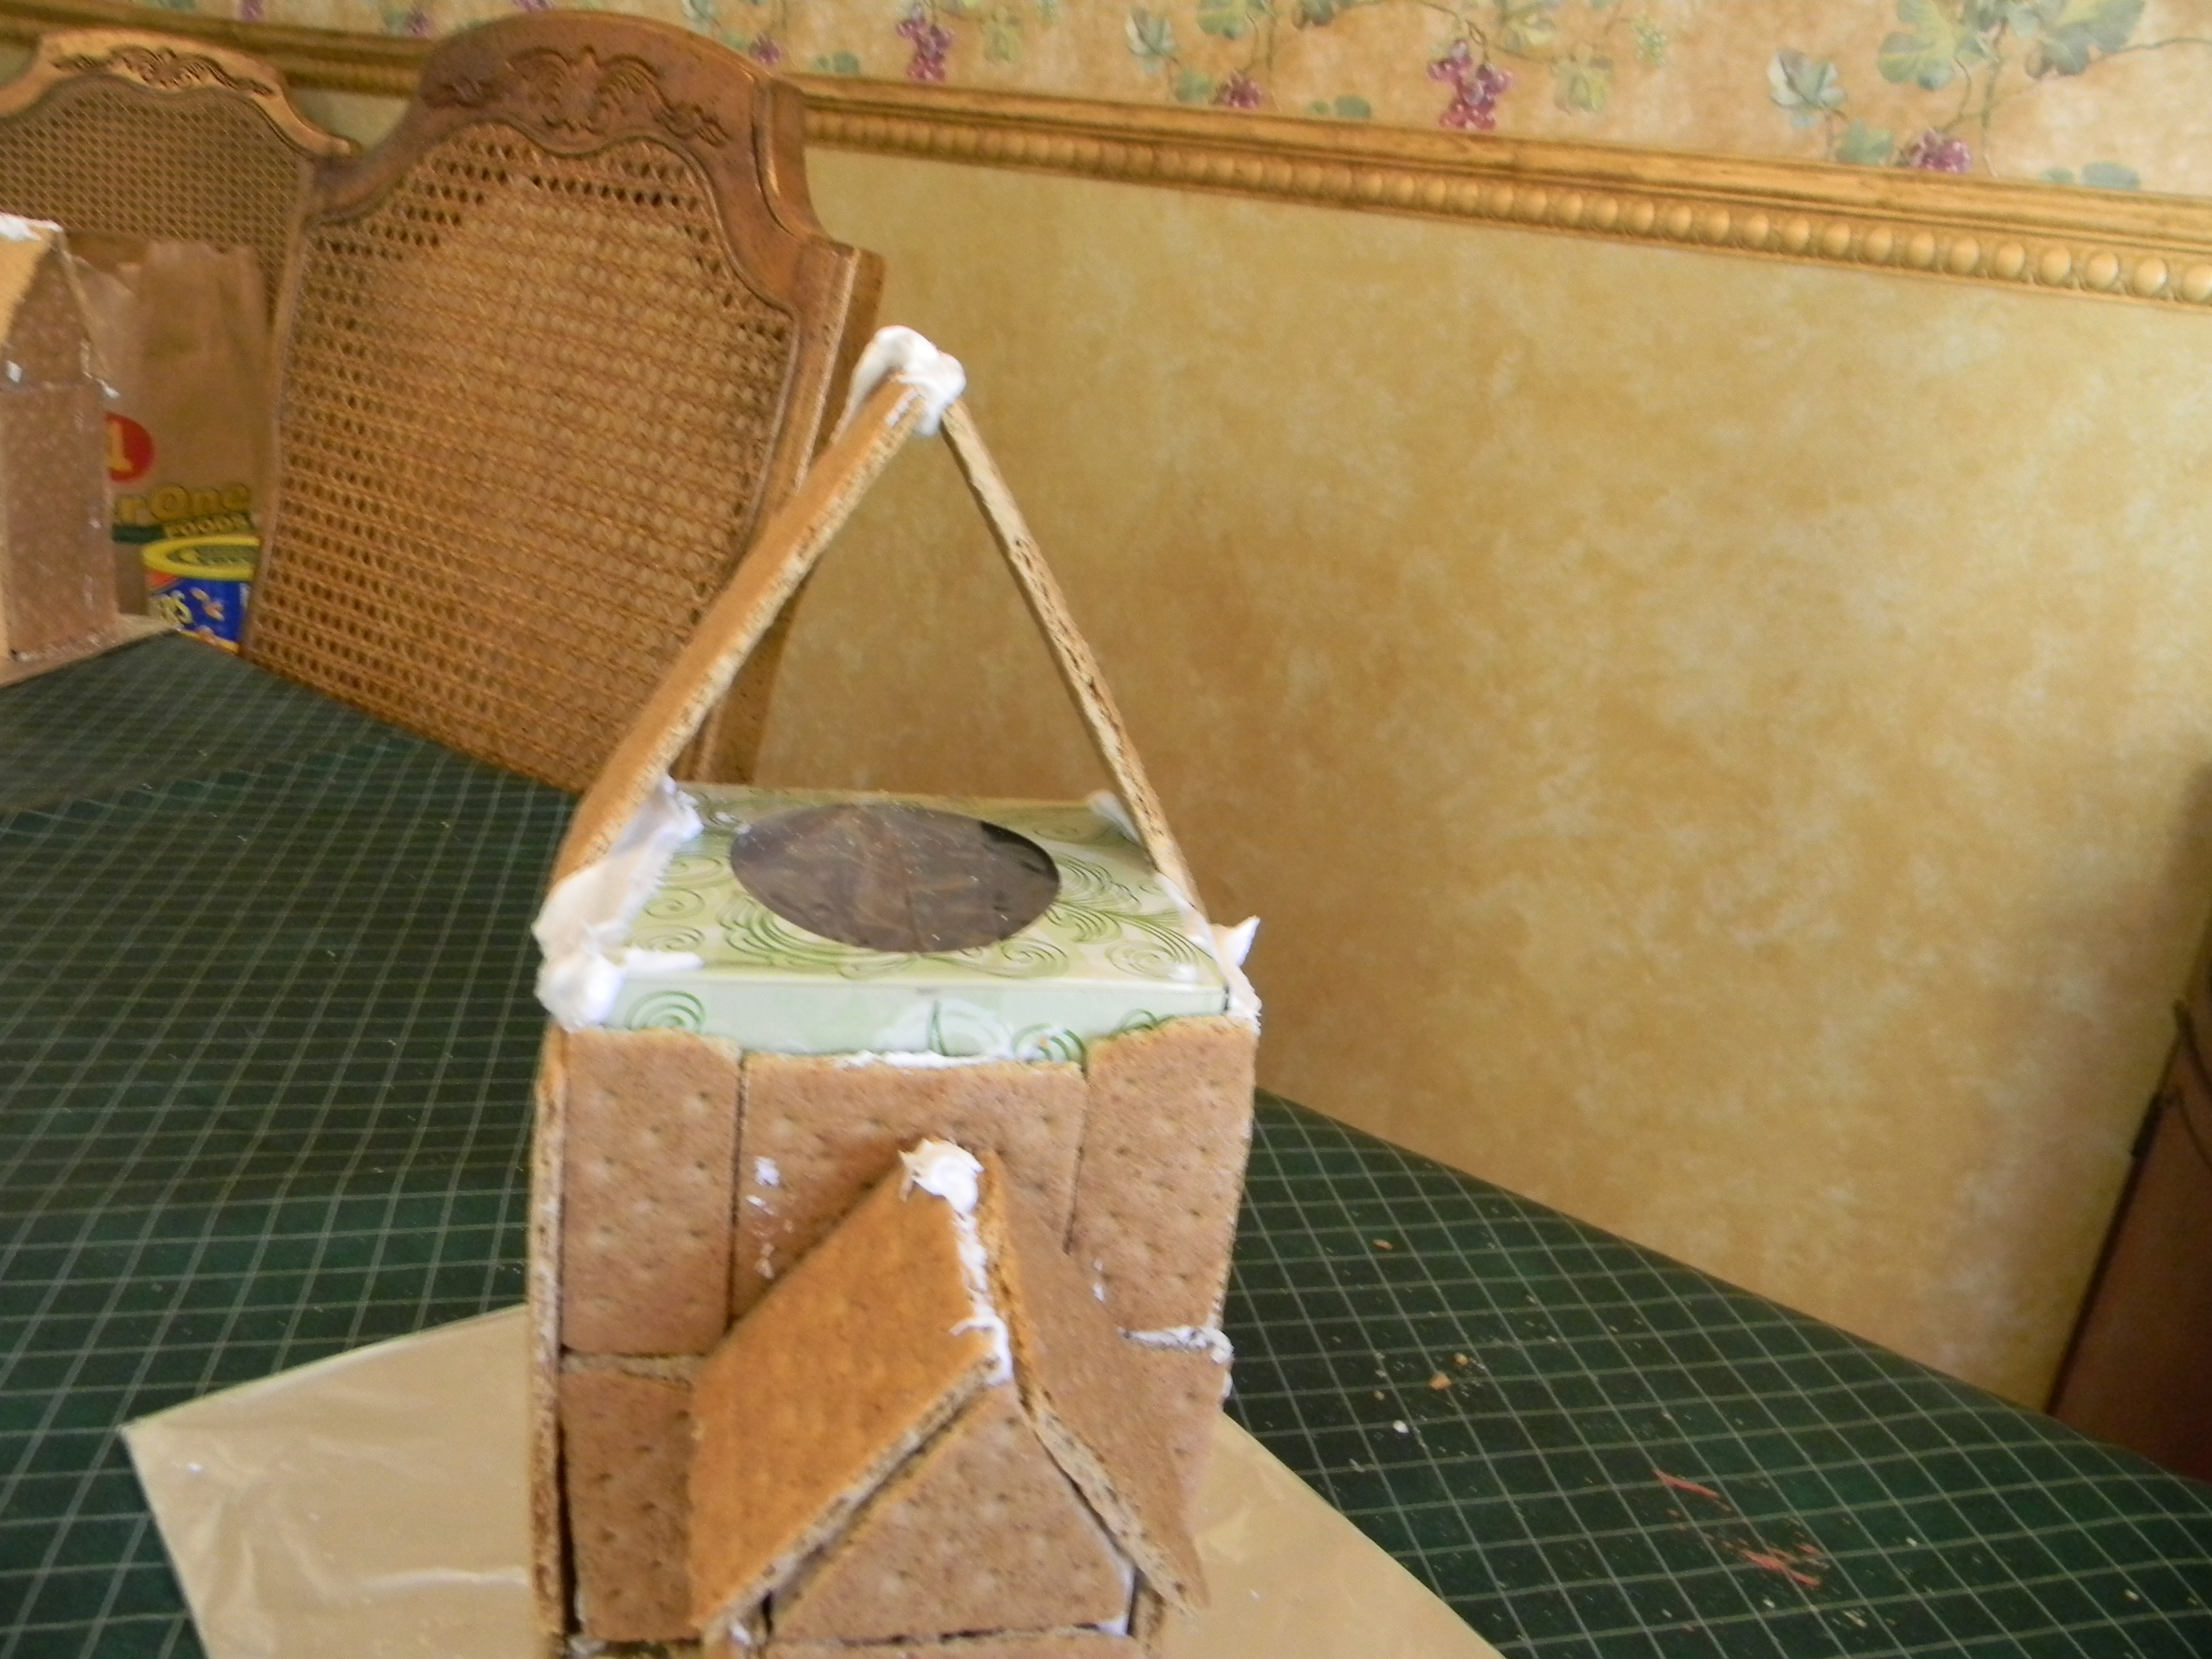
Adhere house to its tinfoil covered base with some icing. Then starting covering boxes using the icing and graham crackers, doing the roof last. For this particular house, I slid a graham square behind the milk carton on the top. For the roof, put a generous amount of icing on the top edges and then on the edge of the graham crackers that will meet at the top. Use a small serrated knife to gently cut graham crackers to fill in whatever areas necessary.
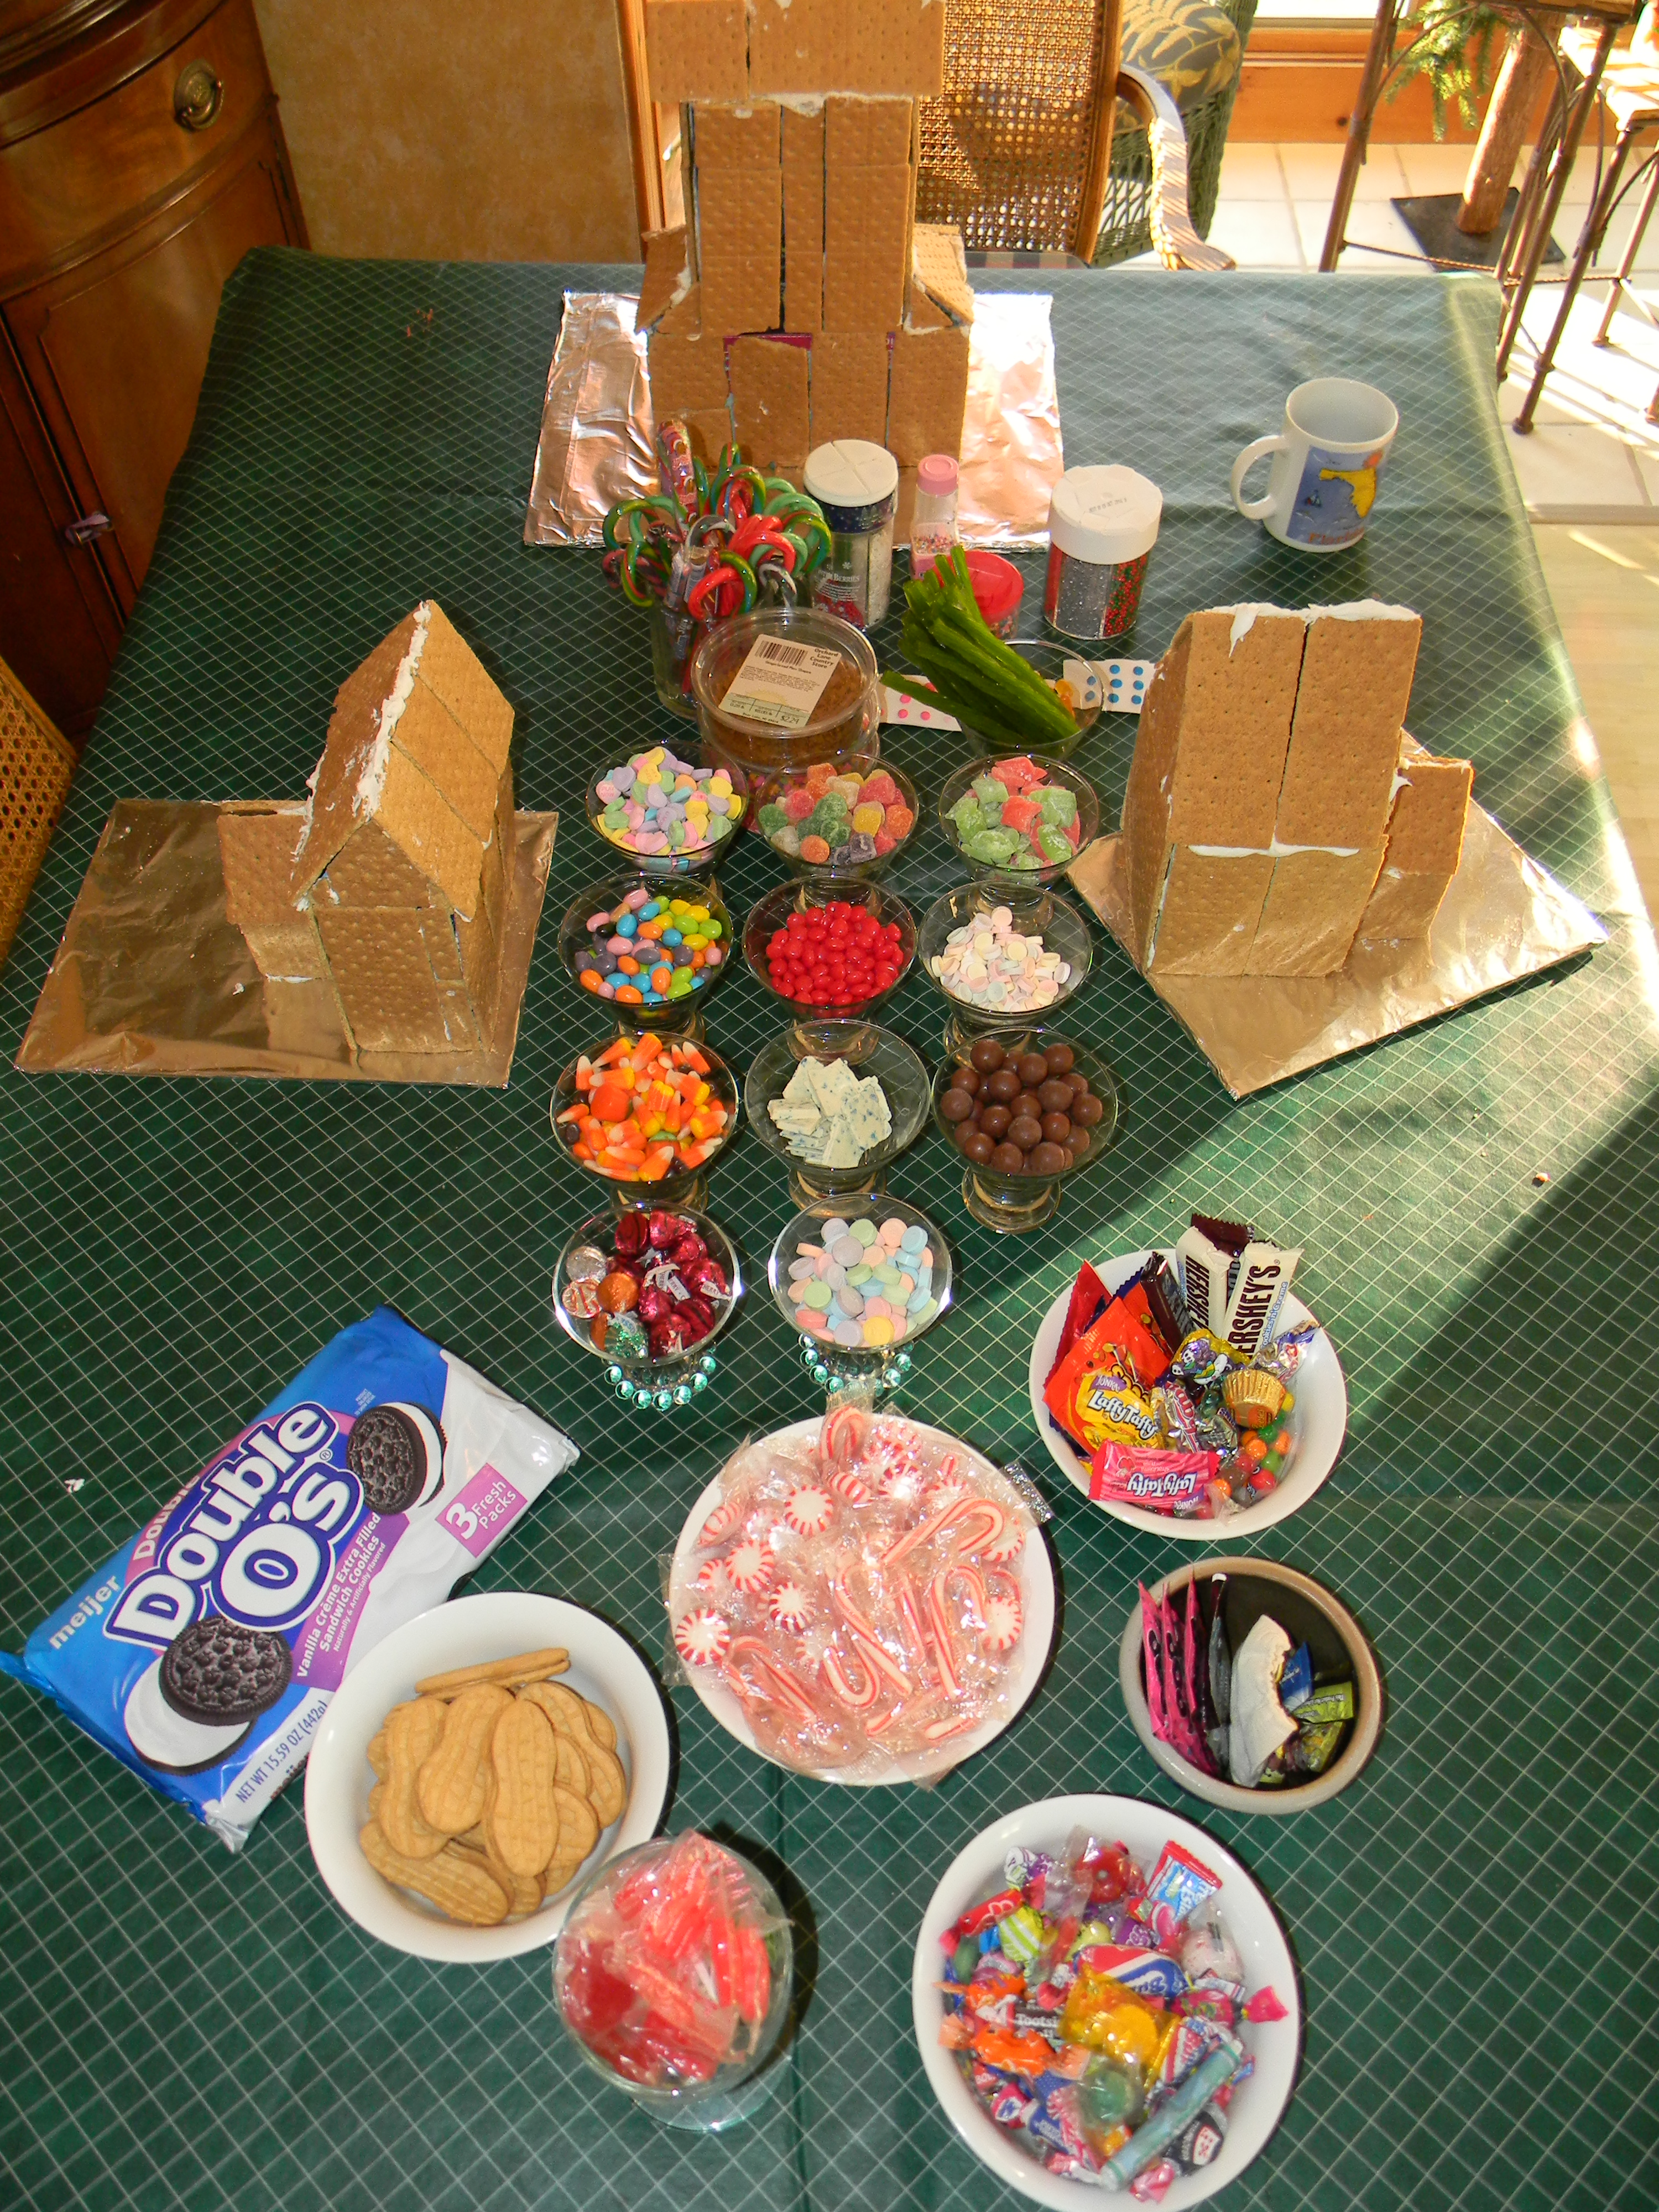
Now it’s time for the really fun part! OK, this is the time we clean out our pantry and pull out all the old holiday candy from
Halloween to our left over jellybeans and conversation hearts. Also do not overlook your crackers, cookies, ice cream cones, and cereal because we will show you some fun ways to use those items too. Our favorite items include gum drops, candy canes of all sizes, conversation hearts, malt balls, pretzels, shredded wheat, necos candies, and assorted marshmallows. Another TIP is if you have time, it is nice to complete the graham cracker houses ahead of time and then set a time to just decorate the houses.
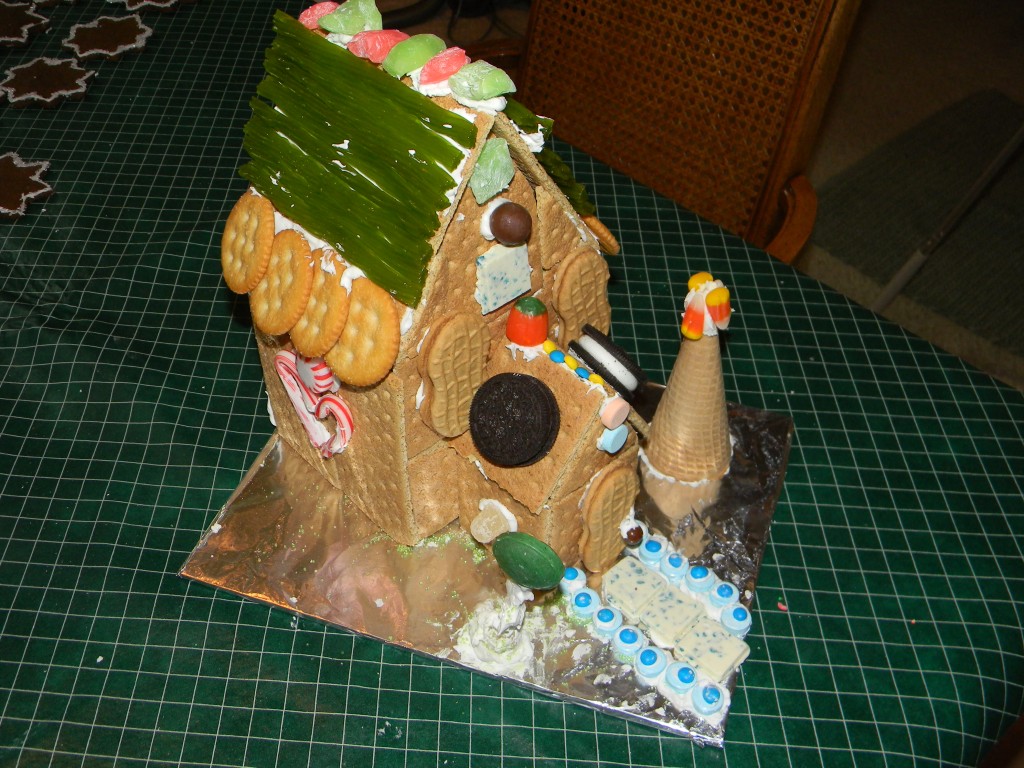
I like to start with my roof first, unless I plan to have a large overhang and need to do the siding first. TIP: Start at the bottom edge of your roof in case you want to overlap your “shingles.” Above you can see how Reece, my 9 year old used crackers and licorice on his roof and how we used round crackers for a scalloped edge and then added shredded wheat for a snowy look on the bigger house. The roof cap is always one of my favorite parts to decorate, just remember to put that on after the roof has been completed. A small Babyruth bar with the bottom cut at an angle makes a nice chimney. I was hoping to get cotton candy for the “smoke” coming out of the chimney but I forgot to pick some up.
Here are some different ways to add decorative siding.
Here are some different ways to add decorative siding. Here we used some homemade hard candy! Now if we new we were going cover the whole side with icing and candy, we would not have needed the graham layer. So for those of you that plan ahead, you can skip a step.
This is an example of how simple can be pretty. We just put icing on the graham cracker seams and then added pretzels and red hot candies- very quick and sweet.
On this house, I just put icing on the bottom and then stuck in some peanuts. You will also see I used pretzels behind the ” windows” and crackers behind the top heart. The windows I made on crackers and then added to the house. The shudders are all made from one small Laffy taffy. Just hold the taffy in your hand to warm a bit so you can manipulate it a bit and flatten to size. Also notice the Nutter butter door- just love those cookies!
My daughter’s house displays a very festive seasonal siding with candy corn, jelly beans, and gum drops! She loves color! TIP: Before you move on to your landscape, go around house with icing and fill in any gaps and then add some icicles by squeezing little bits of icing off of the eves.
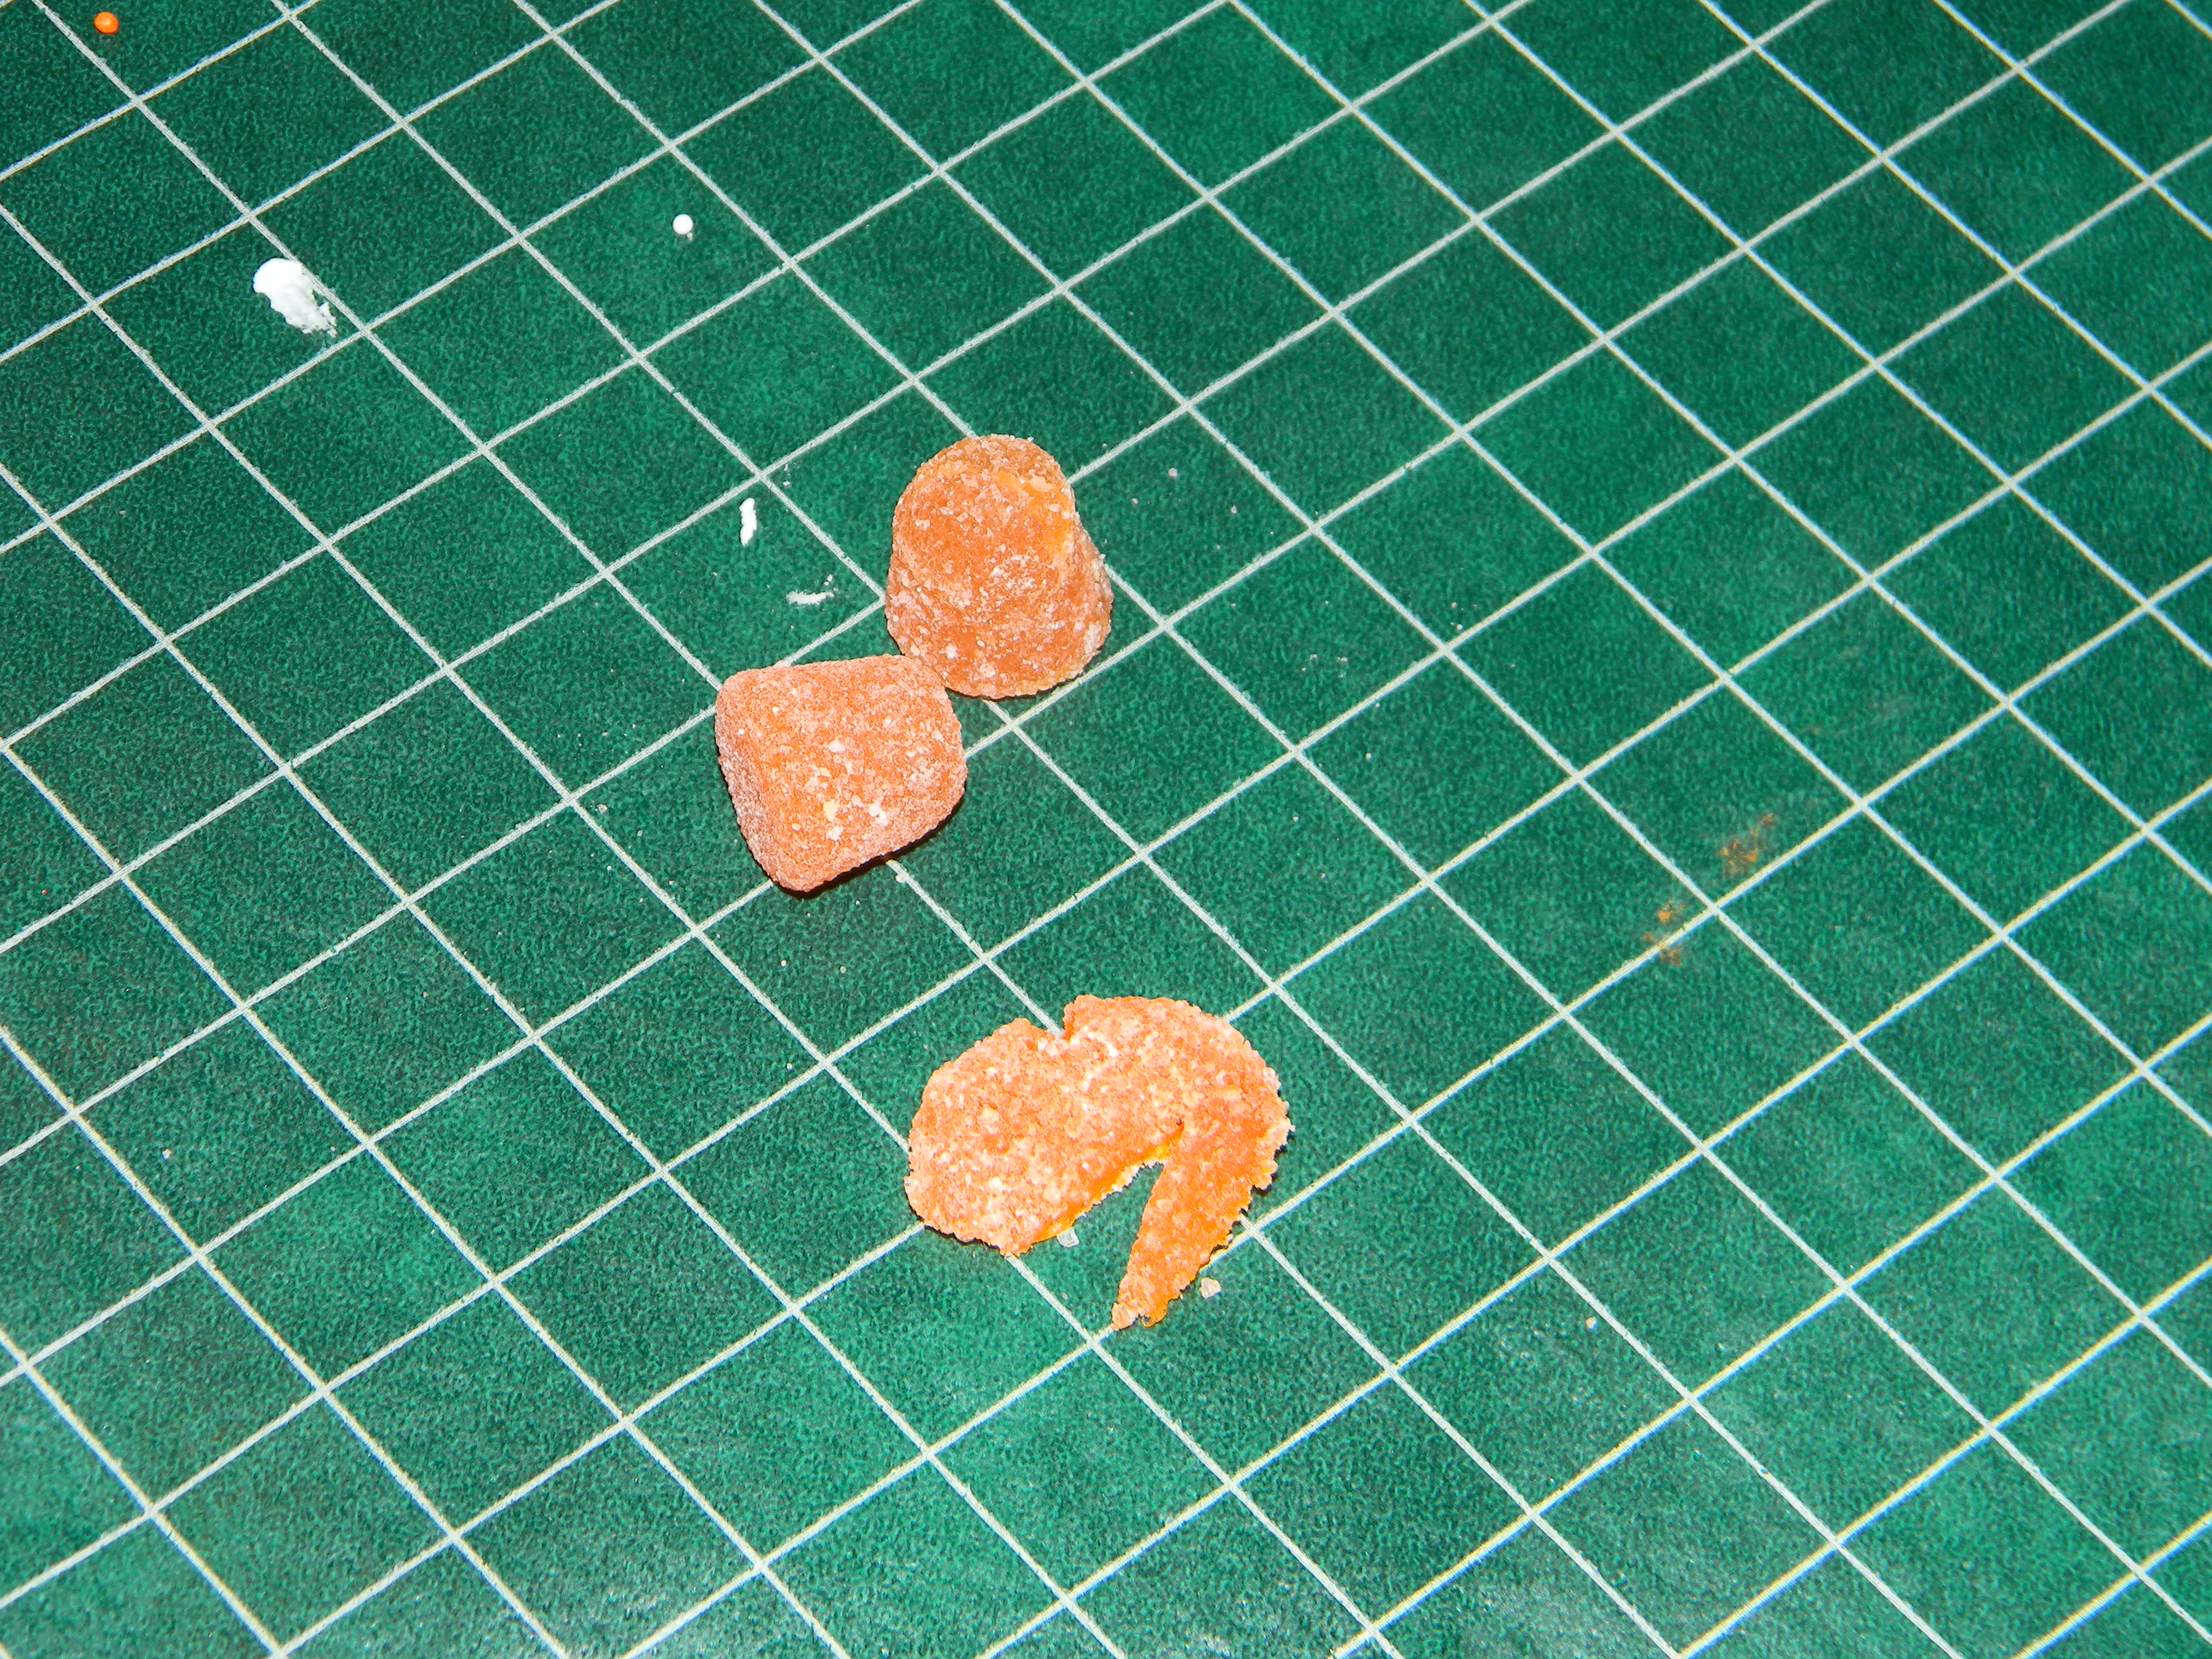
Here is a close up of some fun you can have with your landscaping. TIP: Add all decorations to snowman besides hat before standing him up. To make the nose, we just flattened an orange gumdrop and cut out a nose. The scarf is made from flattened and “sculpted” gum drops too! His hat is part of an oreo cookie and his arms are made of pretzels. Also notice the dum dum sucker and gum drop trees if you need to add some more color!
The top two pictures show my kid’s gingerbread houses when they decided to move on to something else like computer games! Anyways, I just wanted to show how I finished them up by adding a little more candy and then using icing to fill in the gaps in the gingerbread to help them look finished:)
Before wrapping up this post, I wanted to share last year’s gingerbread houses and point out some of my favorite details. The top pictures showcase my gingerbread townhouses which were constructed from 2 large rectangular Kleenex boxes taped together. I had so much fun doing the three different roofs with sunflower seeds, pretzels, and animal crackers. I also loved the look of the pink peppermint marshmallows for the siding. The bottom picture displays Lily’s creation and I just loved the way she used the sprinkles on the walk way and dumdum lollipop trees!
I hope this inspires you to create your own sweet creation:)